11/16 DIY / Seasonal/Holiday

DIY Simple Thanksgiving Garland

Give thanks garland DIY-2

Over the weekend I hosted a Friendsgiving dinner, which I prepped the decor for weeks ahead of time out of uncontainable excitement, but at the last minute I decided to add in this DIY “give thanks” garland because it’s fun and cute.  Last year I made a different one and recall how it was the backdrop for a lot of our photos, and maybe I read into it too much, but I noticed it made everyone smile and feel even more warm and fuzzy.  At least that’s how it made me feel!  So yea, I’m a fan of that feeling, and definitely think it’s worth the effort.
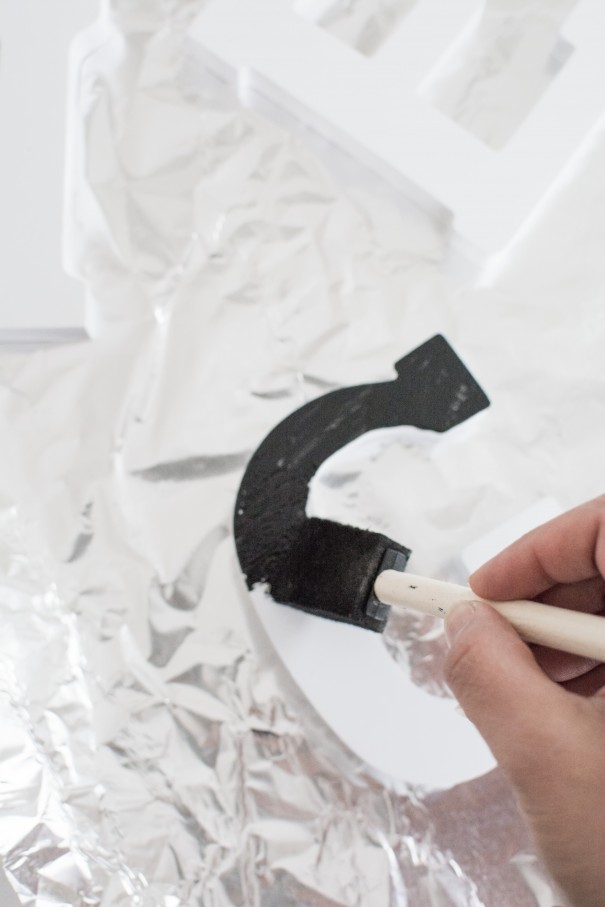
paint

I got these white block letters from Michaels and painted them black.  This is where I tell you that I knew spray painting would be a lot easier and faster, but it came down to how the weather was cold, I was sick, and I didn’t want to go outside, ha.  I also had a bunch of black chalk paint and was in the mood to turn on good music and get lost in some hand painting, so I took a foam brush and dabbed about two layers of paint on each letter with drying in between.  If I had to do it again though, I would suck it up and spray paint outside.  It really would have been much faster.  Also, I still haven’t heard from anyone about if they use aluminum foil as frequently as I do for a working surface… I think that’s a weird thing about me, yea?

glue

Once the letters were dry, I applied a line of hot glue across the top of the back-side of each letter and placed a continuous strand of hemp on top of it.
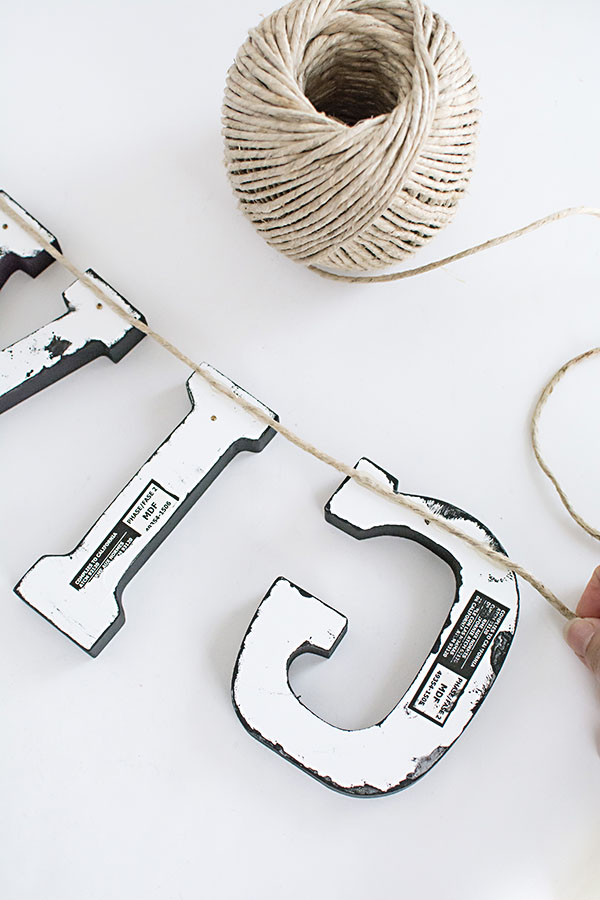
hempI did this on a total of two strings of hemp, one for “give” and the other for “thanks”.
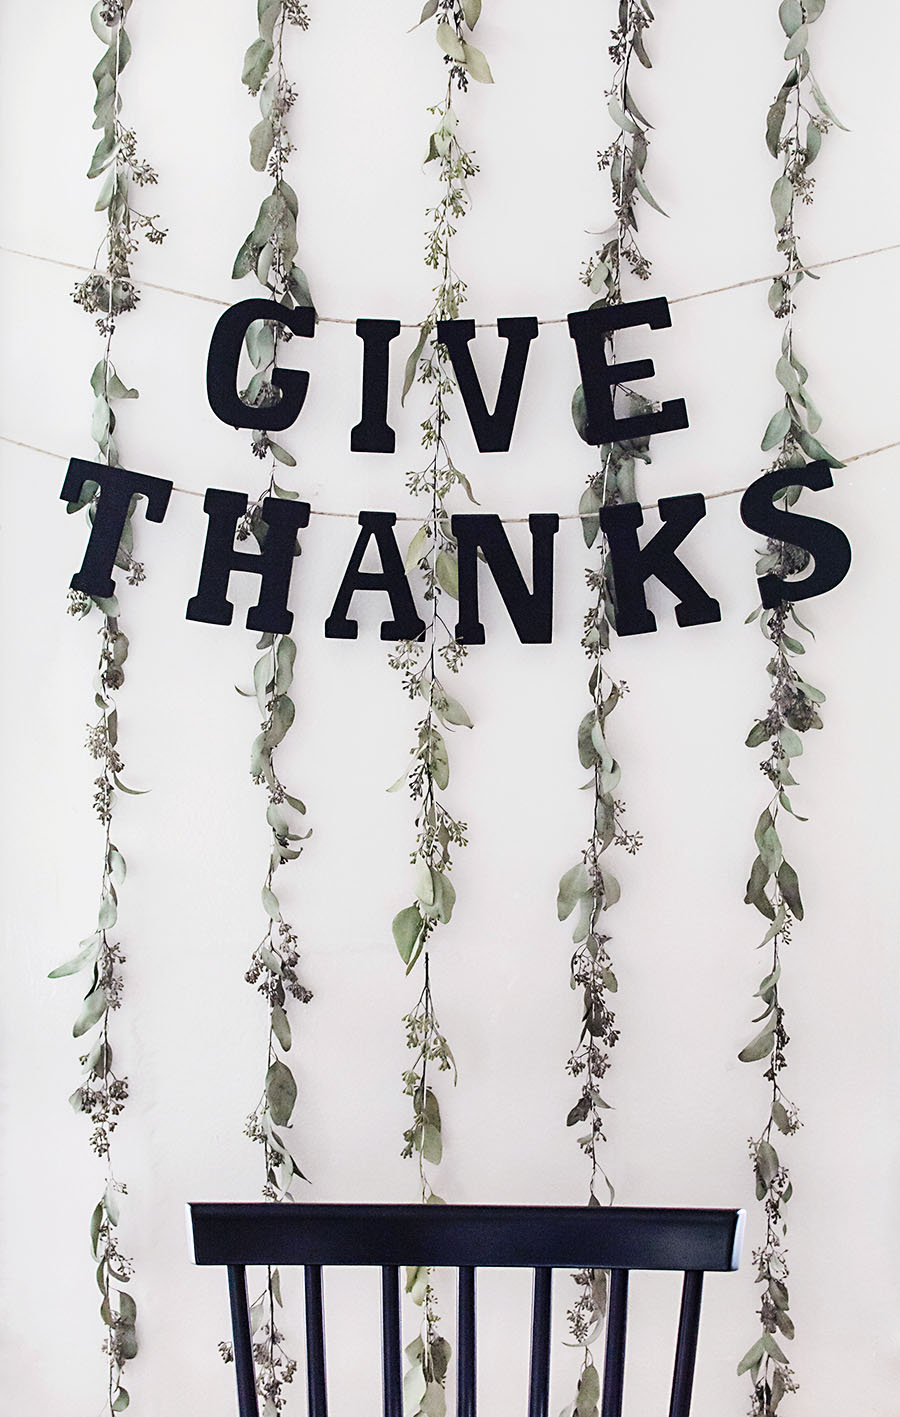
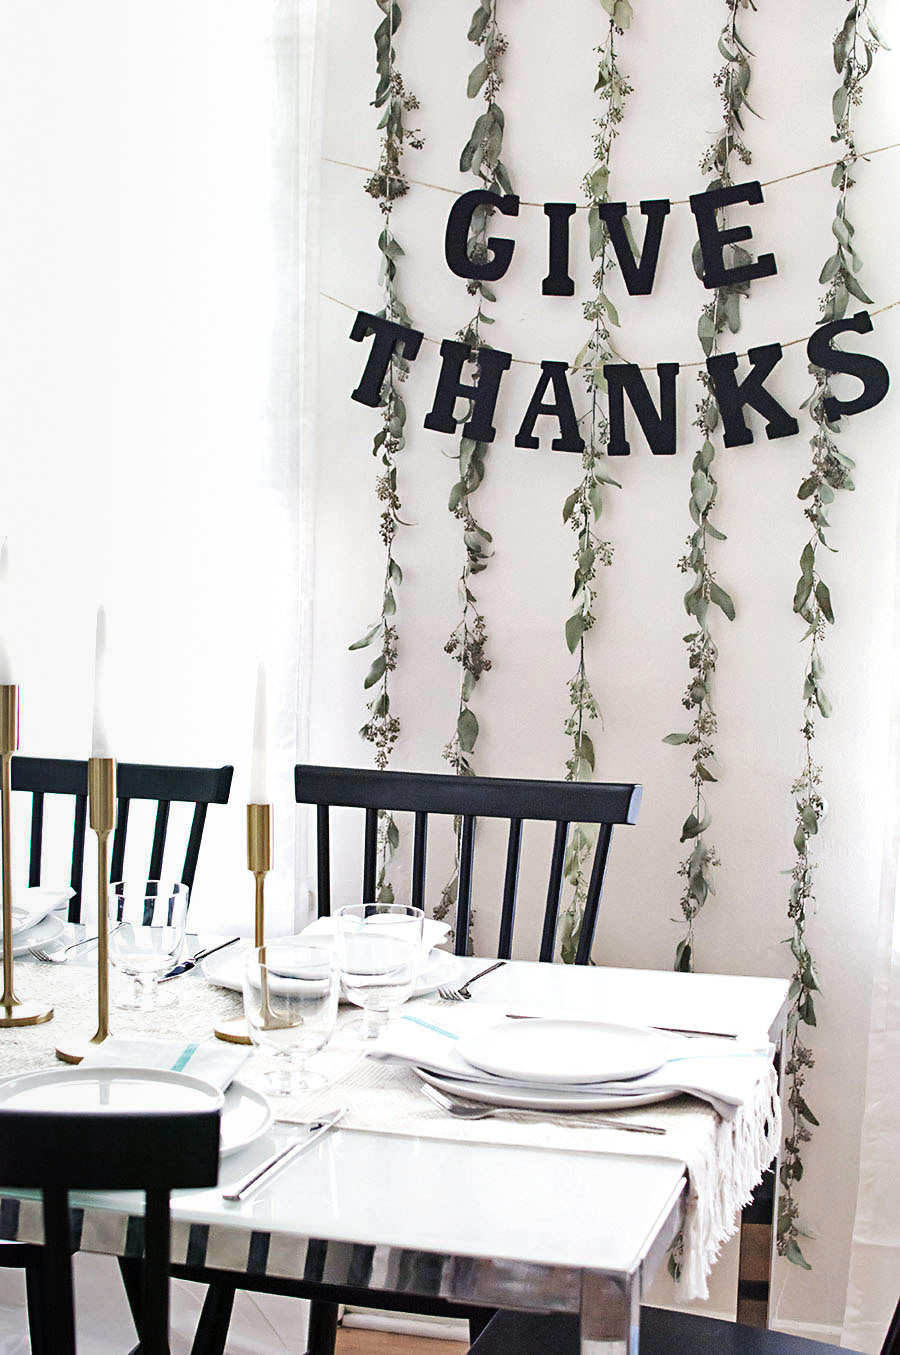
DIY "Give Thanks" Thanksgiving garland

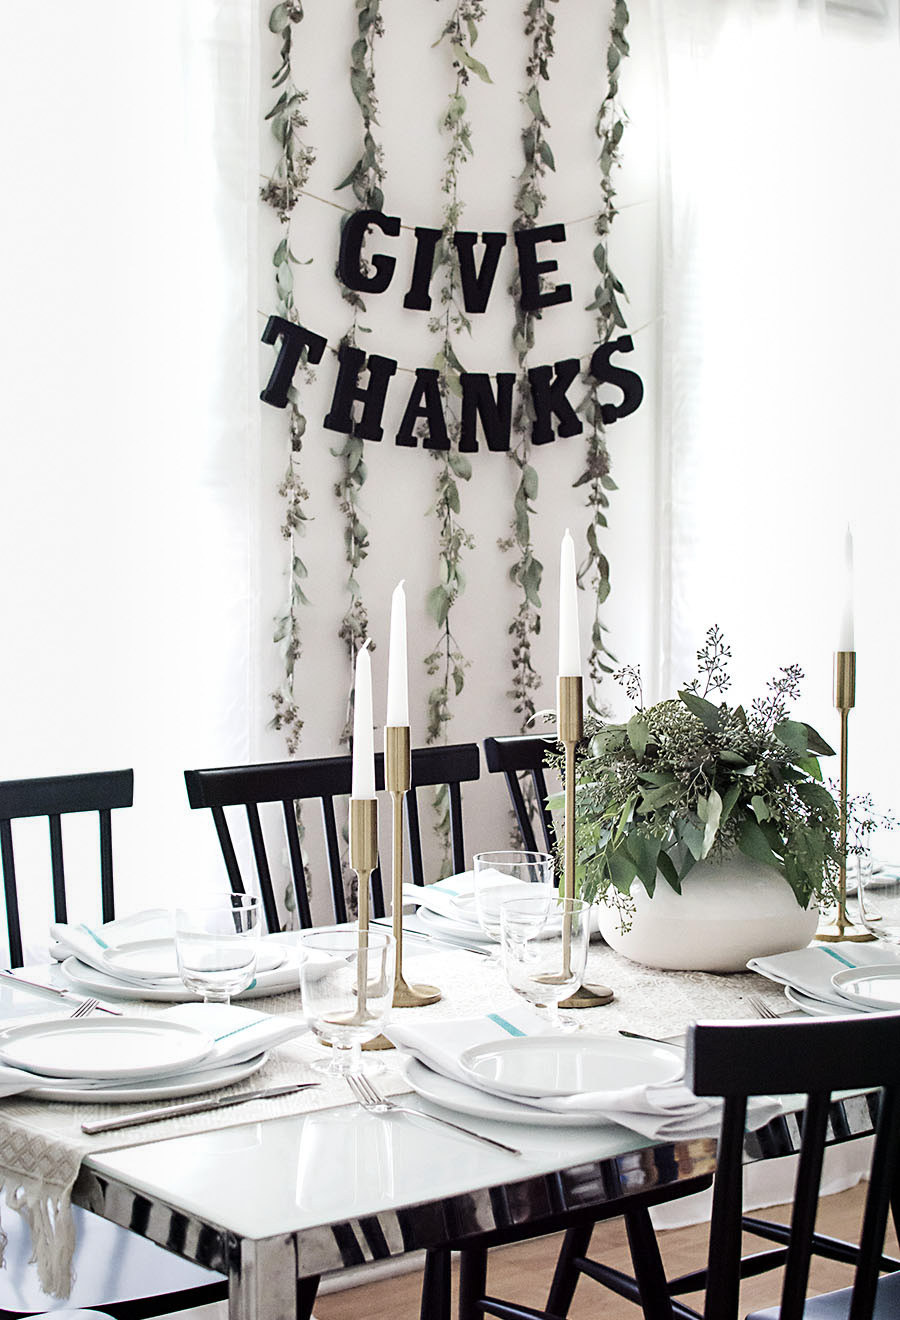
I hung the letters over the eucalyptus garlands (tutorial here) I had previously put up.  Easy.  I’m all for stress-free and simple decorating because as much as I find decor and styling wildly enjoyable, there are a lot of other things to focus on, like food.  And people.  And cleaning before people arrive, aah!
Thanksgiving garland DIY

I thought I might be taking photos the night of, but didn’t.  It was too good of a time to even remember to stick my face behind my camera, but I did manage to Snapchat a couple good moments.  That I can do.

I love this Friendsgiving tradition so much because it’s rare to sit down at home and share a meal together with our whole group of friends, especially one that everyone pitched in a hand to make.  Most conversation these days is centered around how busy we all are, or excuses for not seeing each other more often, so to be able to count on traditions like this and set aside time to hold space together is such a treasure.  I really feel it more with each year, and even more with each friend or family member that lives far away, how time spent with important people is the most valuable thing there is.  I say it often, and at the same time feel like I don’t say it often enough.


11/13 Friday Links

Friday Finds

desk

Hallelujah, Friday.  Was sick this whole week and just haven’t been feeling like myself, so this weekend I’m going to try really hard to take it easy, although I am hosting Friendsgiving tomorrow and already bouncing off the walls about it.  It’s going to be GREAT, but I might also ruin it because I’m maybe roasting a turkey for the first time.  I’ll probably be Snapchatting if you want to see (@homeyohmy)!  Have you already had your Friendsgiving, or are you planning on having one?

Happy weekend <3.


I’ve got an Instagram giveaway going on for my current favorite bag ever- enter here!

The prettiest paper wreaths.

This comic hit me right in the gut.

Very cute Christmas tree alternatives for small spaces.

24 time-saving hacks for busy entrepreneurs, though a lot of this can apply to everyone.

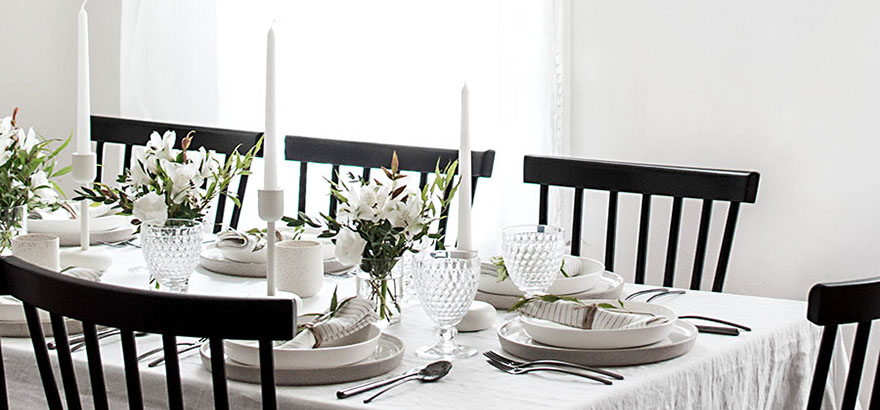
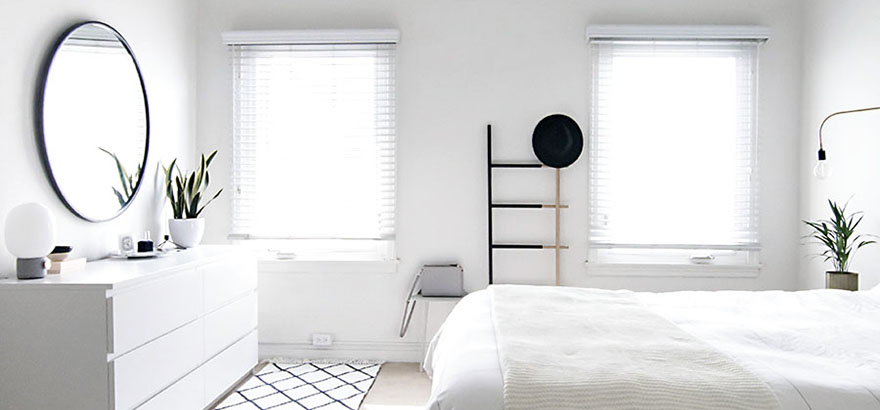
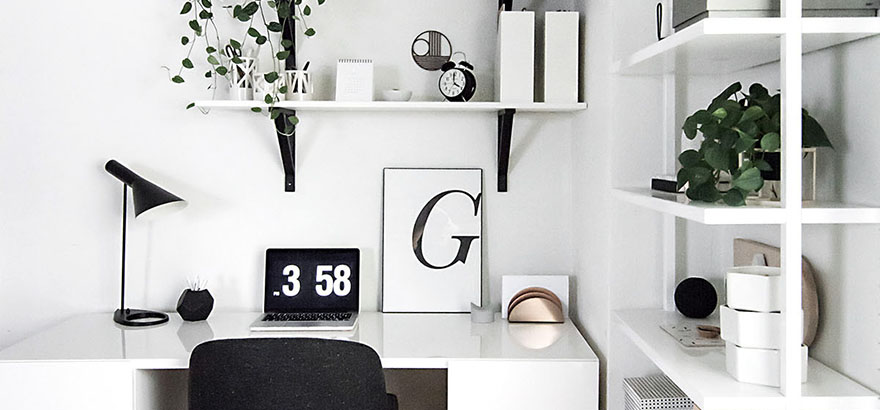
Can’t not mention a beautiful monochrome home.

I haven’t made a single successful thing in my crockpot (and am close to tossing it). Could this be the first?

Roundup of inspo for Thanksgiving decor and recipes

11/11 Shop

Shop: 2016 Planners

2016 Planners

I take picking the perfect planner very seriously, so much that this has now been months of contemplating (too long?)  It’s my lifeline for staying organized, so I’m super particular about what I want: something functional while still simple, monthly + weekly + list/notes pages, large enough for thorough notes/drawings but not a pain to carry around, monthly tabs are always legit, and on top of all this, good design.  These reasons, plus my love of paper, are probably why I end up getting more than one for each year- I know I’m not alone on this.

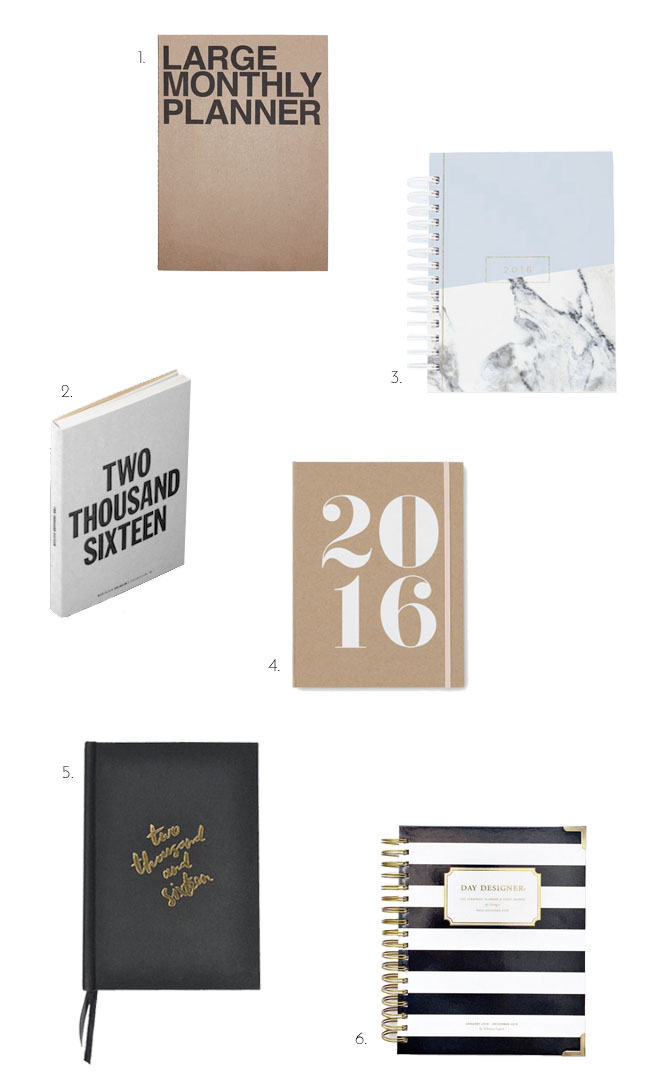
So after scouring for this criteria, and discovering more features that I now believe that I need, I’ve narrowed down to six choices:

1. Large Monthly Planner– Ok, so I already have this one and previously doubted it because it’s overly simplified, but Molly convinced me that’s why I’d love it, and she was right.  It’s sooo clean with ample space to write out monthly plans.
2. Marjolein Delhaas A6 Basic Planner– I adore the design of the pages, but it lacks a monthly layout.  It would accompany my large monthly planner well, though!
3. Design Love Planner– Love the cover, and the weekly list spreads, daily pages, and monthly tabs have me thinking this might be the one.
4. Sugar Paper Planner– I used a Sugar Paper one this year and loved it, and now knowing they brought back my favorite full-length notes pages, I’m tempted to get it again.  I’m looking at this one in particular because of the list and goal pages, but still wouldn’t mind doing the gold one again.
5. Craftsposure Planner– Super intrigued by this because it’s specific to bloggers, including things like a monthly marketing calendar, traffic tracker, and budget sheets.
6. Day Designer– I’ve heard a ton of good stuff about this one, mostly regarding the daily pages planned by the hour and goal worksheets. I just wish they offered more cover designs!

I’m thinking I want to try out a planner with more goal-focused organizing, but part of me thinks maybe that’s too tailored and I’d be fine keeping that stuff to a notebook.  Any thoughts on that?  Have a favorite of the bunch here?  Of course, if you know of one you think I’d like, please please share it because it’s not like I’ve already spent too much time trying to decide or anything like that.

11/09 DIY / Seasonal/Holiday

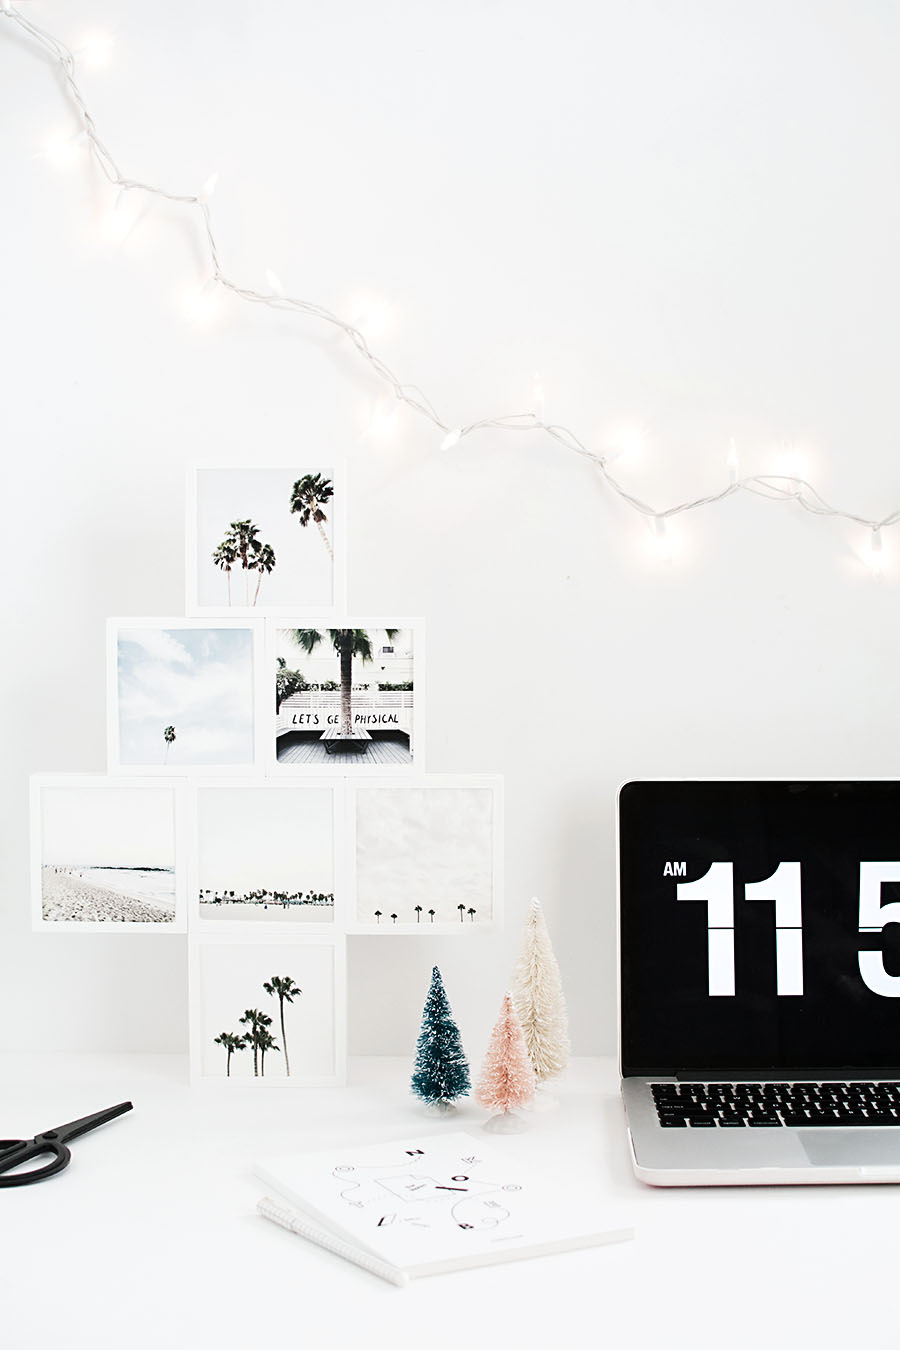
DIY Mini Photo Christmas Tree

DIY Photo Christmas Tree - Homey Oh My

Ok so we’re back on Christmas.  I have a little tradition of making a desk pet for each season/holiday and couldn’t wait to do one for Christmas because it was very unlikely that it wouldn’t be cute.  Not only that, I love coming up with tree alternatives that are small space friendly, either instead of a large tree with a ton of ornaments or as simple holiday decor for the home or parties.  Let me know if you’re into all that too and I’ll do another one!

On top of THAT, I’m a fan of being able to incorporate photos into a project because I think getting photos printed is severely underrated, and I want to do it more.  So I’ve partnered with Snapbox for another way to display those Instagrams, this time themed for Christmas while still being a very easy and modern idea.

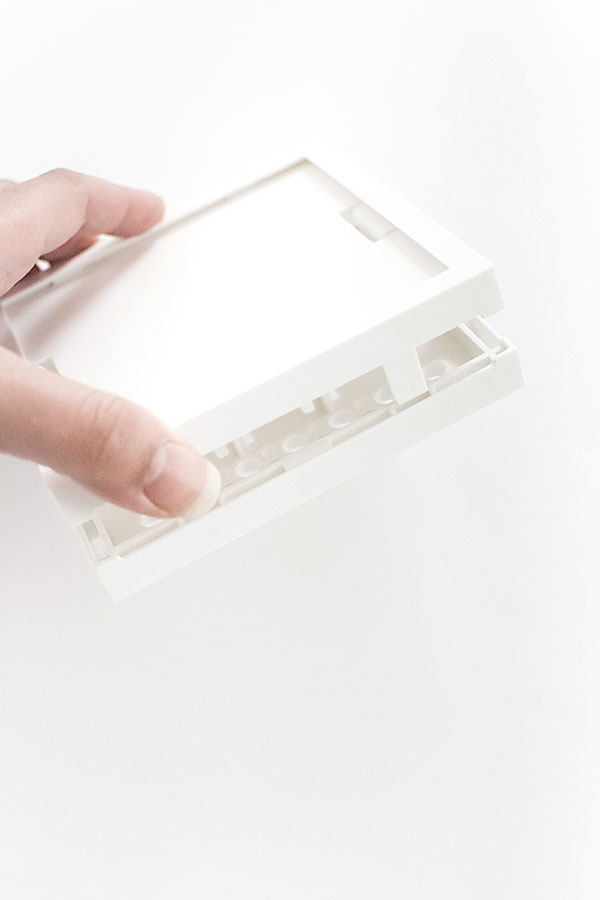
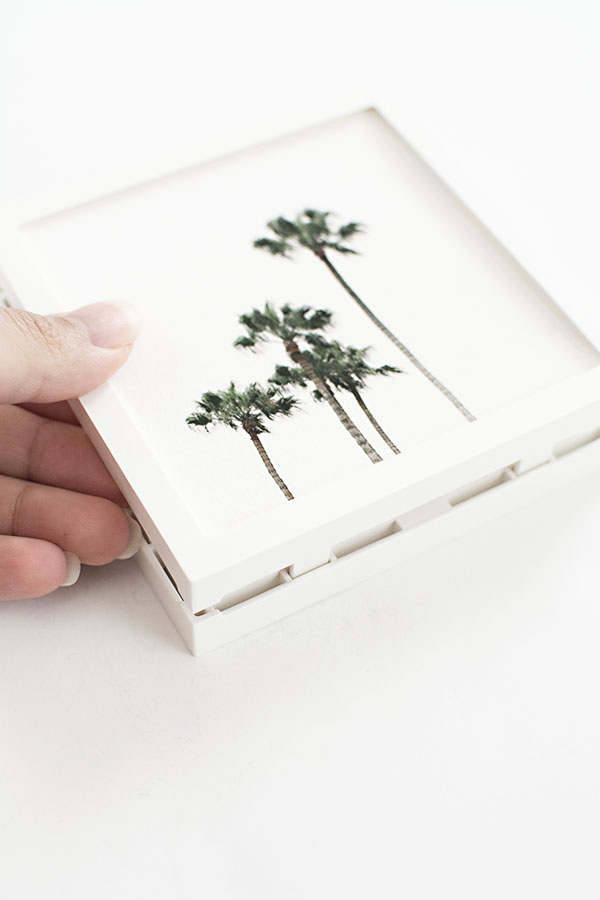
Fotobit frame 1Other than photo prints, this photo tree uses these fotobit frames, which are one of the coolest photo accessories I’ve come across.

Fotobit frame 2

The front half lifts off and is where the photo is displayed.

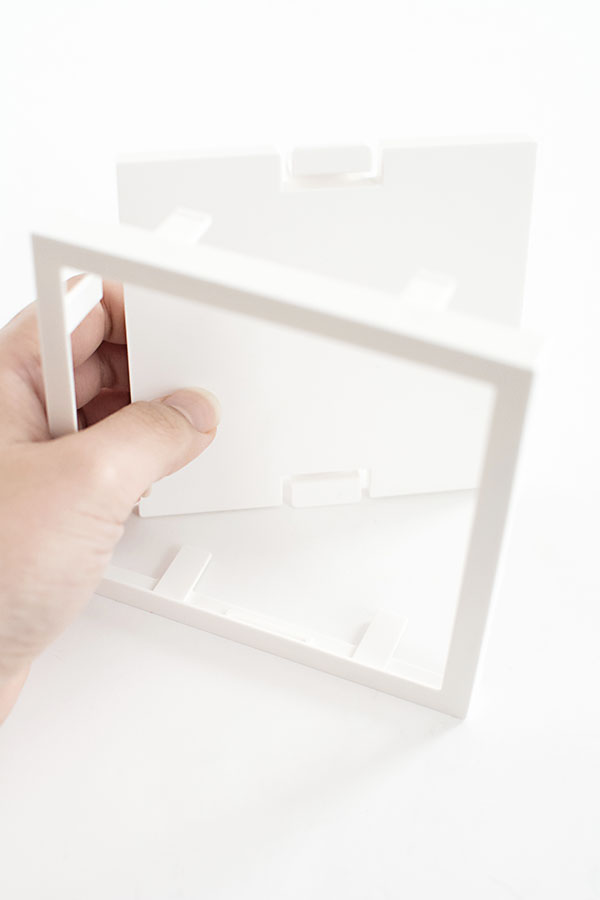
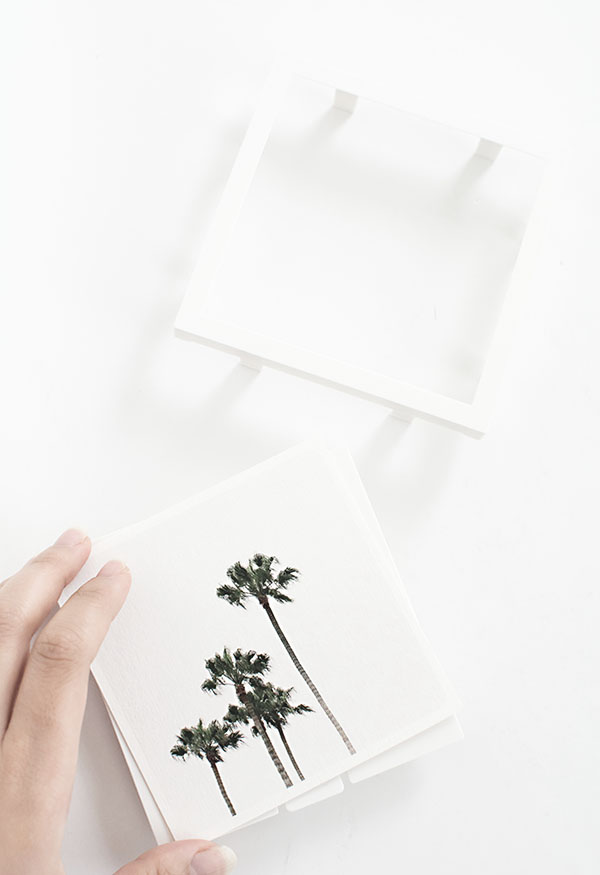
Fotobit frame 3The frame separates from the backing, which the photo is placed on before snapping the frame back on.
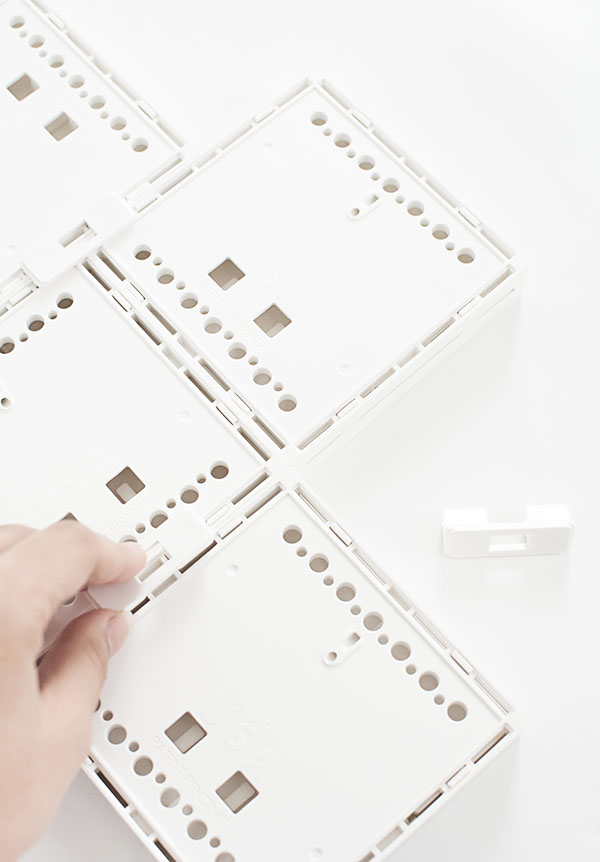
Fotobit frame 4

Fotobit clipsThe cool part is these clips.  They hold the frames together in any orientation you want, and can be changed up whenever you want, so there’s a lot of possibilities for these to get regularly rearranged.  It doesn’t have to be a tree shape forever!
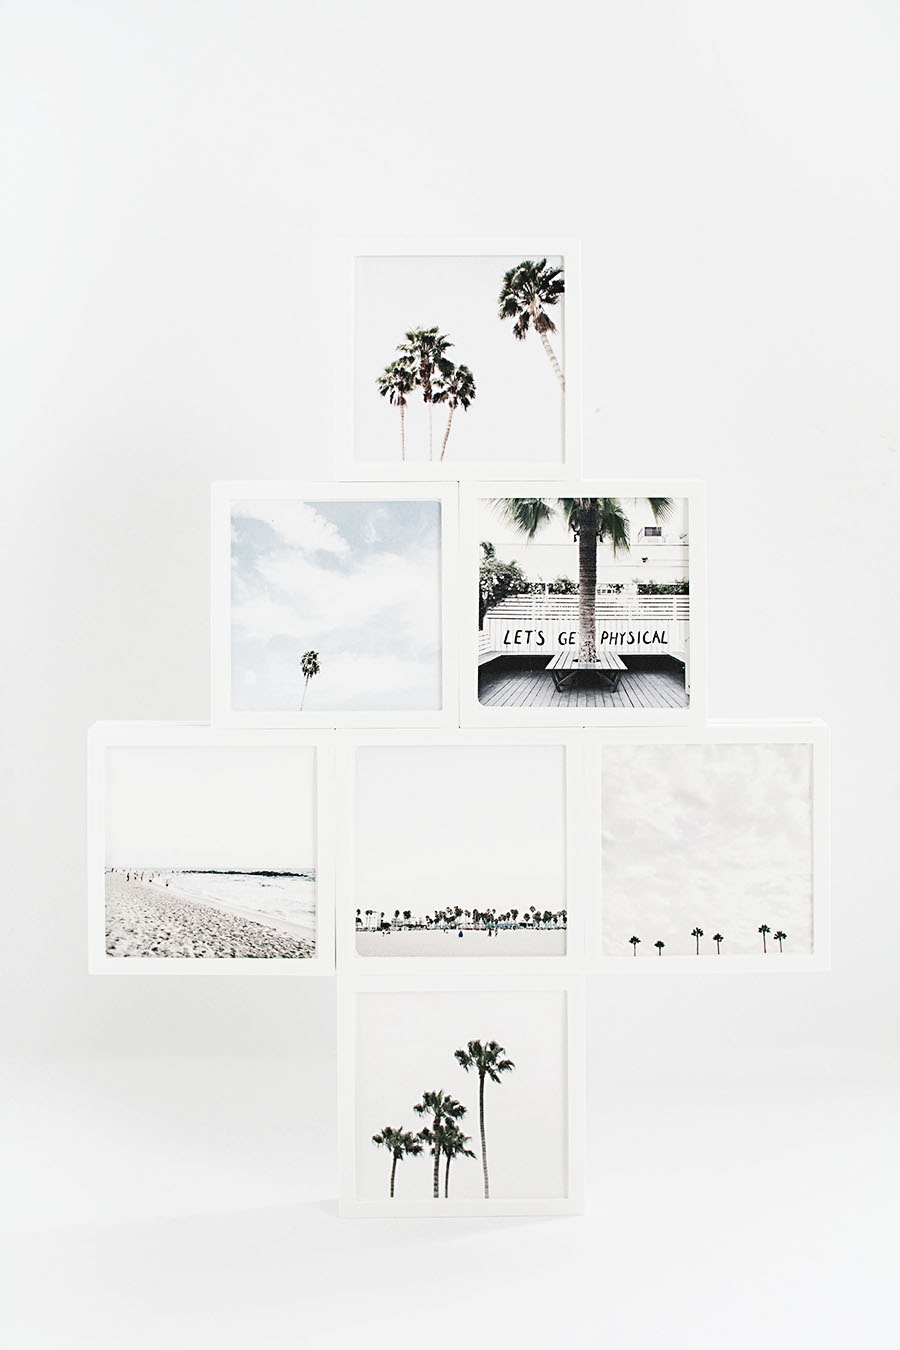
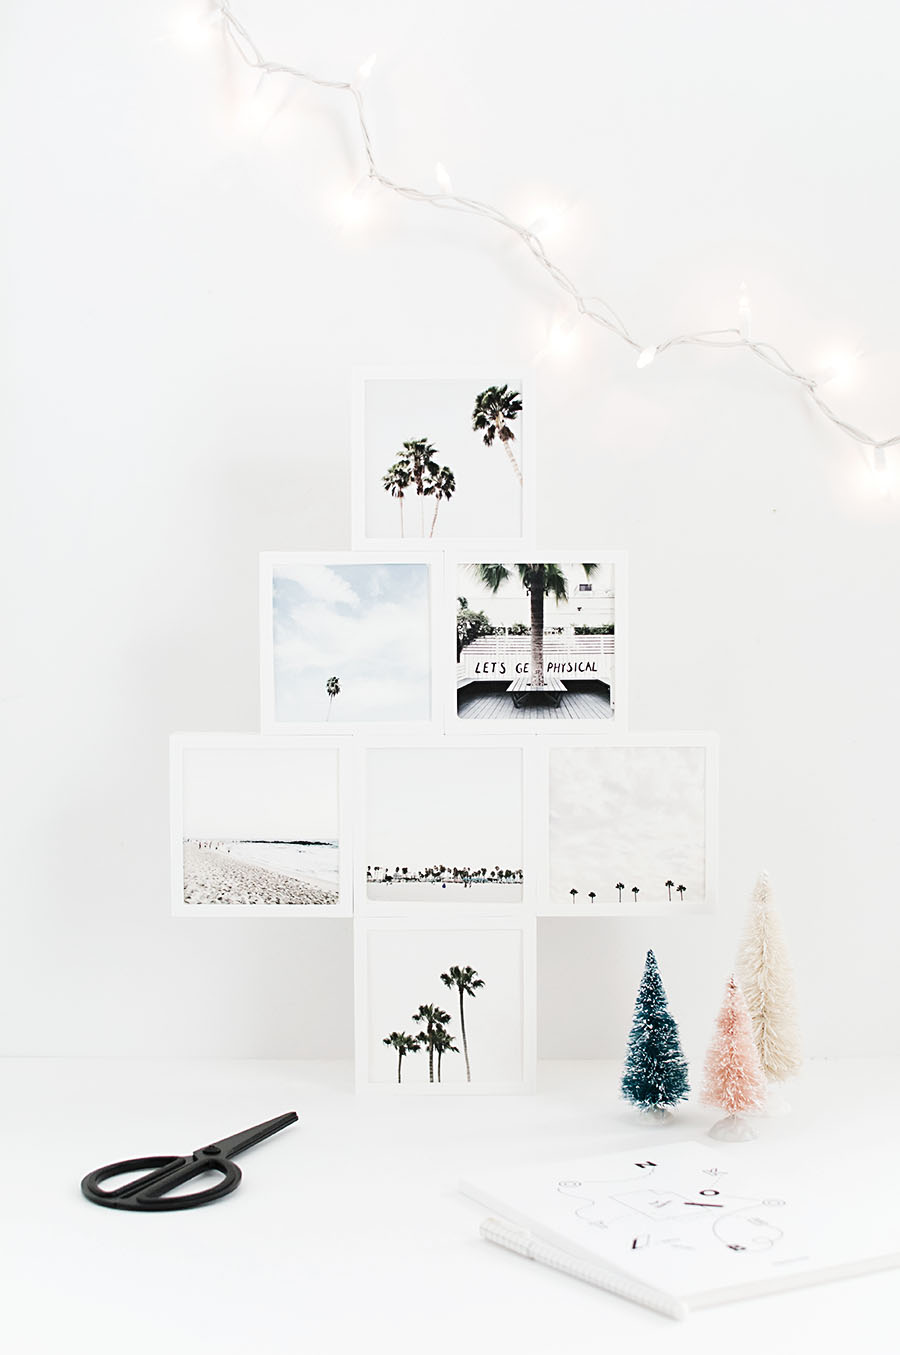
Mini Photo Christmas Tree - Homey Oh My

The frames come with materials to hang them on the wall, but I just left them as is to stand upright on a tabletop.

DIY Mini Photo Christmas Tree - Homey Oh My

I thought this palm tree photo theme would just be fun and why not, but I also think using photos of the important people in your life or the best moments from the year would be so great for making this a meaningful and sentimental display, which we can all probably agree there can’t be too much of for the holidays.  There’s also potential for this to be decorated like a tree with mini lights or a garland, which I did try and thought looked pretty cute, but I ultimately preferred it simple like this (surprise).


This post is sponsored by SnapBox.  Thank you for supporting brands that help keep the cute projects coming.

11/04 DIY / Seasonal/Holiday

Neutral Fall Table

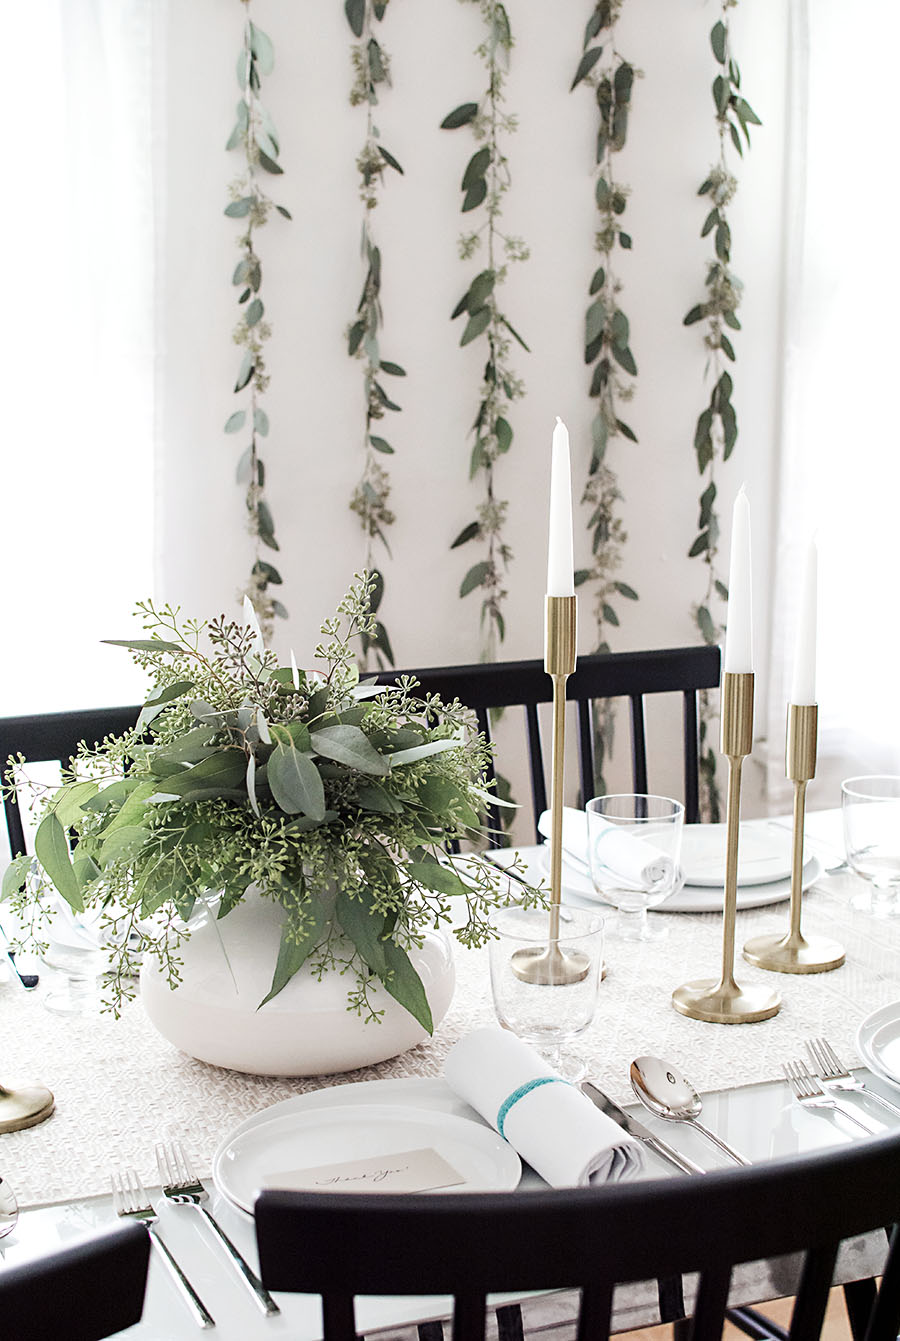
Thanksgiving table with seeded eucalyptus - Homey Oh My!Let’s take a step back from how we jumped straight into Christmas earlier this week and remember what season we’re in.  Thanksgiving is up next and it’s maybe my second favorite holiday (after Christmas, duh) because it’s the ultimate celebration of good people and good food, all the very best things.
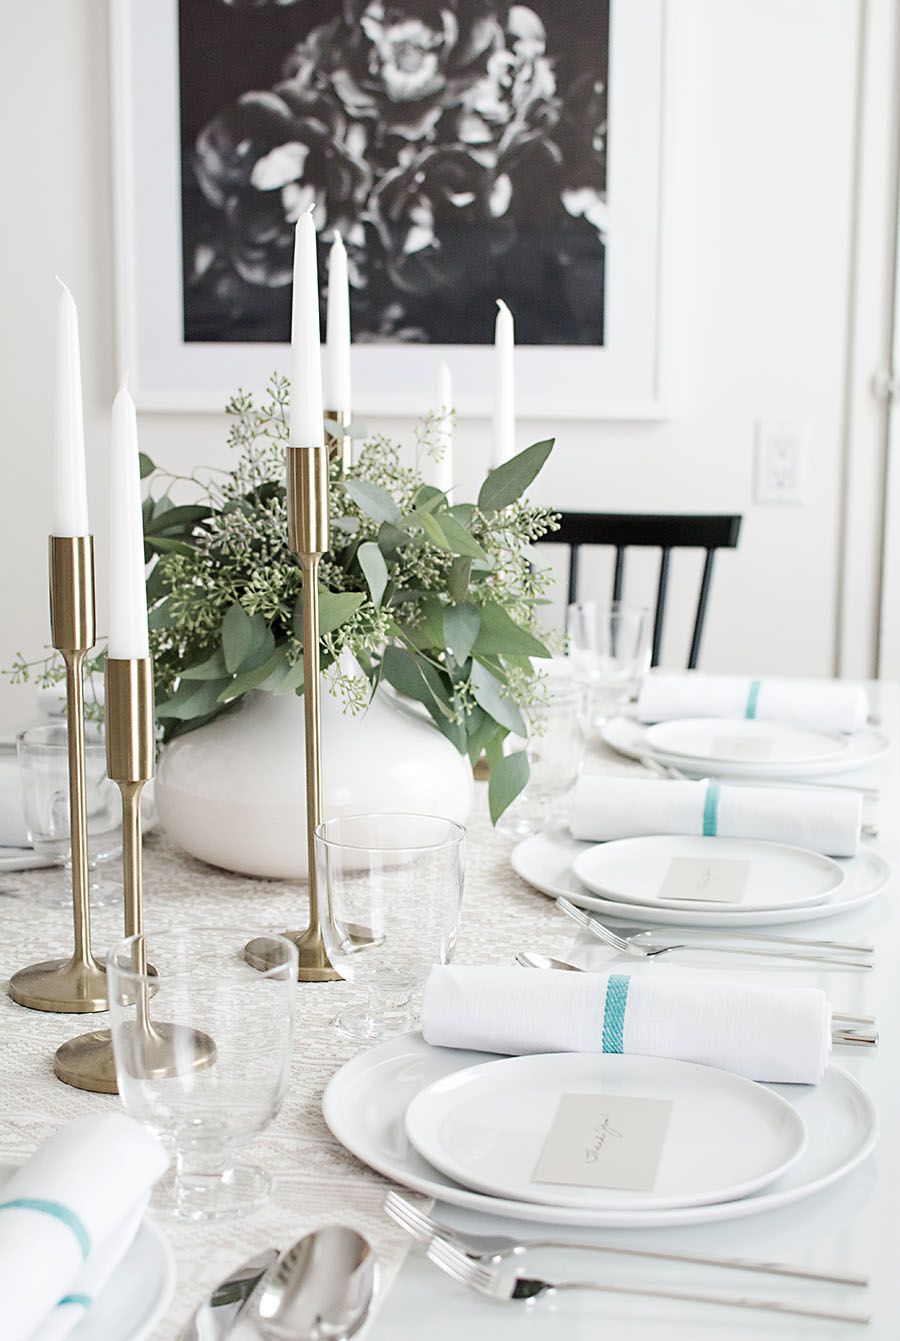
I’ve always kept a casual approach for a Thanksgiving tablescape but this year, thanks to All Modern, I’ll be making it a bit more formal in ways like oh I don’t know, matching silverware (YES, WE HAVE THAT NOW), napkins, glassware, other adult status things, still keeping it all pretty simple per usual.

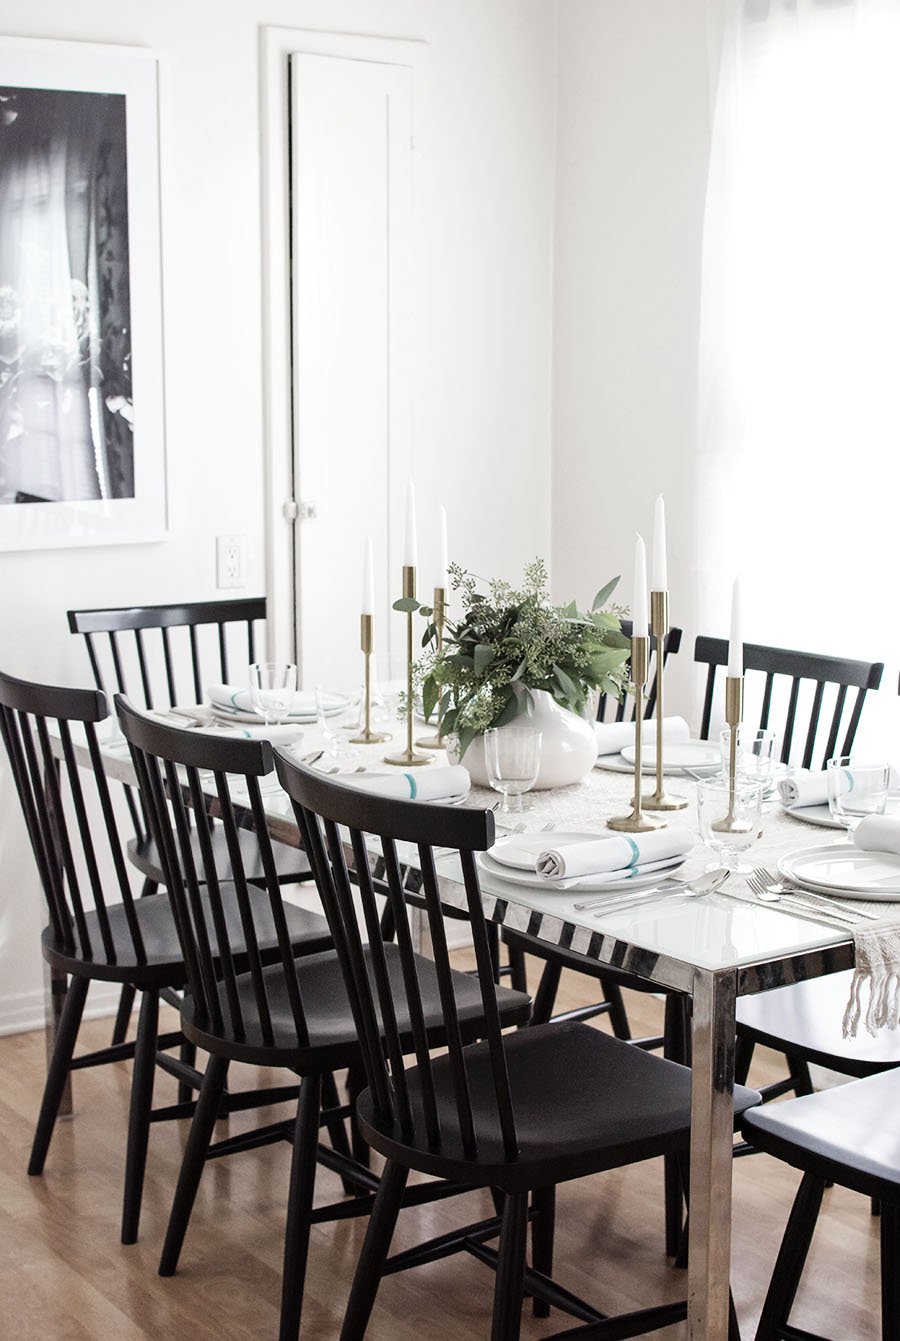
We also typically entertain in buffet style, especially in a situation like this where we’re trying to seat eight people because even without the decor on the runner, there’s no way all the food would fit on the table.  So all the food goes on a nearby counter, which leaves room for a few, simple decor items to make the occasion feel that much more special.

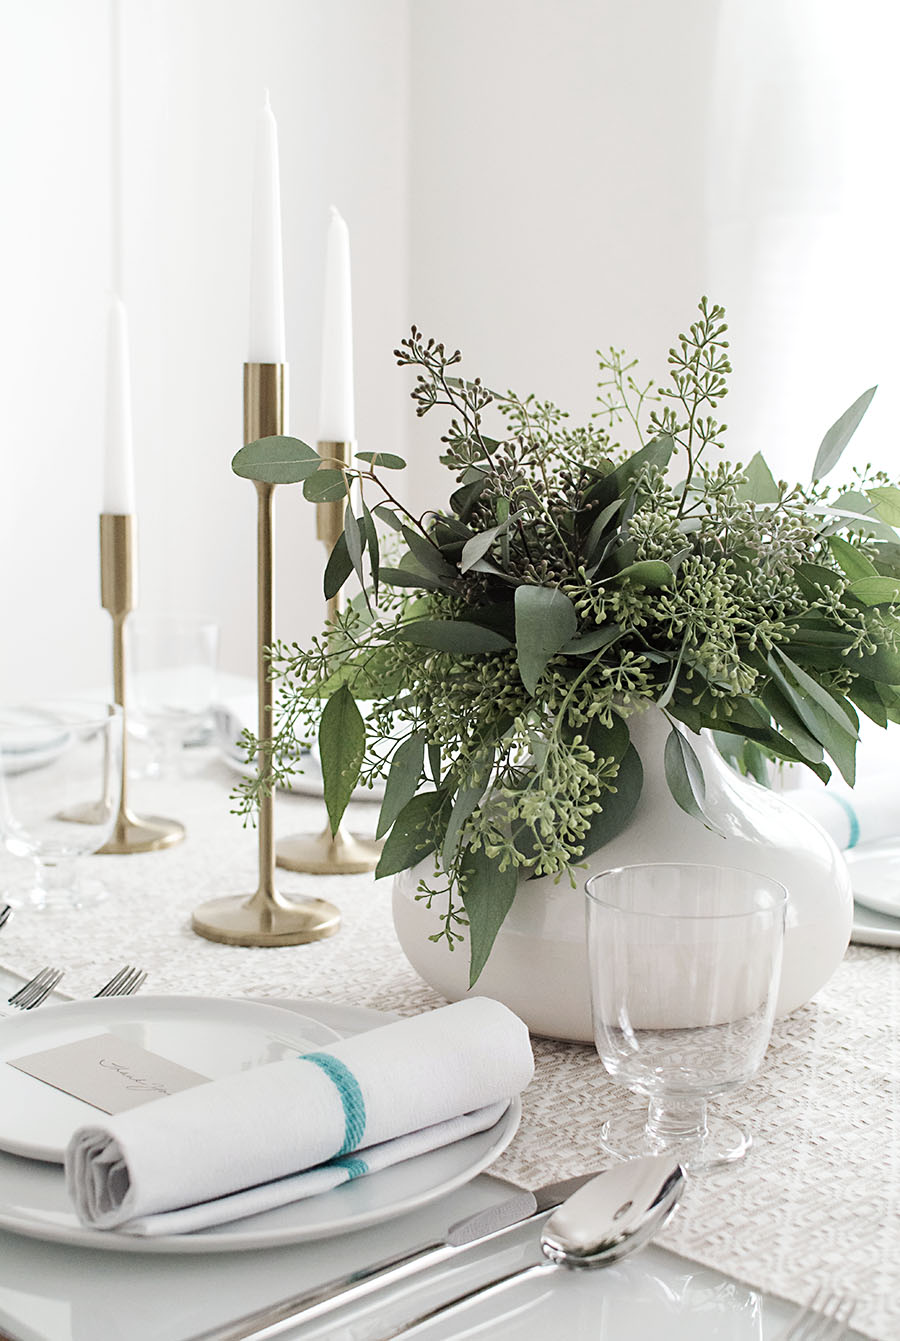
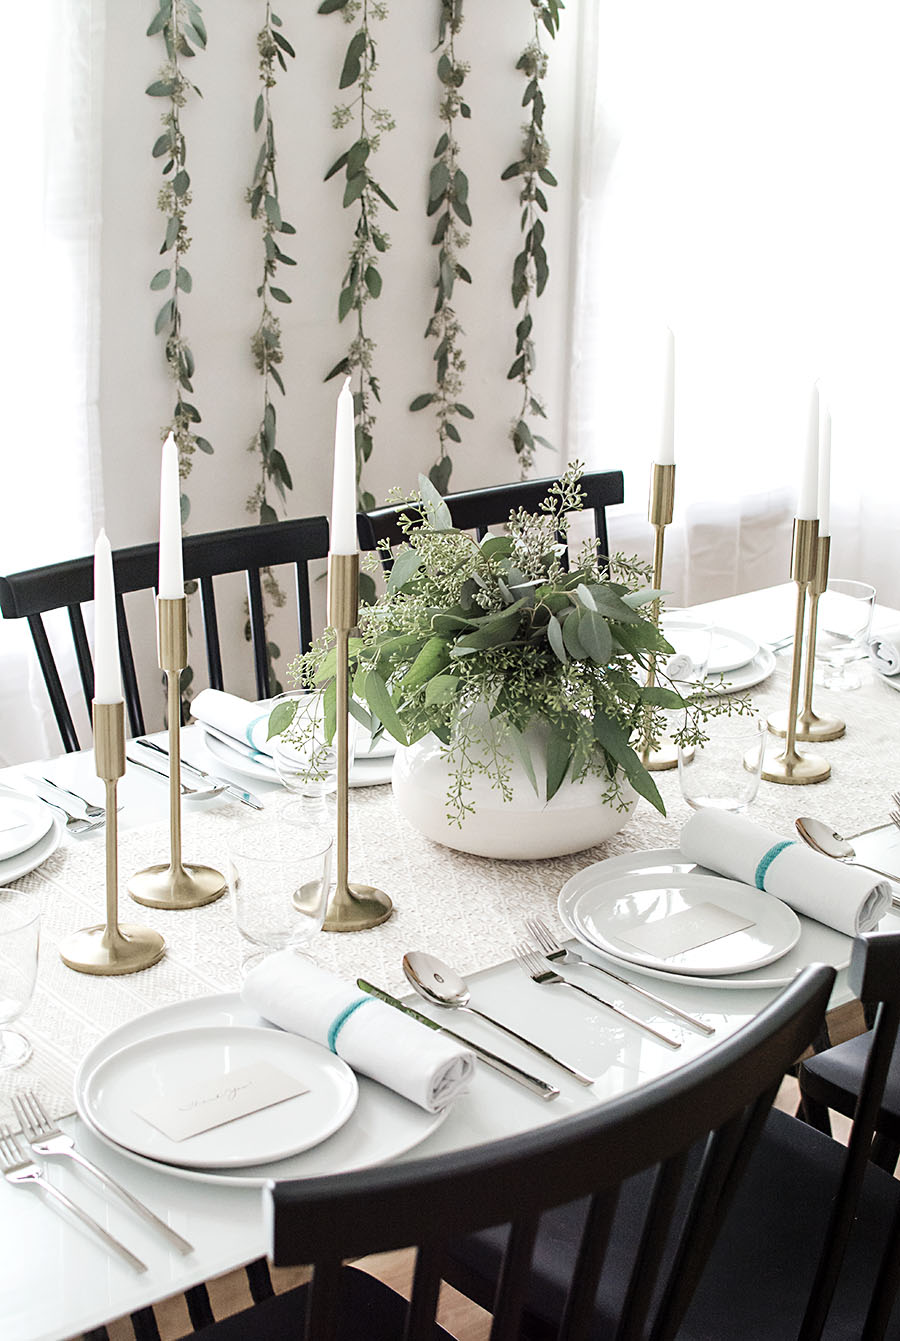
Neutral Thanksgiving table - Homey Oh My!My one, ‘gotta have it’ thing for a tablescape is candles, and these gold candlestick holders are essentially my dream.  They’re timeless and can go beyond the table to be styled around the home.  That kind of versatility is most appreciated.
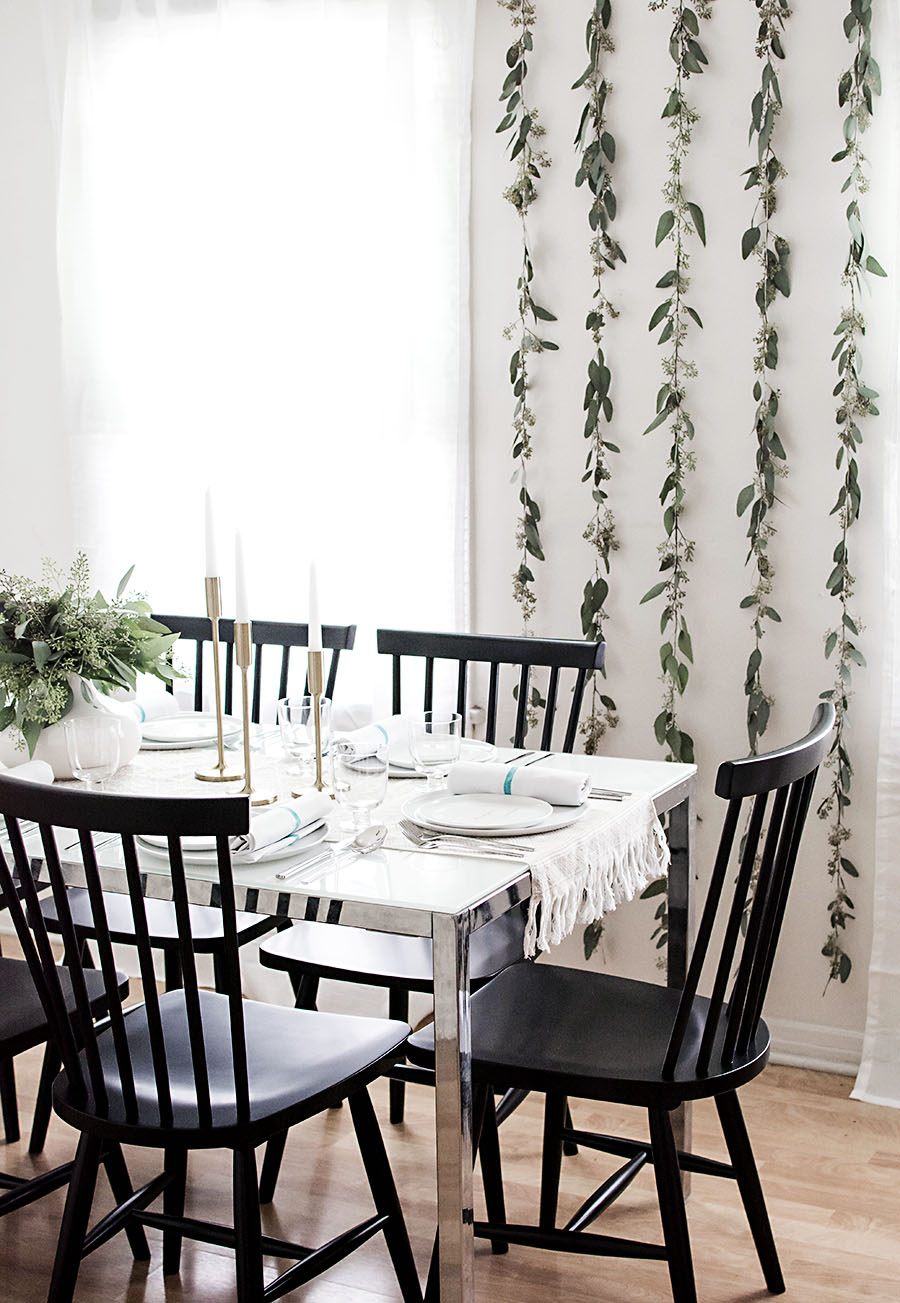
Seeded eucalyptus backdrop - Homey Oh My!

Those eucalyptus garlands on the wall probably look familiar to you because I shared that DIY here!  I made five of them and hung them from a wood dowel, which is balancing between the curtain rods above the windows.  Easiest, prettiest backdrop, guaranteed.

Seeded eucalyptus - Homey Oh My!I also used the seeded eucalyptus for the centerpiece, which is just a vase filled with them.  Simple, easy, and simple, and it still looks gorgeous so we’re doing good.
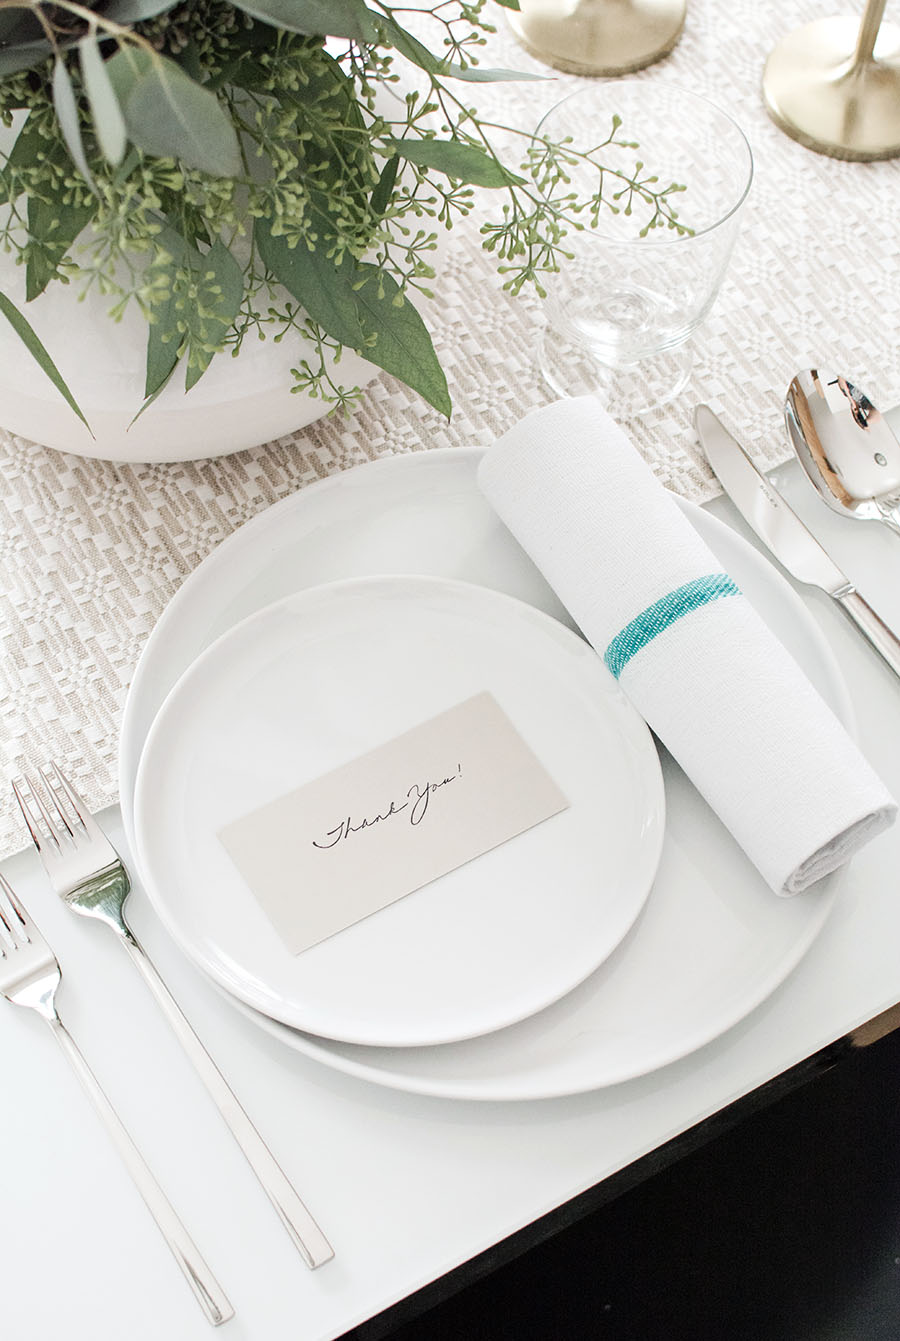
simple Thankgiving place card DIY - Homey Oh My!Still riding the simple train, I’m adding in this DIY for two second place cards that you can totally write guest’s names on too, but I kept them *cough* simple with just the “thank you.”
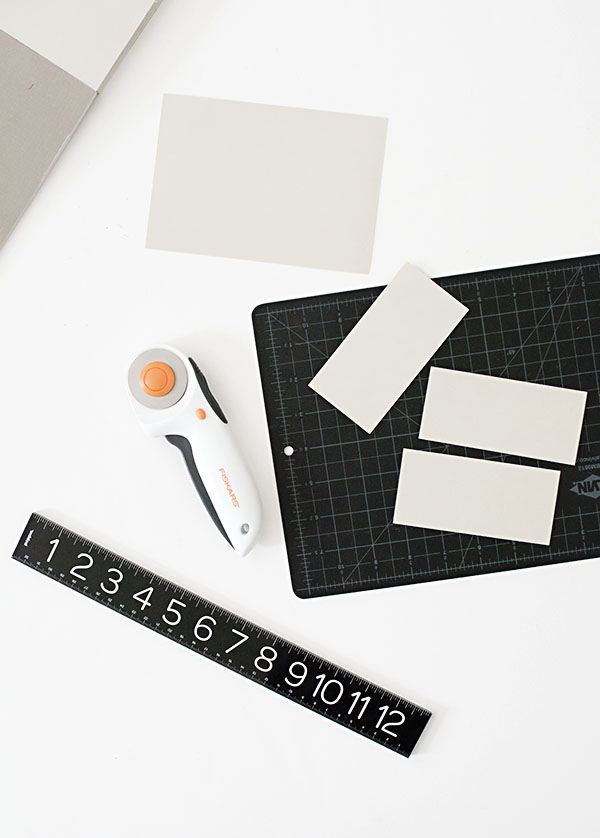
cardstock - Homey Oh My!I cut 4.5×6.5″ linen-colored card stock into three roughly equal pieces using a rotary cutter.

stamp - Homey Oh My!Next, I stamped each card with this pretty “Thank You!” stamp.  Two seconds I tell ya.  Perfect for those of us that don’t want to rely on handwriting.
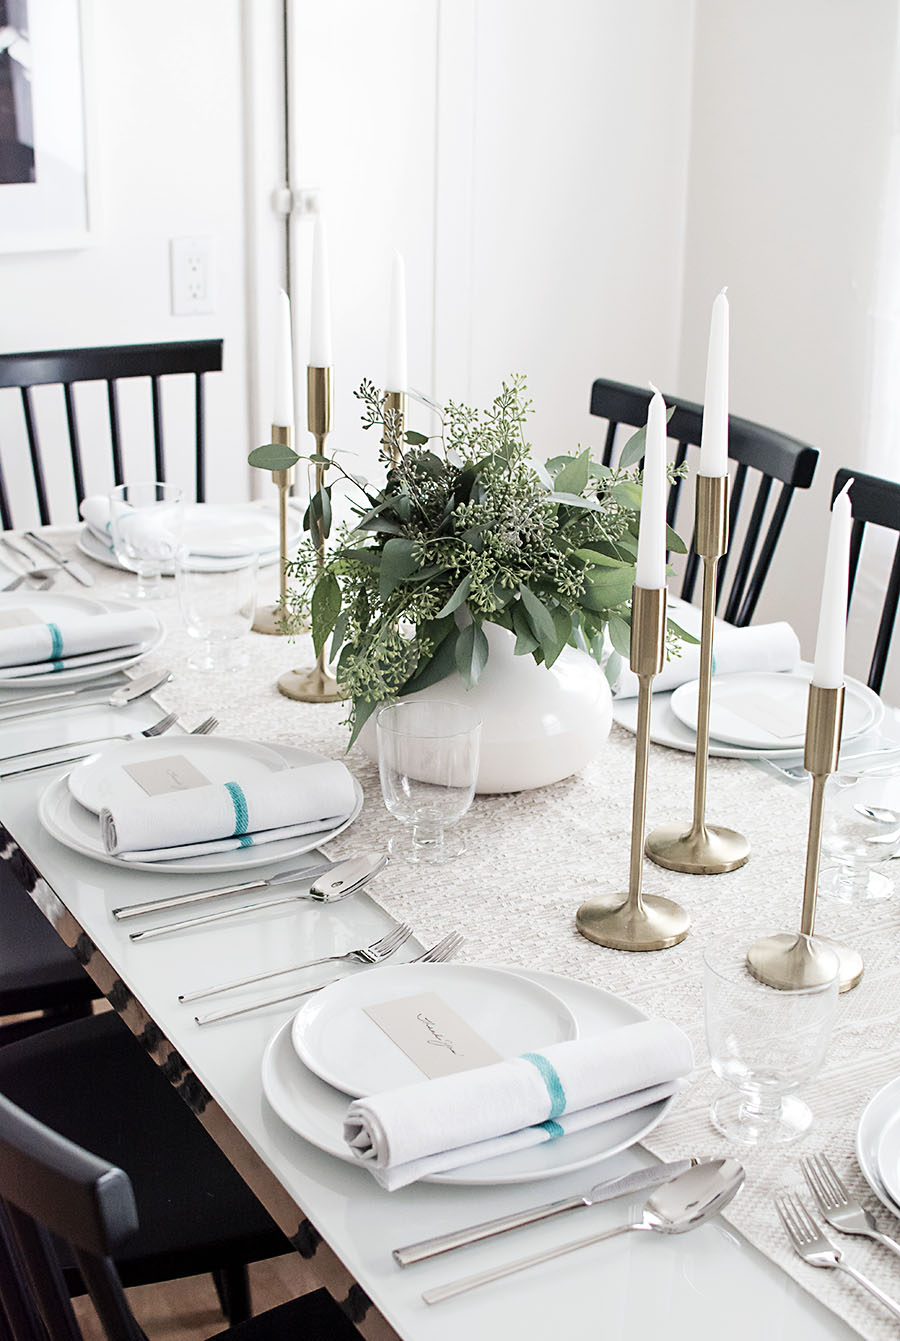
Simple and neutral Thanksgiving table - Homey Oh My!I placed the cards in the center of the salad plates, which I placed off-center to the left of the dinner plates to make room for the rolled up napkins on the right.  I love the modern feel of this orientation, and as a bonus, my guy went nuts (a little exaggeration) about it saying “it looks really cool.”  Like with any rare, positive comments he willingly shares about design and decor, that’s very notable.
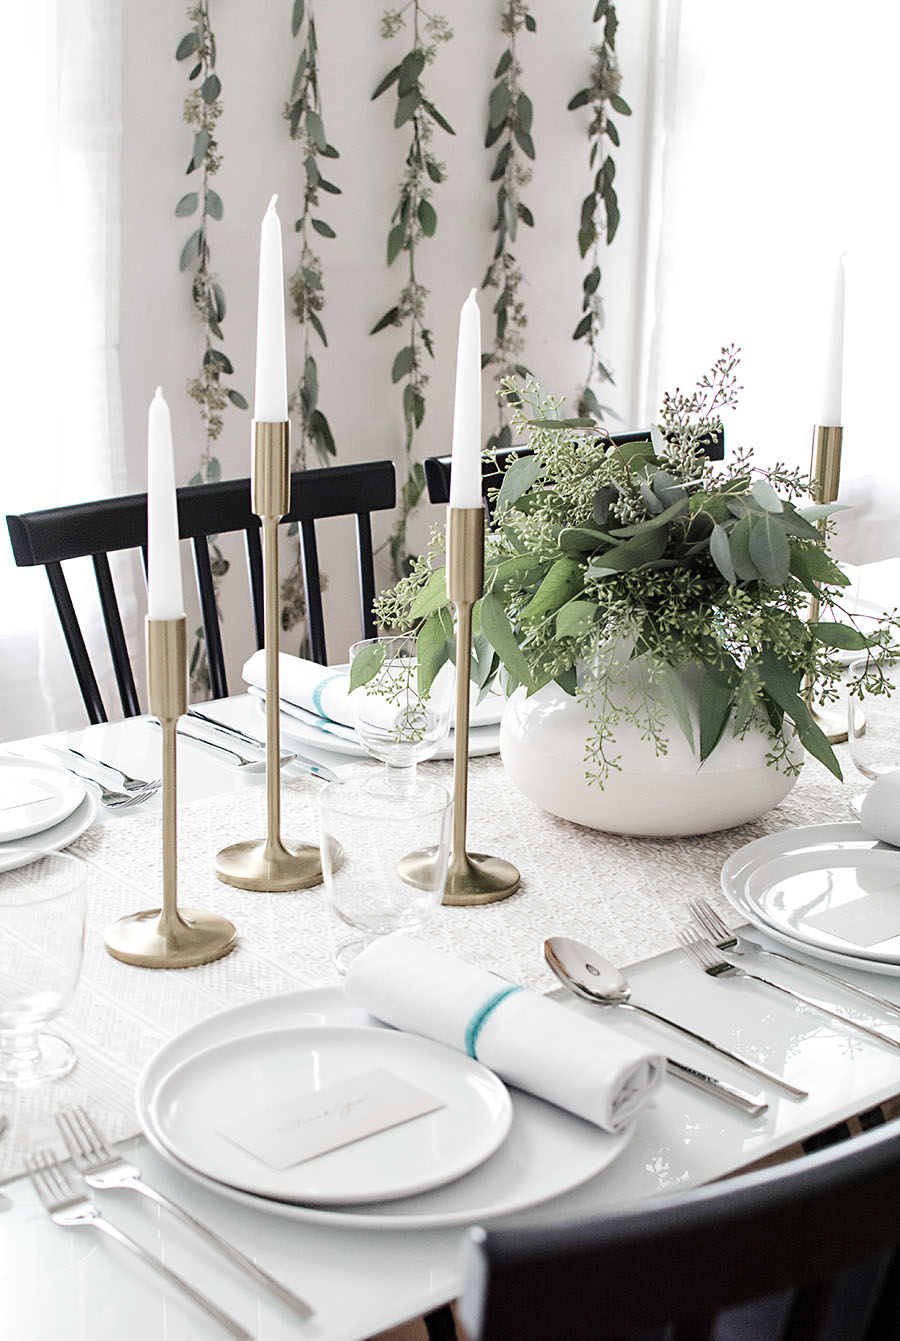
Neutral Fall table - Homey Oh My!

If there were ever a time I was madly in love with drinking glasses, it would be now.  Light, simple lines, universal, and made by one of my favorite brands.  Would you like whiskey or wine?

Thanksgiving table

Lastly, we gotta talk about the chairs.  I adore the clean lines and Scandinavian vibes these classic shakers bring to our dining room.  They also seat comfortably, which is the complete opposite of the chairs we had before.  I’m very excited to no longer feel bad about guests having to sit on our dining chairs- this is major after two years of feeling that way.

Thanksgiving tablescape - Homey Oh My!

Keeping everything neutral is also a first time thing I’m doing this year, which I’m ridiculously into, you guys already knew that would be the case.  I had mentioned in a previous post that my fall florals would only involve greens, and I’m sticking to it.  They’re so easy to arrange and look good with everything.  Regular eucalyptus would’ve worked here as well, or even whatever greens you can find outside (a favorite “trick” of mine).

Are you already planning out your T-Day celebration?  Any special traditions or activities for the holiday?  My only consistent tradition is to host a Friendsgiving dinner about a week before, which is maybe my third favorite holiday.


Product for this post generously provided by All Modern.

11/02 DIY / Seasonal/Holiday

DIY Clay Star Ornaments

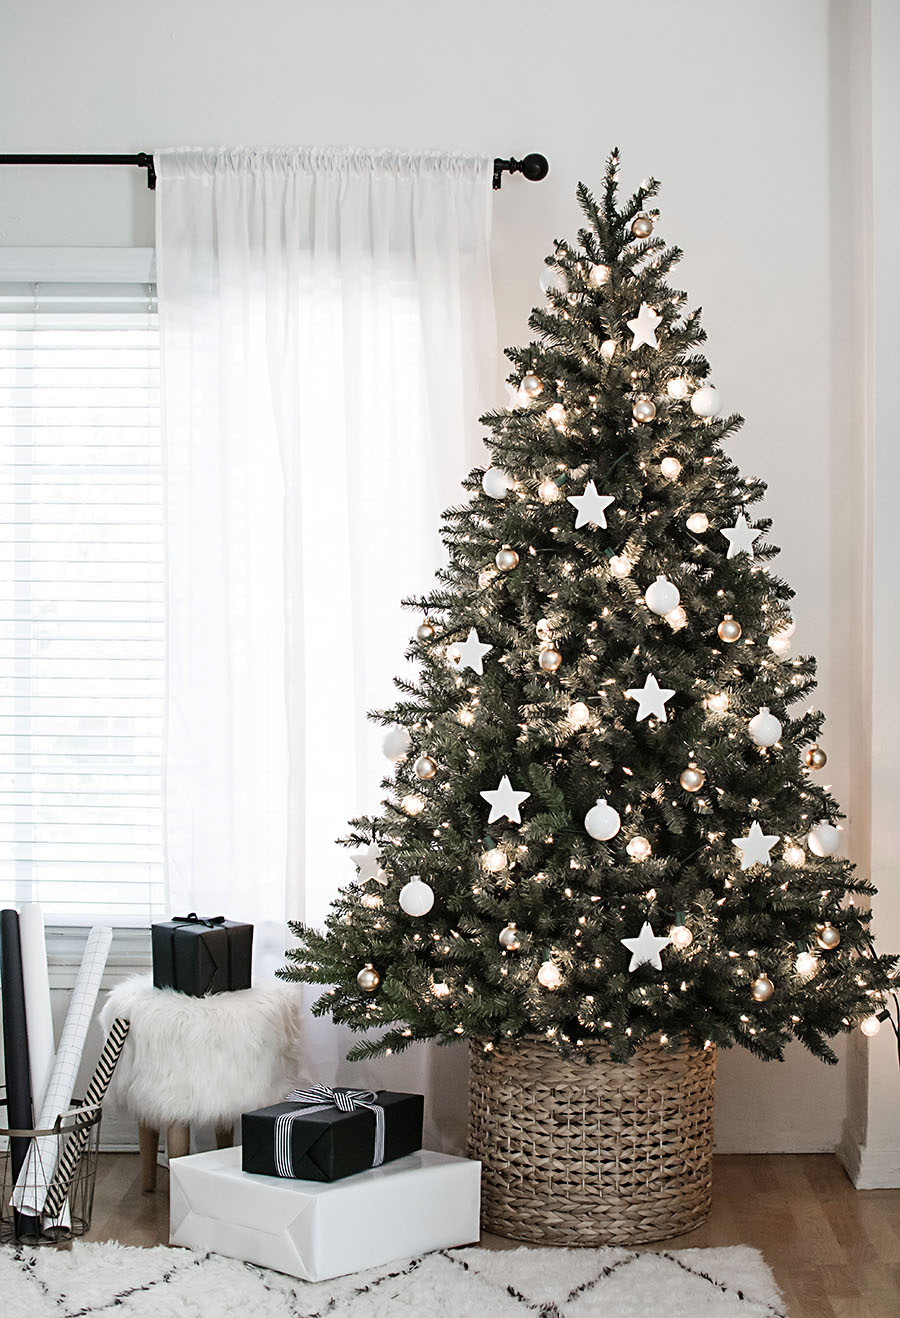
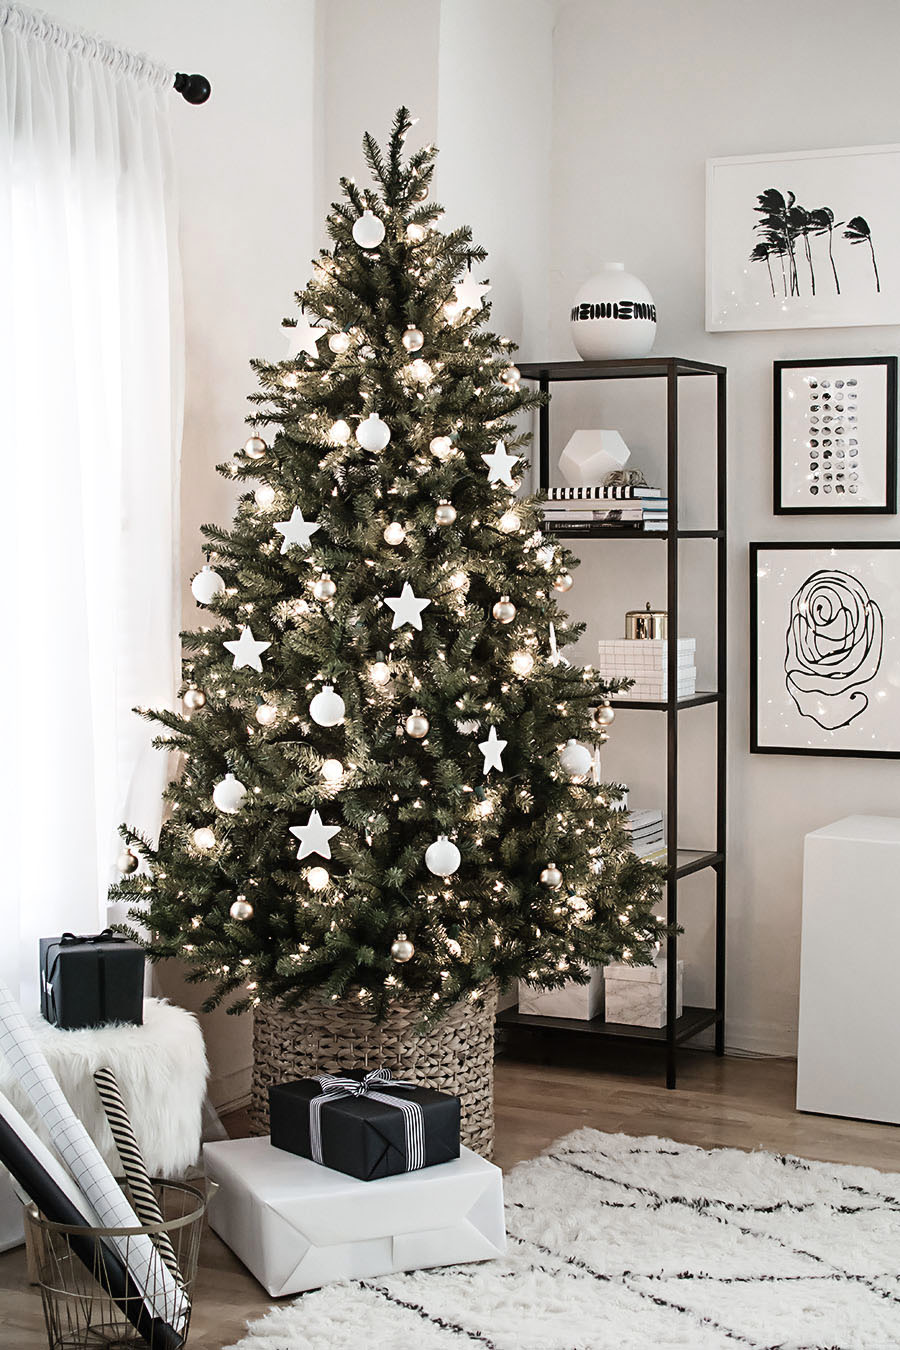
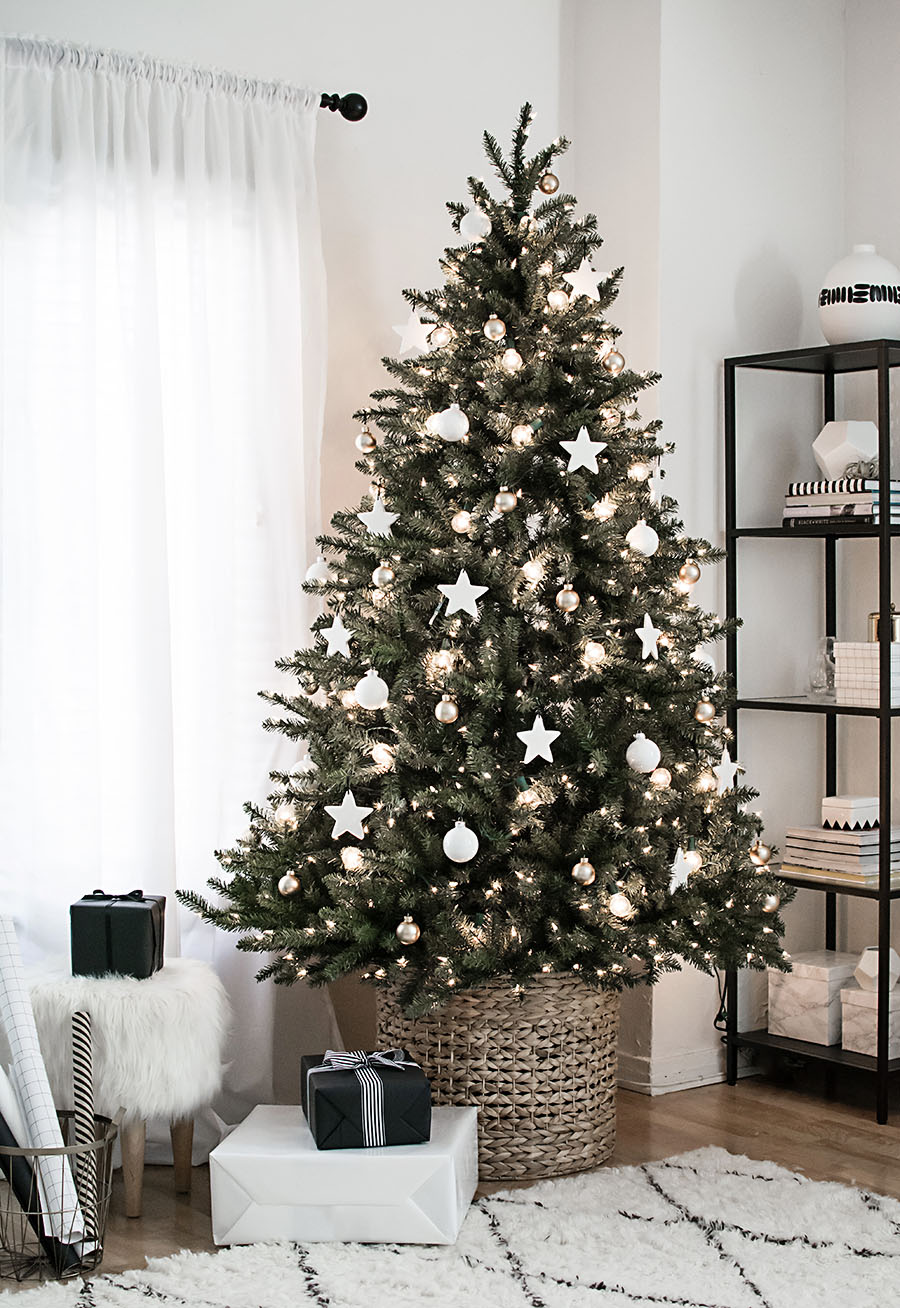
Christmas tree with DIY clay star ornaments

I was kind of stressing out about how getting this tree up and decorated for the Michaels Makers Dream Tree Challenge was wayyy too soon, but now that the tree is up I’m like THANK GOODNESS it’s done and I have more time to enjoy the thing (and other things)!!!!  This is the first time in my life I got the tree up well before December and now firmly believe this should be the normal thing.  It’s like I already completed half the things I need to get done this Christmas, although that’s not true at all, but it’s the feeling that counts.

So what constitutes my dream tree?  I’ve never not done a tree skirt in the past, but this year would be the year of the basket. I really could’ve just dropped the mic and been done with it once I found this gorgeous basket.  My dream is a basket, that’s all I’m trying to say.

Christmas tree with clay star ornaments-2

Ok but there’s a whole tree of opportunity to make things more pretty, so why not do some more, sure.  I kept my approach simple, taking influence from Scandinavian design by sticking to a max of two colors (white and gold) and not overcrowding the tree with too many ornaments.  I didn’t know from the beginning that I’d want white star ornaments, but once I considered the idea, it wouldn’t leave me alone.  Good thing they’re really, really easy to make.

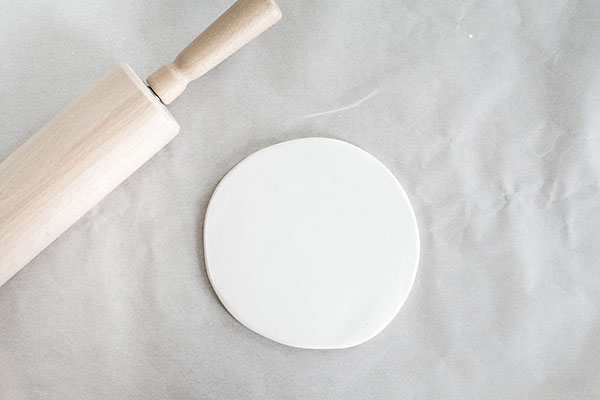
clayFirst, roll out the clay with a rolling pin.  I worked on top of a cutting board covered with parchment paper.
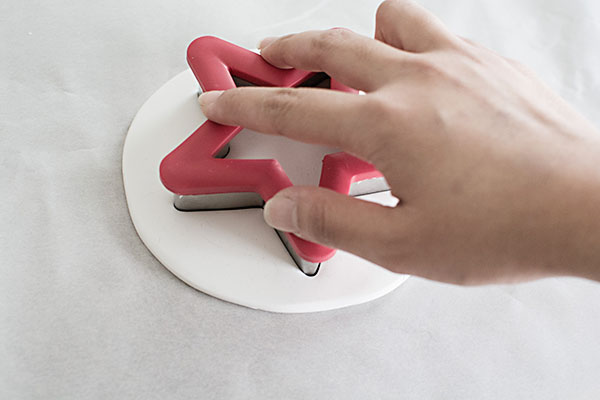
star cutterUsing a star cookie cutter (I found this one at Michaels), cut the star shape out of the clay.
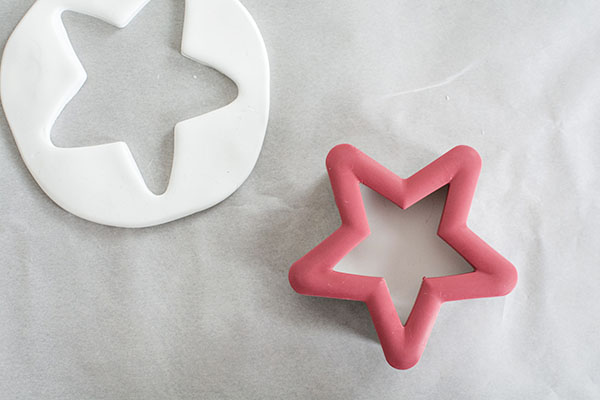
star cutter 2Remove the excess clay before removing the the cutter.  I find that this helps keep the edges cleaner and reduces warping of the clay shape.
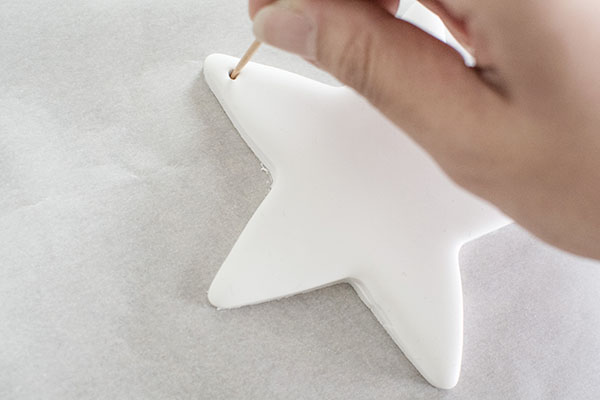
toothpickUse a toothpick to poke a hole at the top of the star, going in small, circular motions to enlarge the hole.
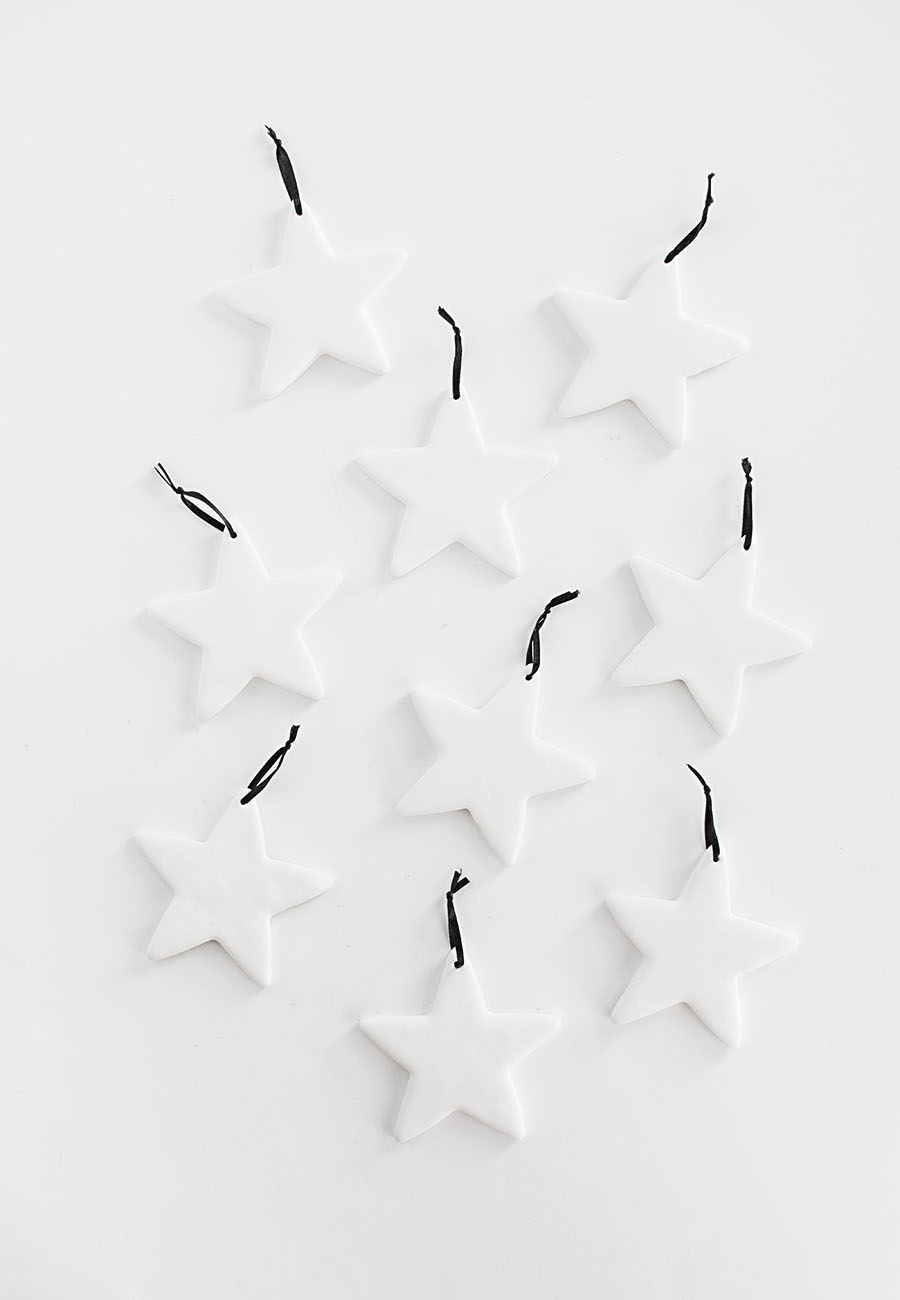
Bake according to the clay instructions (I baked mine at 275F for 30 minutes).

Once cool, string through and knot a piece of thin ribbon or string for the star to hang from.

Clay star ornaments DIY

DIY clay star ornaments

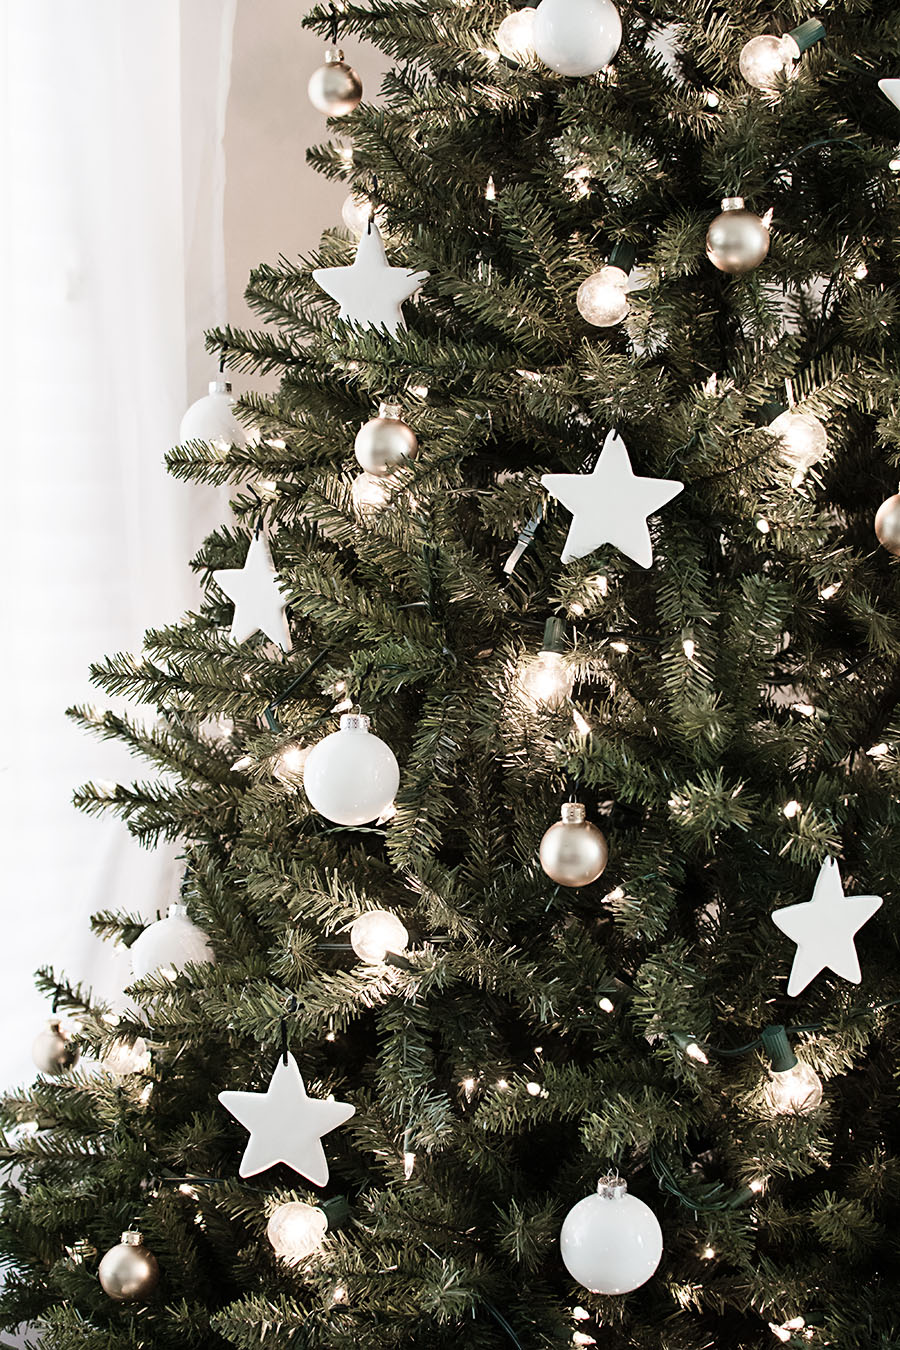
I first dispersed the star ornaments throughout the tree, then peppered white and mini gold ornaments from Michaels in between.

Simple Christmas tree with DIY clay star ornamentsAnother thing I love about not overcrowding the tree with ornaments is that it brings more attention to the lights.  On top of the pre-strung lights on this tree from Michaels, I added globe lights and it might have been the best decision I’ve ever made.  Those round pops of glowing light bring a magical touch, which is another way of saying they make me very, very happy.

Anyone else put their tree up yet?  Or, do you already know how you’ll be decorating it this year?  Let me know if you’re into making your own ornaments and whether or not you want to see more on that.

To see the dream trees from the 49 other Michaels Makers, visit The Michaels blog!