04/14 DIY

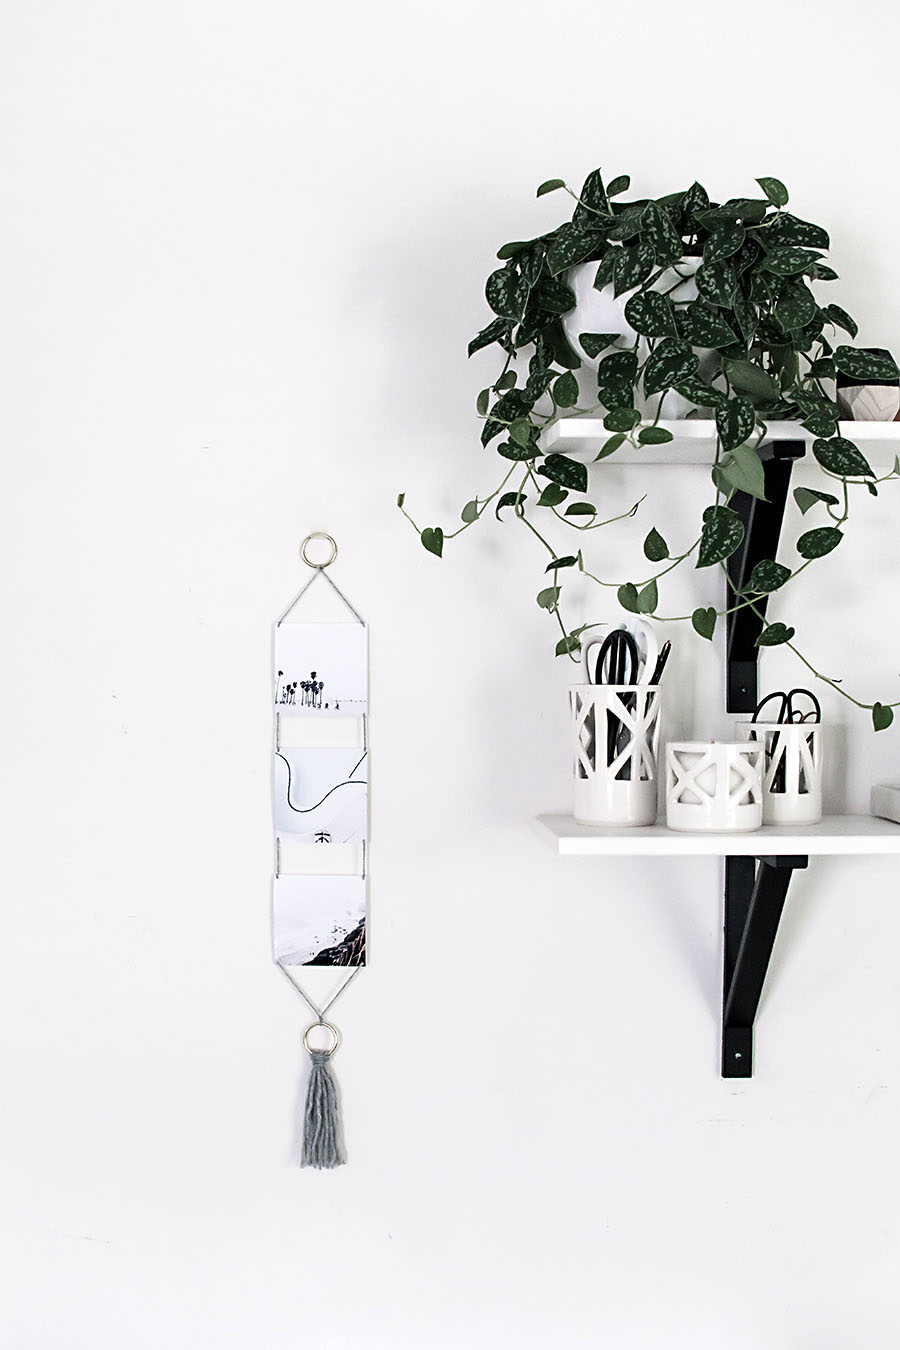
DIY Modern Photo Wall Hanging

DIY Modern Photo Wall Hanging

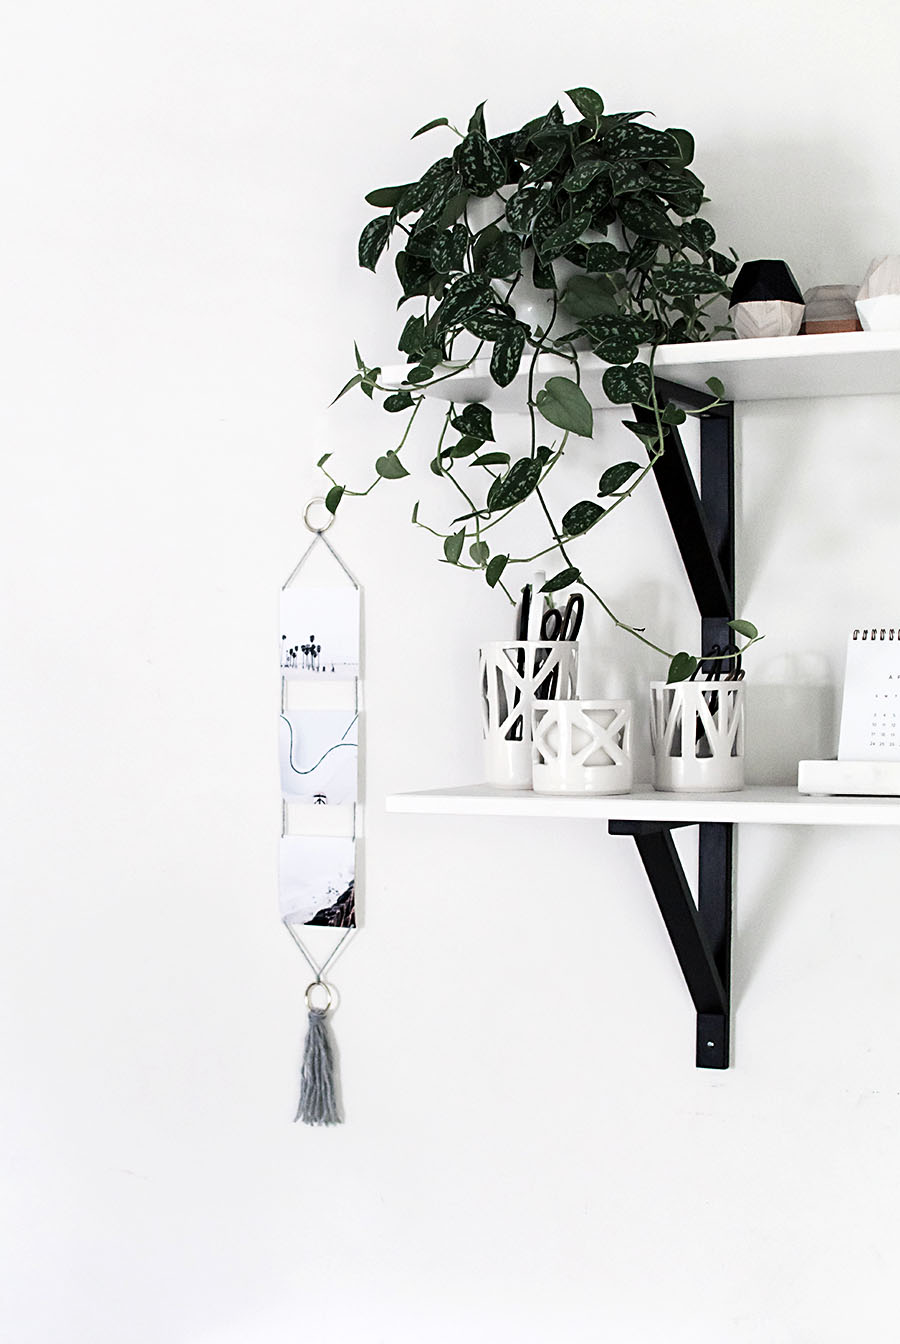
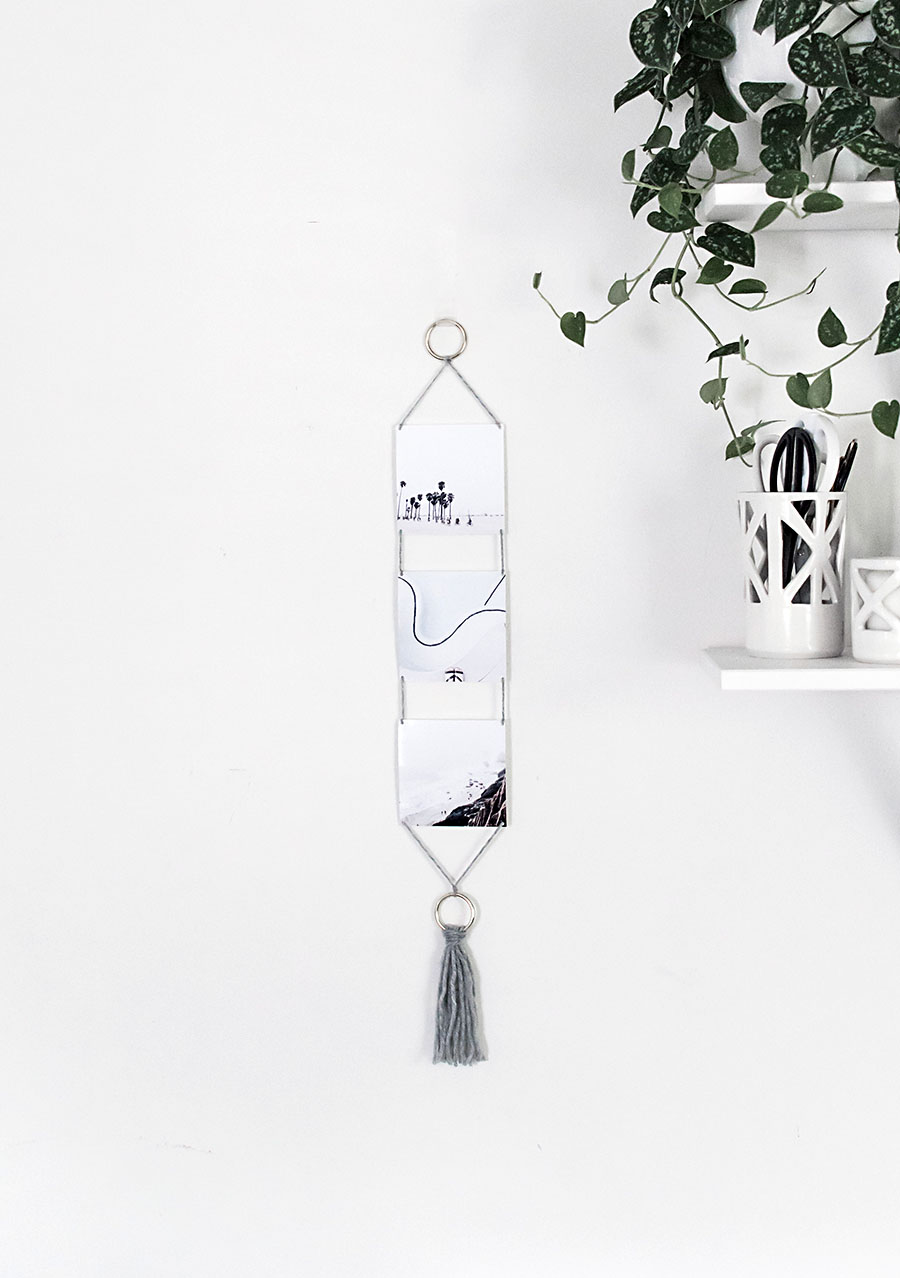
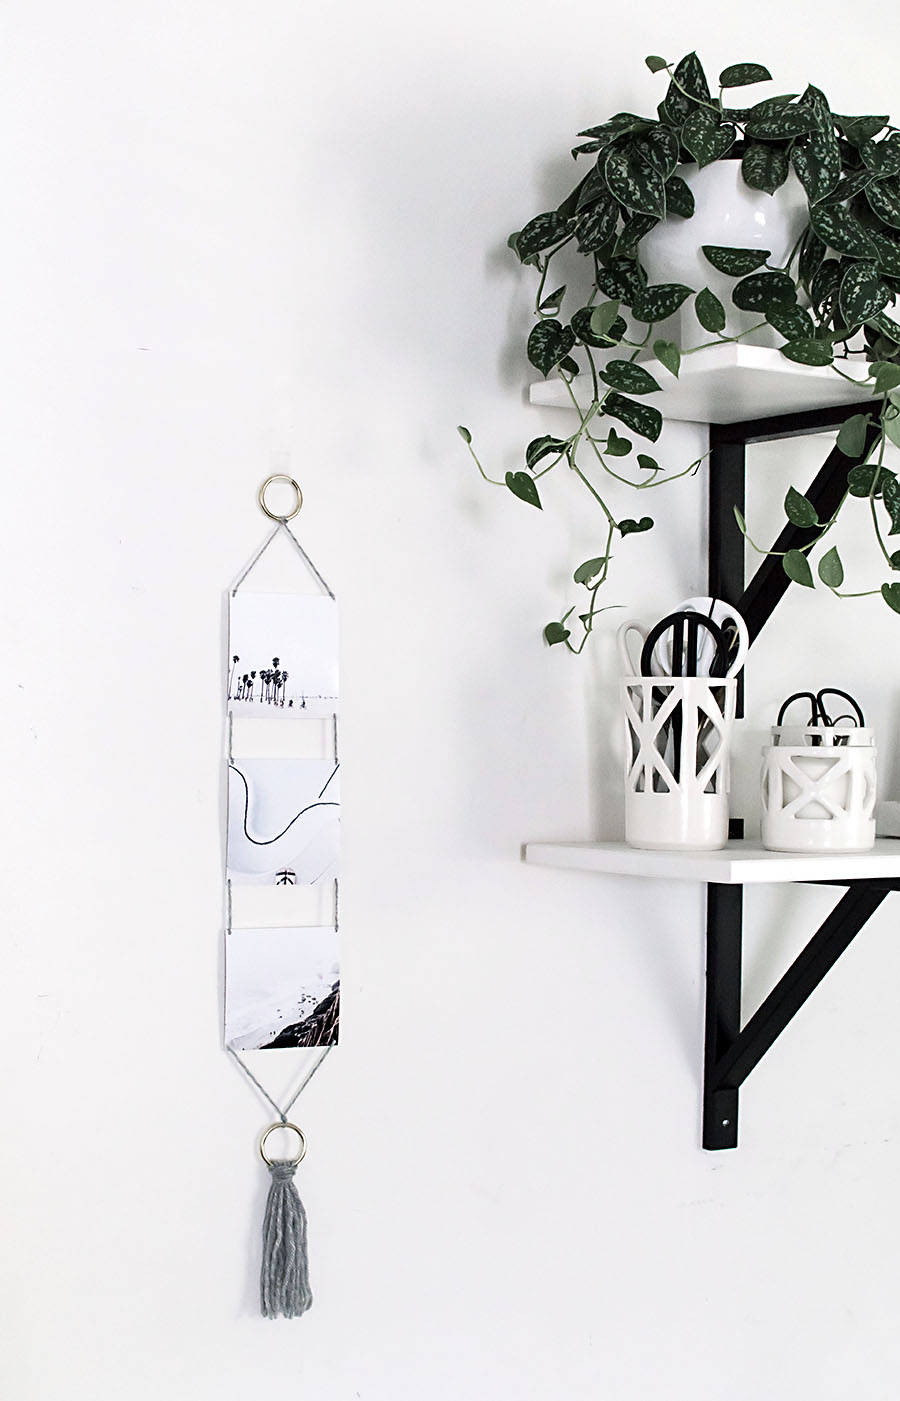
As you already know and as I’m now telling you for the hundredth time, wall hangings are a favorite thing around here, and being able to incorporate photos makes it so much more fun and personalized.  While I’m definitely a fan of simply hanging up photos, whether in a frame or even just with tape, I love exploring simple ways to get more decorative with photo displays.  It’s both function and design with this modern photo wall hanging, brought to you in partnership with Canon making it very, super, crazy easy to print photos from home.

Materials:
PIXMA MG7720 Wireless Photo All-In-One Printer
photo paper
hole punch
-yarn
-2 1.5″ gold rings
-scissors
glue
rotary cutter
ruler

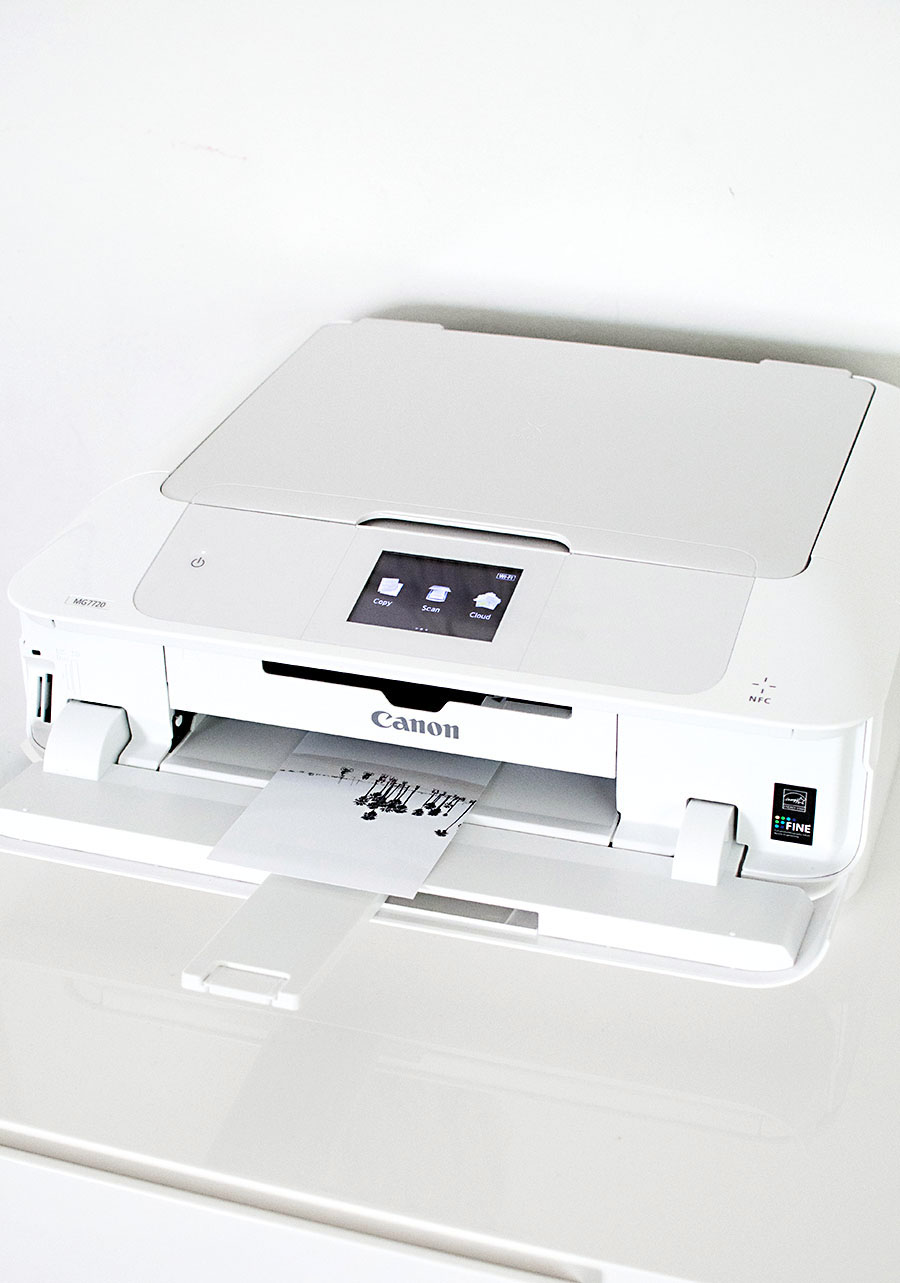
Canon MG7720I uploaded my Instagram photos into Photoshop and saved them to a 4×6 canvas size, then printed the photos on 4×6 photo paper.  Remember when I said I never print my photos?  That’s completely changing after seeing what a bang up job my Canon PIXMA MG7720 does at printing them.  I finally have zero excuses!
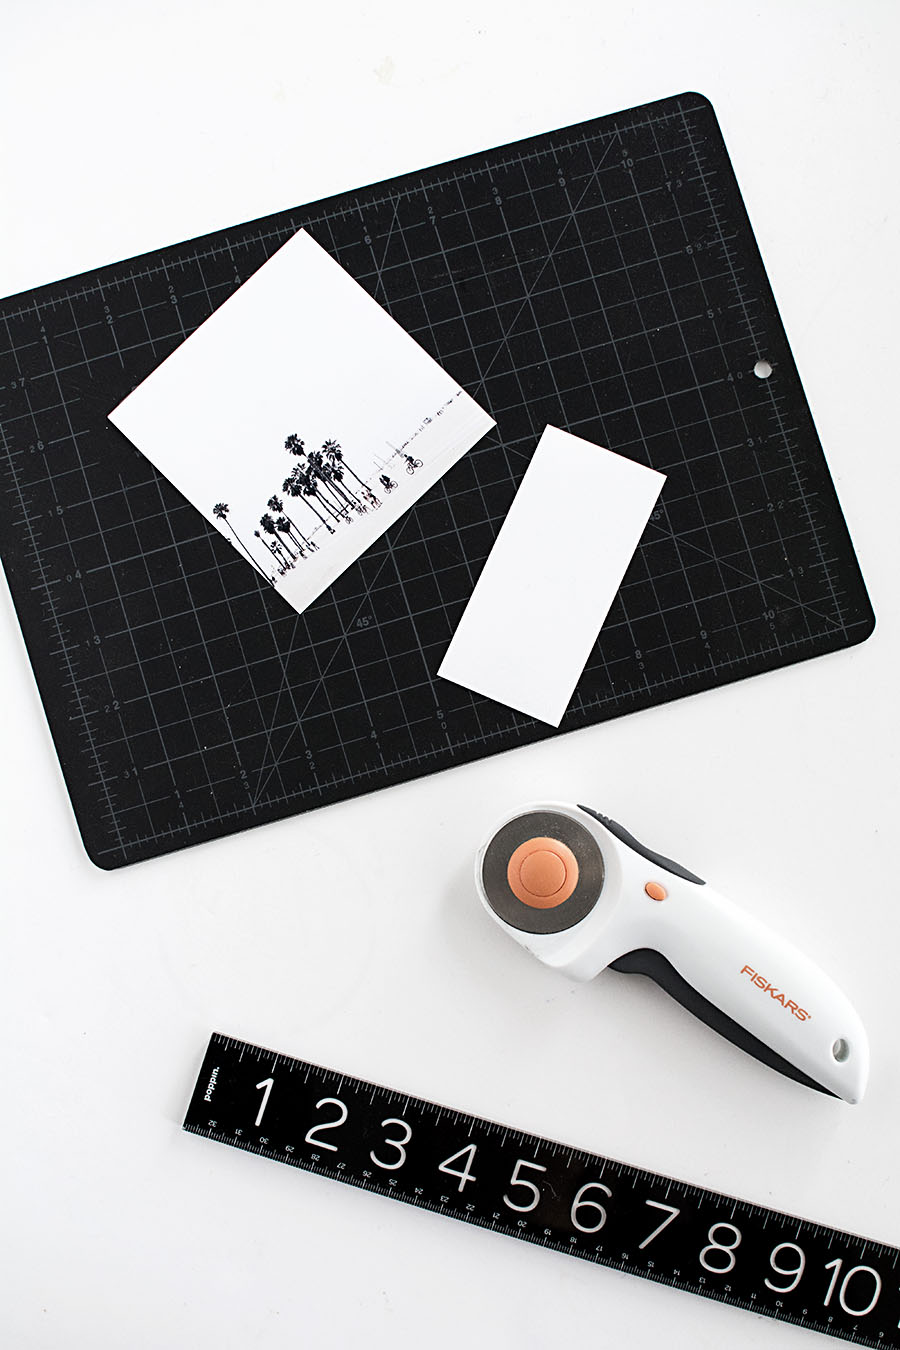
photo cut

Since there was extra blank space on the photo paper, I cut that off with a rotary cutter and ruler to get 4×4 square photos.
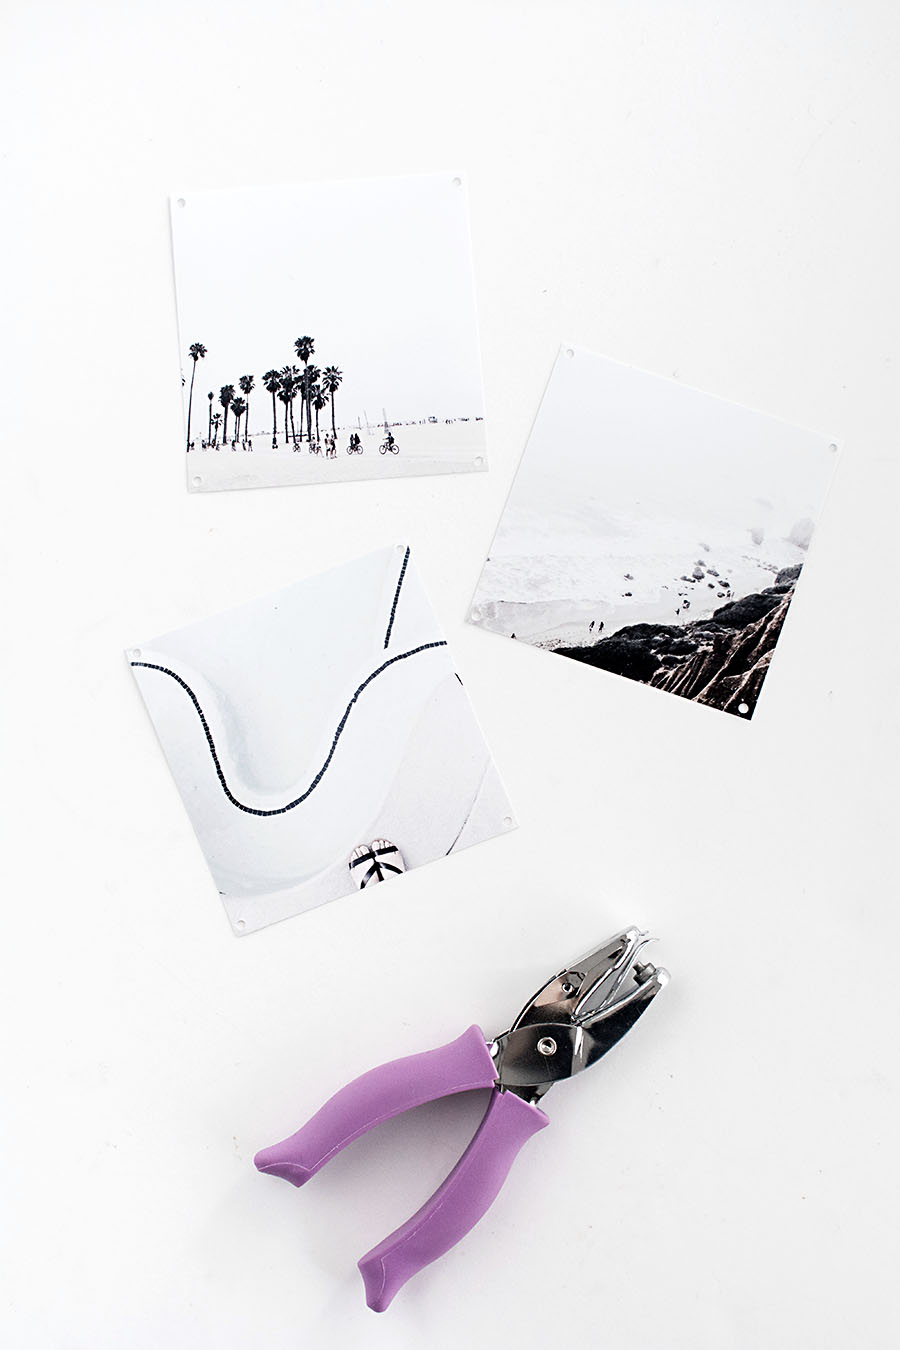
hole punch

Next I used a hole puncher to cut a hole in each corner of each photo.
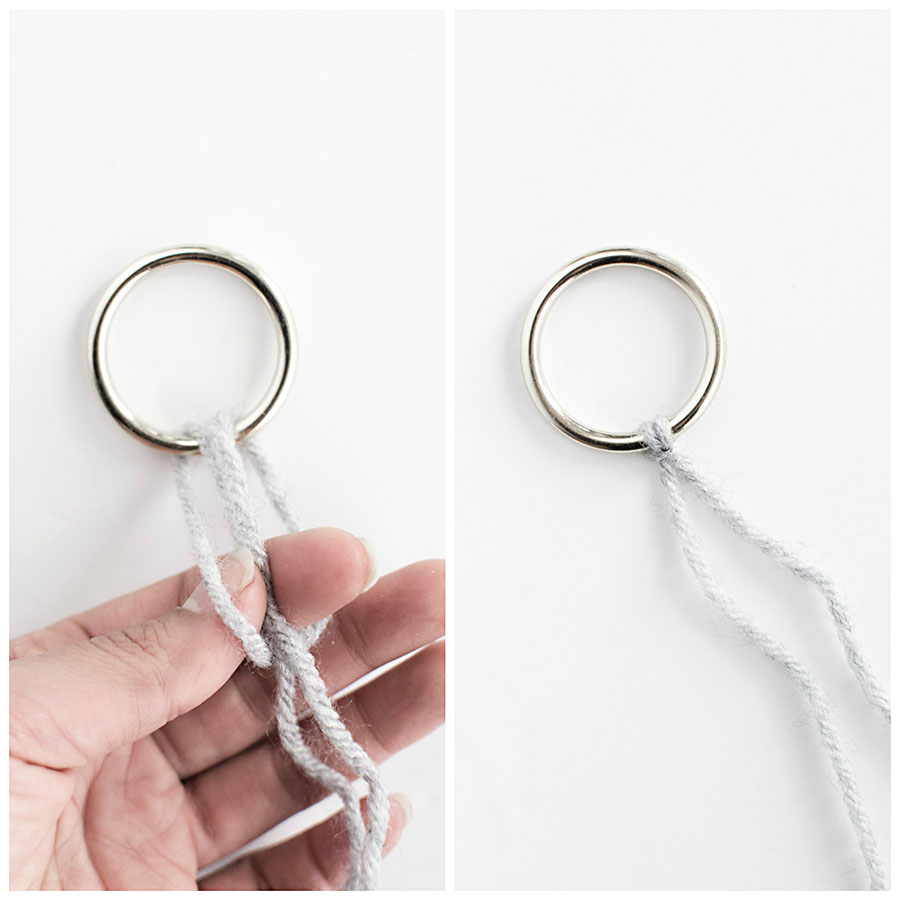
Larks head knot

Now for the hanging part.  Cut about and 85″ piece of yarn and fold it in half.  Take the folded loop and pull it through a gold ring, then reach your fingers through the loop to pull the rest of the yarn through.  This is called a lark’s head knot and we’ll do it again later.
tie

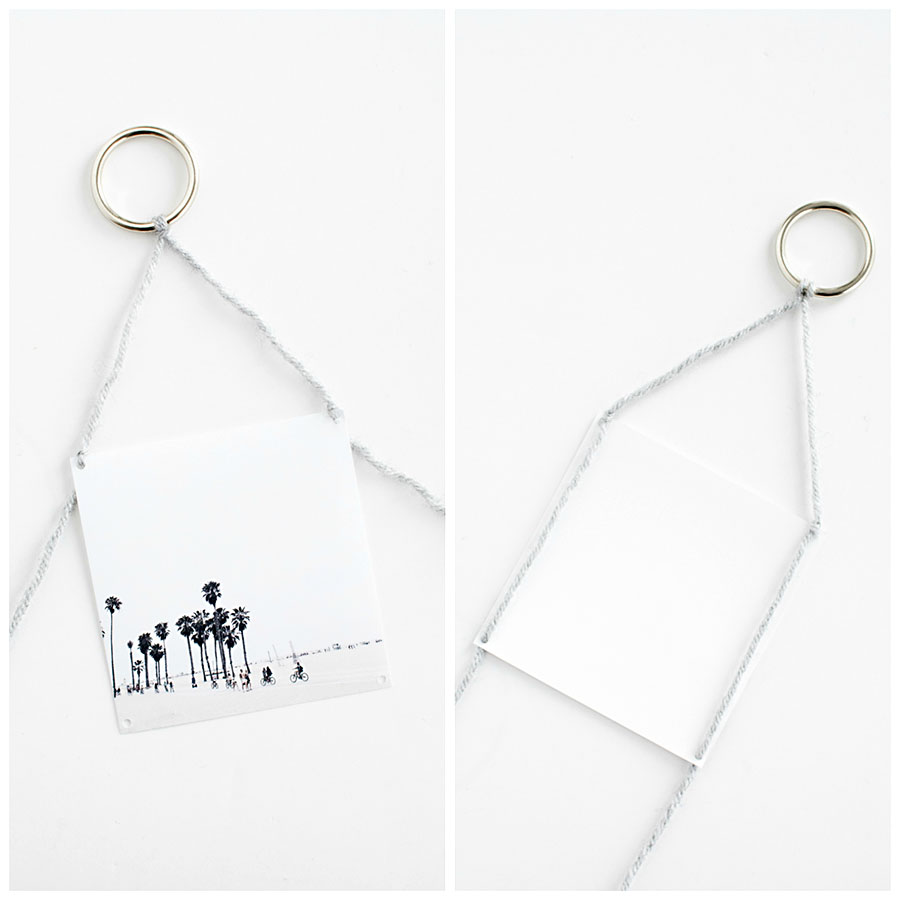
String each end of the yarn through the front side of the top two holes of the first photo and tie the yarn at each hole.  Next, string the yarn through the back side of the bottom two holes of the photo.  Repeat these two steps to add on as many photos as you’d like.
knot

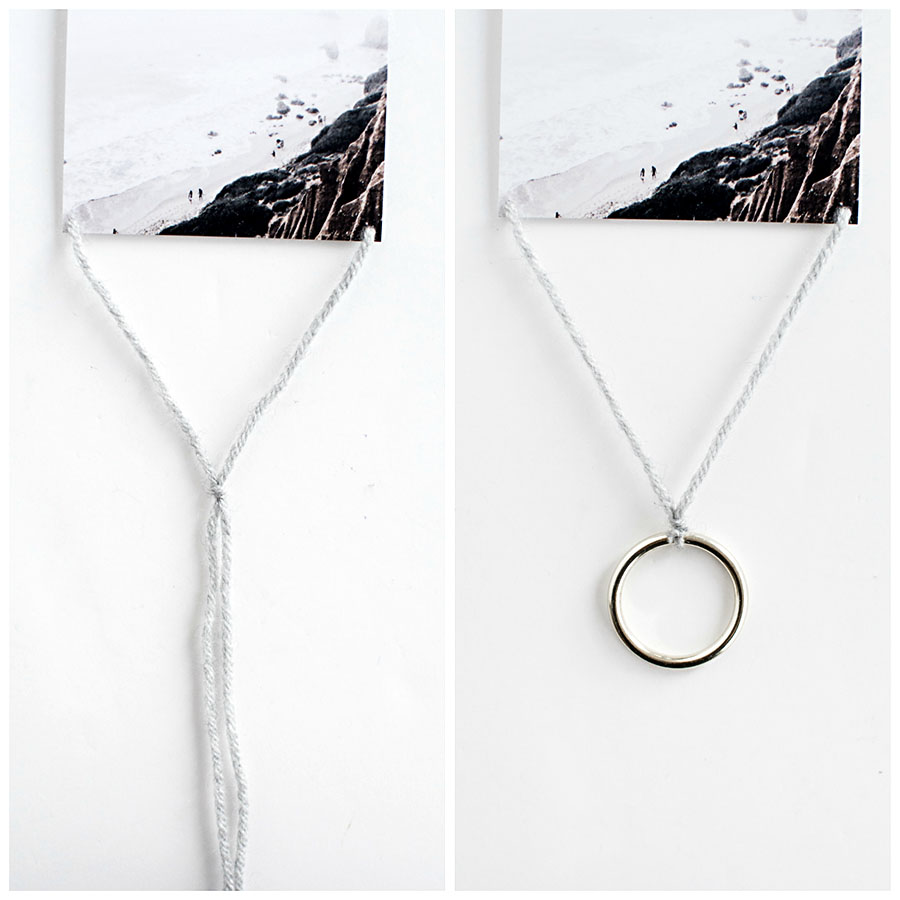
At the bottom, tie the yarn into a knot, then double knot the yarn around the second gold ring.  After cutting off the excess yarn, dab some glue at the knot to reinforce it.
yarn

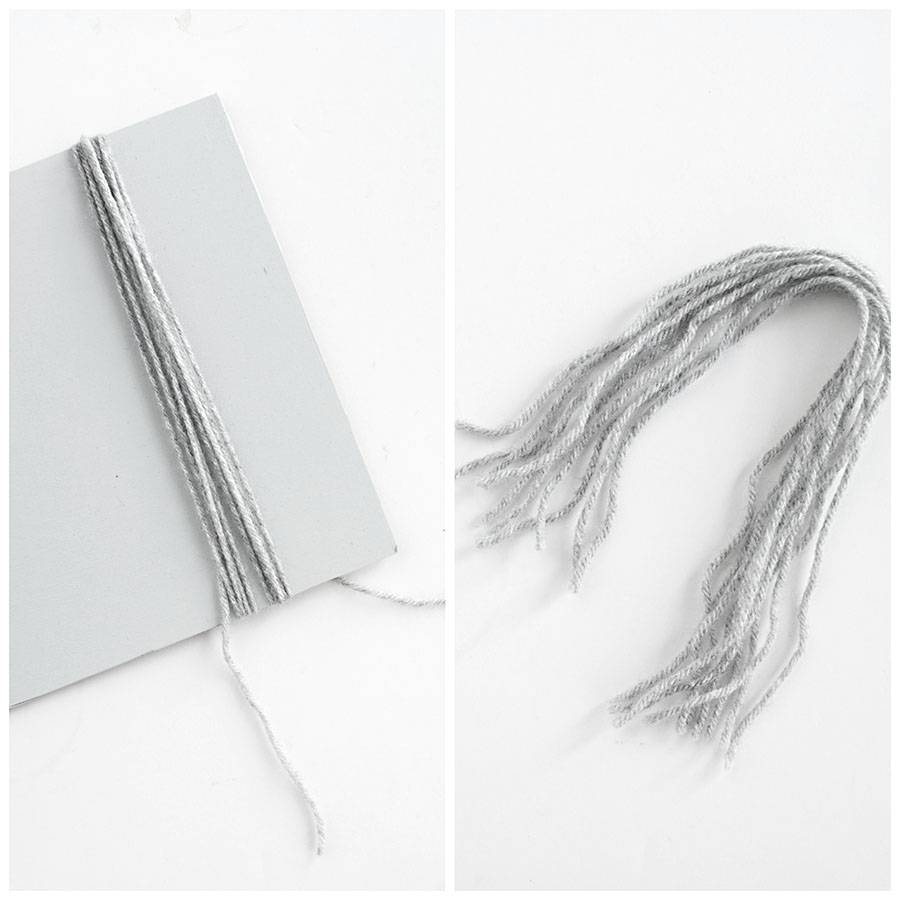
For the tassel at the bottom, wrap yarn around a board or book about 10 times (my board is about 9 inches long) then cut the yarn down one end.
larks head knot-2

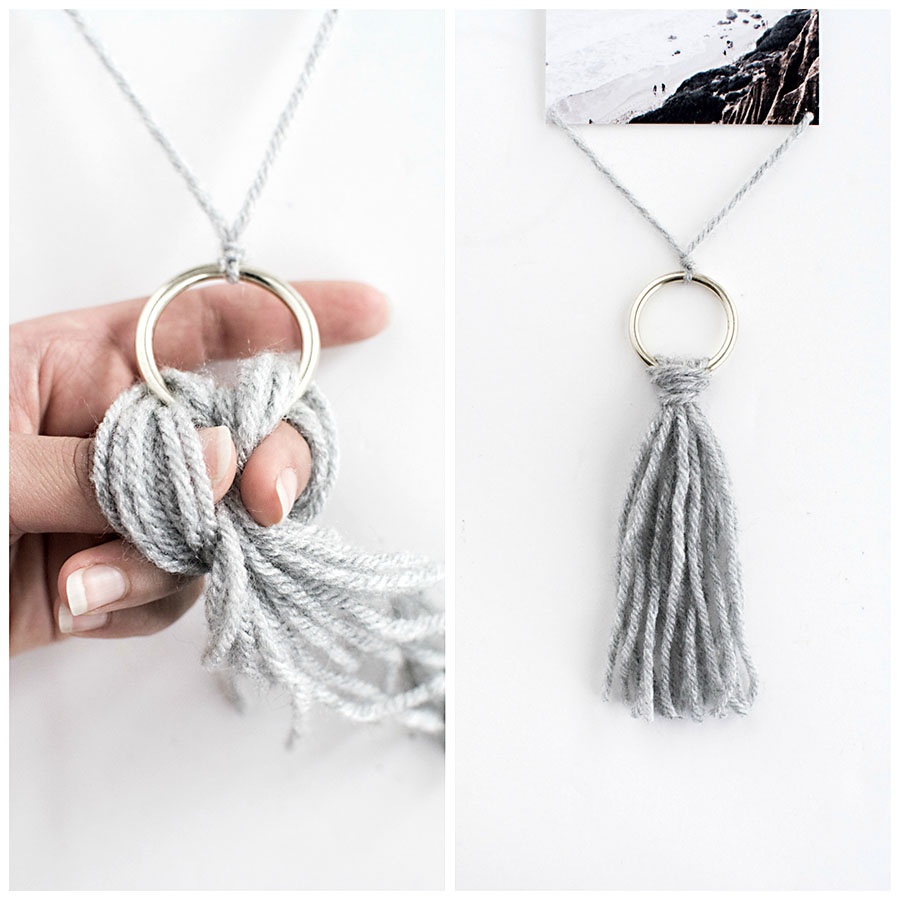
Make one big lark’s head knot with all the pieces of yarn together, then cut any scraggly ends off from the bottom.
DIY-Modern Photo Wall Hanging

DIY - Modern Photo Wall Hanging

Modern Photo Wall Hanging- DIY

This was definitely inspired by the modern yarn hanging I shared last year, which so many of you have made your own and shared with me (thank you!!) so I thought it’d be fun to do a twist on that with photos. If you give this one a try, PLEASE let me know and send or tag me in a photo of it!

CSI_MasterLogo_Black_CMYKThis post is in partnership with Canon.  Thank you for supporting brands that help bring fun ideas for you to discover and try!

04/04 Life

March Highlights

Despite having caught a really, very, terribly bad cold for almost two weeks in March that annoyingly put me behind schedule, there were a lot of good moments last month!  Again, that’s pretty much the point of this monthly column, to remember the good and to share with you random things that happen outside of the blog that I’m not sure where to share, so I share them here :).

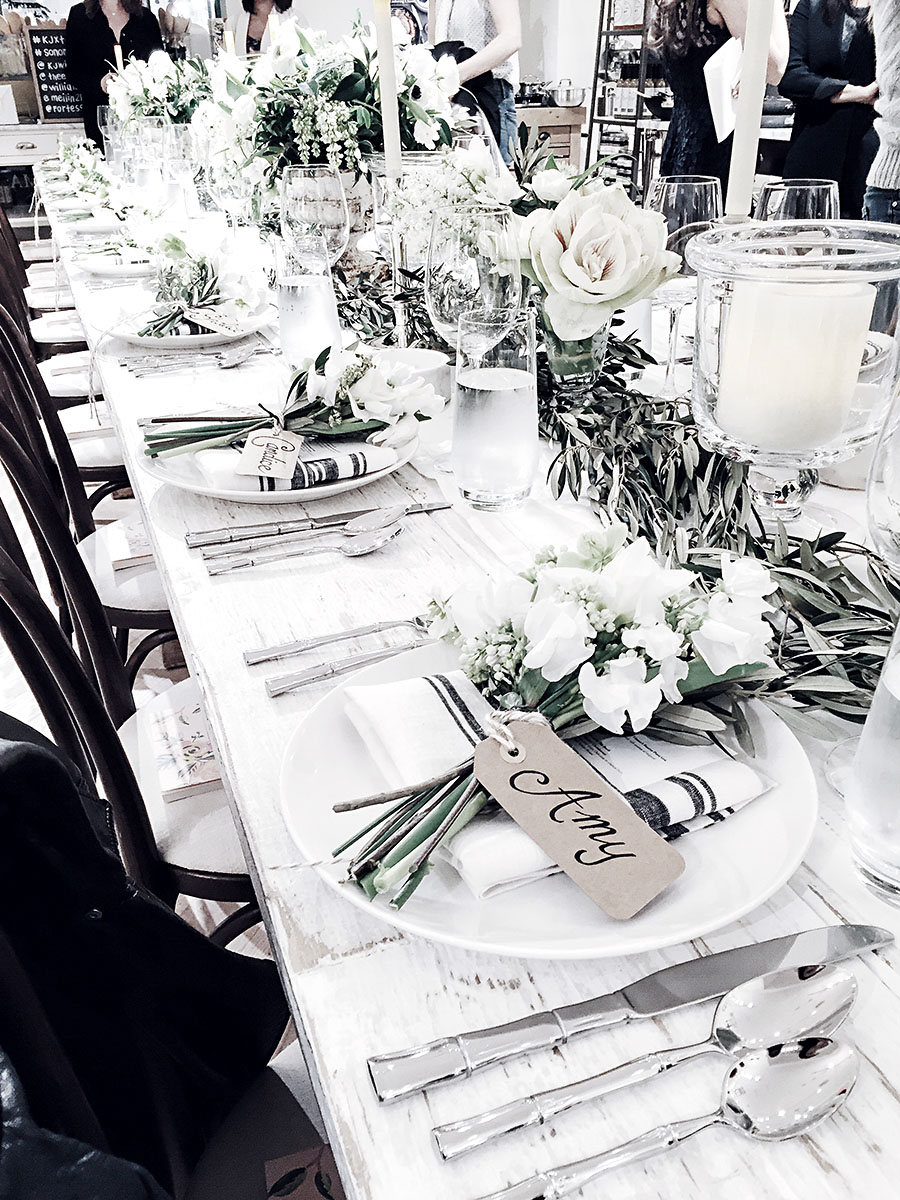
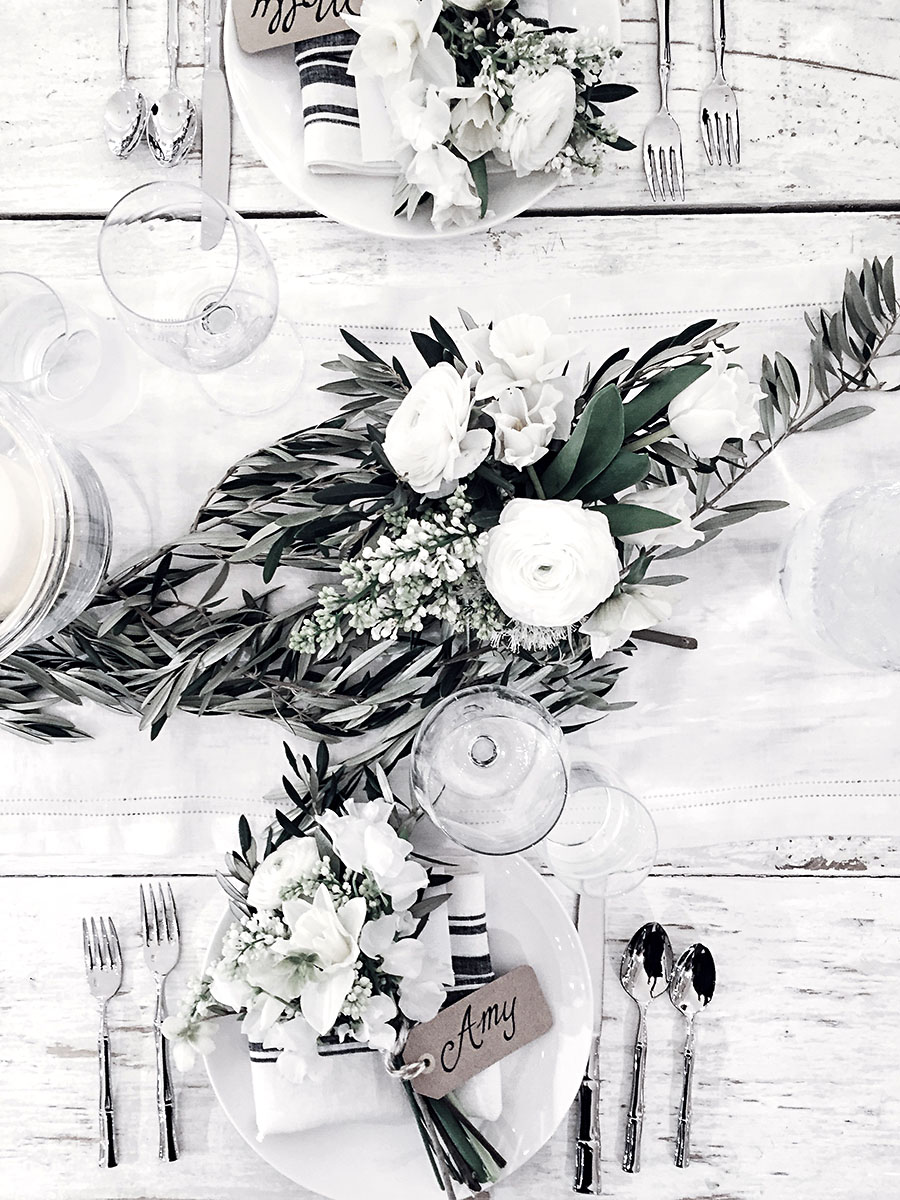
Kendall-Jackson and The Everygirl hosted a dinner event at Williams-Sonoma and it was everything bomb: pretty setting, awesome food, good people.  And flowers with my name on them AH.  I very rarely get a night like this so it was a huge treat, especially to do it over meeting new people, because let me tell you- I usually get nervous and awkward-bird-like over situations like these, so I make it a point to challenge myself with putting myself out there and being proud that I did.

Also I drank five glasses of wine.  We could say I was feeling extra good.


desk

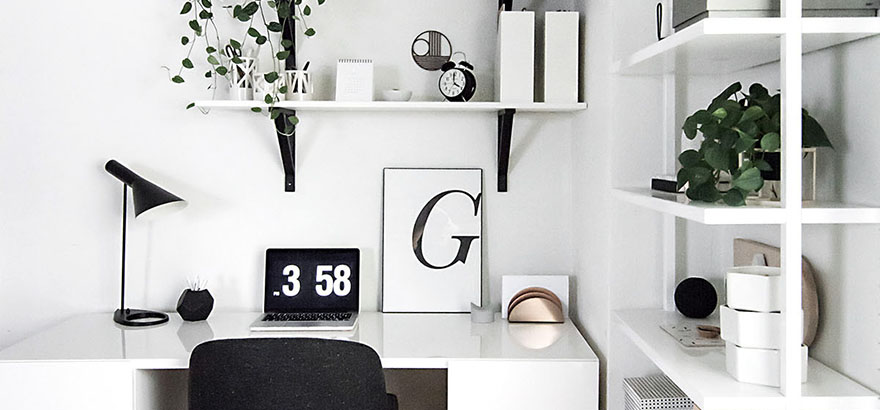
I did some desk styling for Poppin in collaboration for an email campaign (any of you Poppin fans might’ve seen that??) which was so so exciting because they’re one of my favorite brands.  The other benefit is that it motivated me to clean up my desk, which always feels fantastic, but of course, it doesn’t look like this right now haha.  I still have the full feature of my work space coming up at the end of this month!


hgtvaprilmag

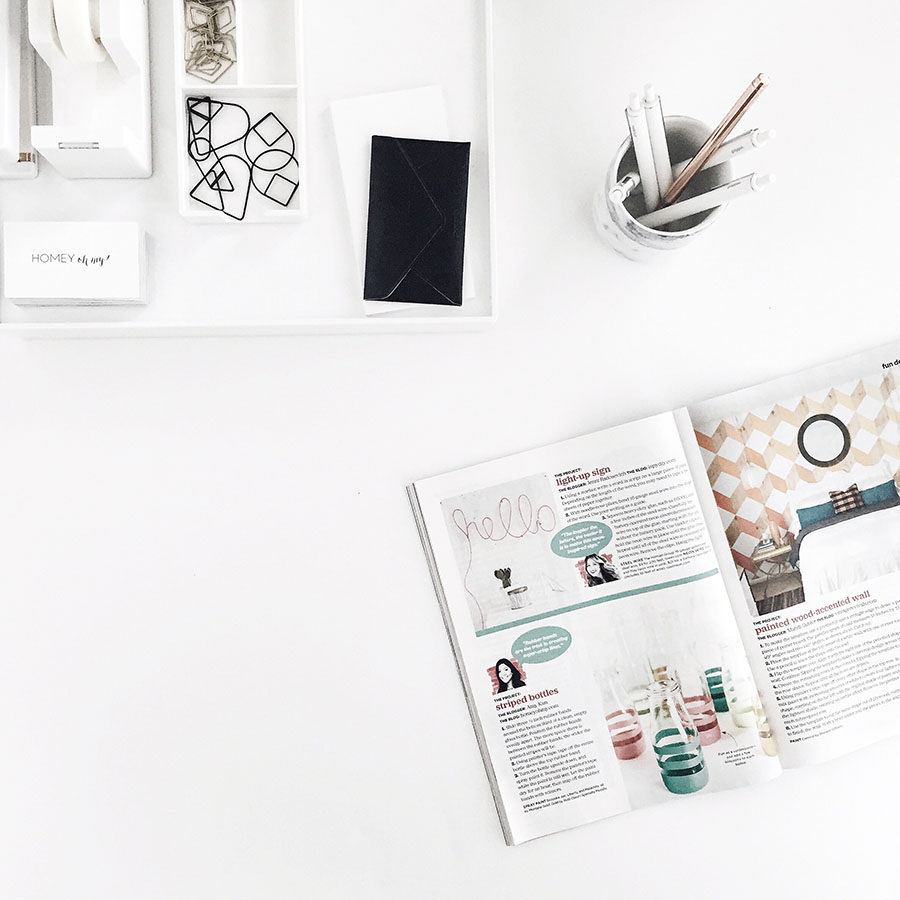
In HGTV’s April issue, you’ll find little ol’ me in the DIY projects section!  Even more exciting is that this is the first time I’ve been featured in a US publication, and even more exciting was to see blogger pals and bloggers I greatly admire featured too.  It’s a hodgepodge of excitement and a huge honor.  I imagine showing this to my kids someday and saying something like see your mom is cool.


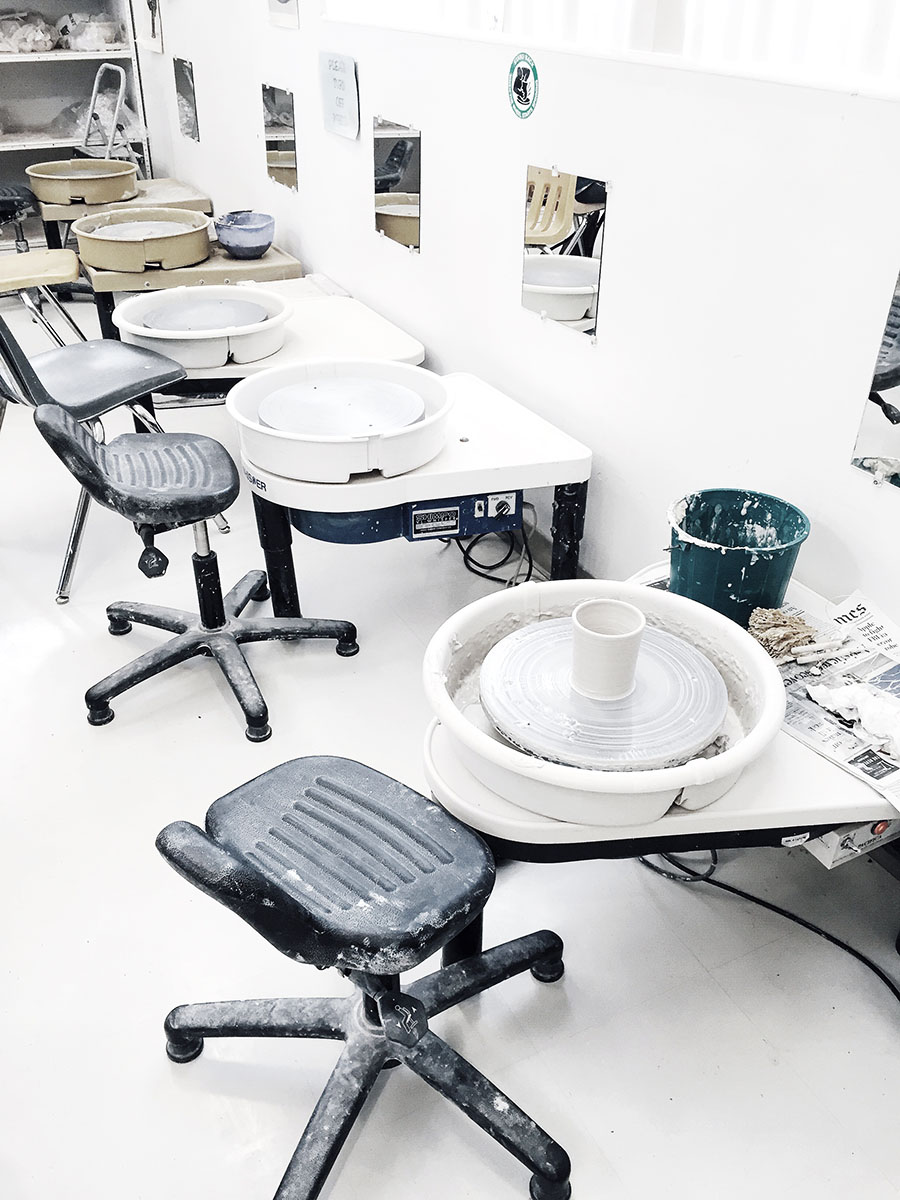
I’m taking a pottery class, guys.  The first session was on the last day of March and we didn’t get to go on the wheel, but we will at the next class and I’m very excited for it.  I signed up with Molly and we talked about how we’ve really needed something like this for a long time, to create for ourselves and learn something new without the pressures that blogging can bring.  I’m also crazy for pottery and ceramics and hoping I’ll pick it up well.  Gosh that would be heartbreaking if this just doesn’t vibe with me haha.  One cute bowl is all I ask!


bedroom-progress

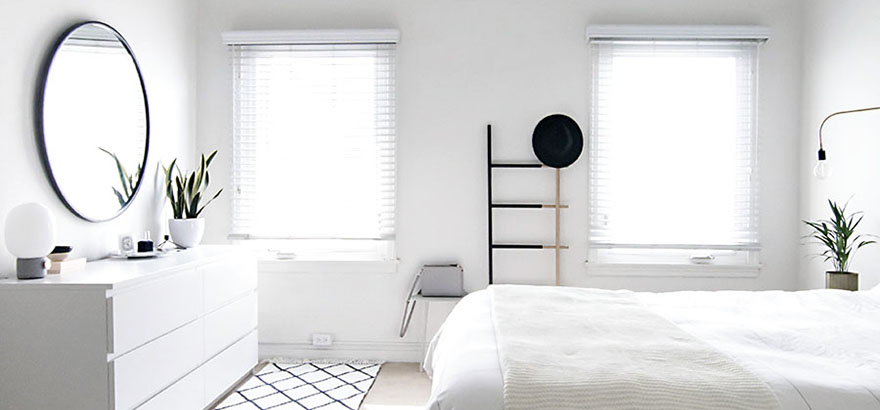
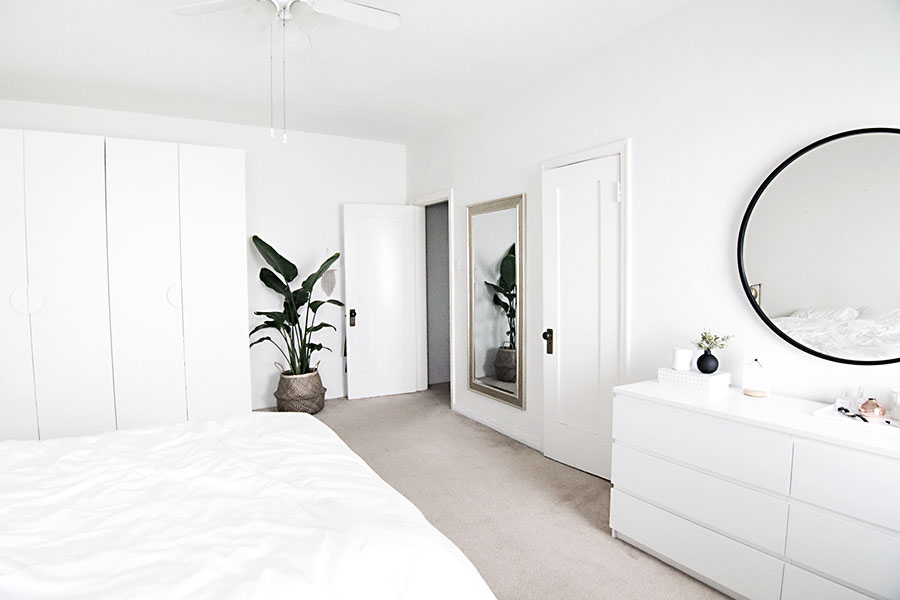
Making progress on our bedroom was the most feel-good highlight of March for sure.  This wide shot didn’t make it into the post I did reporting on our progress, but it does a good job of summarizing where we’re currently at for the room.  It’s coming along exactly as I had hoped: lots of white, minimal, and organized.  I couldn’t be happier with all the hours that went into getting it to this point, and the decluttering that I thought would never get done.  Now it just needs more hours for deciding on a few decor elements and a bed that I’m painfully indecisive about it, and waiting for sales haha.  This is the lesson I always preach, guys- decorating needs to take time.  Thoroughly research and hunt for those perfect finds, it’s worth the wait!


April is going to be insane with so much happening.  From what I can remember, I’ll be up to some traveling (I’m gone starting today so it’ll be a little quiet around here.  Thanks for your patience!), hosting friends from out of town, putting on a DIY workshop, watching GAME OF THRONES, and it’s my birthday month woah.  I’m definitely going to need a reminder to slow down and stay present.  Too many good things that deserve undivided enjoyment this month.

04/01 Friday Links

Friday Finds

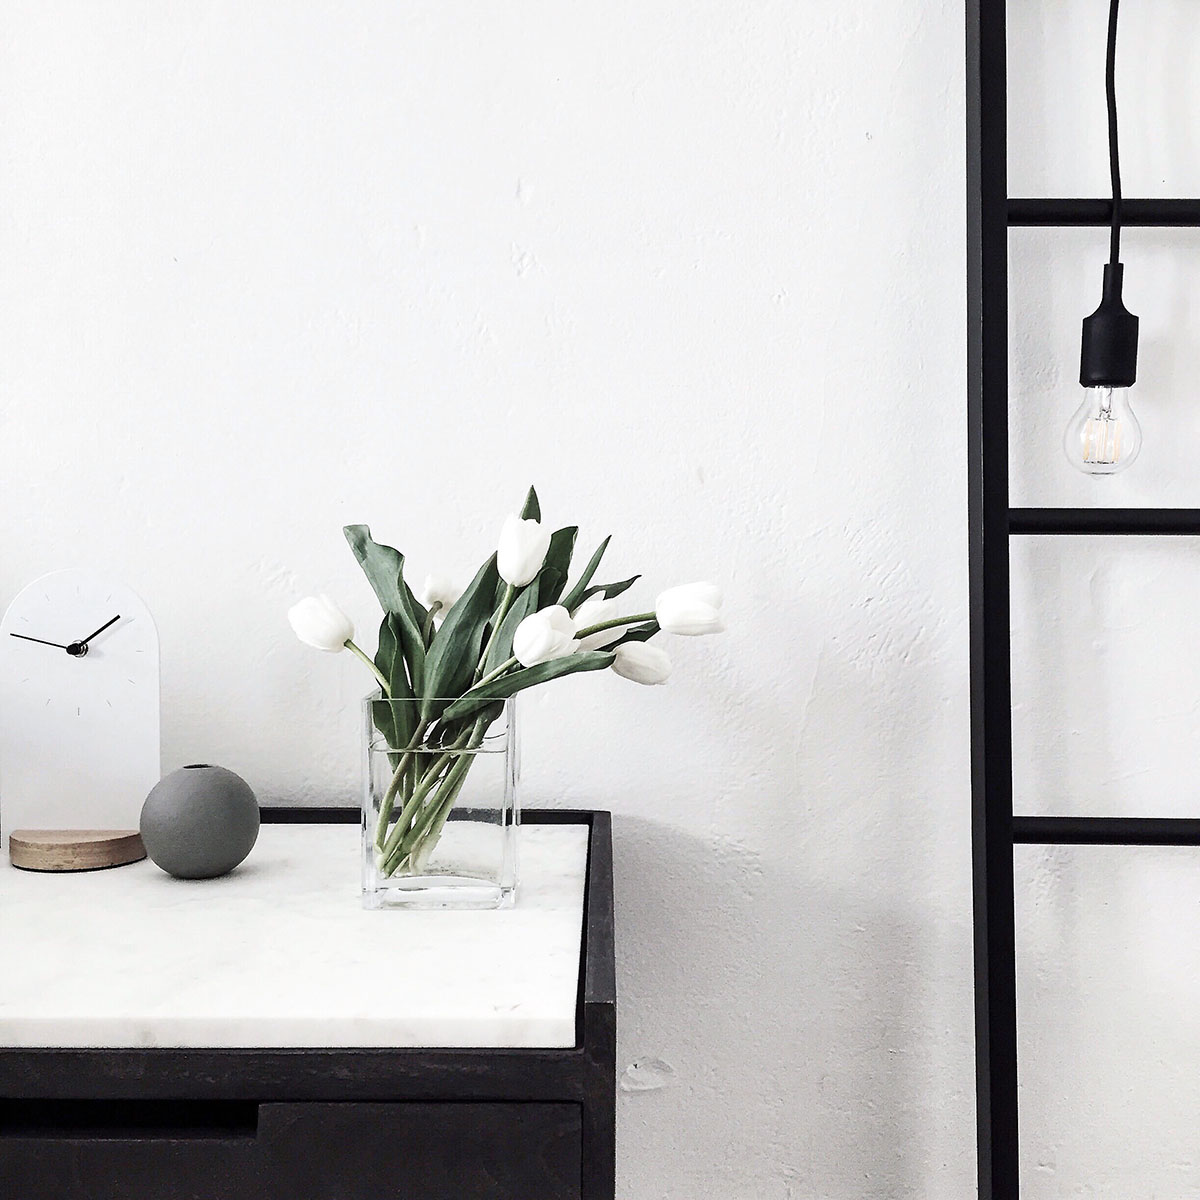
tulips

Another week slipped right by, what’s new!  Got a lot to get done this weekend before heading off to Palm Springs next week for a little blogger meet-up that I’m peeing my pants excited for.  Some of the ladies were going to be in town and thought we should try to gather up as many of us possible to hang out in the sun for a few days, so we’re doing just that.  I haven’t taken a fun little break like this in a while so it’s going to be bangin.  Of course I’ll be Snapchatting if you want to see who’ll be there! (@homeyohmy)  I know, I’m always mentioning Snapchat but it’s really where the party is.  Get on it!

Have a lovely weekend, guys <3.


Great styling tips for a Swedish style bedroom.

I love reading about morning work routines, especially from successful women like these.

My favorite DIY having to do with prettying up your wooden spoons.

I dare you not to feel happy (or tear up, like in my case) while watching this.

A different approach to minimalism for the home.

I’m feelin these heels.

Summer is calling… or I’ll just make these now.

What I’d love for my bathroom to look like.


Image is a little peek at my bedroom that I shared on Instagram.

03/31 DIY

DIY Grapefruit Rosemary Bath Salts

DIY grapefruit rosemary bath salts- Homey Oh My

If we’re talking easy, inexpensive, and beautiful handmade gift ideas, this one covers everything.  Add in gorgeous packaging and it will go the distance to slay the receiver.  We all love and care for beautiful packaging, yes??

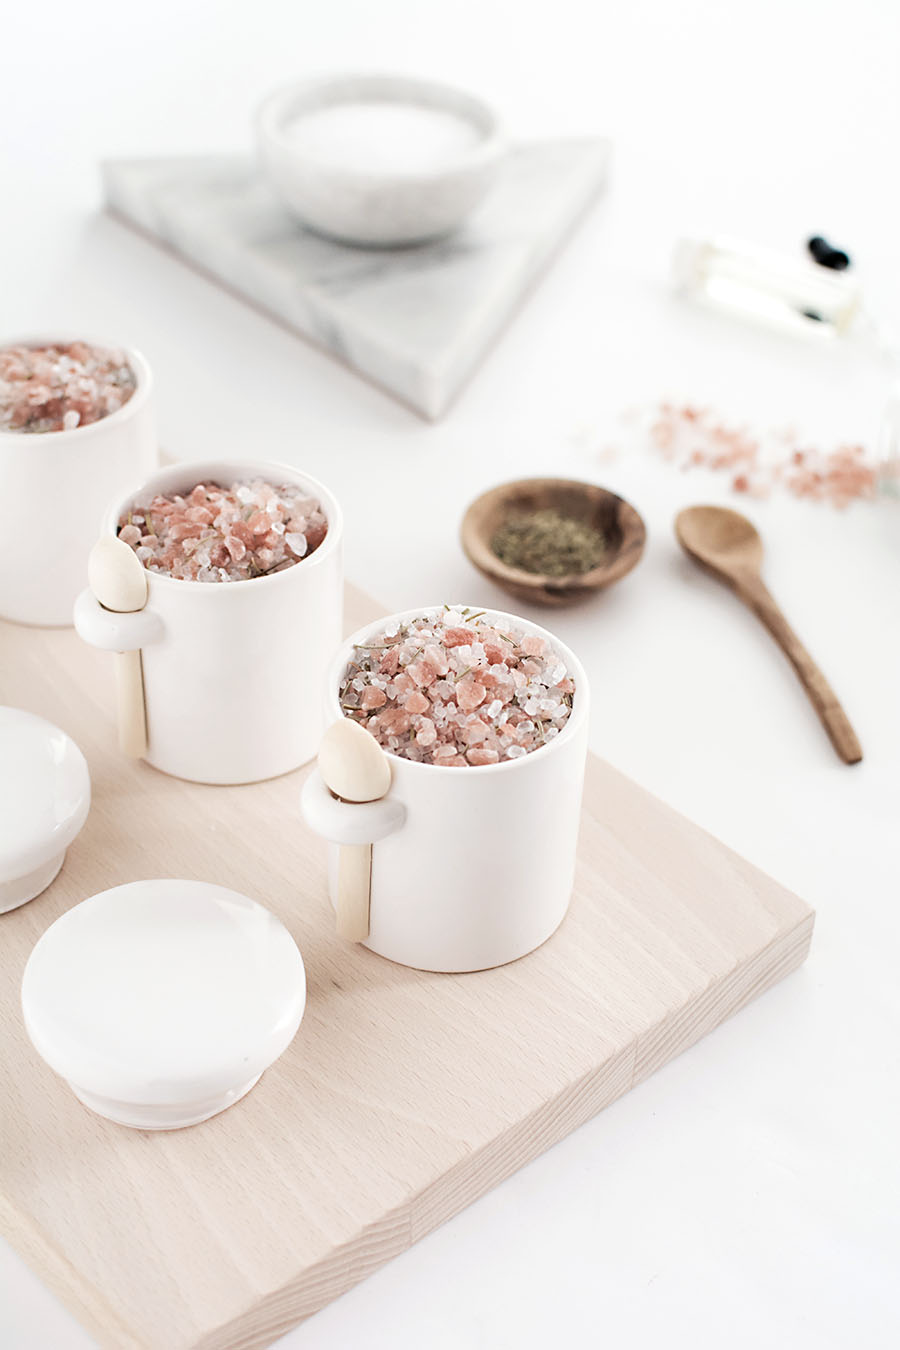
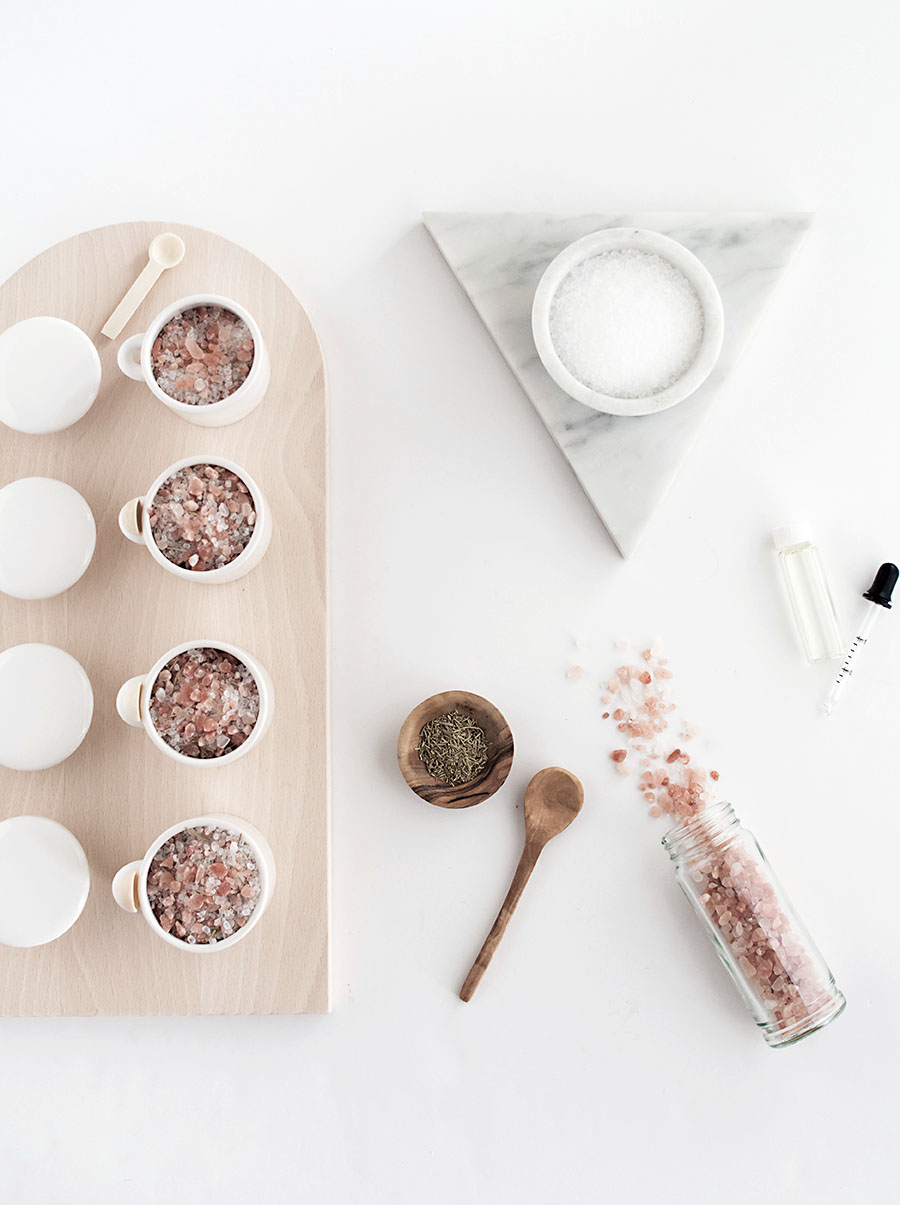
I had plans to share this DIY during the holidays, but now it’s clear to me why it waited till now: the packaging.  I recently came across these adorable little containers with mini wood spoons at Michaels and immediately thought yea I should make some bath salts.  Also, April’s Michaels Makers challenge is to come up with a Mother’s Day (May 8th, mark it!) gift idea, which this idea is perfect for, especially for anyone celebrating many and all mothers they know since these are so quick to put together in large batches.

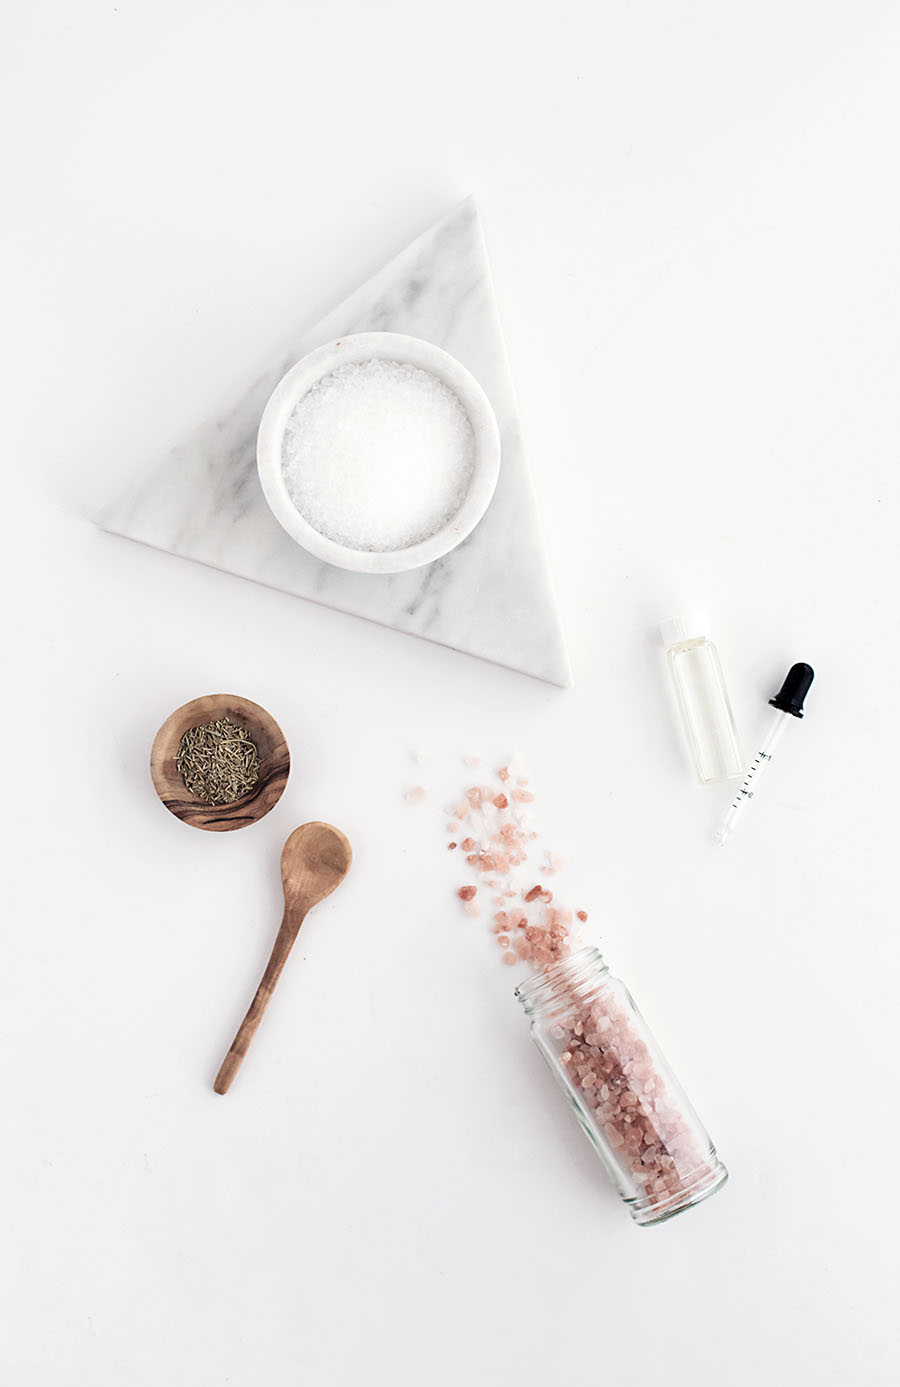
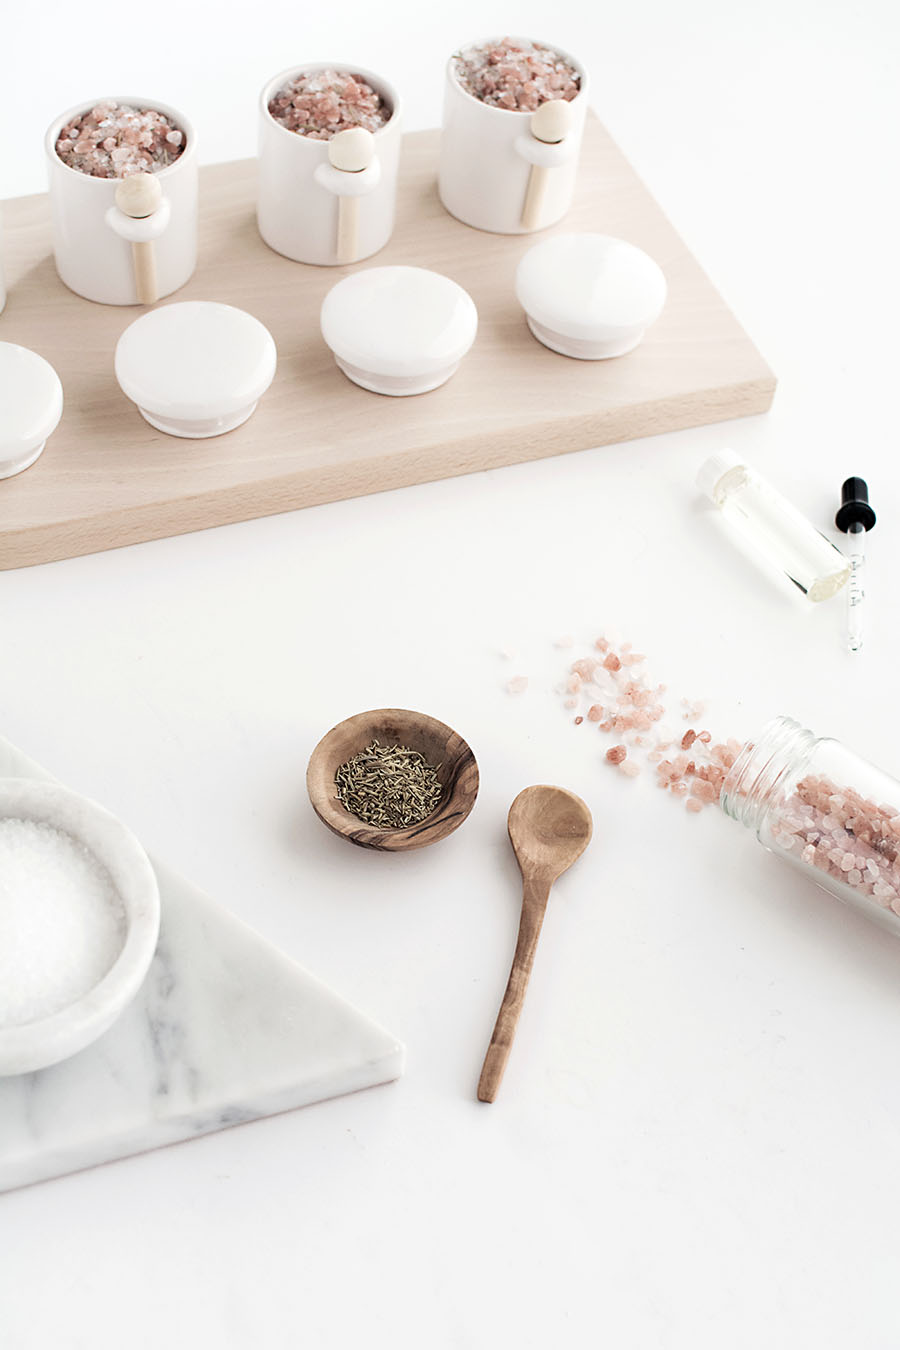
Grapefruit rosemary bath salts materials

I referred to this guide for the basic rundown on how to make bath salts to come up with this concoction for grapefruit rosemary bath salts:

1 cup bath salts or Epsom salt
1 cup pink himalayan salt
10-15 drops essential oil (I used grapefruit)
2 tbsp rosemary

Just mix it all up in a bowl and pour into your containers.  Pow.

Grapefruit rosemary bath salts DIYThere’s a lot of enthusiasm over the benefits of pink himalayan salt, but my main motivator for using it is that it’s very pretty.  I know you agree.  It’s also probably the priciest material in this mixture, so the proportion can definitely be reduced to cut cost, or you can use dye on the clear salt for your own creative colored result.
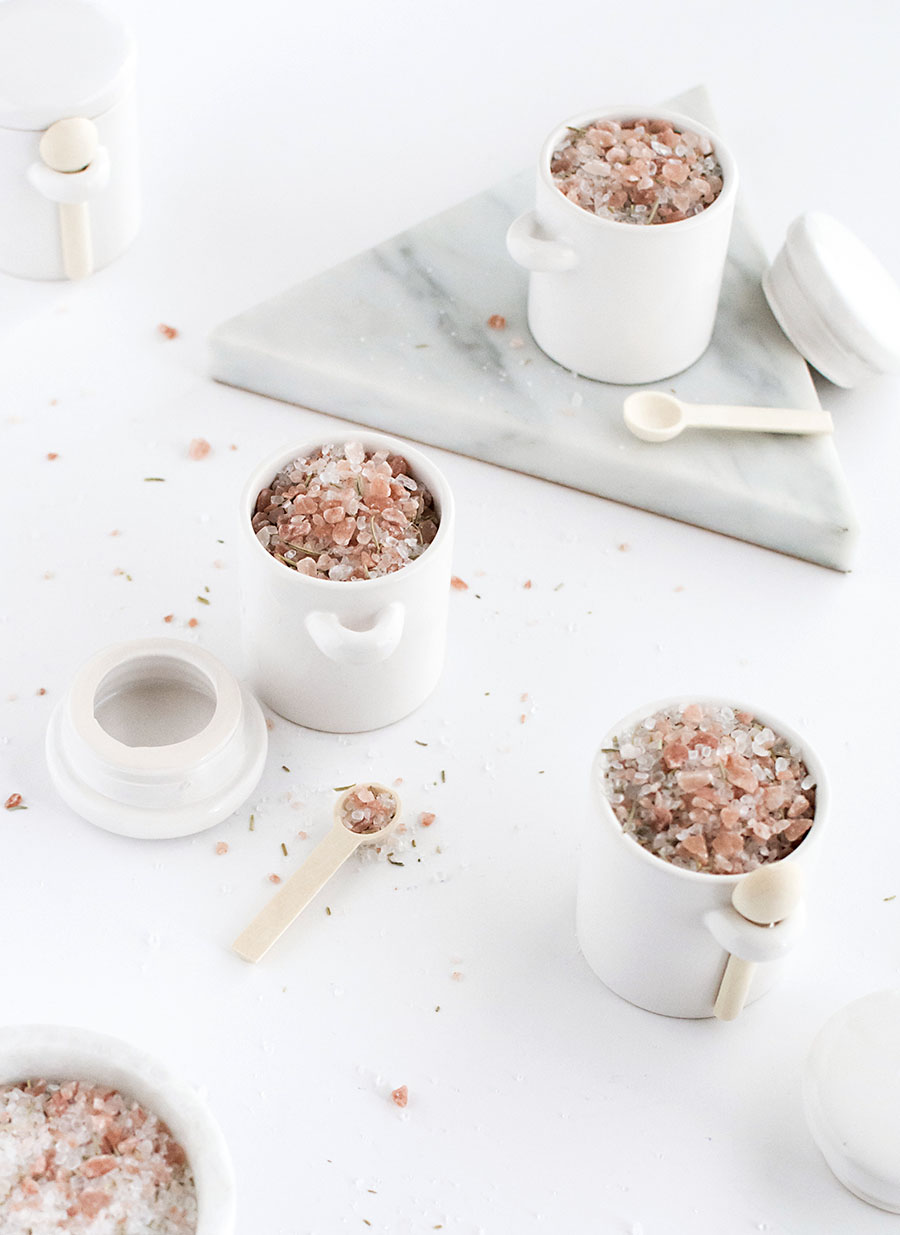
DIY Grapefruit rosemary bath saltsI love the way rosemary pairs with grapefruit, plus adding herbs to the mixture gives it a very beautiful organic detail.  Really, you can go wild with any combo of salts, essential oils, herbs, and flowers.  Think lavender oil with lavender flowers, rose oil with rose petals, vanilla with cinnamon… any other combos you’ve tried or would like to?
DIY Grapefruit rosemary bath salts - Homey Oh My

To see more Mother’s Day gift ideas from the other Michaels Makers, visit The Gluestring blog!


This post is in partnership with Michaels.  Thank you for supporting brands that help bring you fun and inspiring ideas!

03/29 DIY

Simple and Modern DIYs for the Home

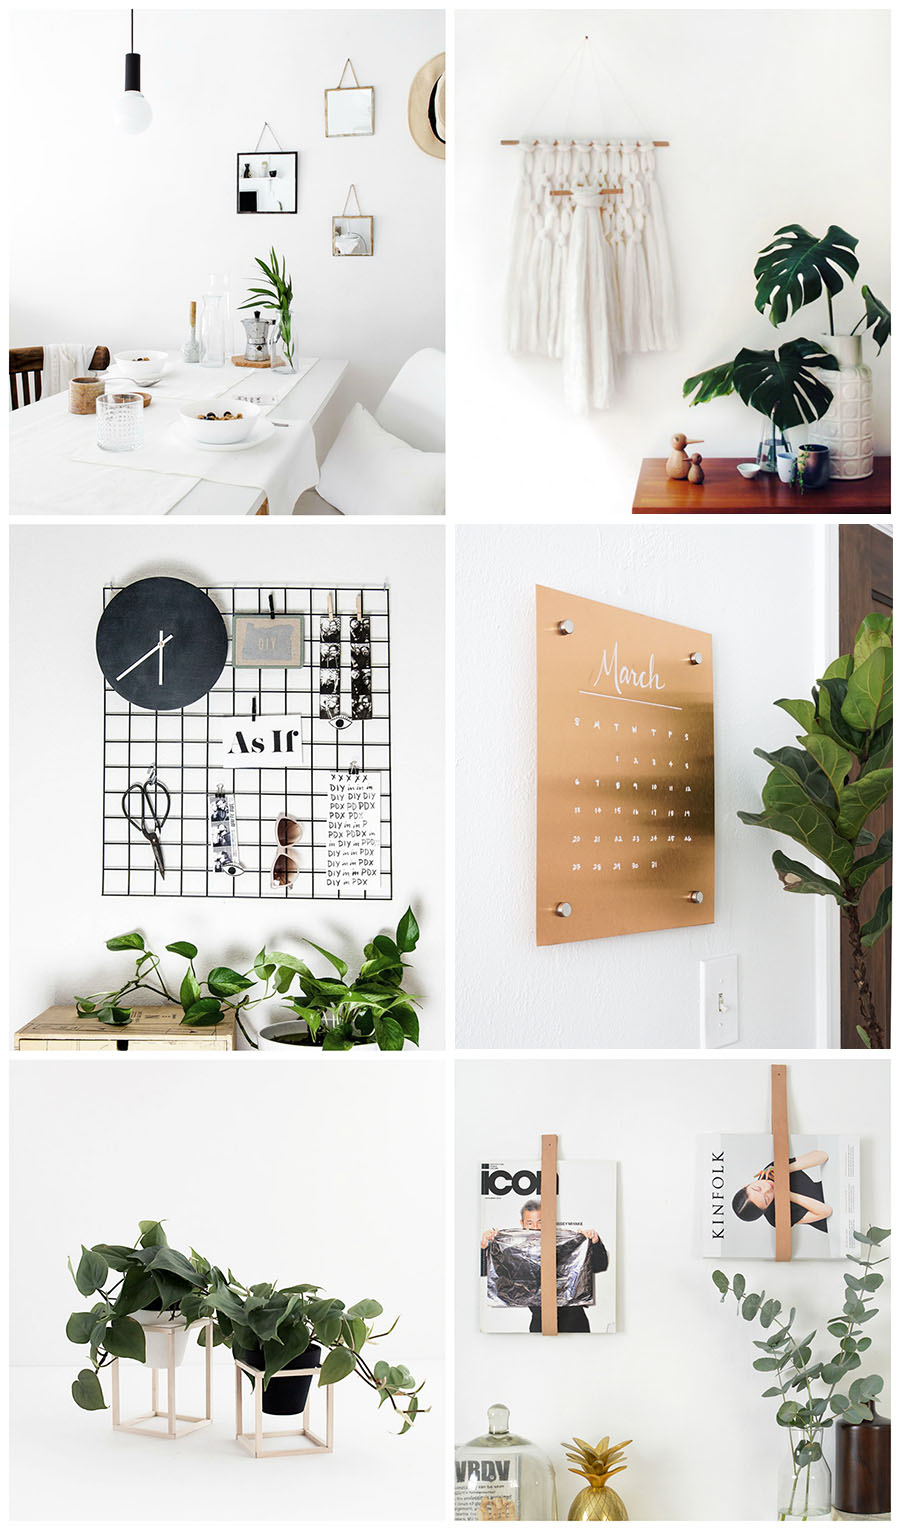
Simple and Modern DIYs for the homeIt’s my favorite category of DIY, surprise surprise.  As always, keeping it simple is best and honestly what I’ve found to be the best way to stay motivated about making your own decor.  Especially considering the 392 decisions that need be made for redoing our place lately, now doesn’t feel like the time to DIY something complicated that’s going to take 7 days and 7 nights and build a pile of stress.  That’s the reality of it for all of us, no?  So hopefully any of these simple ideas inspire you to take on a project or create a new idea even if you’re feeling like you can’t find the time for it.
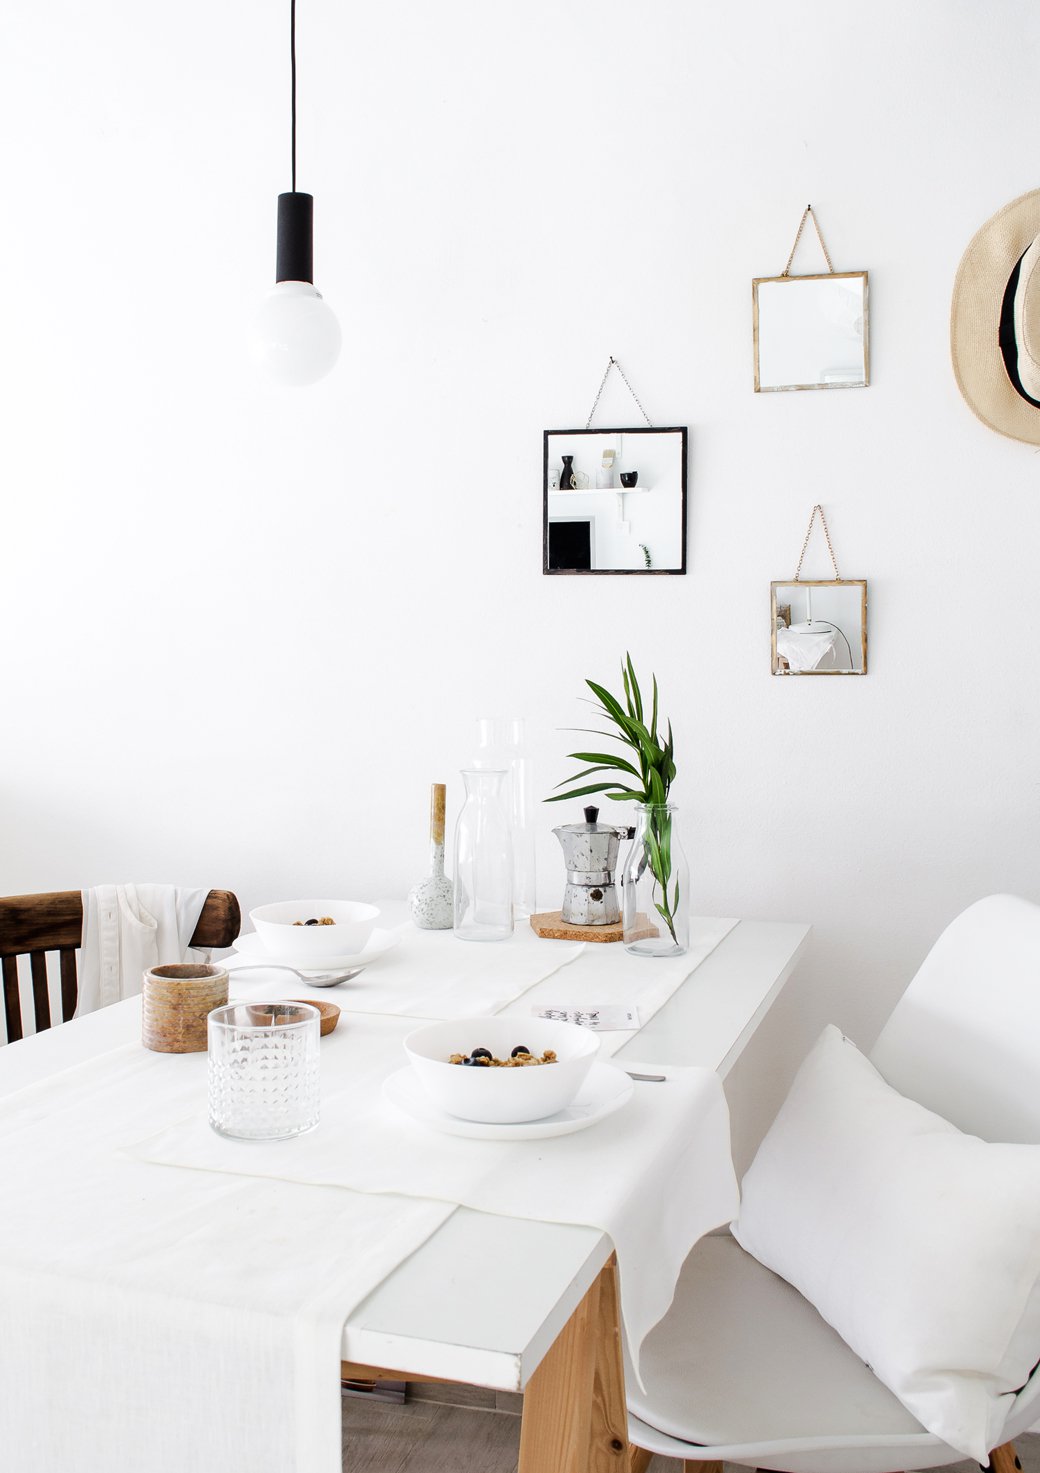
 

mirrors6Hanging mirrors by Passion Shake for Decor8

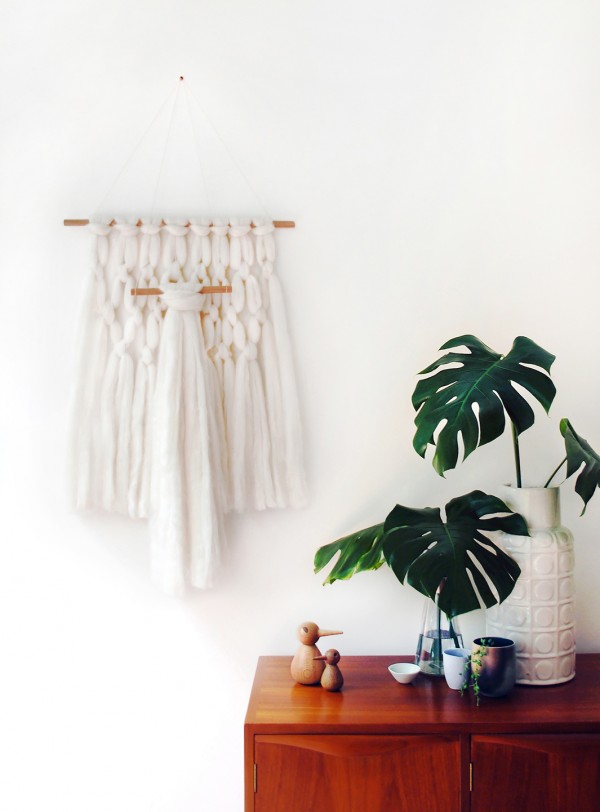
wool wall hangingWool wall hanging by We Are Scout

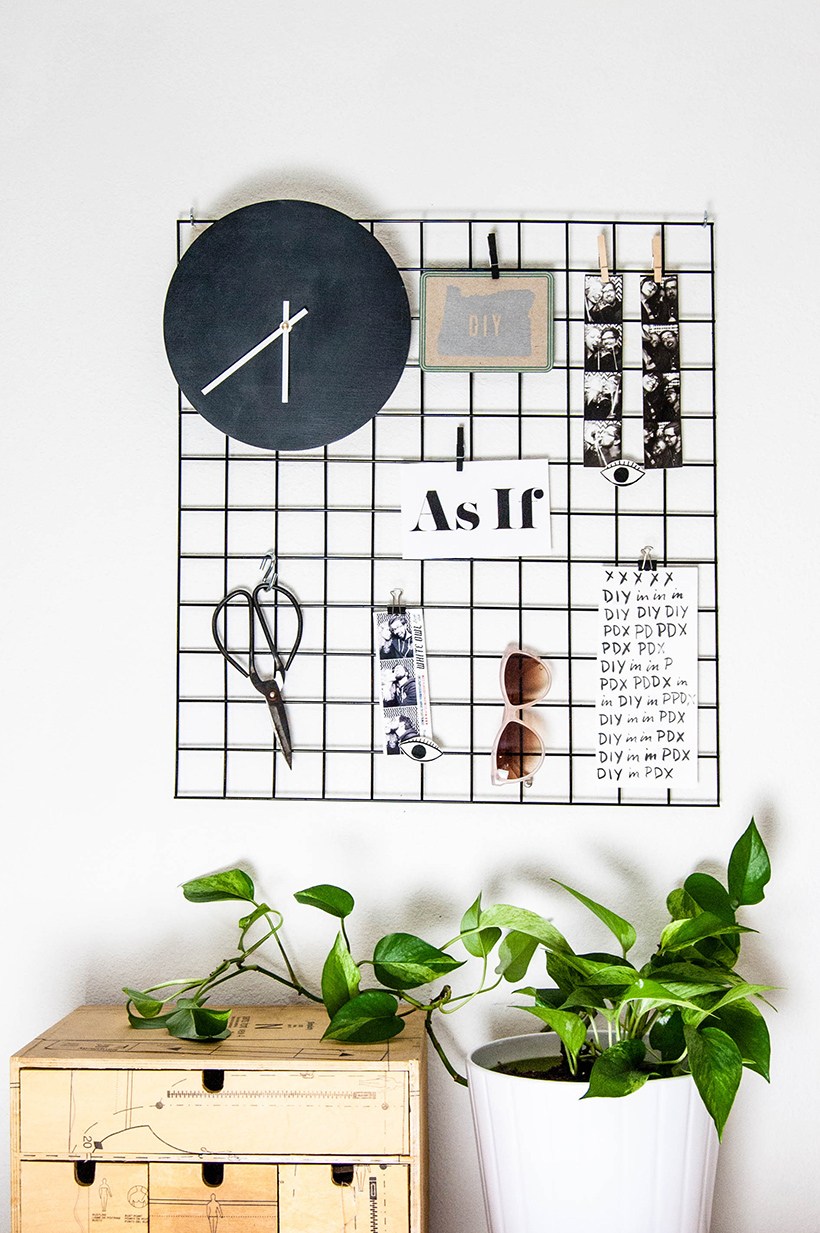
wall-gridWall grid by DIY in PDX

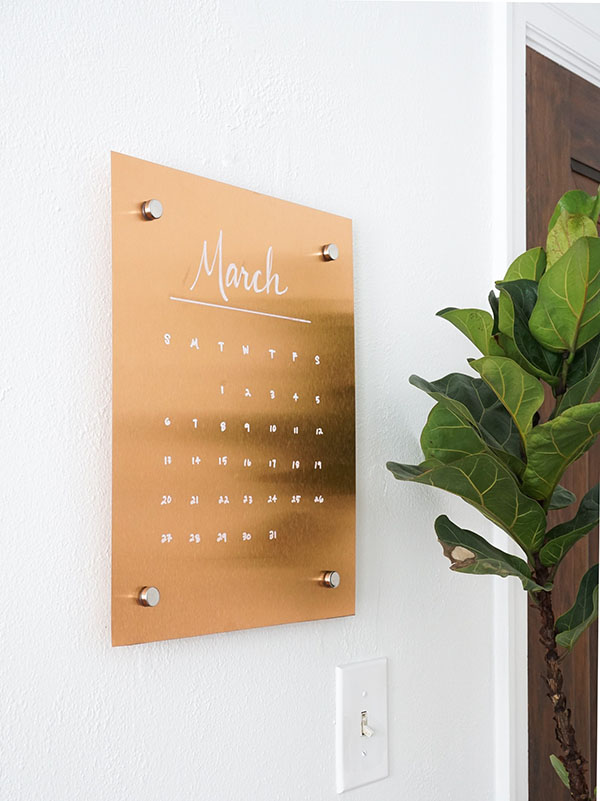
copper-message-boardCopper message board by Francois et Moi

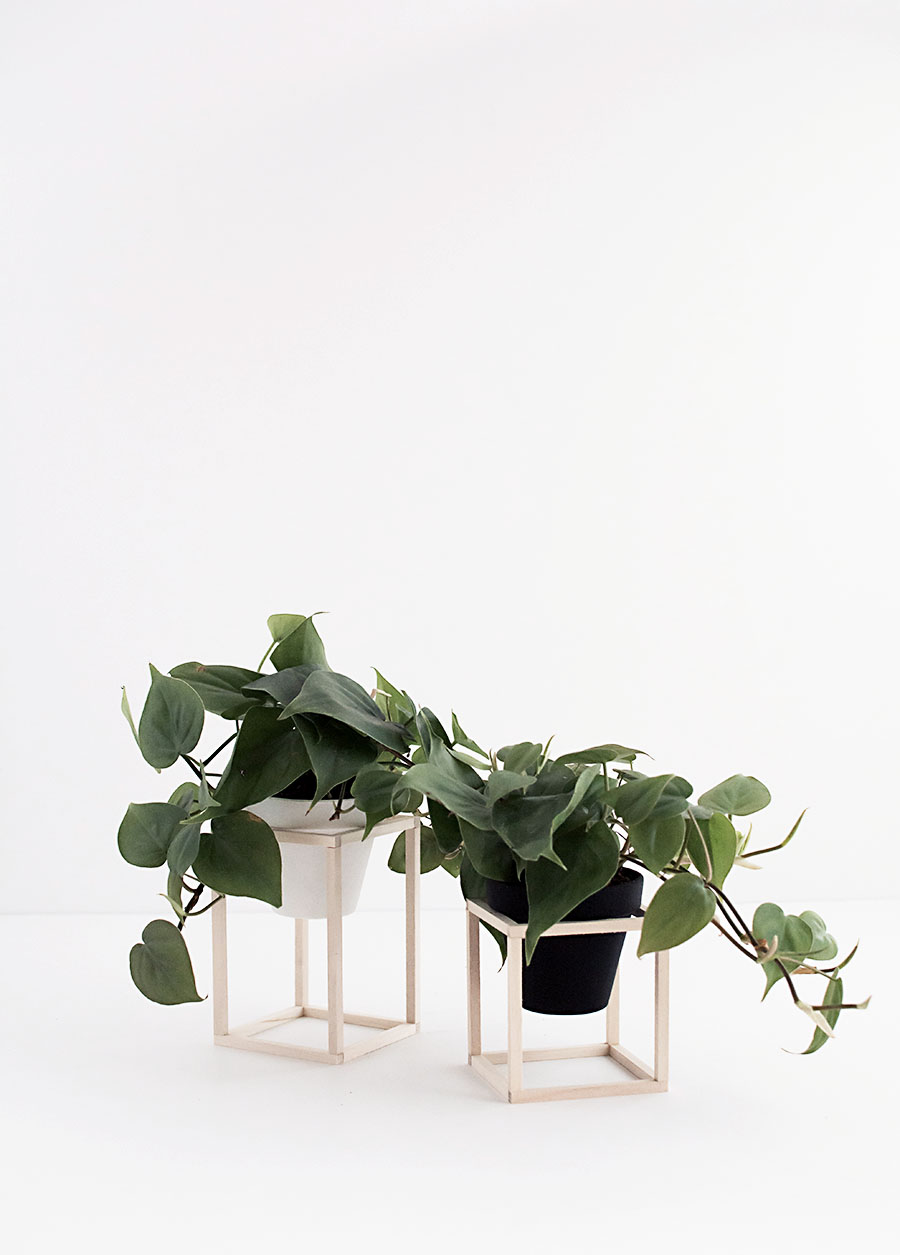
DIY Mini Wood Plant StandsMini plant stands by Homey Oh My! (in case you missed it!)

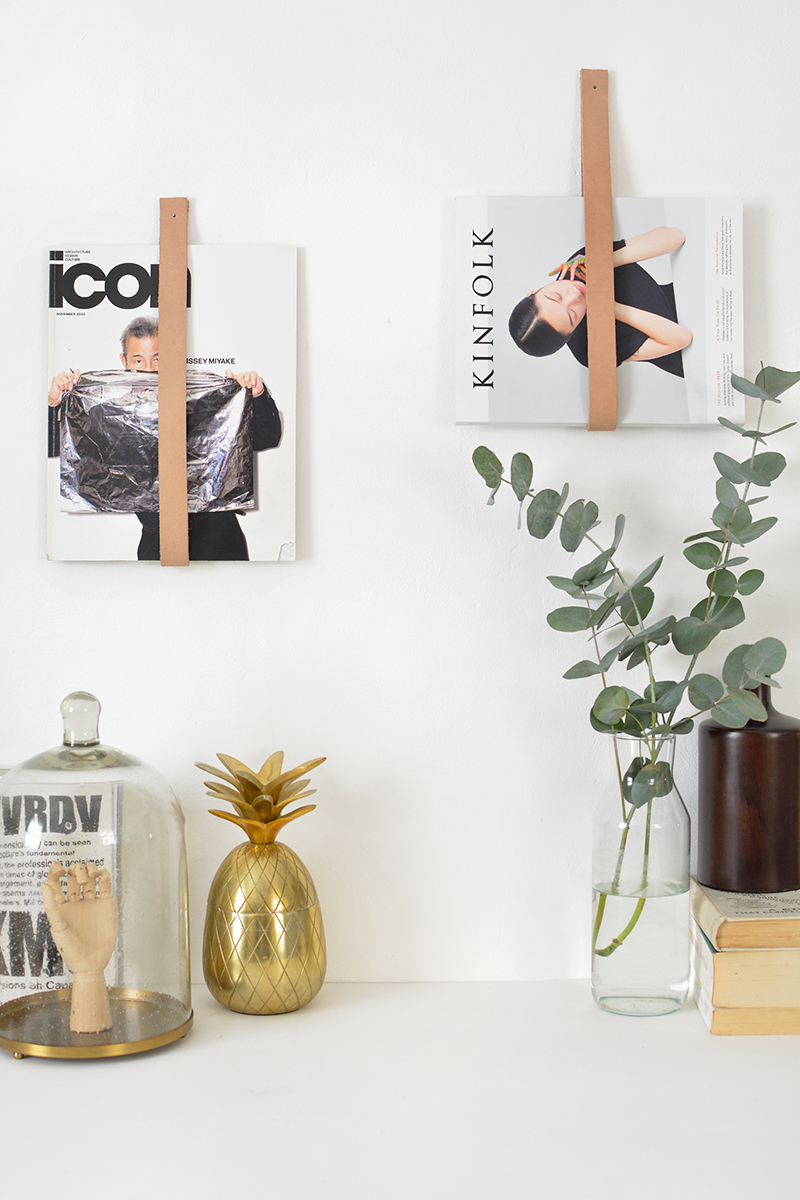
leather strap rail diyLeather magazine holders by Burkatron

03/24 Our Apartment

Bedroom Organization Progress

wardrobe organization

My biggest excuse for anything around the home taking too long to get done is that the task is daunting and I just don’t want to do it.  Shocker!  Who wants to build IKEA furniture all day??  I don’t.

Take our bedroom for example.  It’s been maybe over a year of me promising that I’m going to make changes and finally turn it into a functional space instead of the storage room it turned into over the years, and that was the very problem: there was a lot of STUFF, and it was stuff I wasn’t using or no longer liked.  The plan to declutter and overhaul the space was so overwhelming that I kept putting it off indefinitely, giving my frequent excuse that I don’t have time and that there were other more pressing to-do’s that I needed to finish first.

This is what the plan needed to be: declutter, sell the furniture, get new furniture, build furniture, reorganize, redecorate.  I frequently thought about my ideal plan, which was to have someone come and take everything away so I could start with a clean slate and get straight to the fun part (decorating), which I guess was possible to do, but the point was this: I needed help and I was never going to finish this project by myself.

Help came when TaskRabbit reached out to me to aid with any Spring cleaning tasks, to see if they could match me with a Tasker to do any jobs around the home I had been procrastinating.  Were they reading my mind??  I said heck yes, can someone come and carry new furniture up to my bedroom and build it?!  I scheduled a date to have a Tasker do the job, and that date became my deadline to make some real progress on our bedroom.

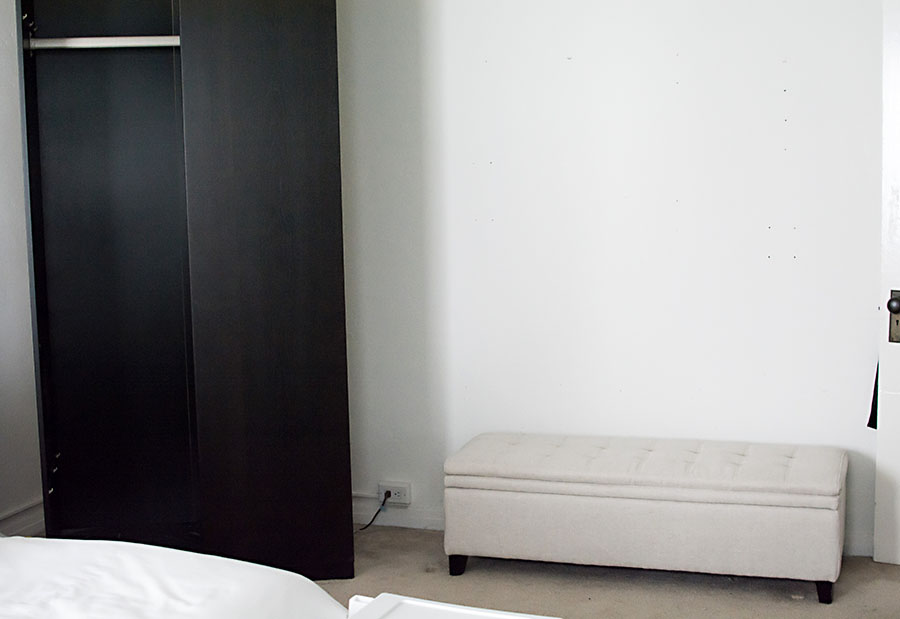
wardrobe before

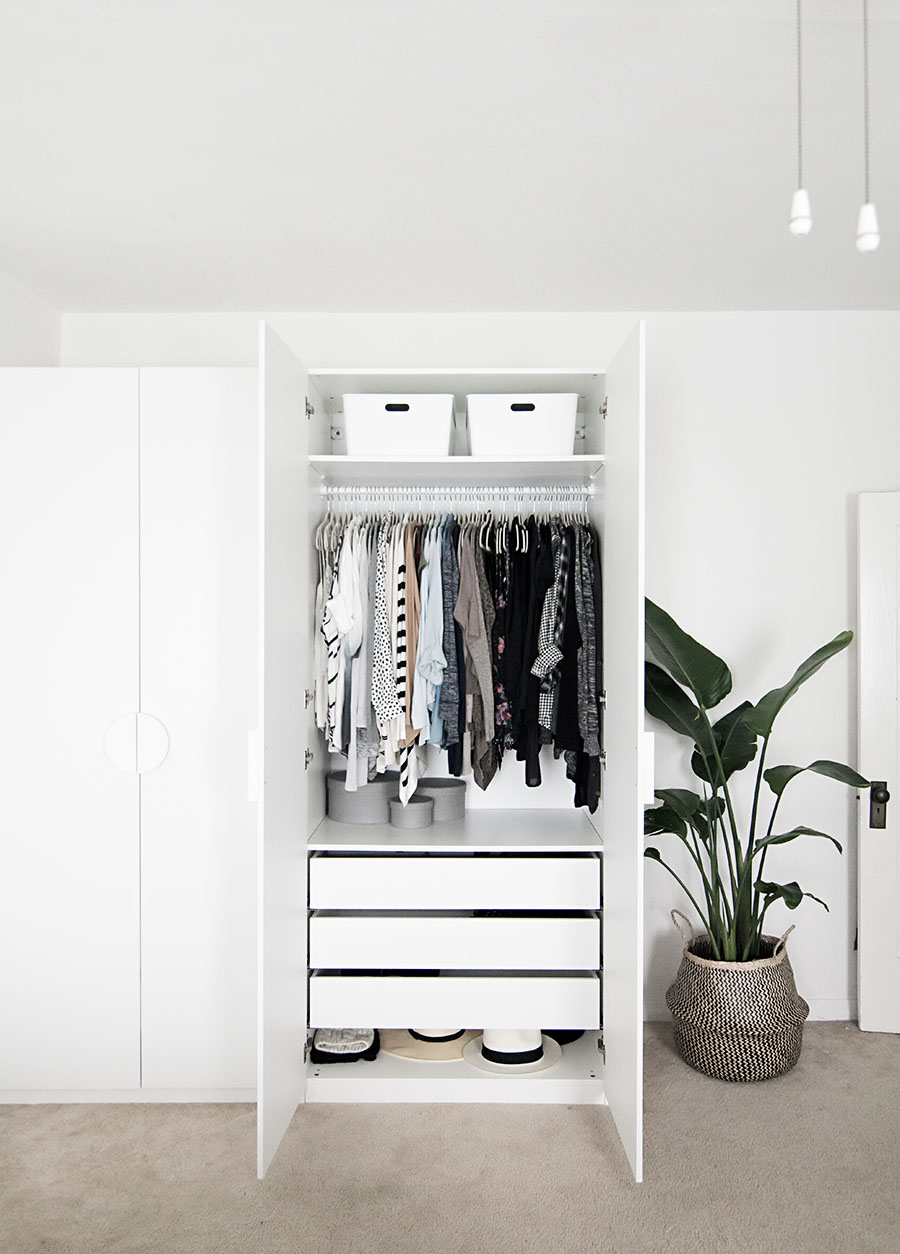
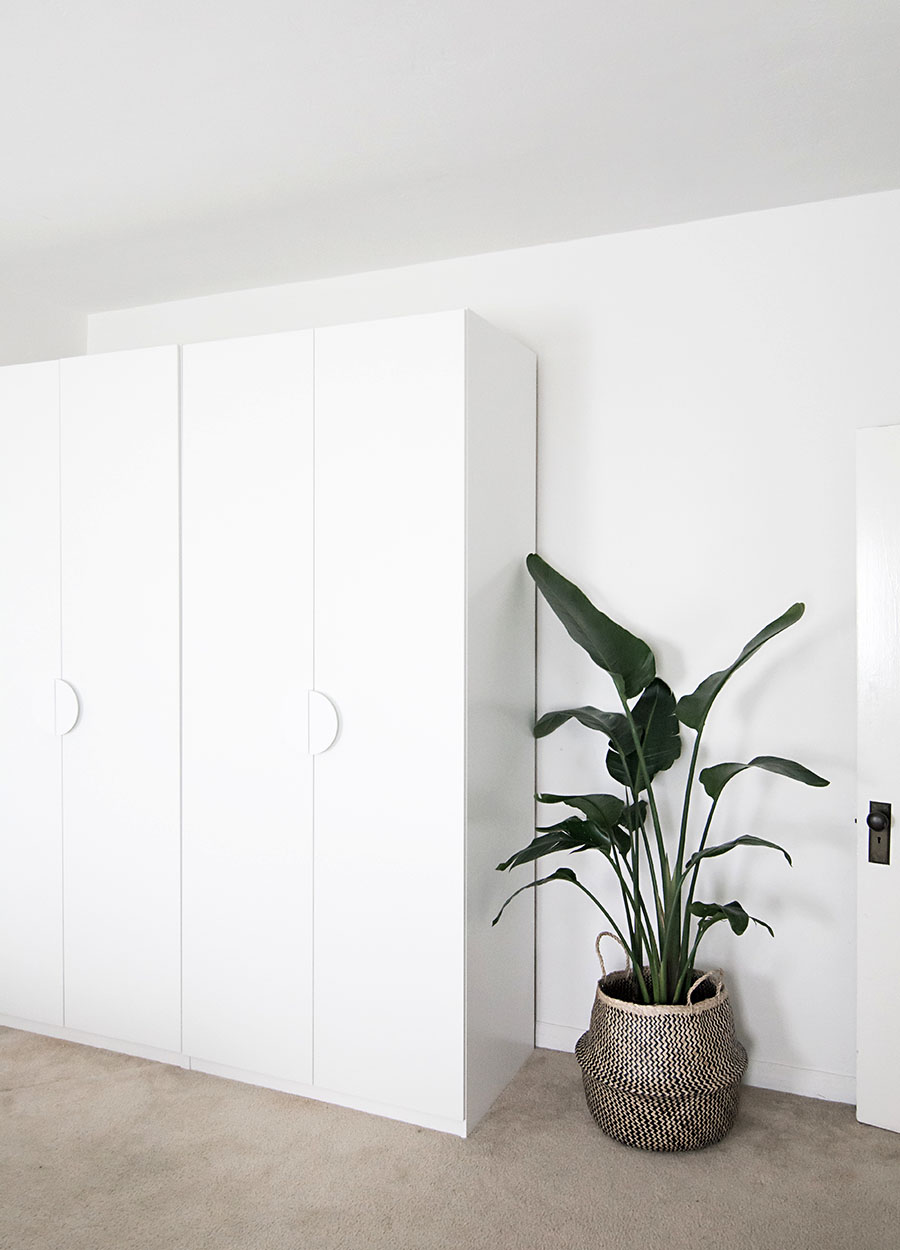
Because the built-in closet our bedroom came with is essentially the size of a broom closet, an external wardrobe is necessary for us to have.  We inherited the one in the “before” shot above from the previous tenant and it always felt like a soul-sucking black hole in the corner of the room, plus we needed something wider that would make better use of the space instead of that storage bench we had that actually couldn’t store much.  We went with a double wardrobe in white, which our first Tasker Romain carried the pieces of from my car up to the bedroom and built with the help of our second Tasker Steve.

IKEA PAX wardrobesSO much better, right?

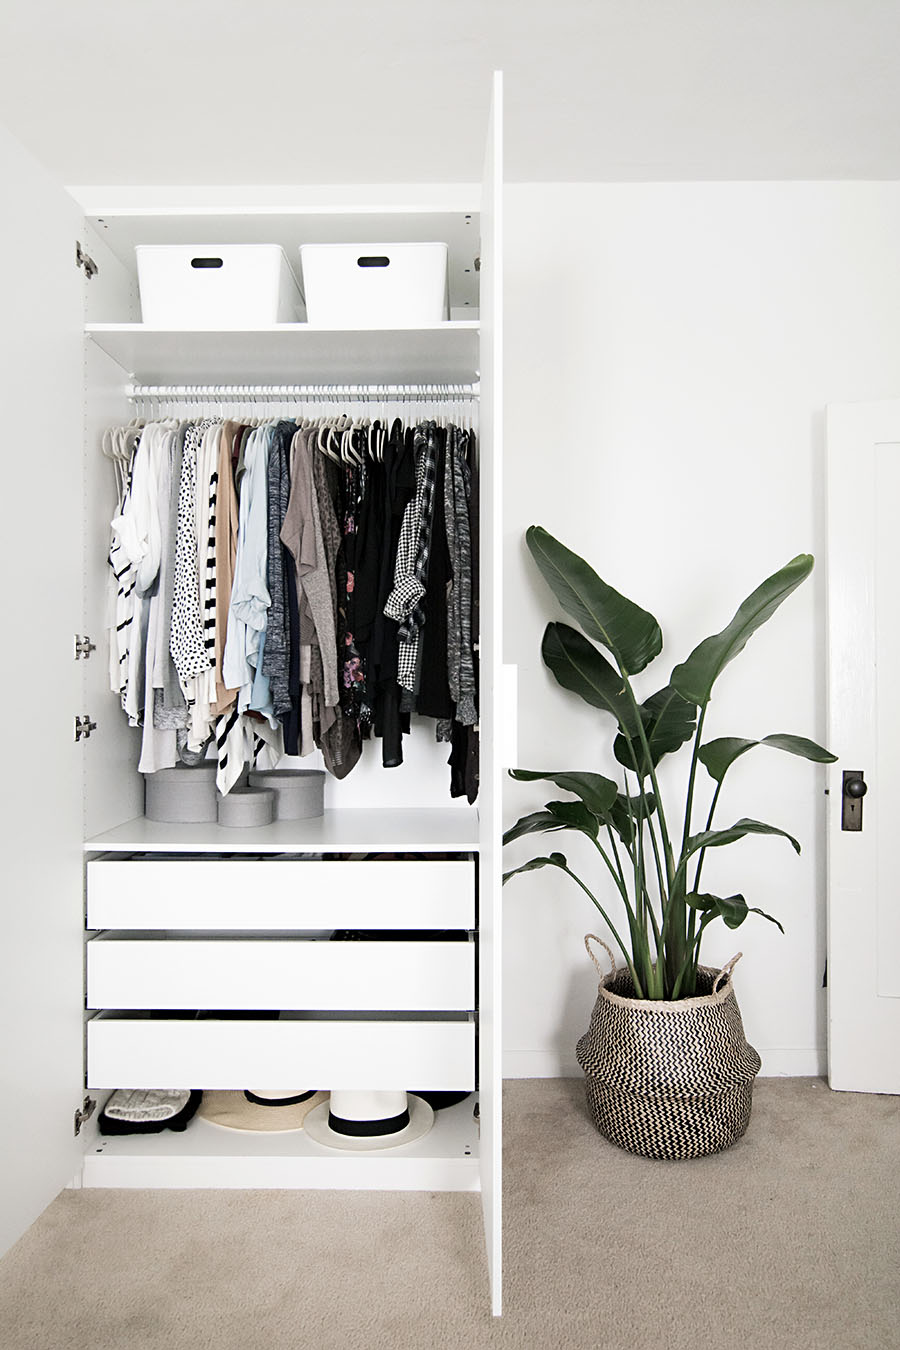
IKEA PAX wardrobeI keep all my tops, bags, sweaters, and hats in here.  Up at the very top I stored some extra bed linens, which used to live on top of our second wardrobe.
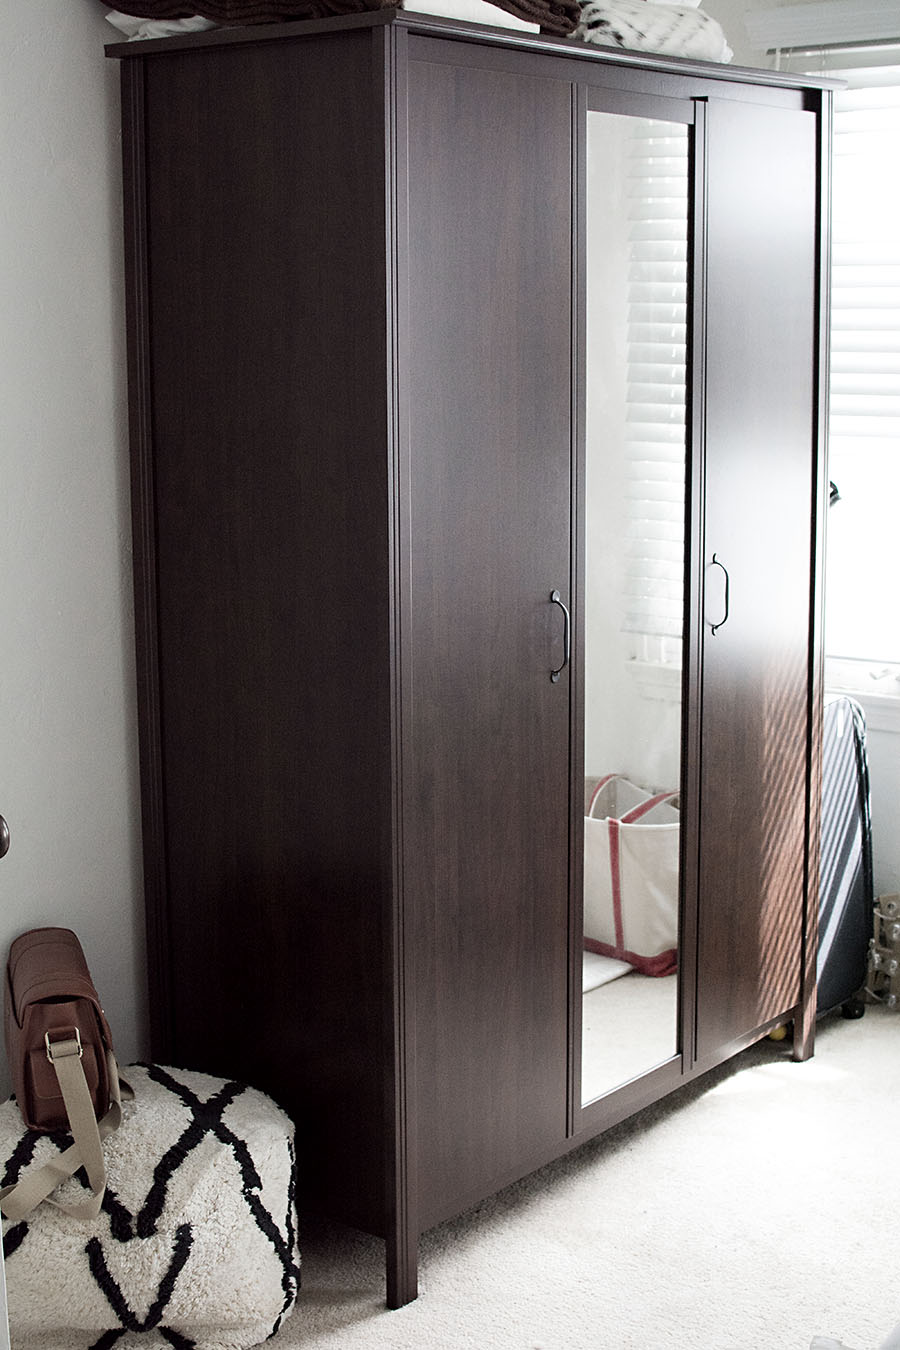
dresser before

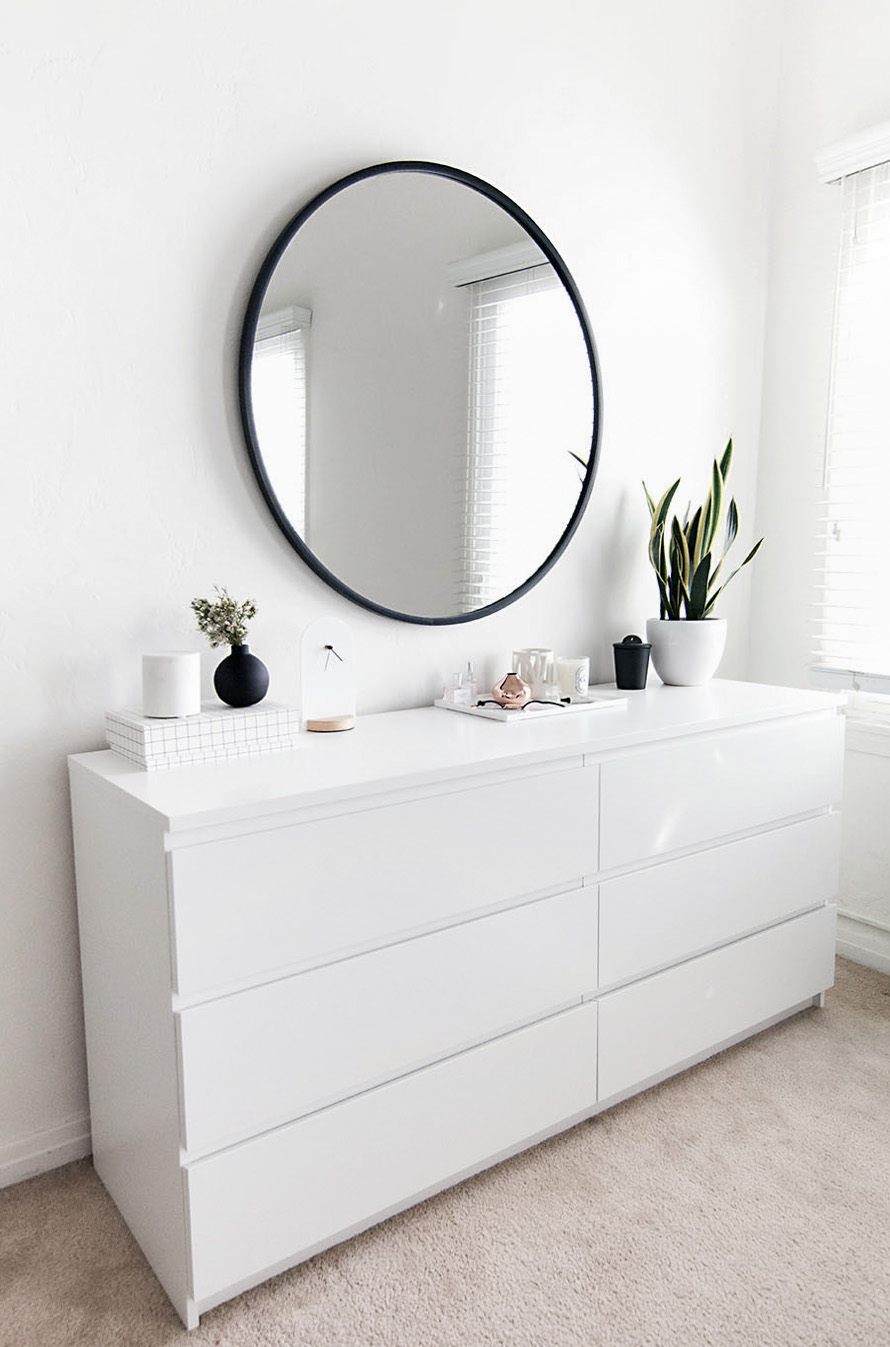
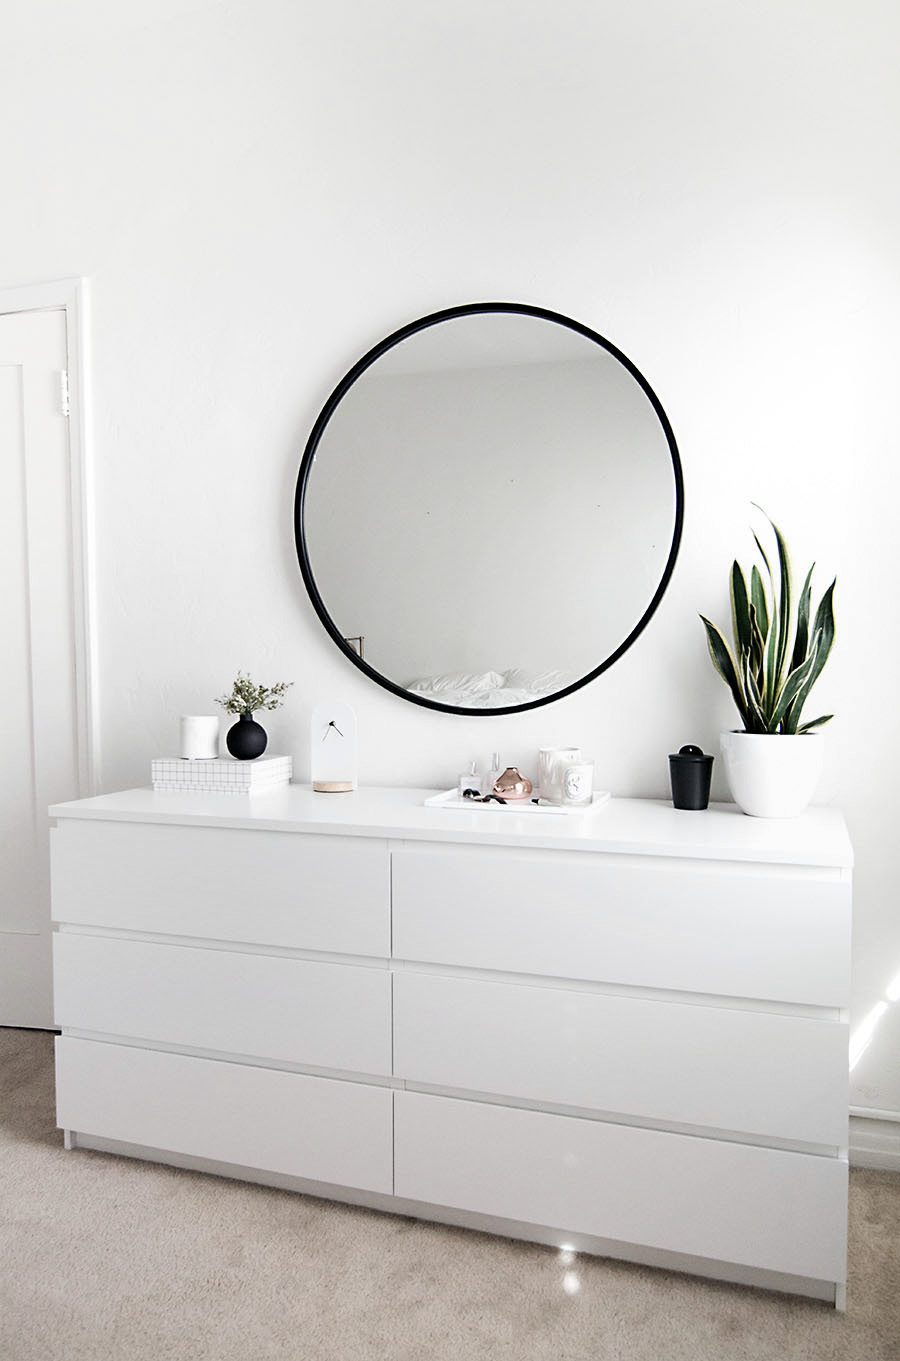
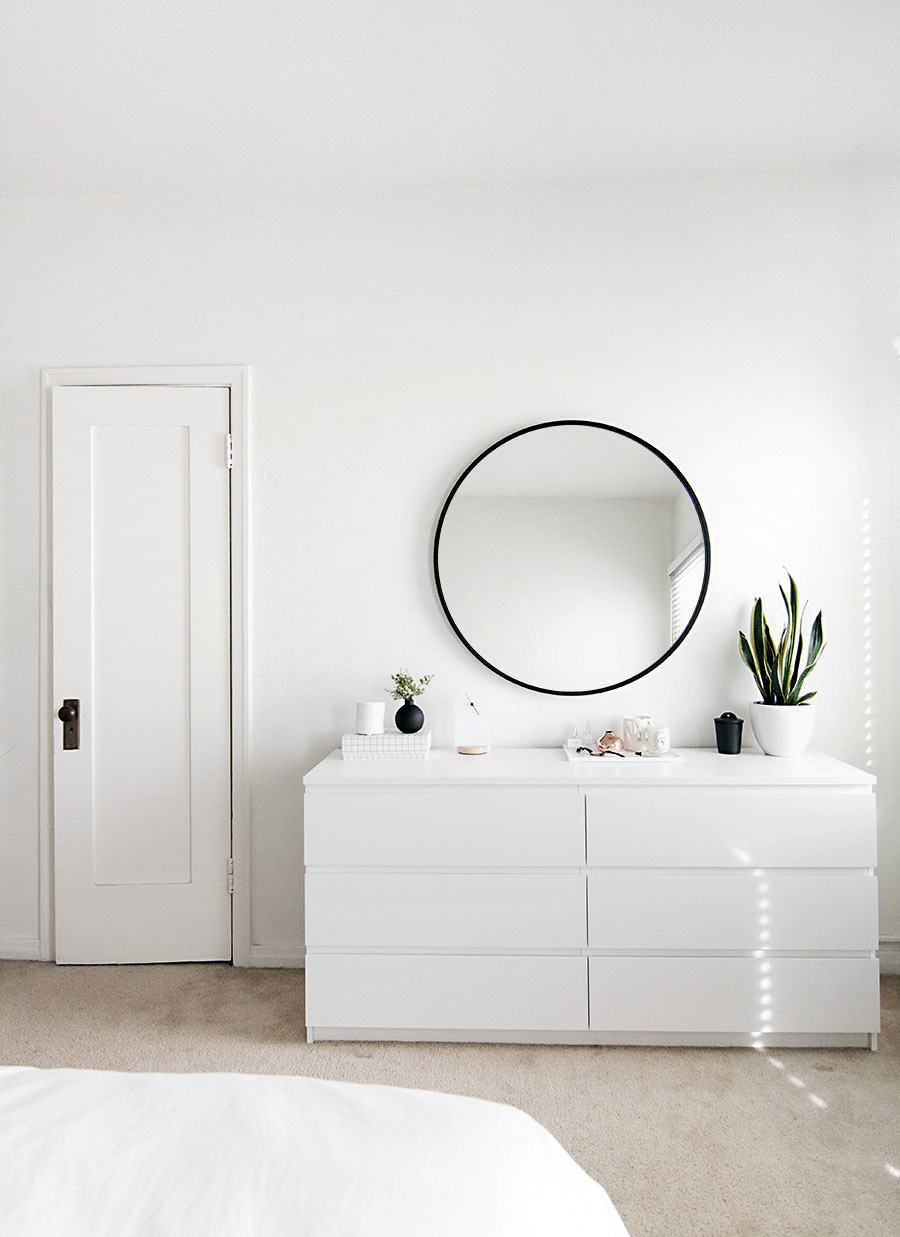
This was our second wardrobe which, like the first wardrobe, was dark and not making us happy, plus it blocked a lot of the light coming in from the window next to it.  A dresser made a lot more sense for this area, and yup, my Tasker Romain carried all those pieces up and built it.

white dresser

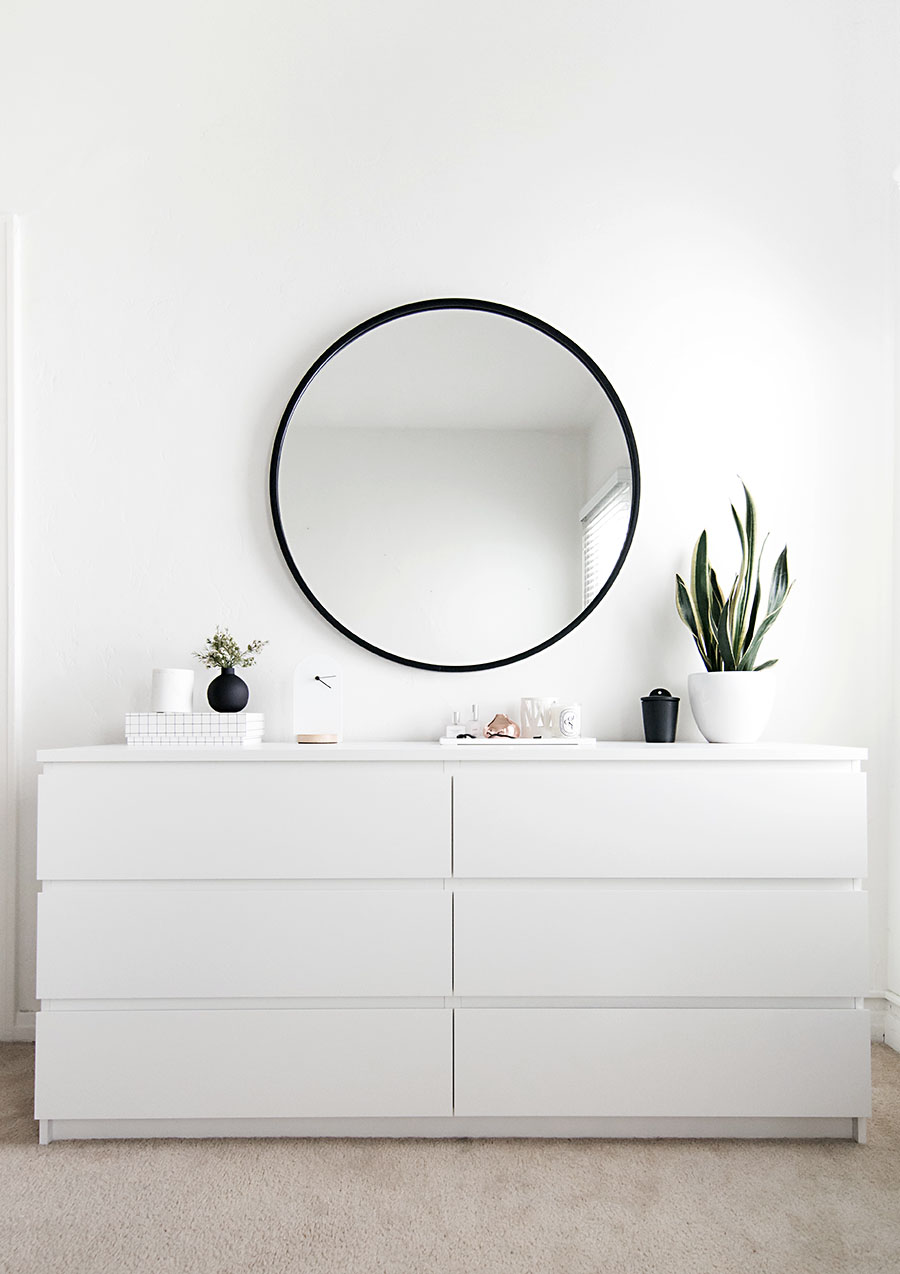
I keep my socks, underwear, basic tees, loungewear, and workout gear on my side of the dresser.  I was nice enough to let my guy have the left side, aw.

IKEA MALM dresser in whiteWe still have more to go with nightstands, lamps, a bed frame, art, and rugs on our decisions list, which is yet another promise I’m making on more changes to come, but I’m already so relieved that we’ve started on our path to the much more organized and minimalist bedroom I’ve always wished for.
minimal dresser
minimalist bedroom-2

While the Taskers built my furniture, I sat at my desk and worked on the blog.  Isn’t that amazing?  What they finished in 6 hours would have taken me 38.  They freed up my time, which gave me so much motivation to continue organizing and decluttering after their job was done.  This is absolutely the first time in my life where there’s extra space around my clothes, I’m serious.  I’ve never known till now what it’s like to be able to see all my clothing.  I’m super proud of this.

If you’re looking to make progress on any home projects or Spring cleaning chores, TaskRabbit now offers real-time service (read: tasks scheduled and done immediately.)  We’re all busy and can’t always find the time to do it all on our own, I know, so I really hope this helps you out if it sounds right for you.  Use promo code OHMY for $20 off same-day tasks.


SOURCES: wardrobe | wardrobe handles | dresser | mirror | marble canister | clock | tray | copper vase | ceramic pillar | candle


This post is in partnership with TaskRabbit.  All words and opinions are always my own.  Thank you for supporting brands that help make it possible to bring you new and inspiring ideas!