07/01 DIY

DIY Leather Bookmark

DIY Leather bookmark

Is summer reading still a thing if you’re not in school?  The difference now I guess is that it’s entirely by choice??  Maybe it’s the increased leisure time like quiet moments poolside or at the beach, but I get the inclination to read more during this season.  I also want to mention that the very idea of even making a bookmark supports that I keep it old school and read from paper.  Just a personal preference over e-readers!

I previously made some bookmarks out of cardstock and have since thought about coming up with a sturdier + modern version.  Also going along with exploring this month’s Michaels Makers challenge of covering a favorite trend, I went with using two of my forever favorites: leather and tassels.

Materials:
tooling leather
leather lace
-suede leather
ruler
-pencil
cutting mat
leather punch
Rotary Cutter
glue
X-ACTO knife

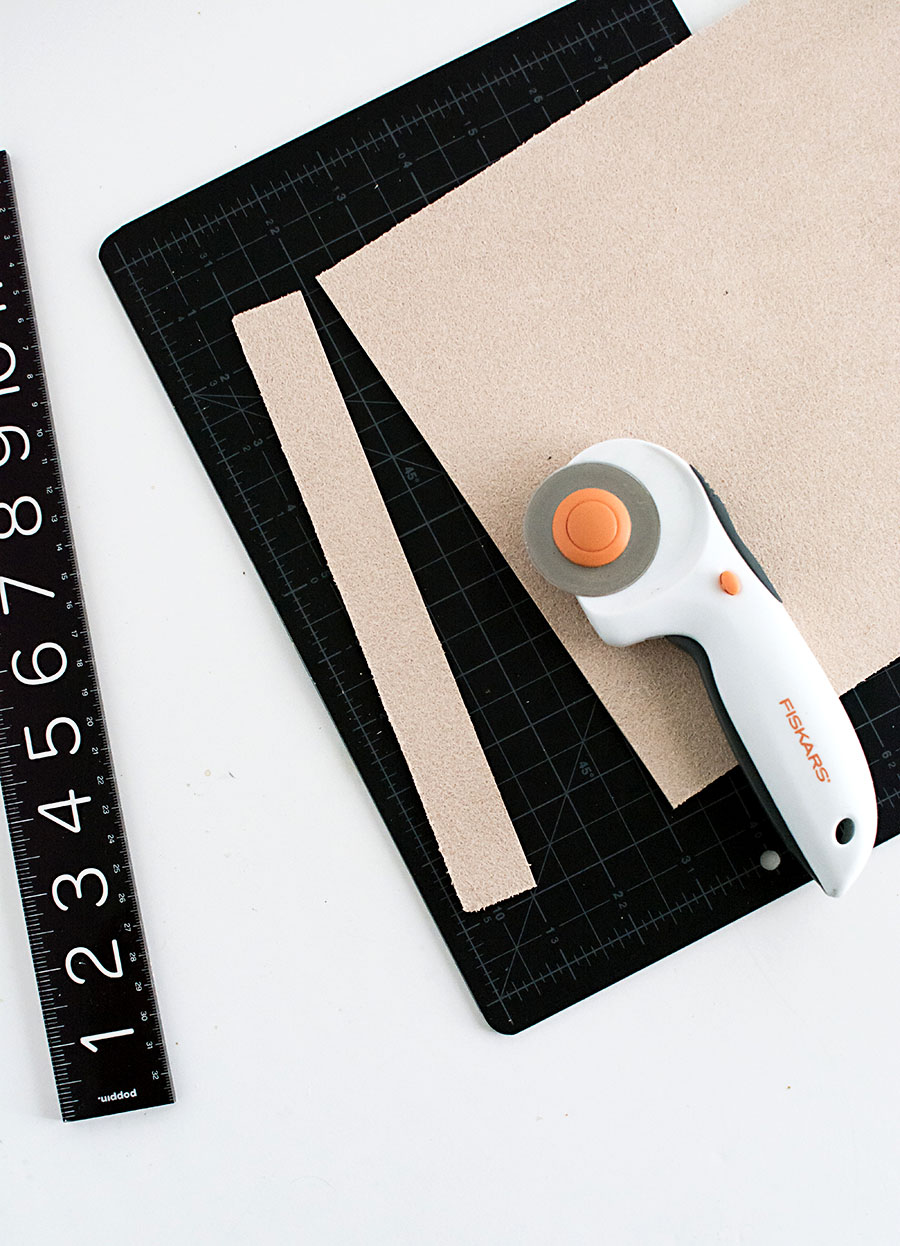
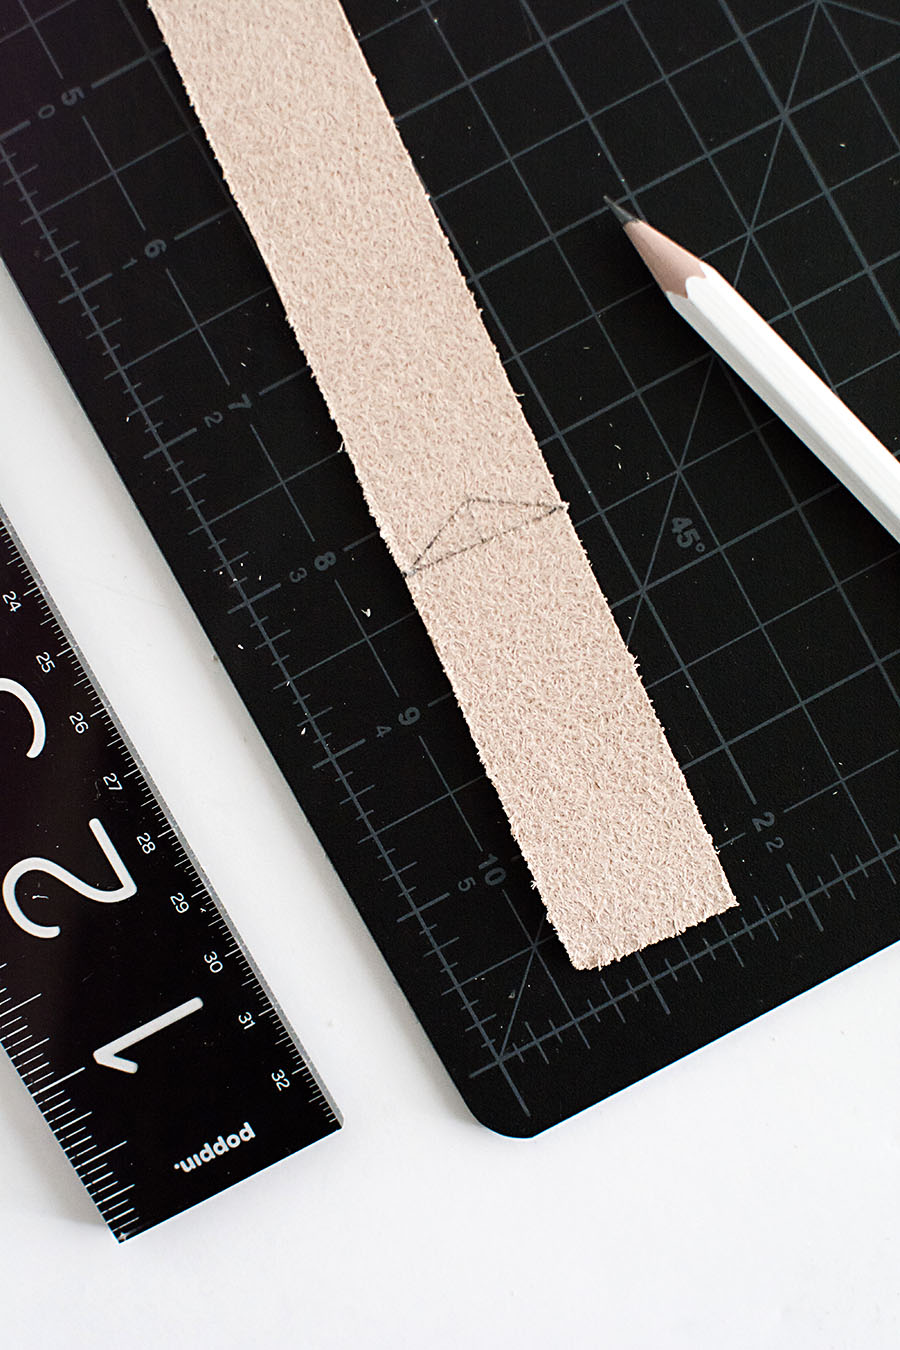
Leather cutWorking on top of a cutting mat, use the rotary cutter and ruler to cut a piece of leather about 1 inch wide.
Leather measure

About six inches down from the top, trace out measurements with a ruler and pencil for a flag shape.  Use the X-ACTO knife and ruler to cut along the diagonal lines.  You may need to go over the lines a few times to cut through the leather all the way.
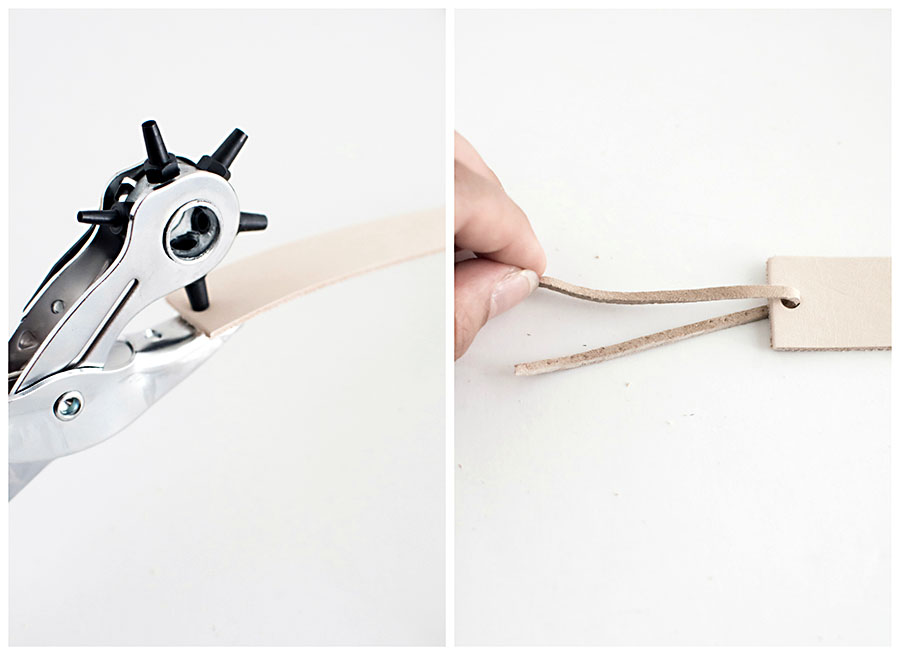
leather punch and lace

Punch a 4.5mm hole in the flat end side of the leather, then string a piece of leather lace through the hole.
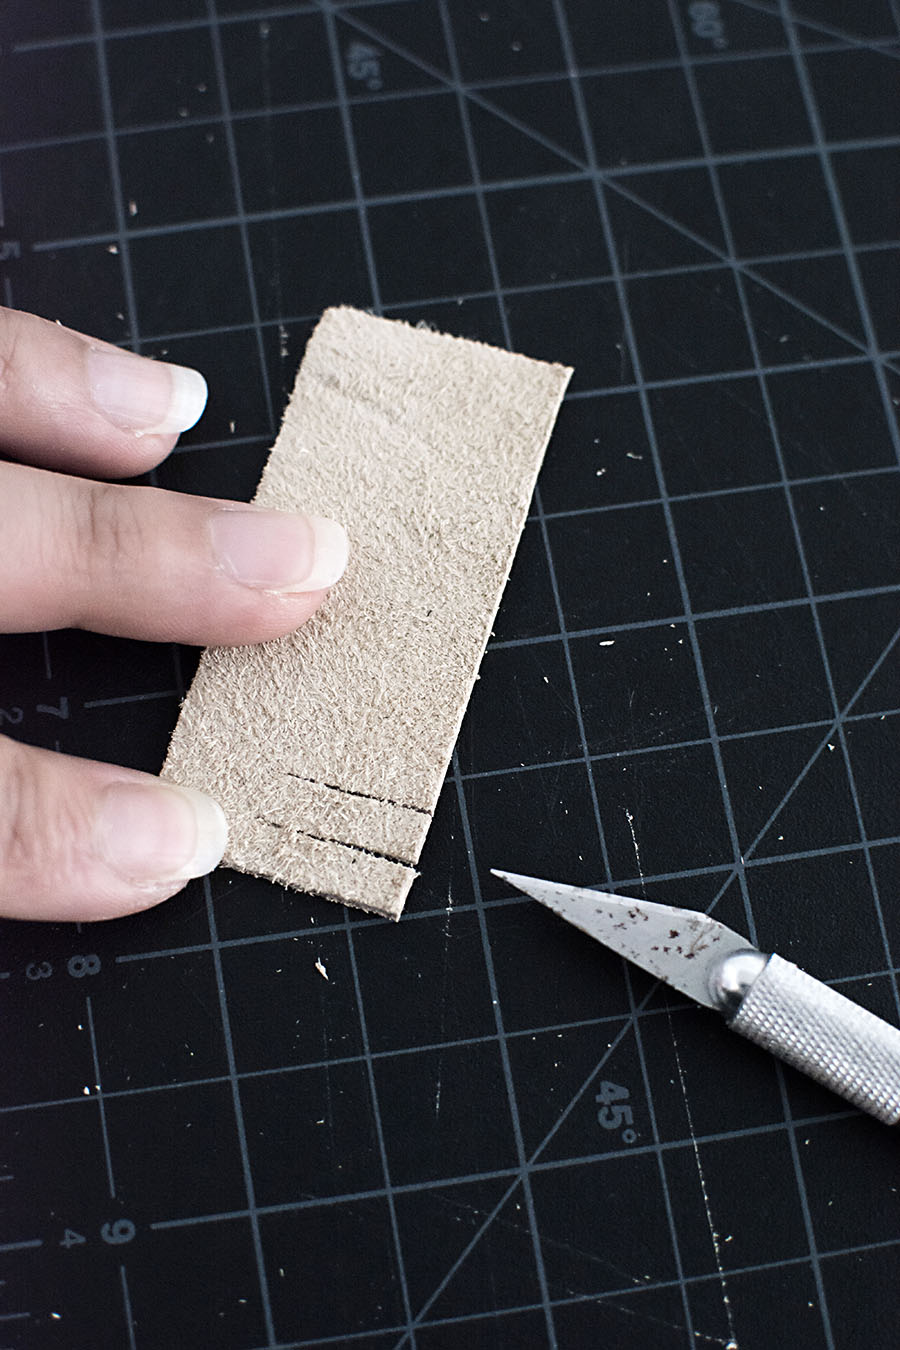
suede cut

Use the rotary cutter to cut out a 1×1.75″ piece of suede leather.  With the X-ACTO knife, cut lines down one side of the suede to create the fringe.  Again, you probably have to repeatedly slide the knife over each line to cut completely through.
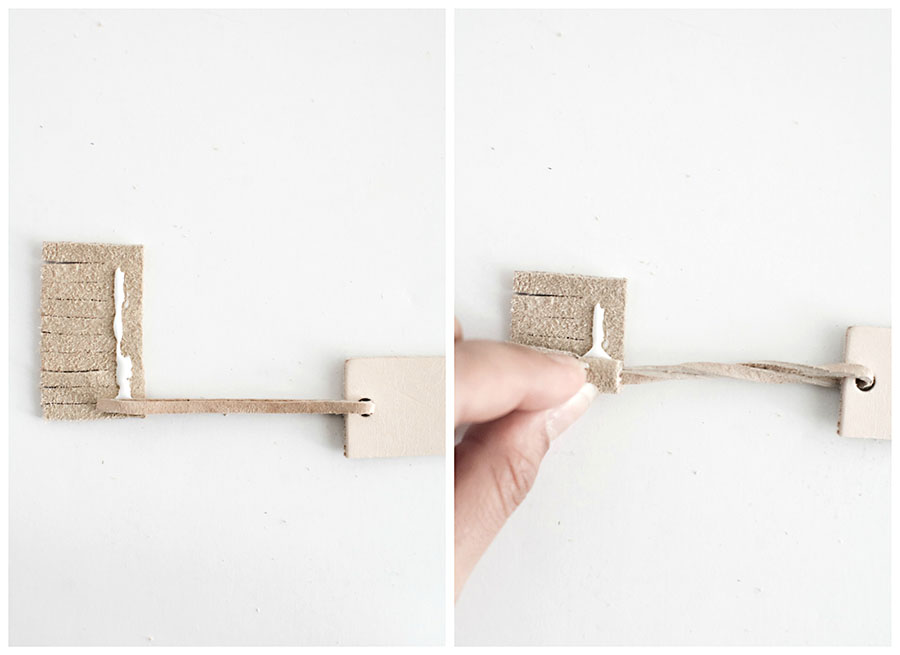
suede tassel

Apply a line of glue down the non-fringed side of the suede, then place the suede lace on top of the glue at one end.  Roll up the suede like a burrito all the way, squeezing tightly and wiping off any excess glue that might ooze out.  Hold the tassel tight and let it dry a little before letting go and letting dry completely.
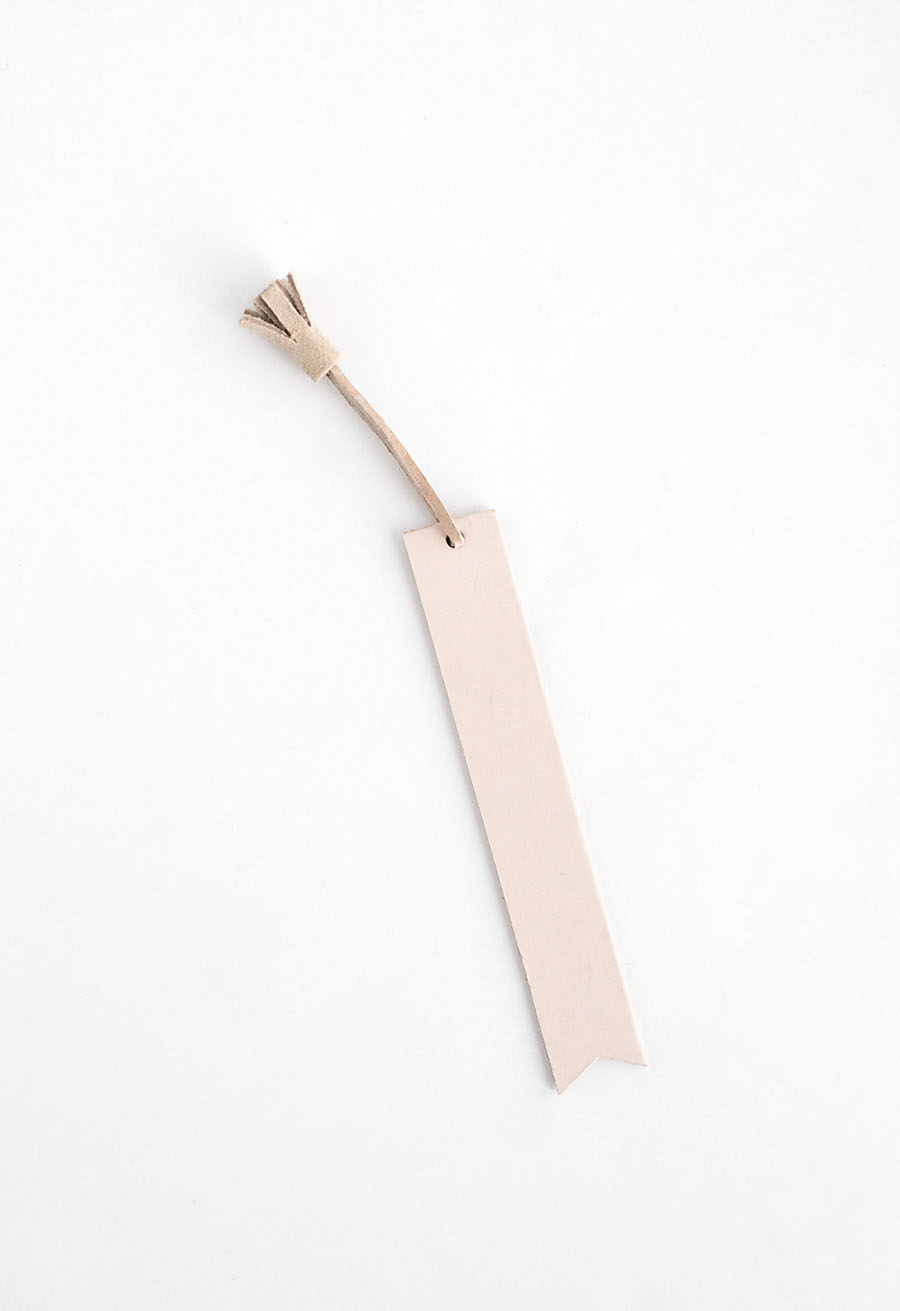
DIY leather bookmark with suede tassel-2

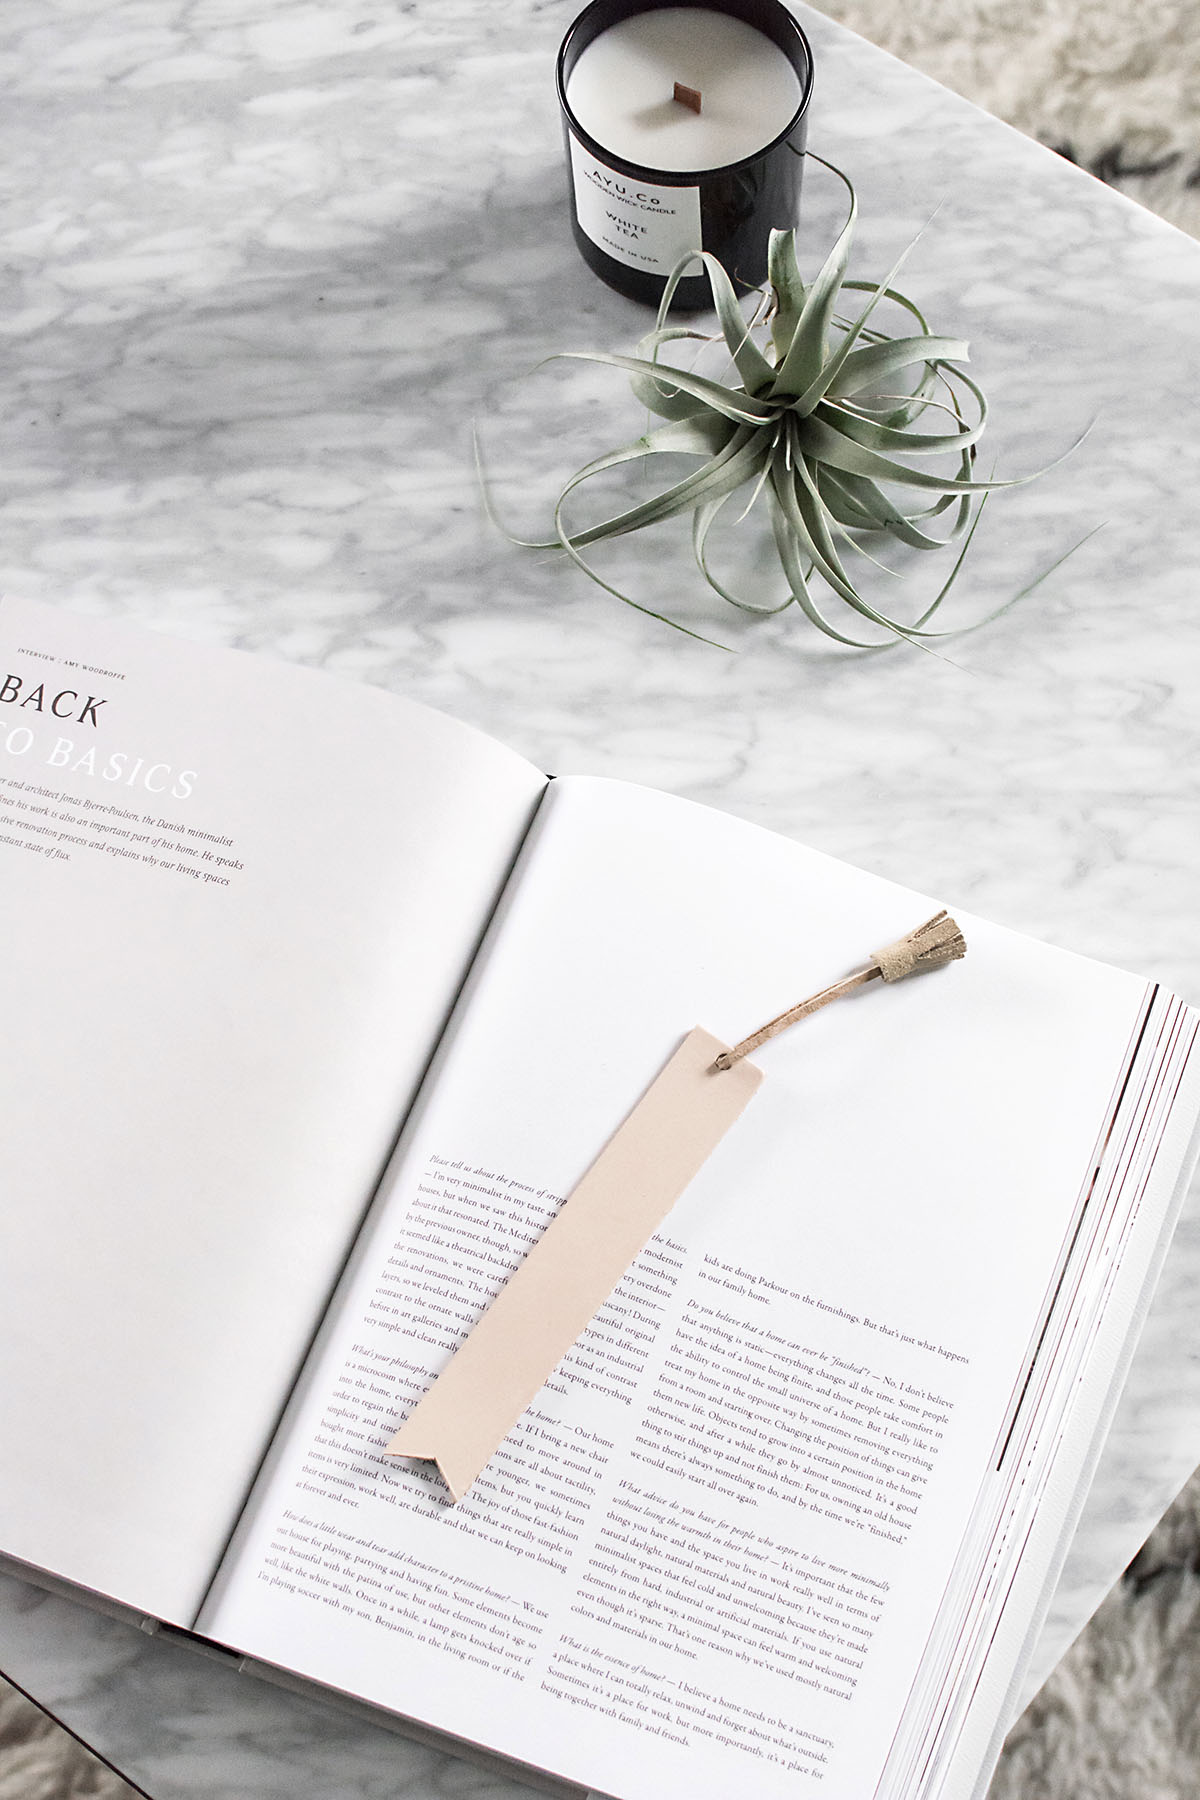
Ooo, makes you want to go and read something, no?  Much more than receipts or junk mail would, though I absolutely know I’ll still use those when I’m not in a position to reach for this bookmark, ha.
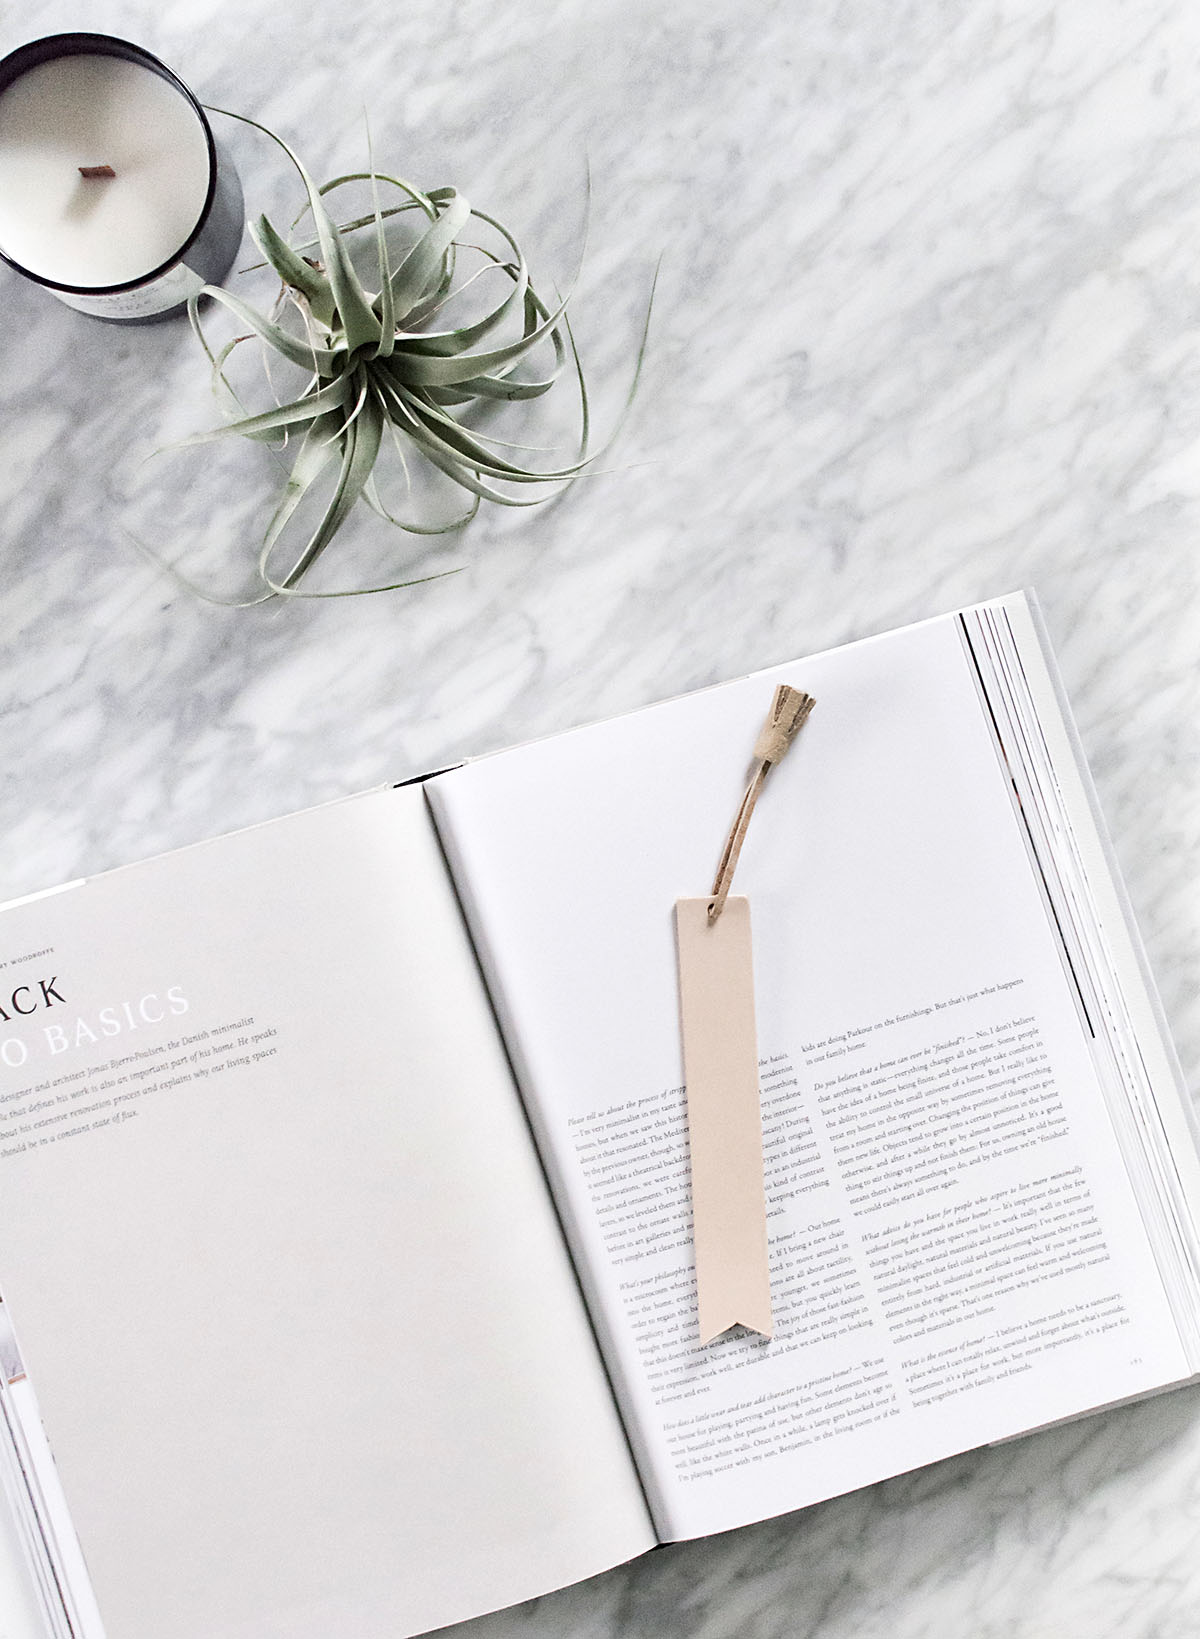
Leather bookmark DIY

So it’s another small detail added to my world of seeking simple and minimal design.  The little things do make a difference, I’ll always believe that!

PS.
Check out the Michaels Blog for the trendy things the other Makers made!

06/30 Printables

Typography Art- Free Printable

Typography art free printable-2

It’s a free printable (or 26) for you guys and this time it’s simple and minimal art.  I took inspiration from typography wall art I’ve spotted in Scandinavian interiors and created a printable for each letter of the alphabet in partnership with Canon so you can pick your favorite to display in your space.  Yes to options!

Canon iP8700 printer-2

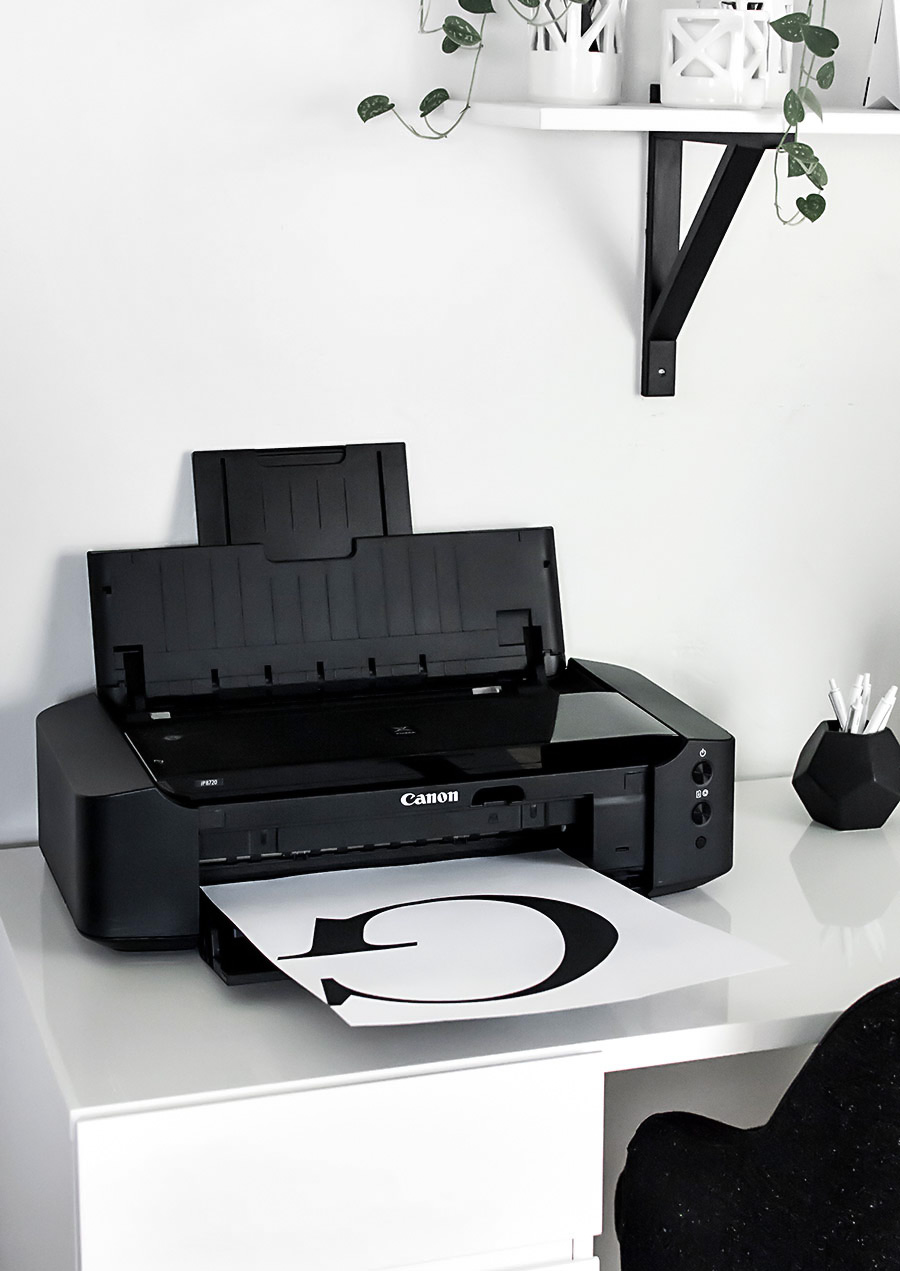
I used my Canon PIXMA iP8720 Crafting Printer since it can print on a larger 13×19 matte photo paper, which is what the printables are sized to.  Previously I would have printed on something like poster board but the ink prints way smoother on this paper and I love the texture of it.  Going larger than this size won’t turn out as clear if you’re stretching the image but you can definitely fit to size onto smaller paper if you prefer.

Typography art - free printable

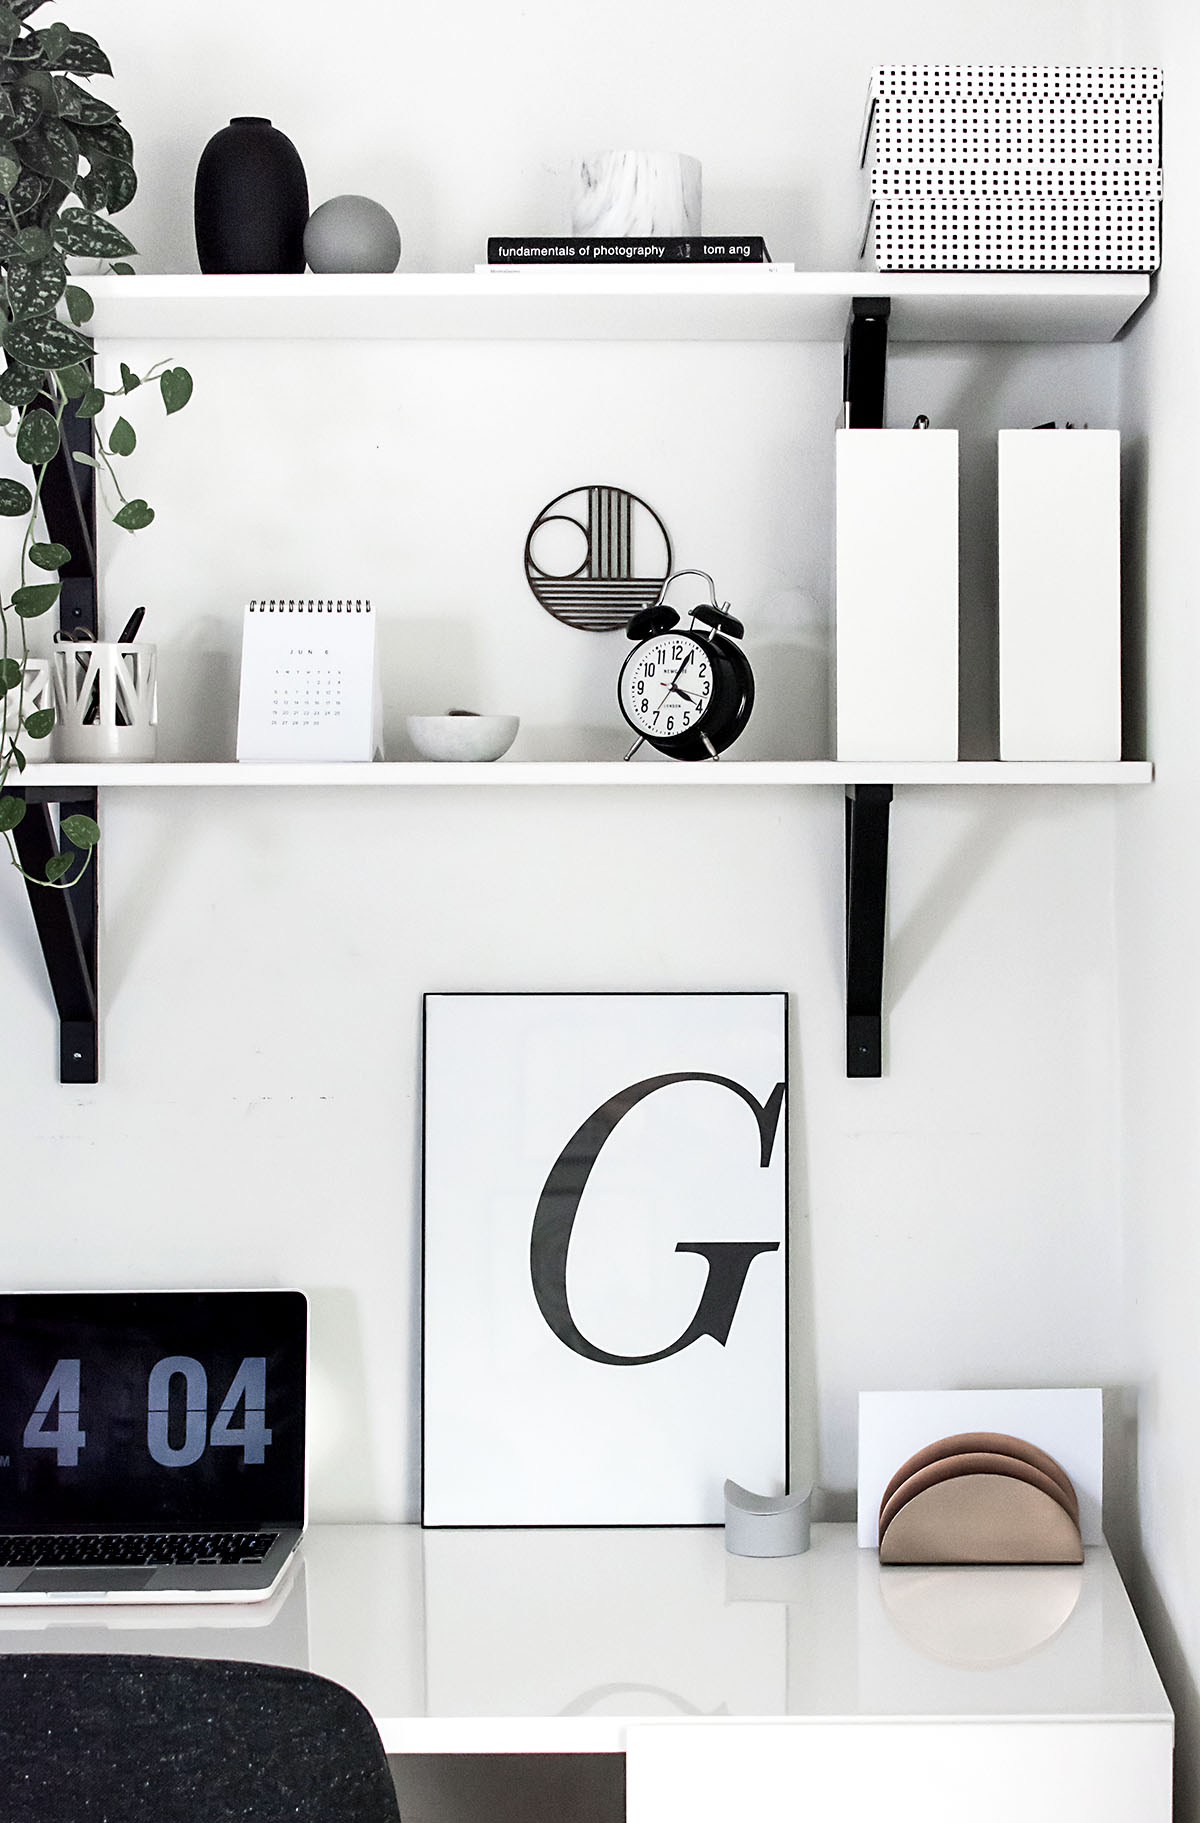
I popped it into a frame and bam, instant art.  I follow the school of thought that a frame turns anything into art, even something as simple as a single letter printed on paper.

Typography art- free printable-2

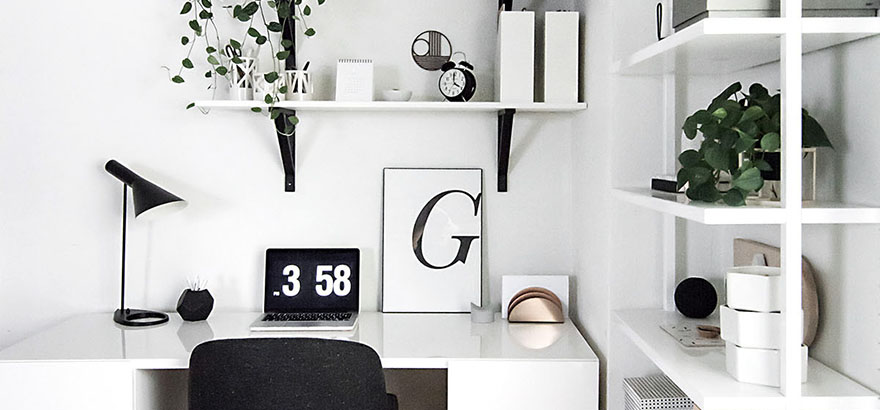
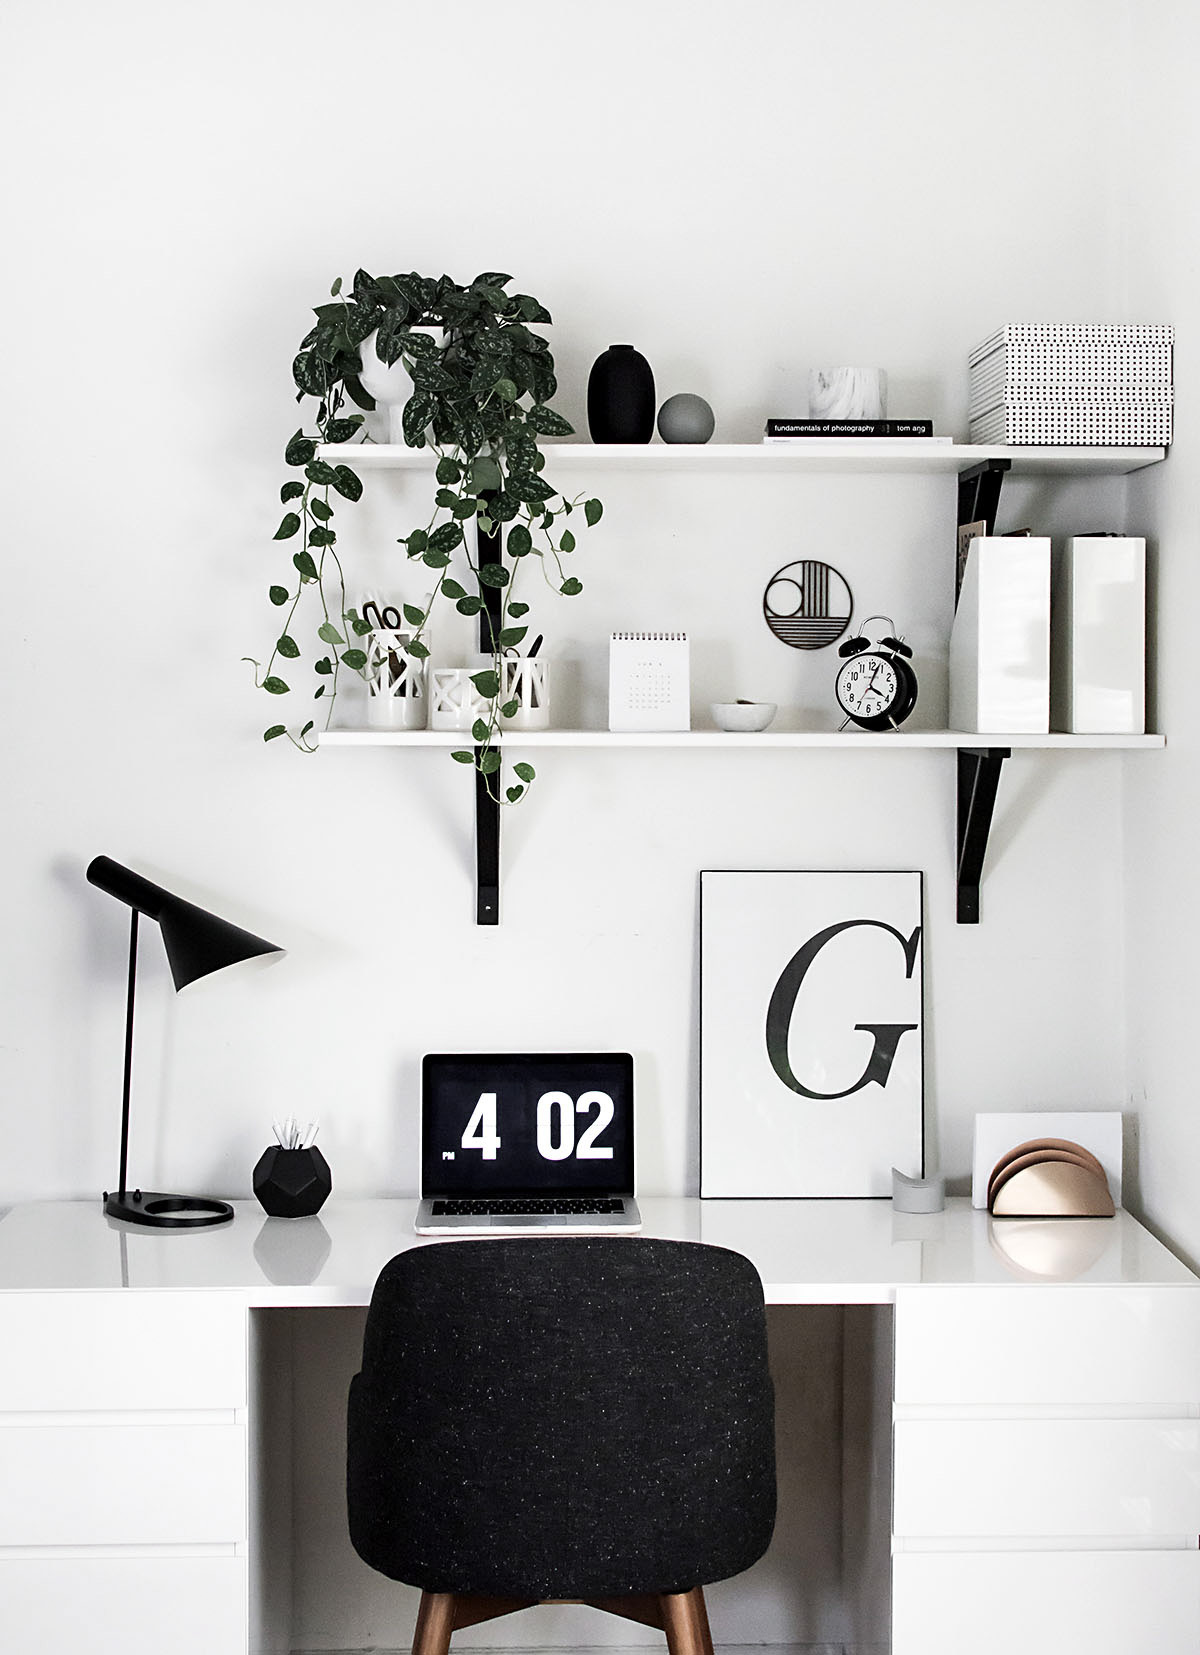
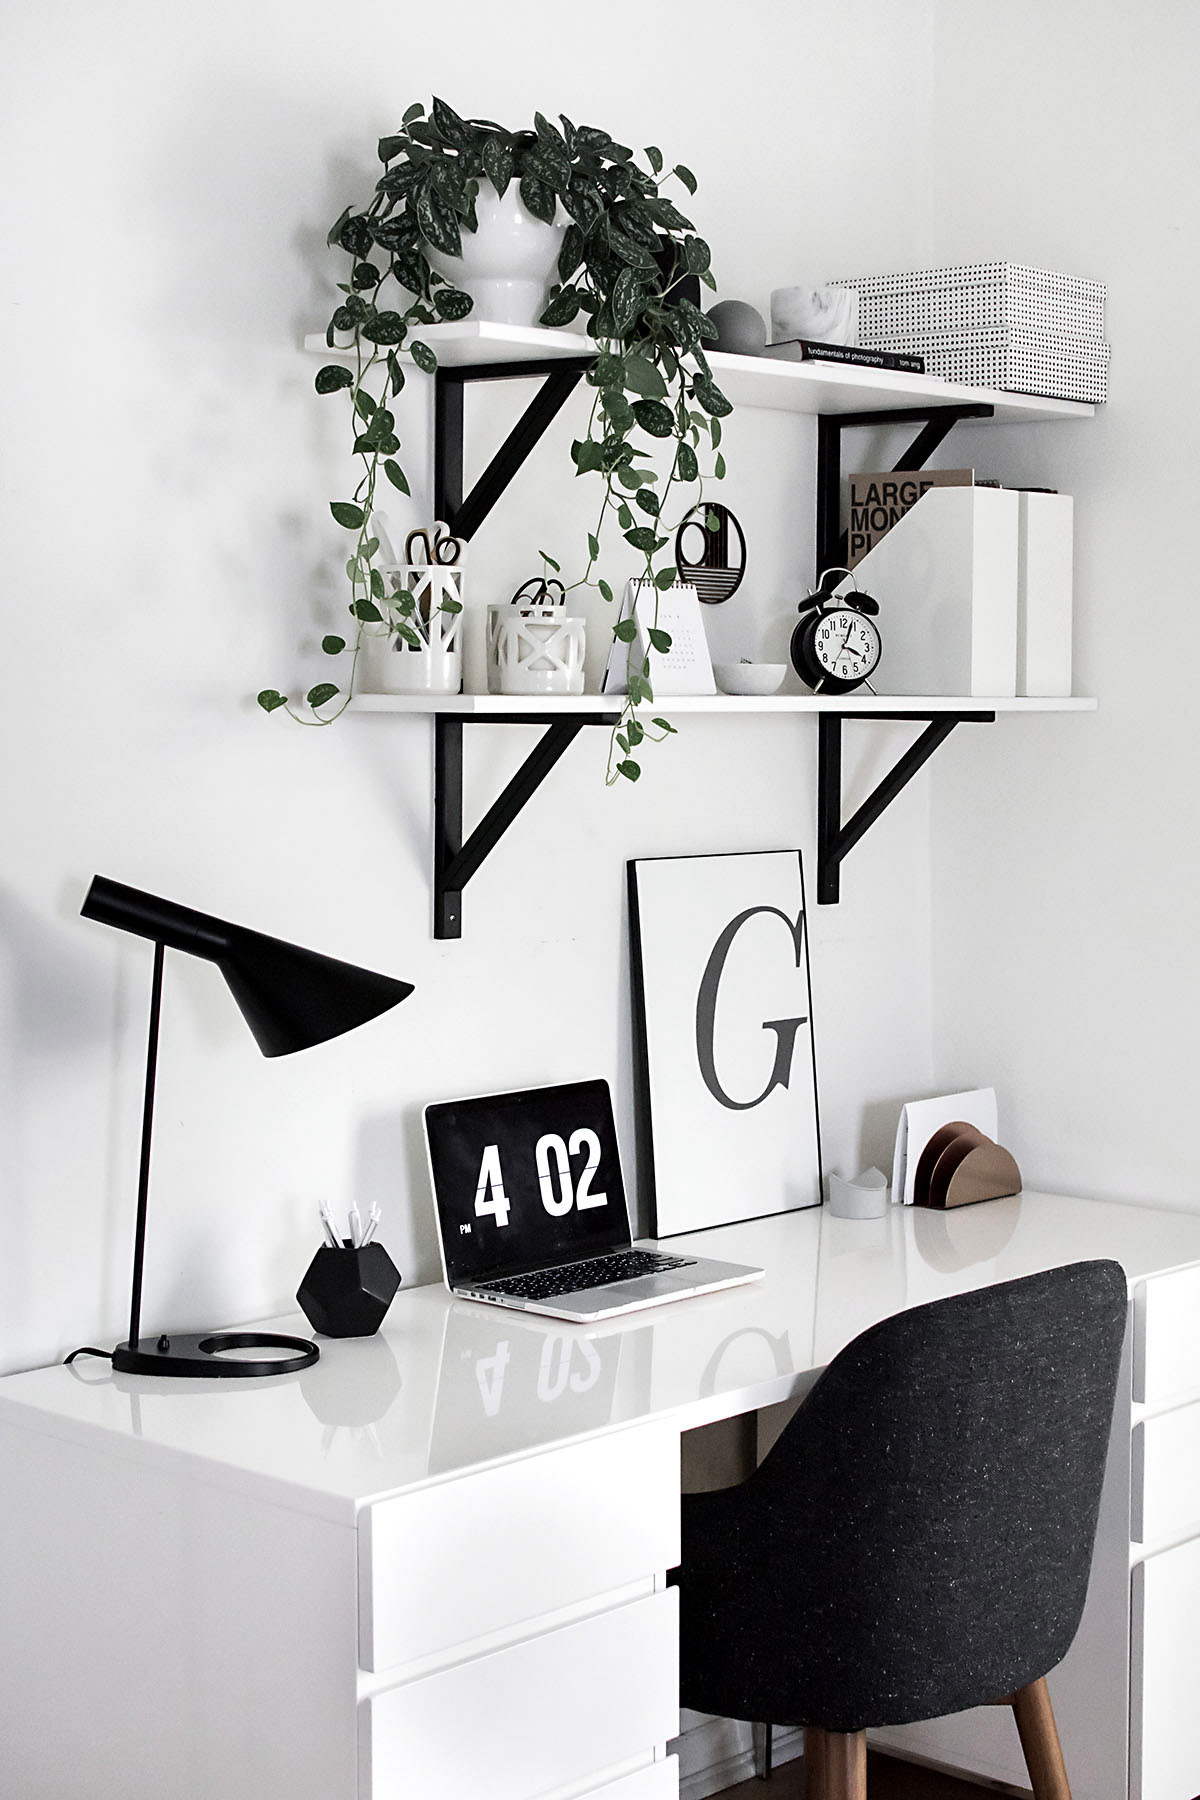
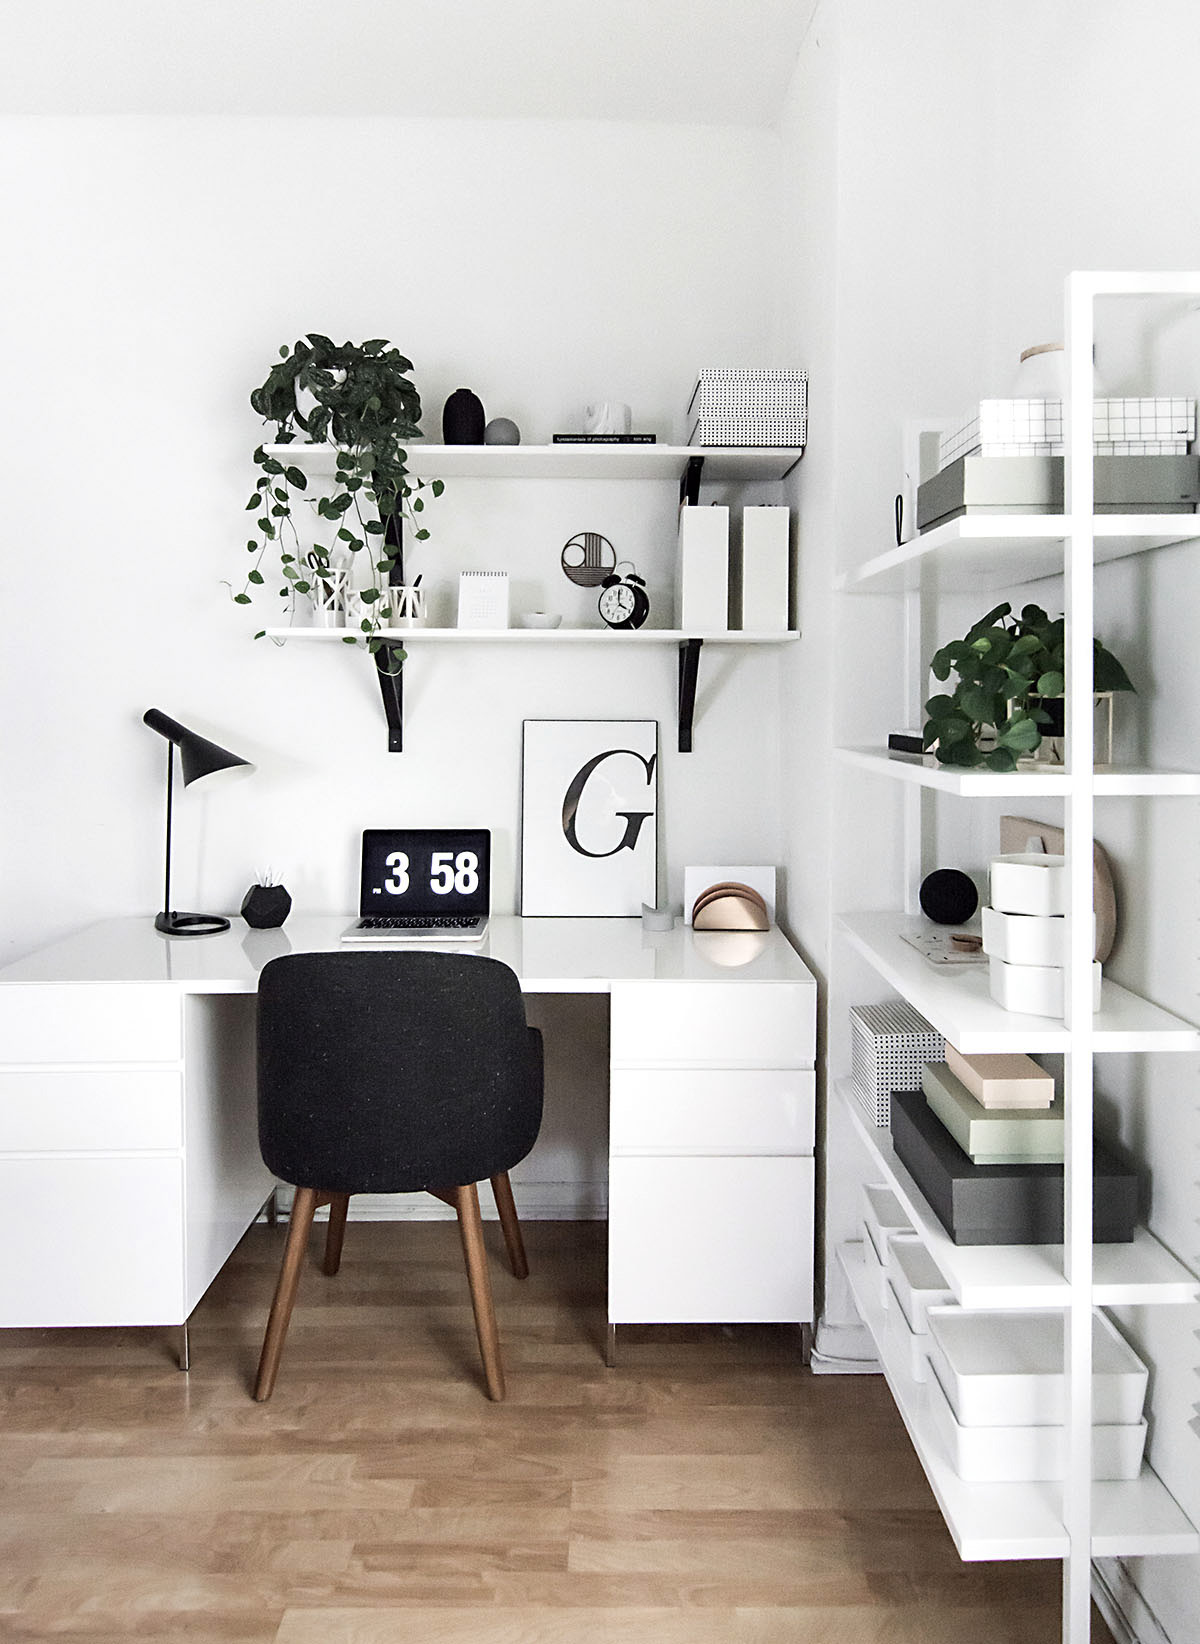
This would look fantastic in a gallery wall but being that it’s both graphic and minimal, I love and maybe prefer the simplicity of it standing alone.  I currently dig the way it looks here on my desk but most likely will move it around.  It could really fit anywhere!

Free printable typography art-2

Picking your initial is the most relevant option, like how I picked “G” out of anticipation of my last name changing in the relatively near future (still deciding on a wedding date, ah!) but you can simply pick your favorite letter(s) based on anything or nothing at all.  Go on, take your pick!*

A | B | C | D | E | F | G | H | I | J | K | L | M | N | O | P | Q | R | S | T | U | V | W | X | Y | Z

*Printables are for personal use only.  My not be reproduced for sale.


CSI_MasterLogo_Black_CMYKThis post is in partnership with Canon.  All ideas, content, and opinions are always my own.  Thank you for supporting brands that help bring fun ideas for you to discover and try!
06/27 DIY

DIY Speckled Placemats

DIY Speckled Placemats-2

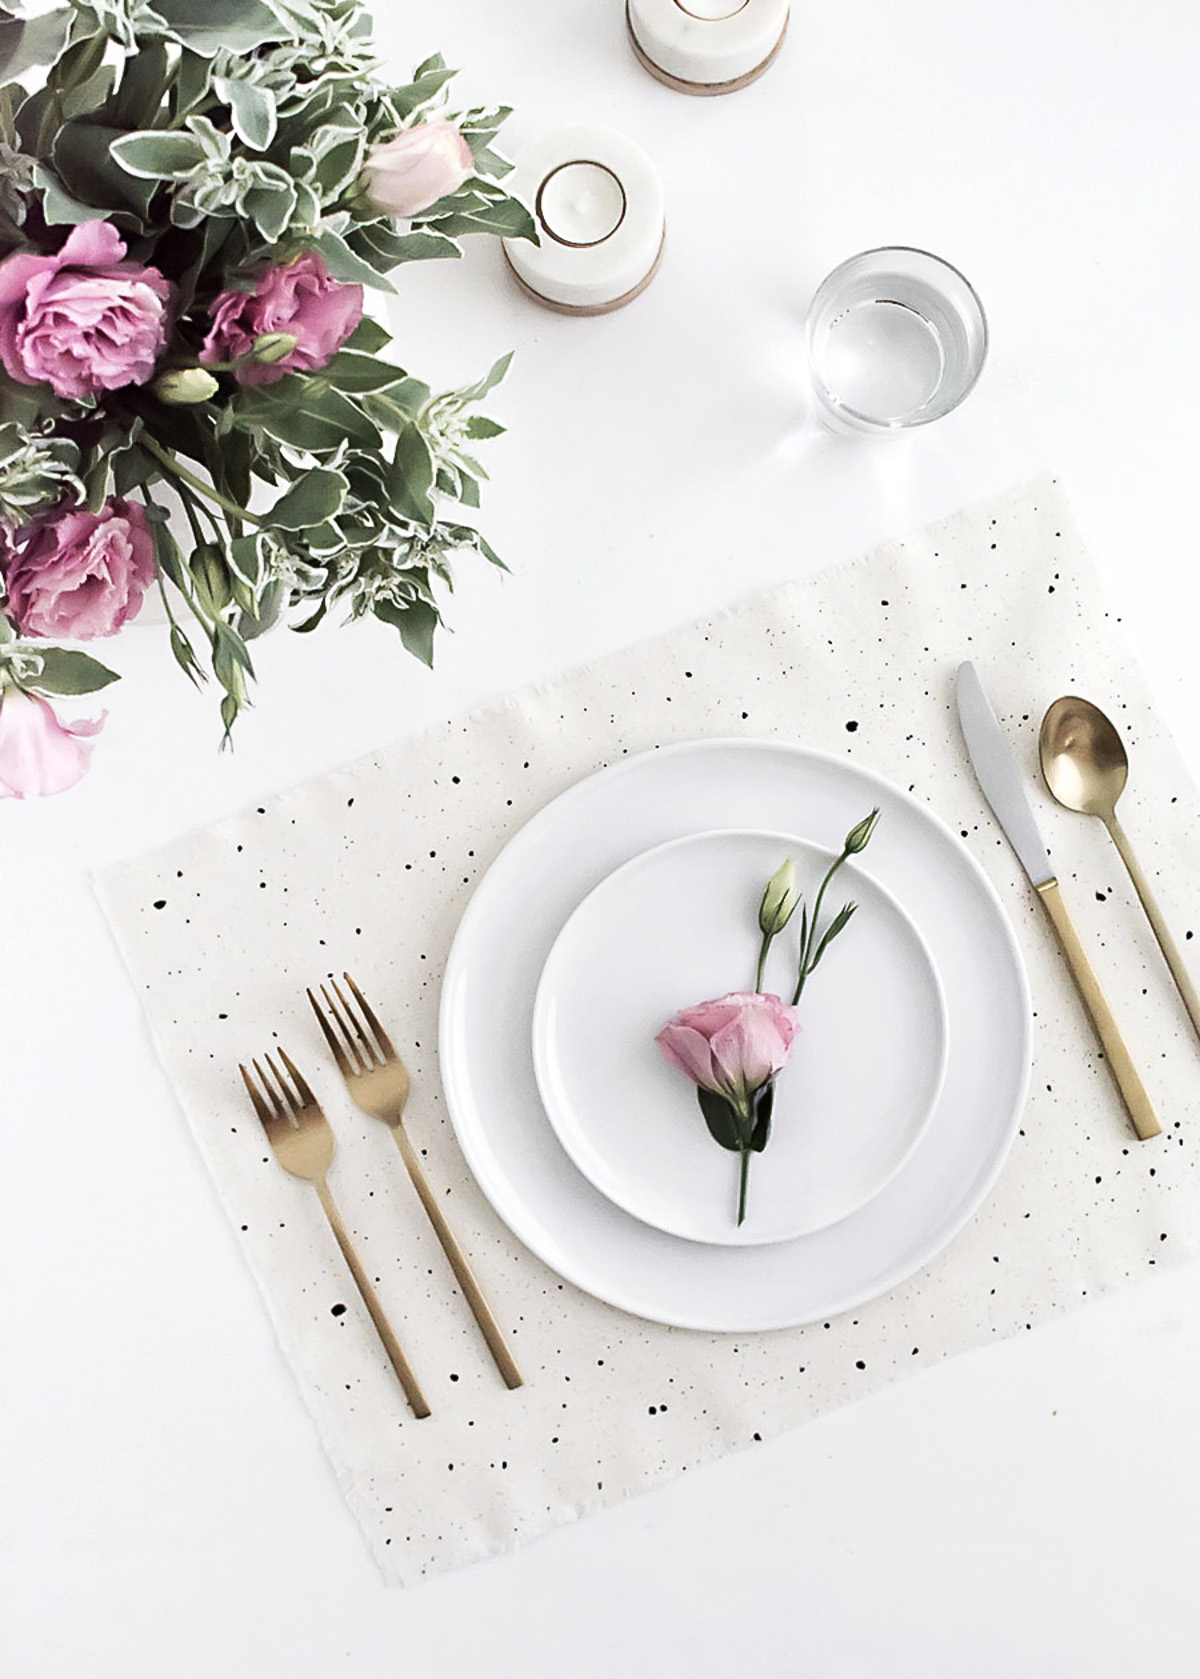
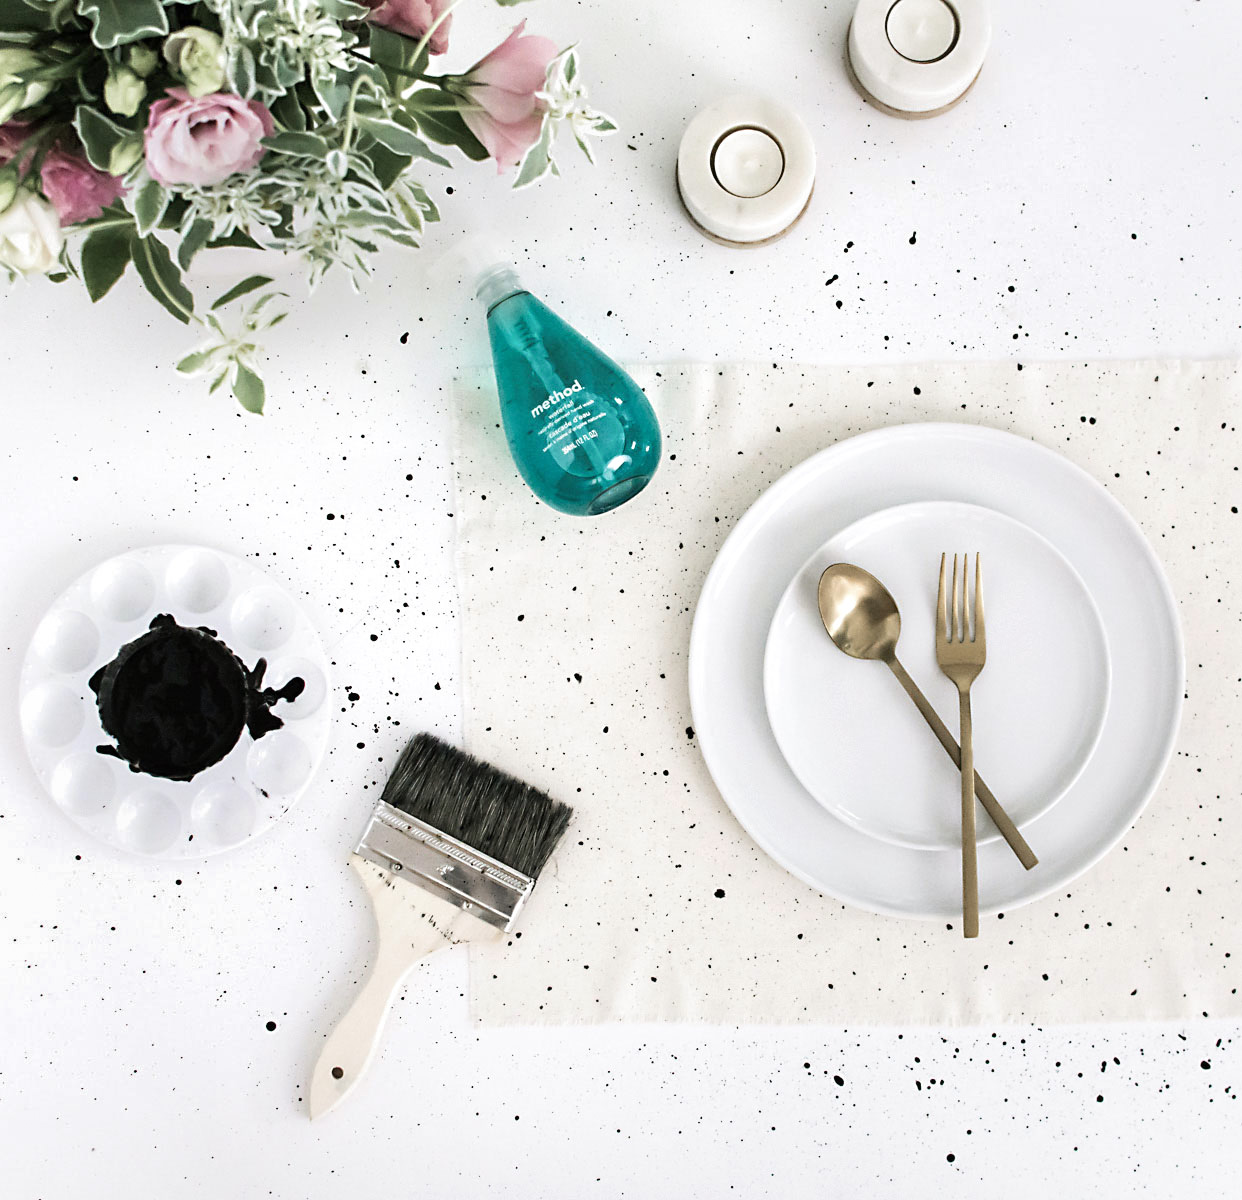
I adore speckled patterns, and as I’ve worked with this technique before in pottery, I’ve found that the less I care about making a mess, the better it turns out.  That’s a lot of what makes this fun, and what has made me want to see how this pattern would translate on a different medium like textiles, so I did this quick and simple speckled placemat DIY in partnership with method to fear no mess and create with speckling abandon.  We’re essentially making a mess thats very fun, very easy, and very cute.

Materials:
-fabric
-scissors
paint (this specific one doesn’t need fabric medium)
-paint brush (stiffer bristles work best)

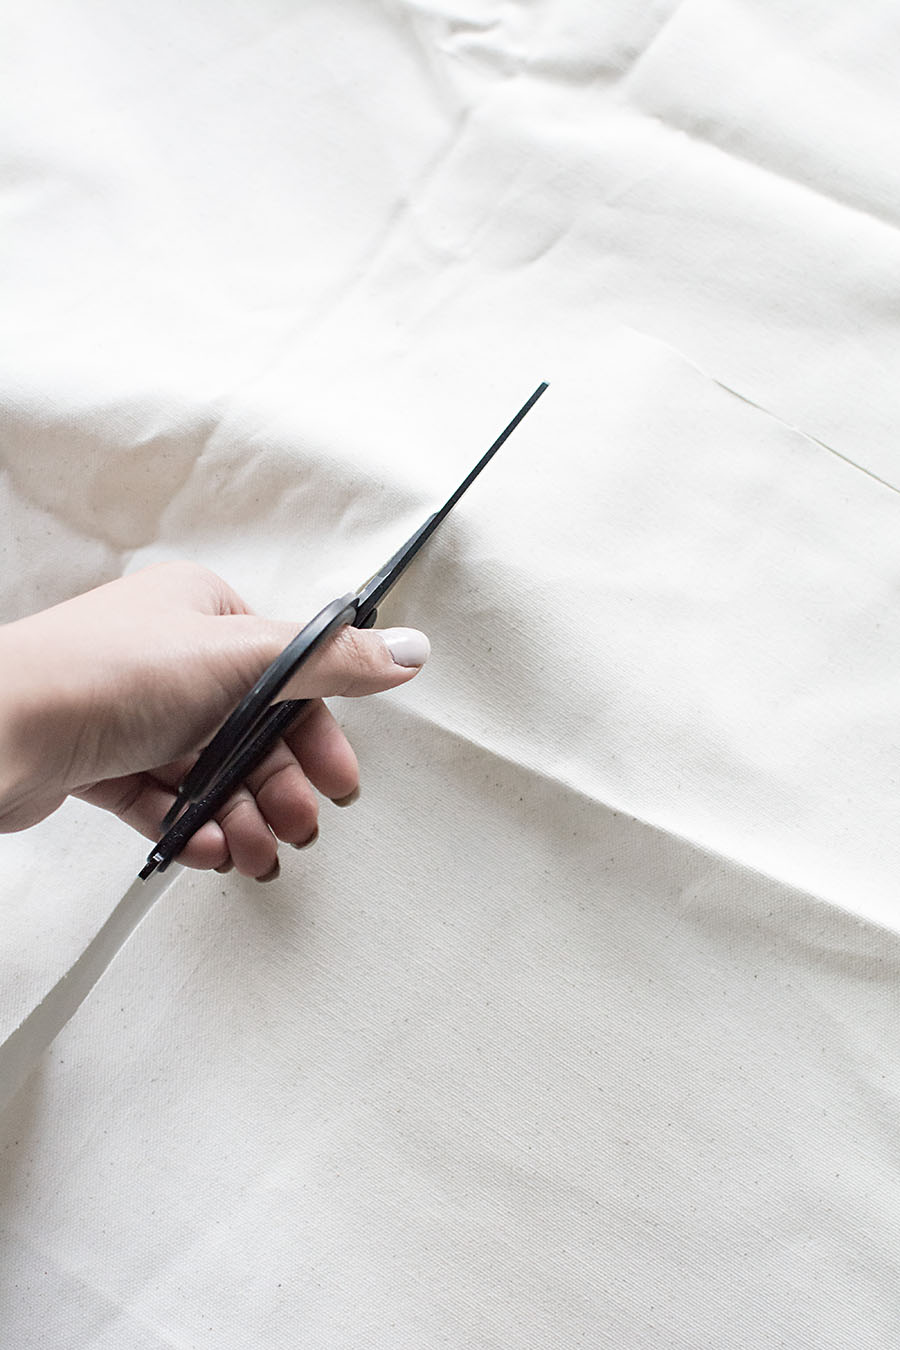
cut

Measure and cut out a roughly 14×19″ piece of fabric.  I used an off-white 100% cotton fabric that reads a lot like linen but is heavier.

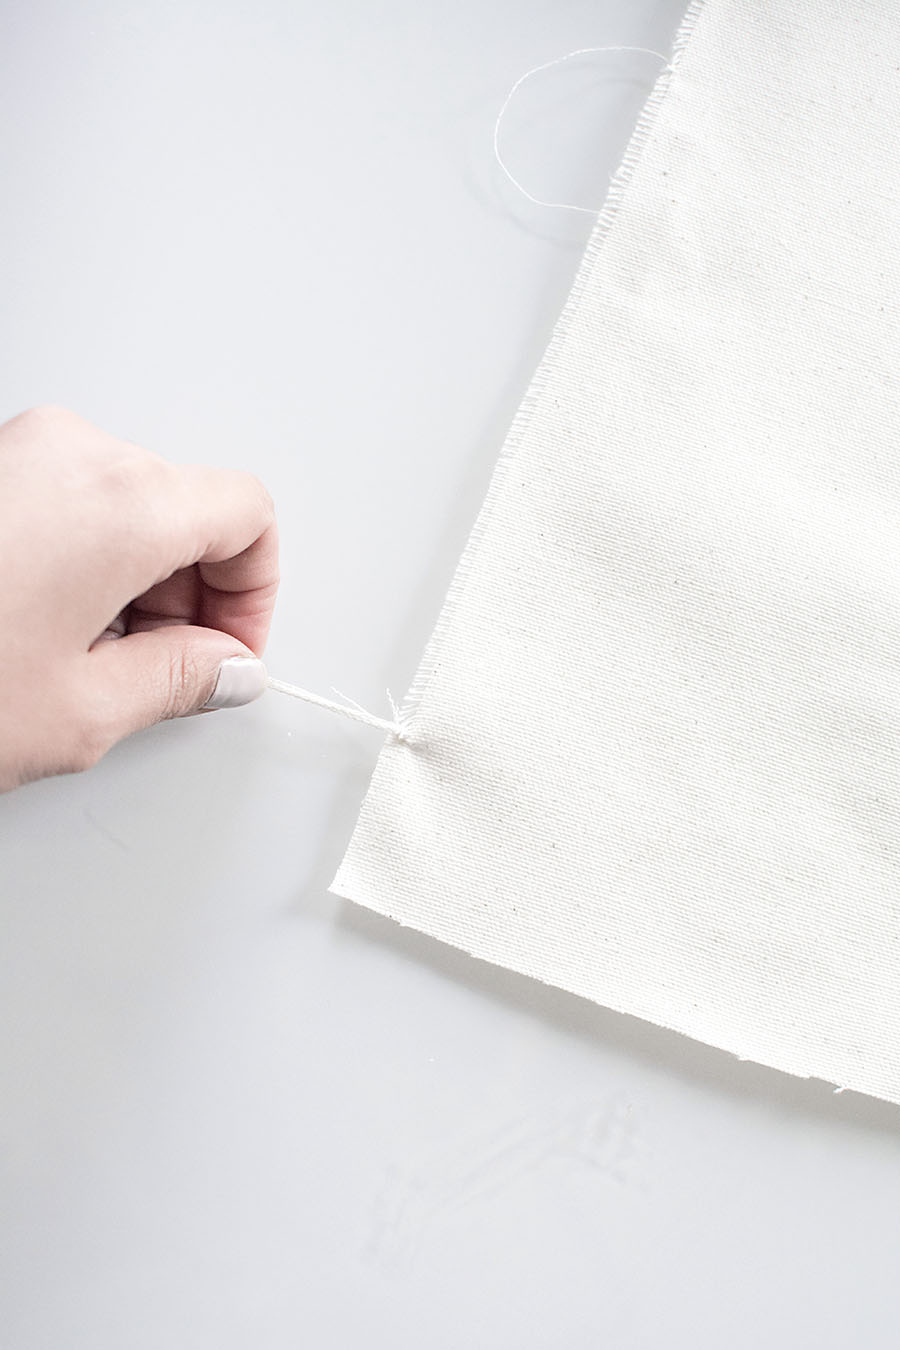
rip

You can follow a basic sewing or no-sew method for placemats, but what I did was pull off a few rows of thread on each side of the fabric to create these fringed edges.

paint brush

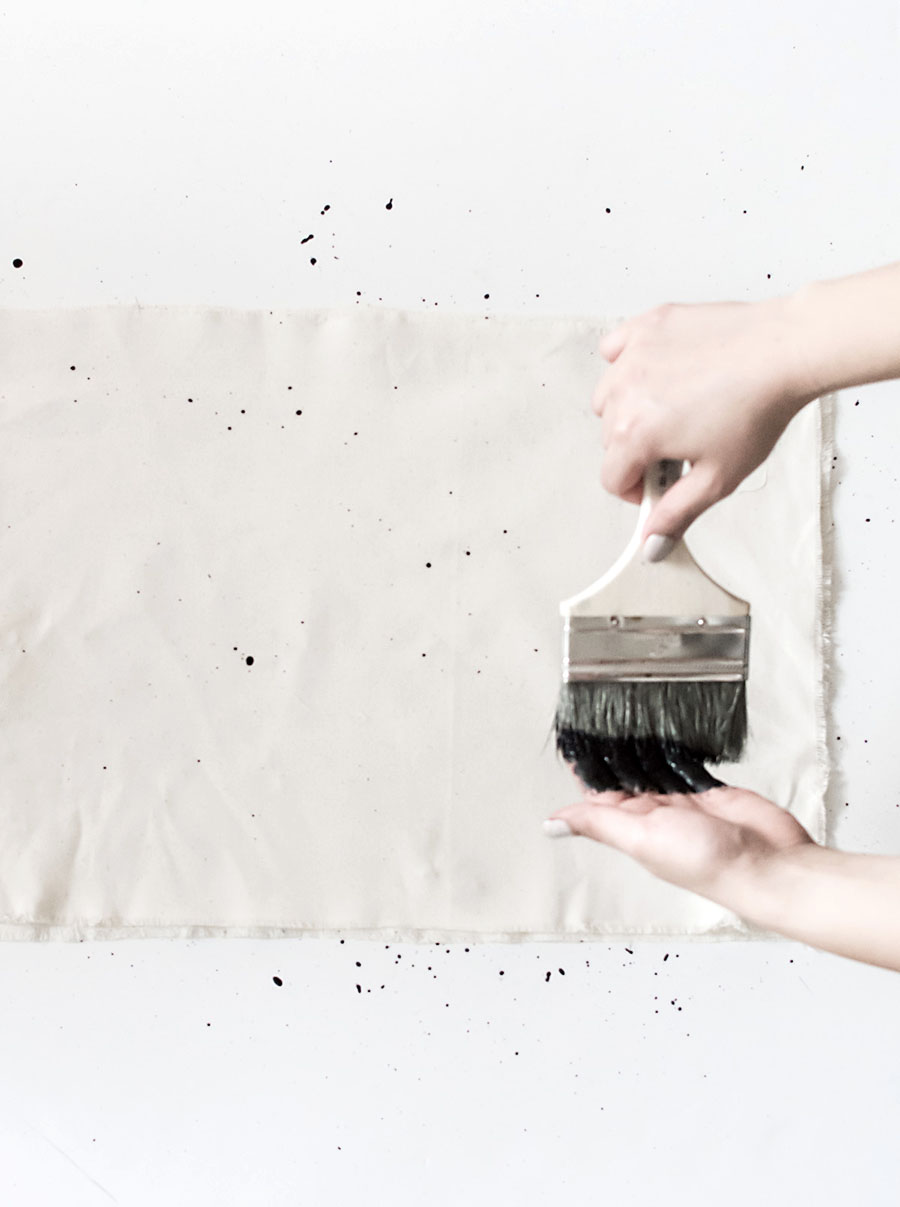
Mix equal parts paint and water to create a thinner mixture and dip your paint brush in it.  Get enough on there to coat the bristle tips but do not overload them.  Use one hand to place the bristles on (this is my left hand in the photo above), then quickly flick the brush downward directly overhead of the fabric.  Do this all over while reloading the brush with paint when needed.

Work on top of a drop cloth or other protective surface (I used an old foam board), and your safest bet is to do this outside!  As much as I think I’m containing the splattering, the paint can be pretty sneaky and travel far without me ever noticing.  This is part of why splattering directly overhead instead of from an angle is important.  Splattering directly overhead also maintains the round shape of speckles as opposed to turning out streaky or oblong.

paint

If you’re like me and find yourself wanting speckles in specific areas, use a detail brush to dot in the speckles wherever your heart desires.

method soap

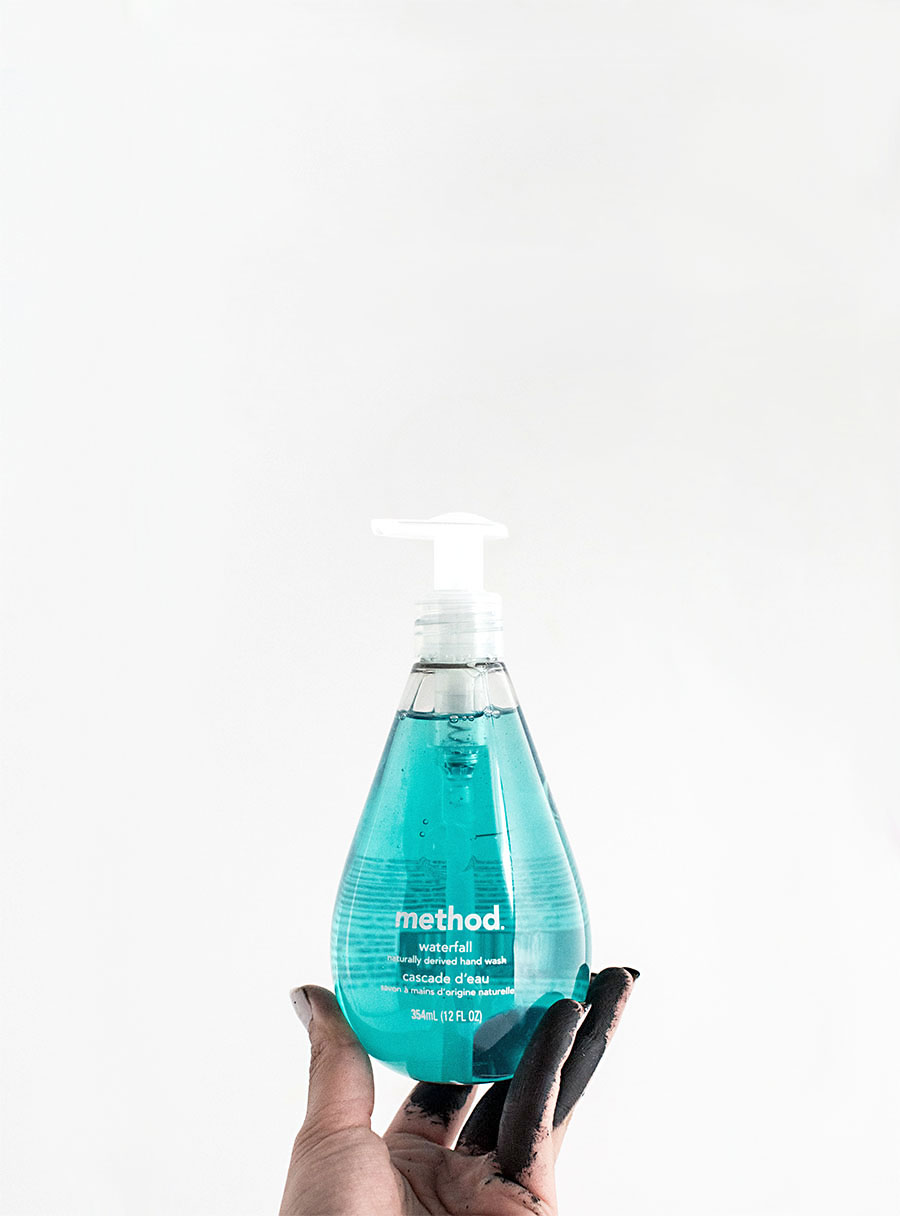
Aside from the speckling mess, your hands will get dirty with paint.  My friends at method helped me out with animal friendly amazing smelling hand soap to take care of this.  This waterfall flavor is so good and deservingly my favorite.

method-7

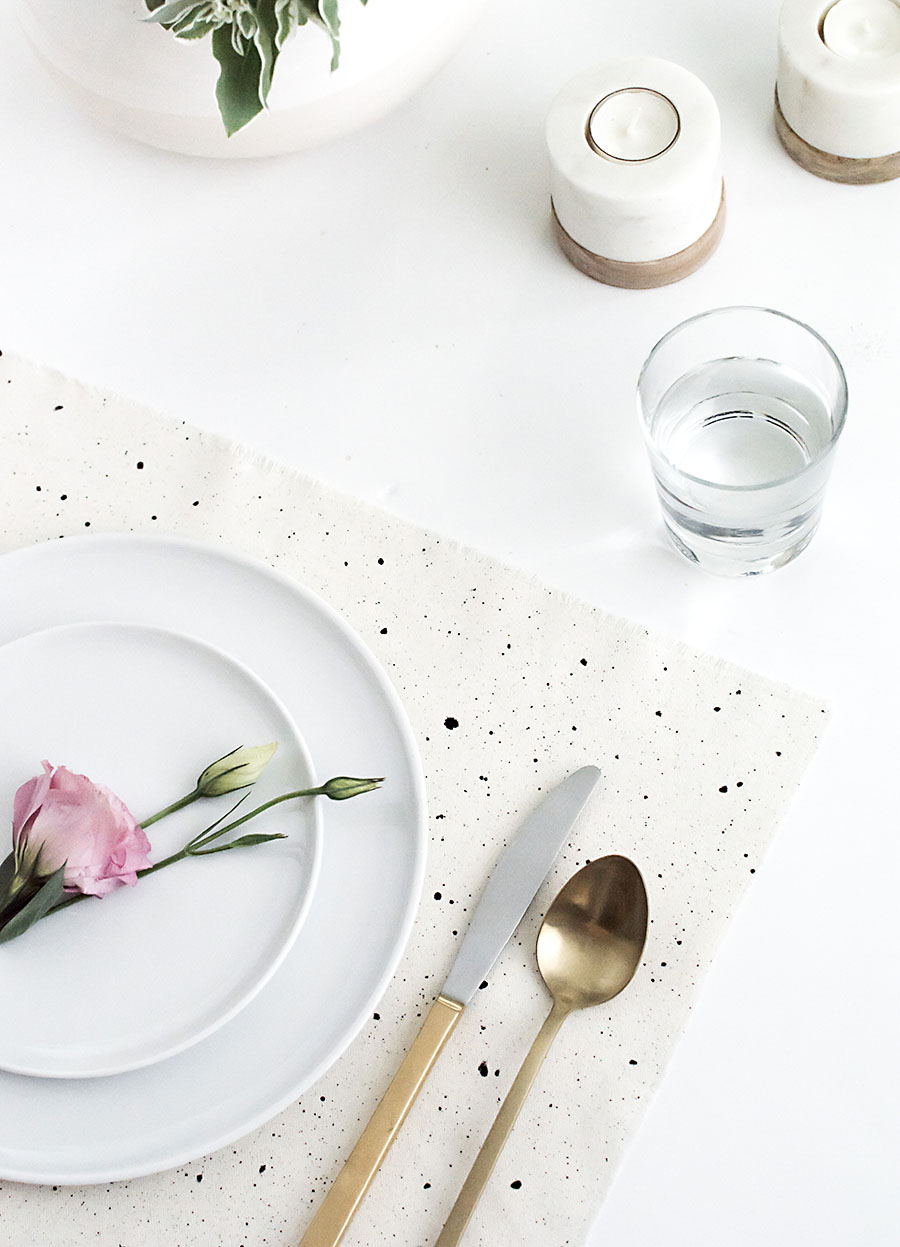
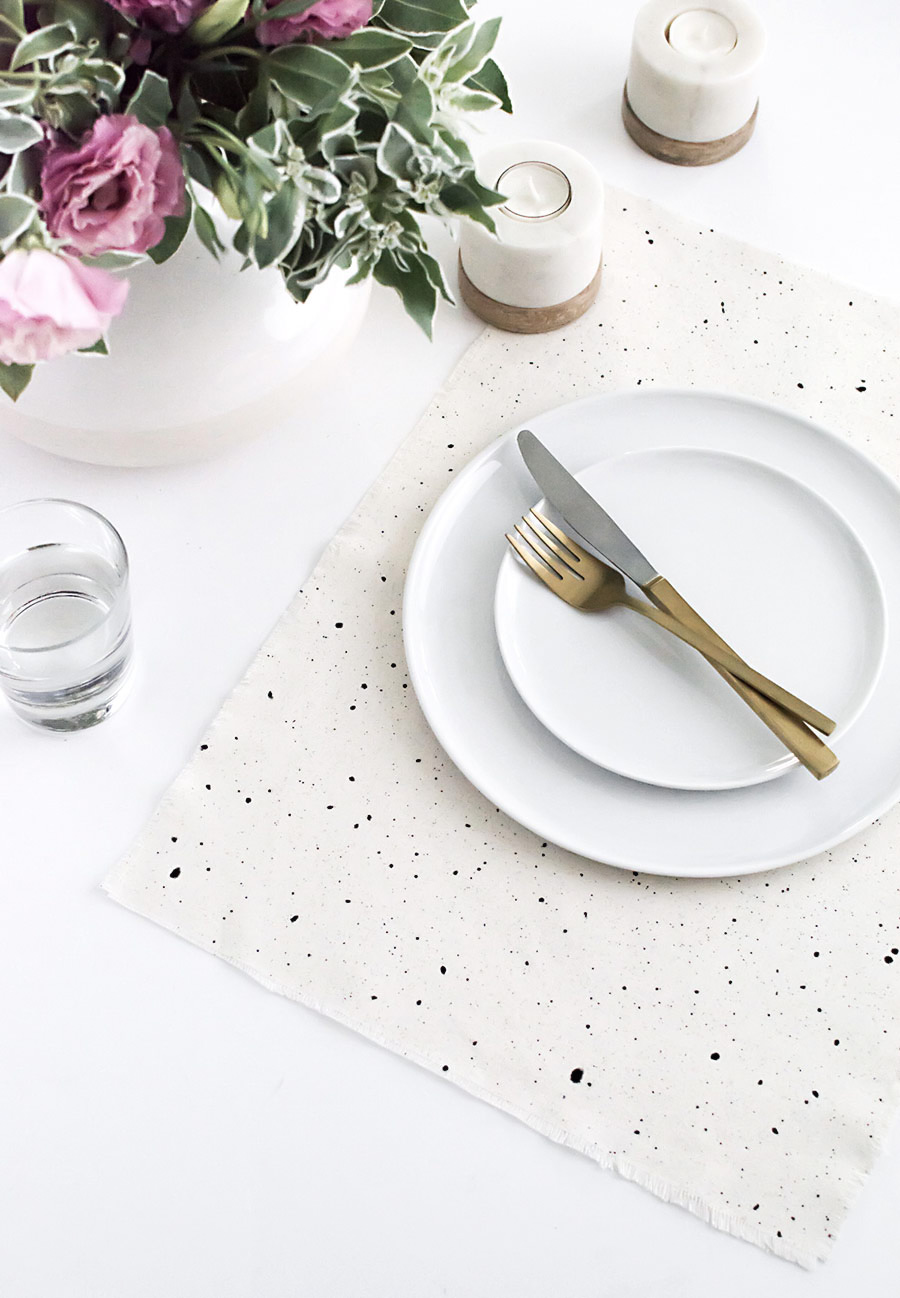
Since we were smart and worked on a protective surface, that just needs to be removed or disposed of, and we’re left with pretty placemats perfect for summer shindigs or for making an everyday gathering a little more cute.

Speckled Placemats- DIY

This would absolutely work for other linens like runners, table cloths, or napkins.  I’d also like to suggest how pretty this would be for a throw pillow!  Anywhere else you’d think this would be good to try on?

Speckled Placemats DIY-2


This post was created in partnership with method.  All ideas, content, and opinions are always my own.  Thank you for supporting brands that help bring fun ideas for you to discover and try!

06/24 Friday Links

Friday Finds

13443166_1205130156183983_6665948974570311296_oI do this thing where when I start to get sick, I go into denial that I’m sick and believe that maybe it’s just allergies (I’ve never had allergies) and then try to power through it while keeping up with my regular activities, hoping it’ll just take care of itself.  This started a month ago, a small cough that has now turned into a violent one, and this week it turned for the worse and I am BEAT.  I’ve finally surrendered to the fact that yes I am sick, and yes I need to prioritize taking care of myself.  I would’ve hoped I’d be better at this by now!

Aside from this painful cough that feels like it’ll never go away, it’s truly been a really beautiful phase of life lately.  From getting engaged (have you heard enough about that already haha I’ll shut up about it I promise), celebrating for days with friends and family, exciting conversations over dreams about the future, to being a part of an incredibly perfect long weekend of wedding festivities my good friends just had, there’s been a ton of good moments reminding me for the millionth time that people matter most.  I took this time very seriously to be fully present for people I love and it’s been amazing.

Happy weekend, rest up and get well soon if you’re sick too, and thank you always and again for showing up here <3.


This happens to go along really well with what I’ve just said:  a seriously eye-opening breakdown of the human lifespan with three really important takeaways.

12 tips for taking brighter photos.

Gorgeous scandinavian home tour that’s light, bright, airy, fresh, all those like words.

A must listen podcast episode for all working creatives: how creatives should negotiate (episode #166)

I generally prefer daintier styles but I’m digging these rings.

In love with this DIY for displaying pressed flowers, and great timing for summer.

Beautiful reminder on mastering time.

In case it slipped past you, weigh in on these beds I’m debating between!

06/23 Shop

Modern and Minimal Beds

modernandminimalbeds

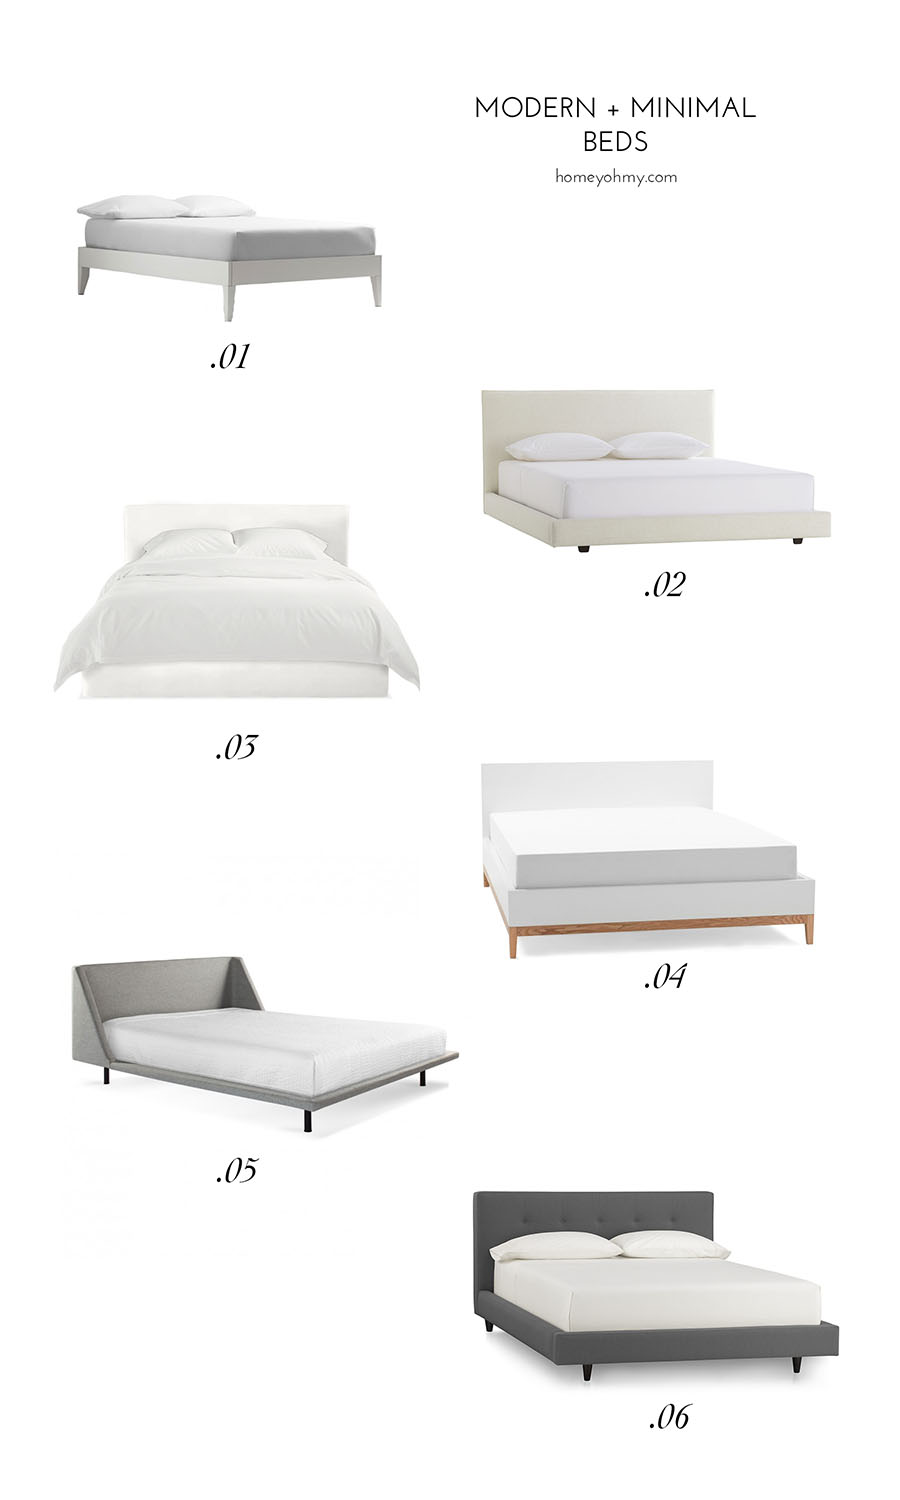
It was almost 2 years ago when I asked for your help on deciding between pillow options for my new bed at that time, now I’m still back at zero with no bed.  Progress!  Ha.  That bed of my past blue velvet dreams didn’t end up working out for us and we tetris’ed those pieces back into the box and returned it, and since then I’ve redirected my plans towards a more minimal bedroom (I shared that progress here.)

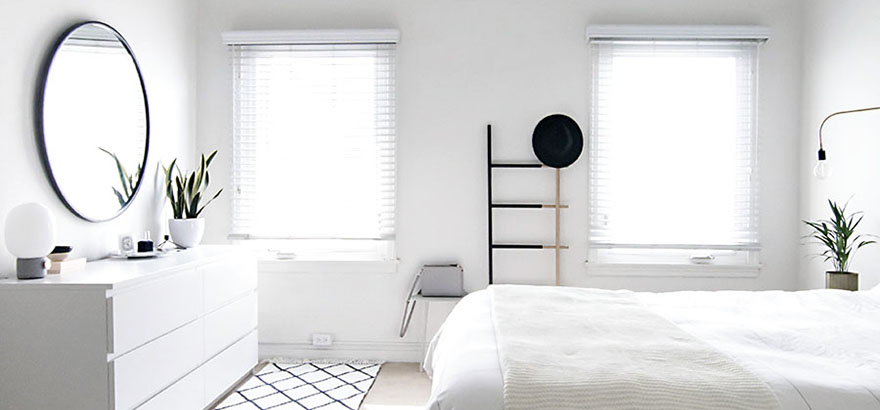
We reverted back to our previous metal frame and box spring situation, which honestly has grown so much on me and I’m strongly considering to continue keeping, but I’m still searching for other options because that’s just what I do. In general I’d love something light colored, low, and upholstered with clean, straight lines.  Still I made exceptions to this criteria with some of the favs I narrowed down to here, but in general these are all fine options for a modern minimal bedroom.

.01 / Narrow-leg Wood Bed Frame
The whole idea of wanting a bed started with how I wanted a headboard to sit up against, but no headboard is cool too. We’ve been without one forever and it ain’t so bad! Plus I love the extra simplicity of this one with the details focused on the sleek legs.

.02 / Facade Bed
I’ve almost bought this bed many times starting since last year. I think what’s holding me back is that it might be too low. Even just four inches higher would convince me I think… Otherwise the shape, fabric, color, everything is perfect.

.03 / Wyatt Bed
Currently my first choice. Pure white canvas, low profile but not too low, streamlined, I think this is it. Maybe.

.04 / Oliver bed
Has a beloved IKEA vibe and although I’d prefer upholstery, I still really love this option. It looks so good in the photo of the room, I definitely stared for a bit.

.05 / Nook Bed
So sleek and I love the feeling of enclosure the headboard sides give. This one also makes me contemplate going light gray. Or charcoal.

.06 / Tate Upholstered Bed
Speaking of charcoal, this color continues to tug at me. It wouldn’t be in line with the light and bright feel I’m going for in the bedroom, but it would bring a dramatic contrast that I’m also a big fan of. I also was trying to stay away from tufting or buttons, but this one is subtle enough and would probably get covered up by the pillows anyway. The scale of this bed looks perfect as well.

Favs? Suggestions? Would love to get any of your thoughts or other recommendations you think I might like!

06/14 Life

Engaged!

5 days ago he asked me to marry him and I said yes.  3 years ago we moved into our first home together, the home you all have made so enjoyable for us to share with you.  7 years ago we got back in a relationship when he moved from Chicago to LA to start a new chapter together.  10 years ago we broke up after a year of struggling through a long distance relationship.  11 years ago we became high school sweethearts and he took me to senior prom.  20 years ago he moved to my school district and I was the first person to talk to him in our homeroom class (I don’t remember this, but he does and I like to mention it because it makes our story cuter).  He has, and always will be, the best thing that ever happened to me.  WE’RE GETTING MARRIED!

On Wednesday, he told me he won a raffle at work for a one night stay at a hotel and that he booked it for the day after on June 9th.  The truth is, this was not weird to me at all.   These raffles have happened at his work before, and he has regularly planned these kind of “surprise date nights” on random weekdays in the past like the seriously nice person he is, so this was totally in character for him.  Friends who heard about these plans commented on how fake they sounded, but I was completely unaware.  Well ok, the thought briefly crossed my mind that this could be it, but that thought has crossed my mind pretty much every time we’ve hung out in the past 7 years, so perhaps I was tired of expecting it to come, ha!
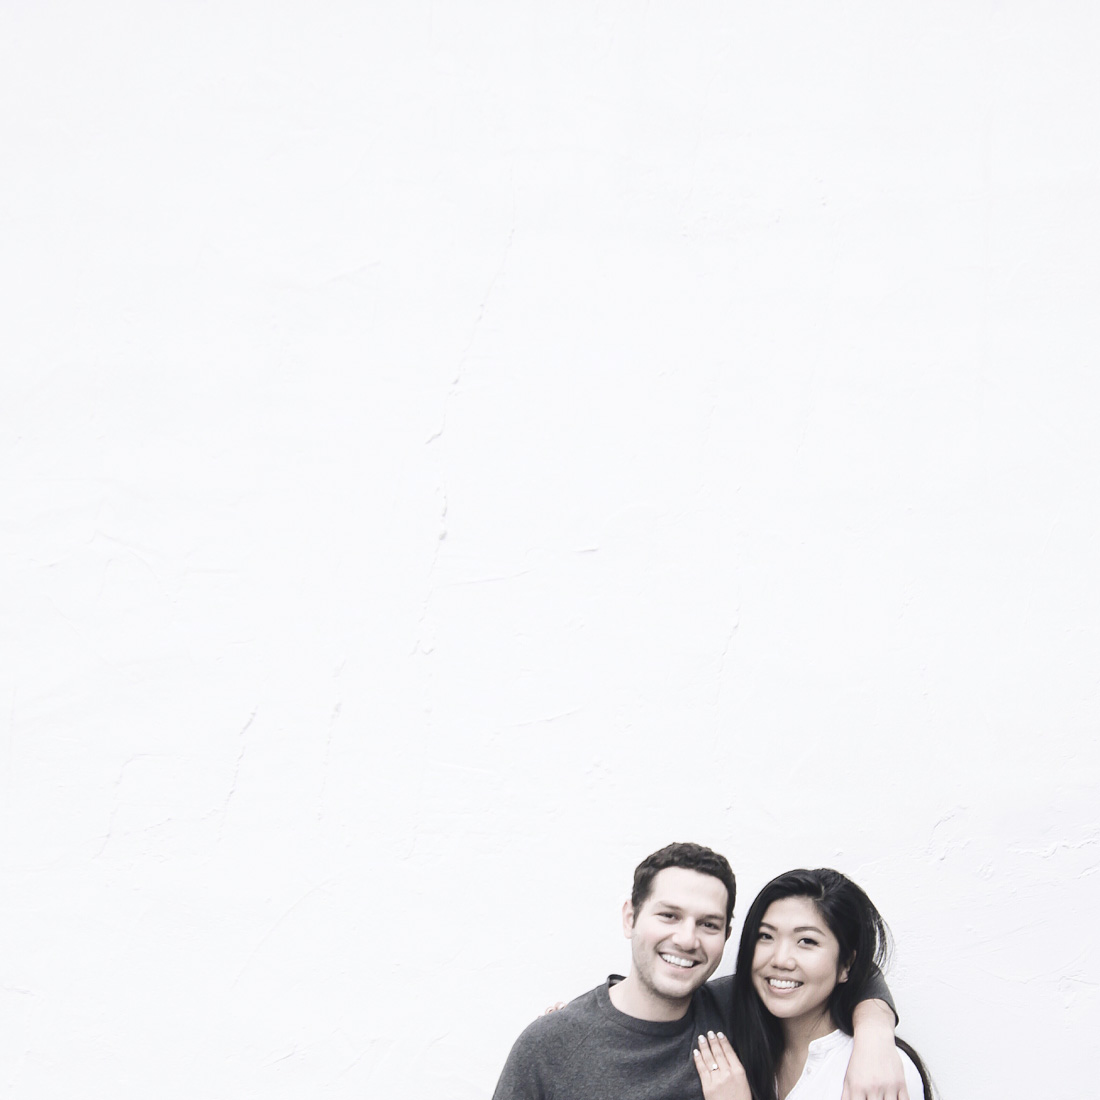
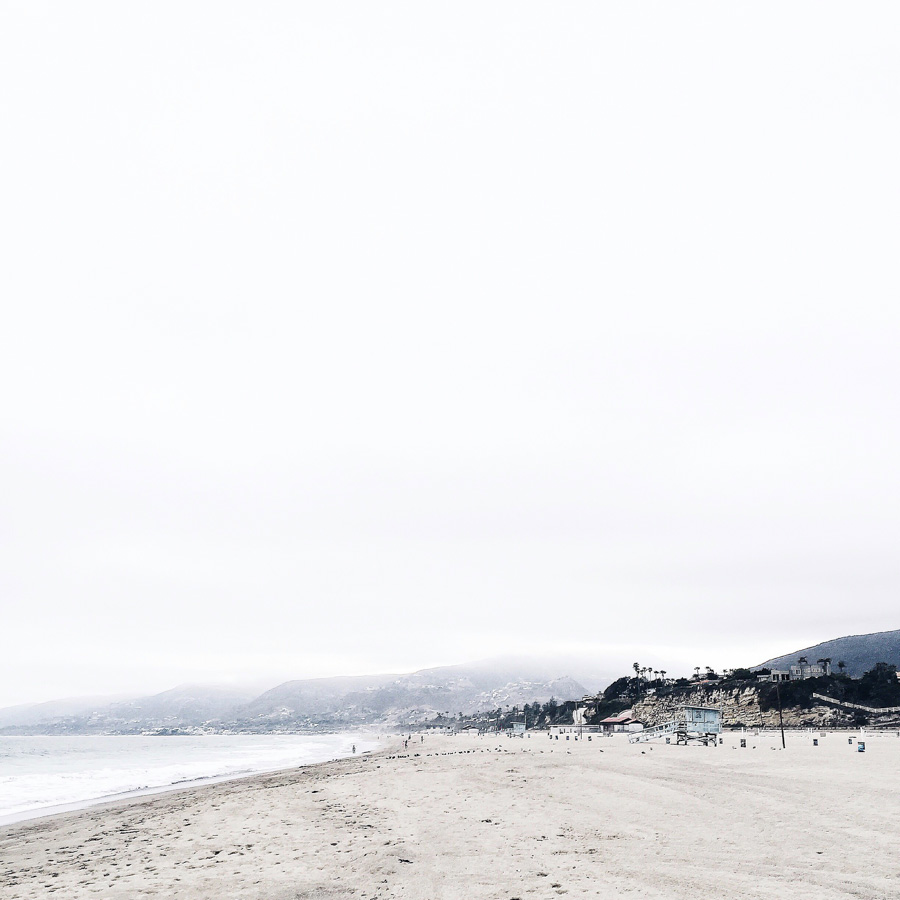
I didn’t know until we almost got there that we’d be staying in Malibu, which has no specific relevance to us other than that it is one of our favorite places ever.  We walked down to the beach and when we got to the water, he encouraged me to take all the photos I wanted to, which he never does.  Smart guy, though.  I look back and laugh seeing that he knew it was best to get that terrible blogger habit of mine out of the way before he turned to me and started to propose.  I don’t even completely remember what he said, and I’d maybe say it didn’t matter.  Seeing him well up with emotion is all I really noticed and it touched me deeply, and the relief that this was finally happening made me calm and happy (did you ever notice my playful hashtags on IG wondering when he was going to propose?  I’ve wanted this to happen for a long time!)

We spent the following days telling close friends and family about the good news, living up the rest of our stay in Malibu, and enjoying keeping our engagement a bit of a secret amongst ourselves.  I didn’t plan for it to be that way, but it felt really good to be in our own world and savor the happiness in private.  Fun fact for Snapchat followers: you were watching some of this unfold, and I never announced the news on there even though I reeeeeaaaally wanted to but I also thought nah I’ll do it later ;)

So I’m happy.  Excited, happy, and really happy.  Maybe it’s because it’s all still so fresh, but I really feel different.  I told my mom we’ve basically been married for years, but she assured me that everything changes now, that we’ll become even more deeply connected and emotionally bonded, which I already do feel that way.  Mom is always right, right?

The question I’m getting from family now is when’s the wedding.  Where do I even begin with that?  What do I do??  Can’t we just stay engaged forever!?  I know many of you have some wisdom to share on that, so I’m all ears.  Please.

Many thanks in advance for the love and support, and for reading a bit of our story.  I’m extremely grateful that you’re here to be a part of this moment with us <3.