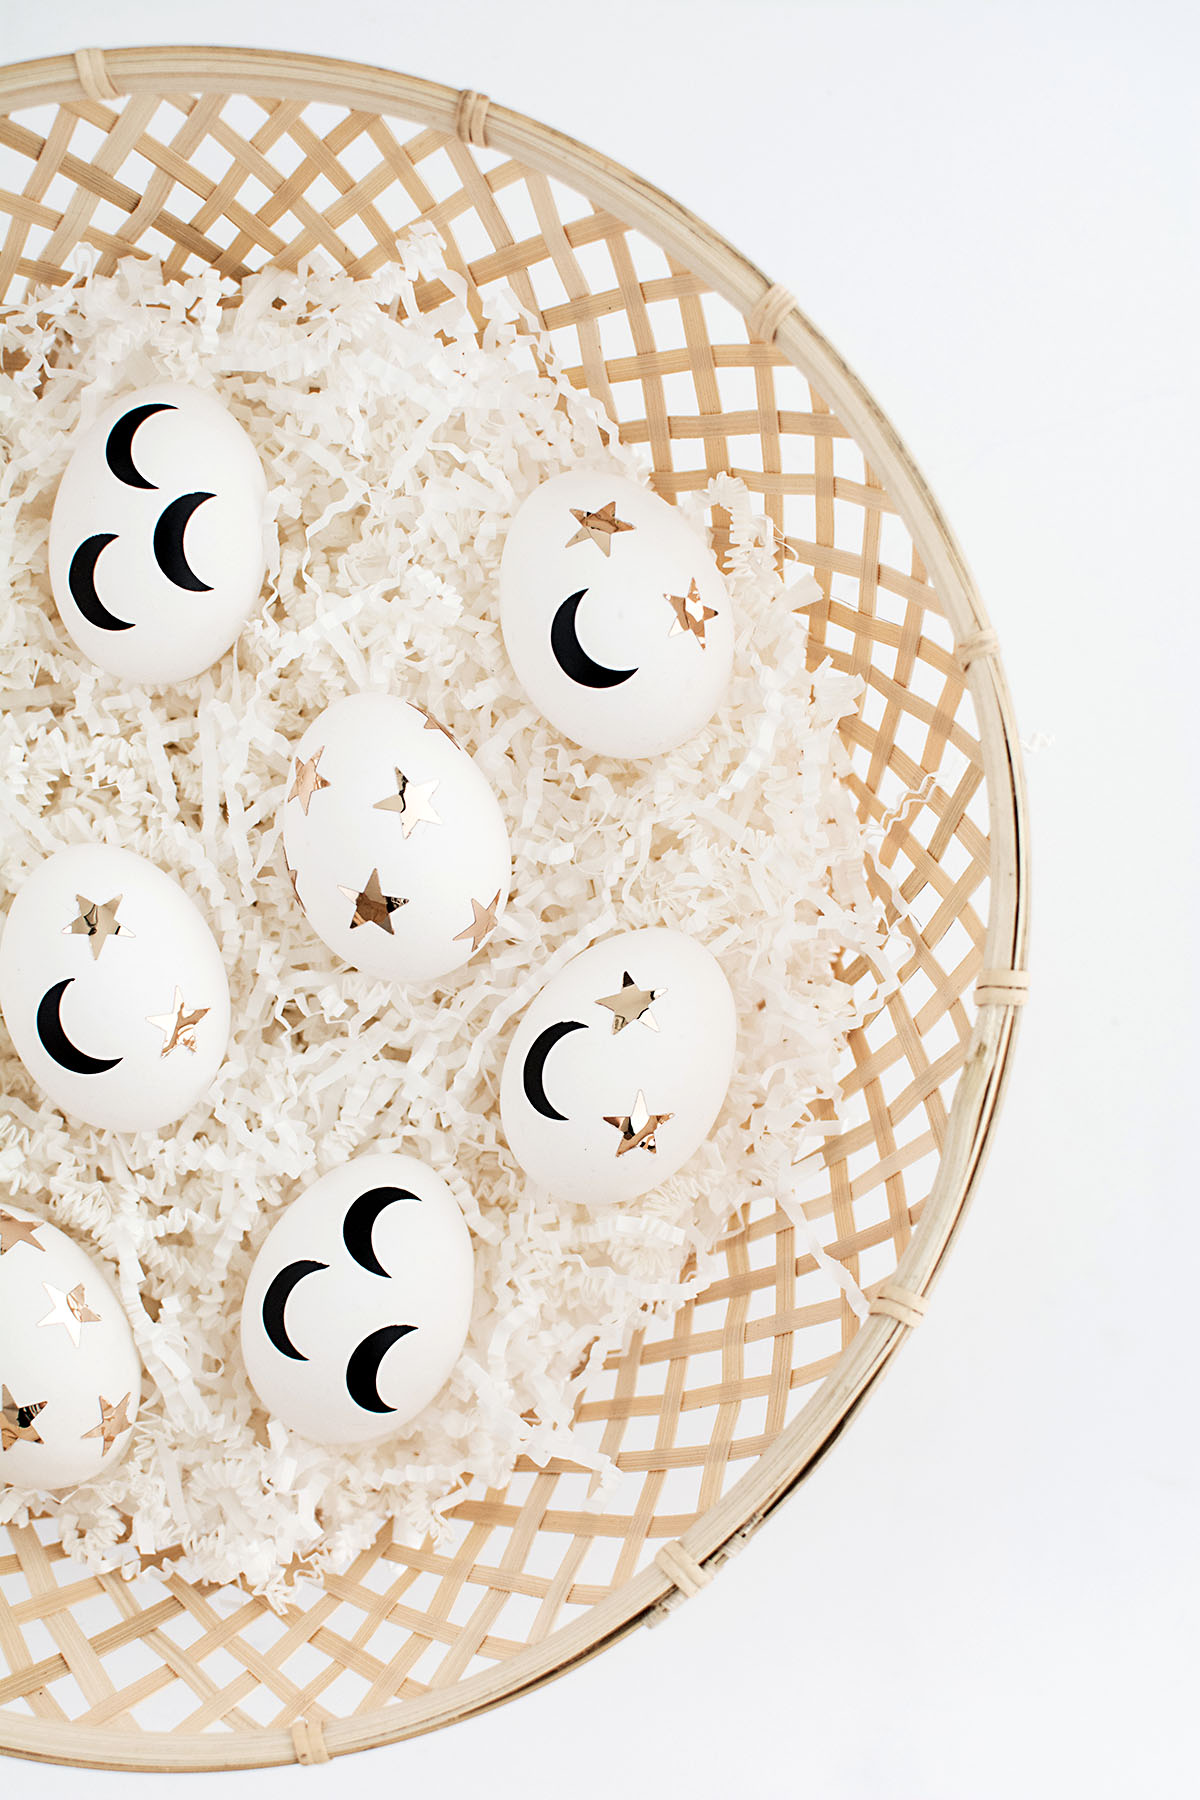
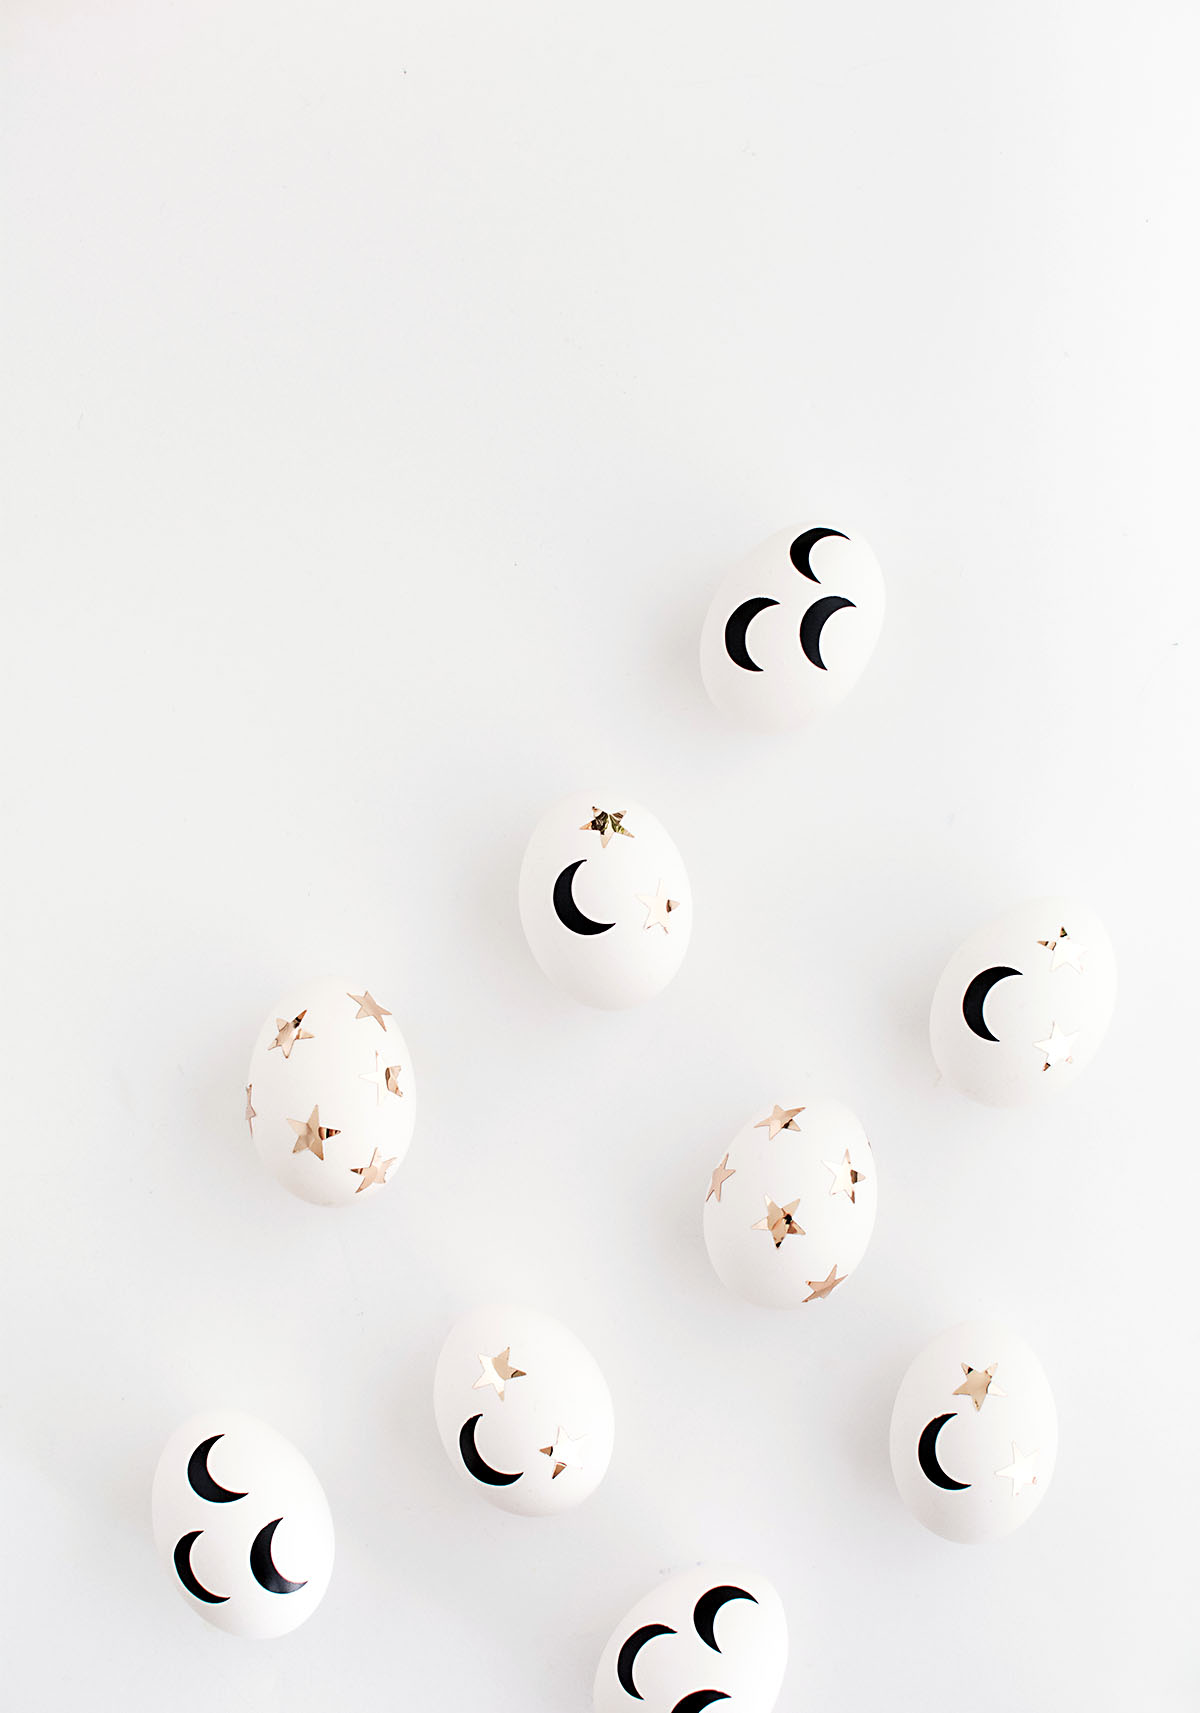
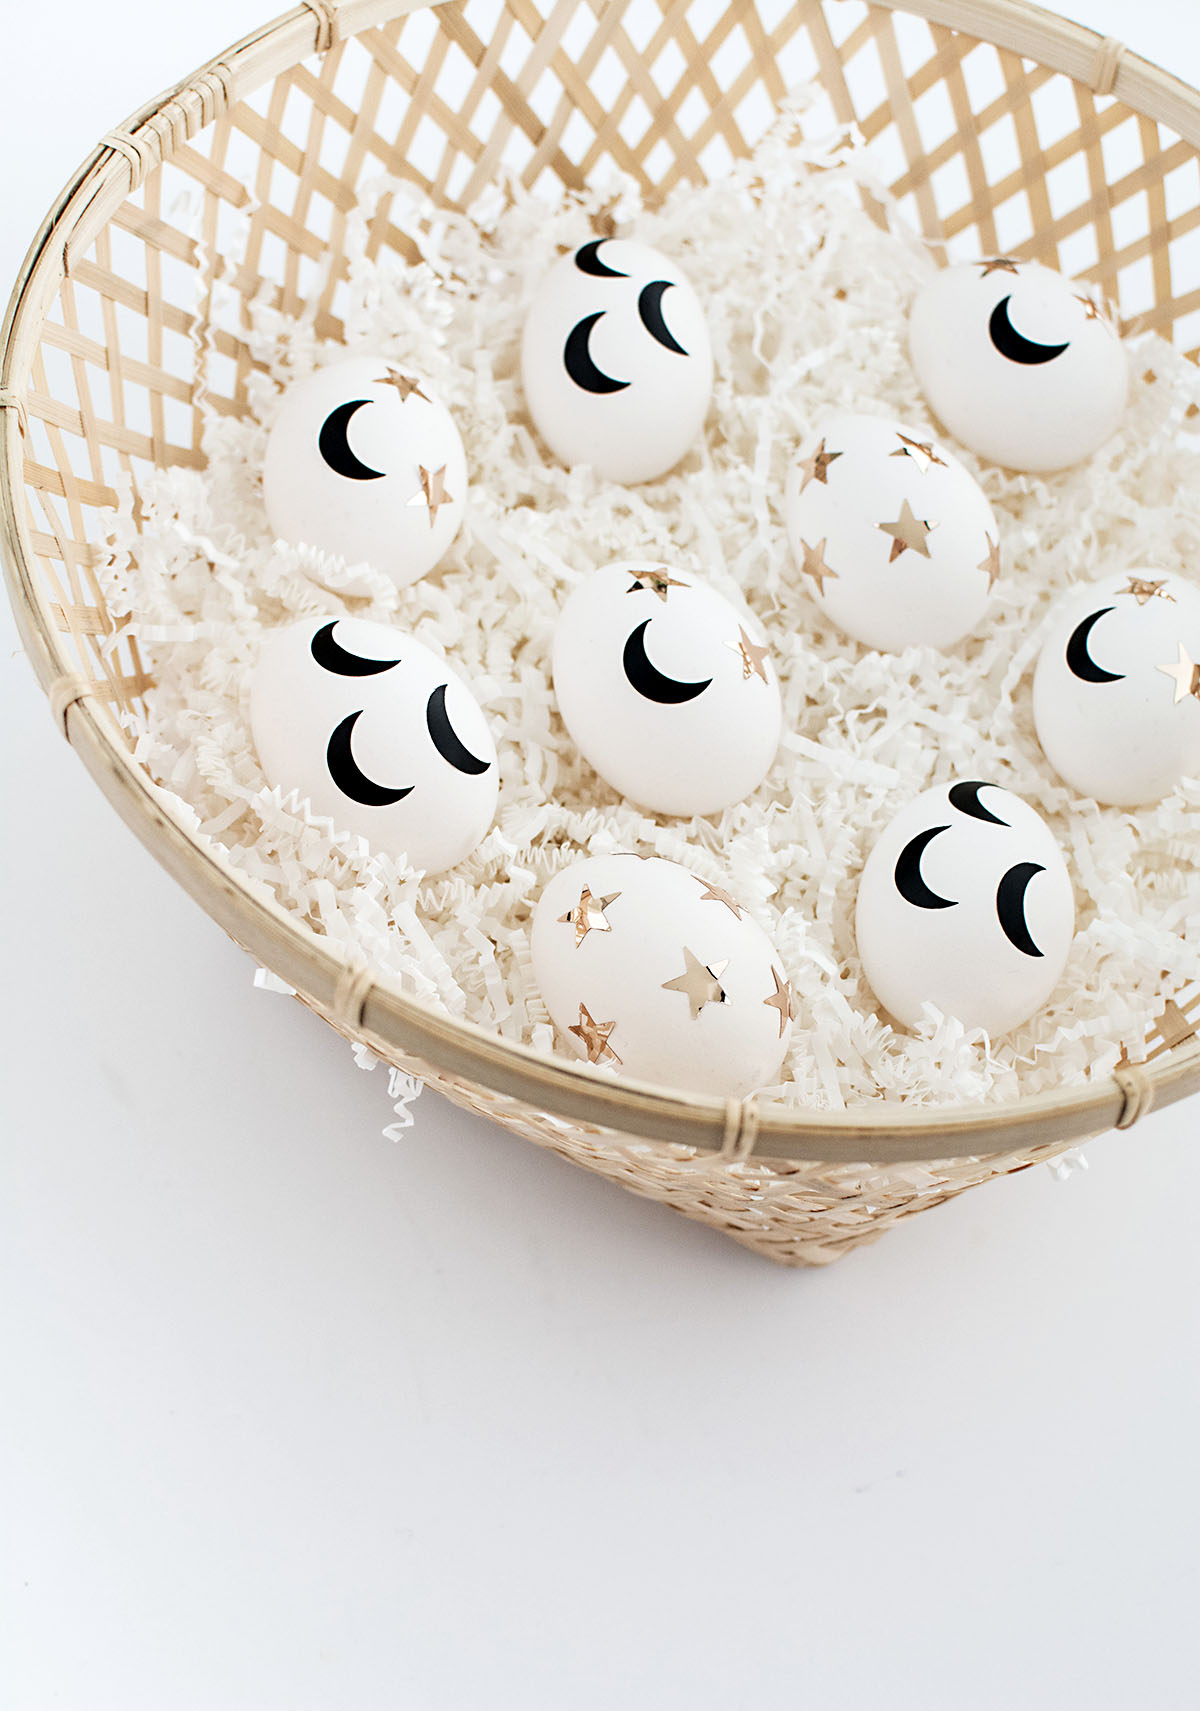
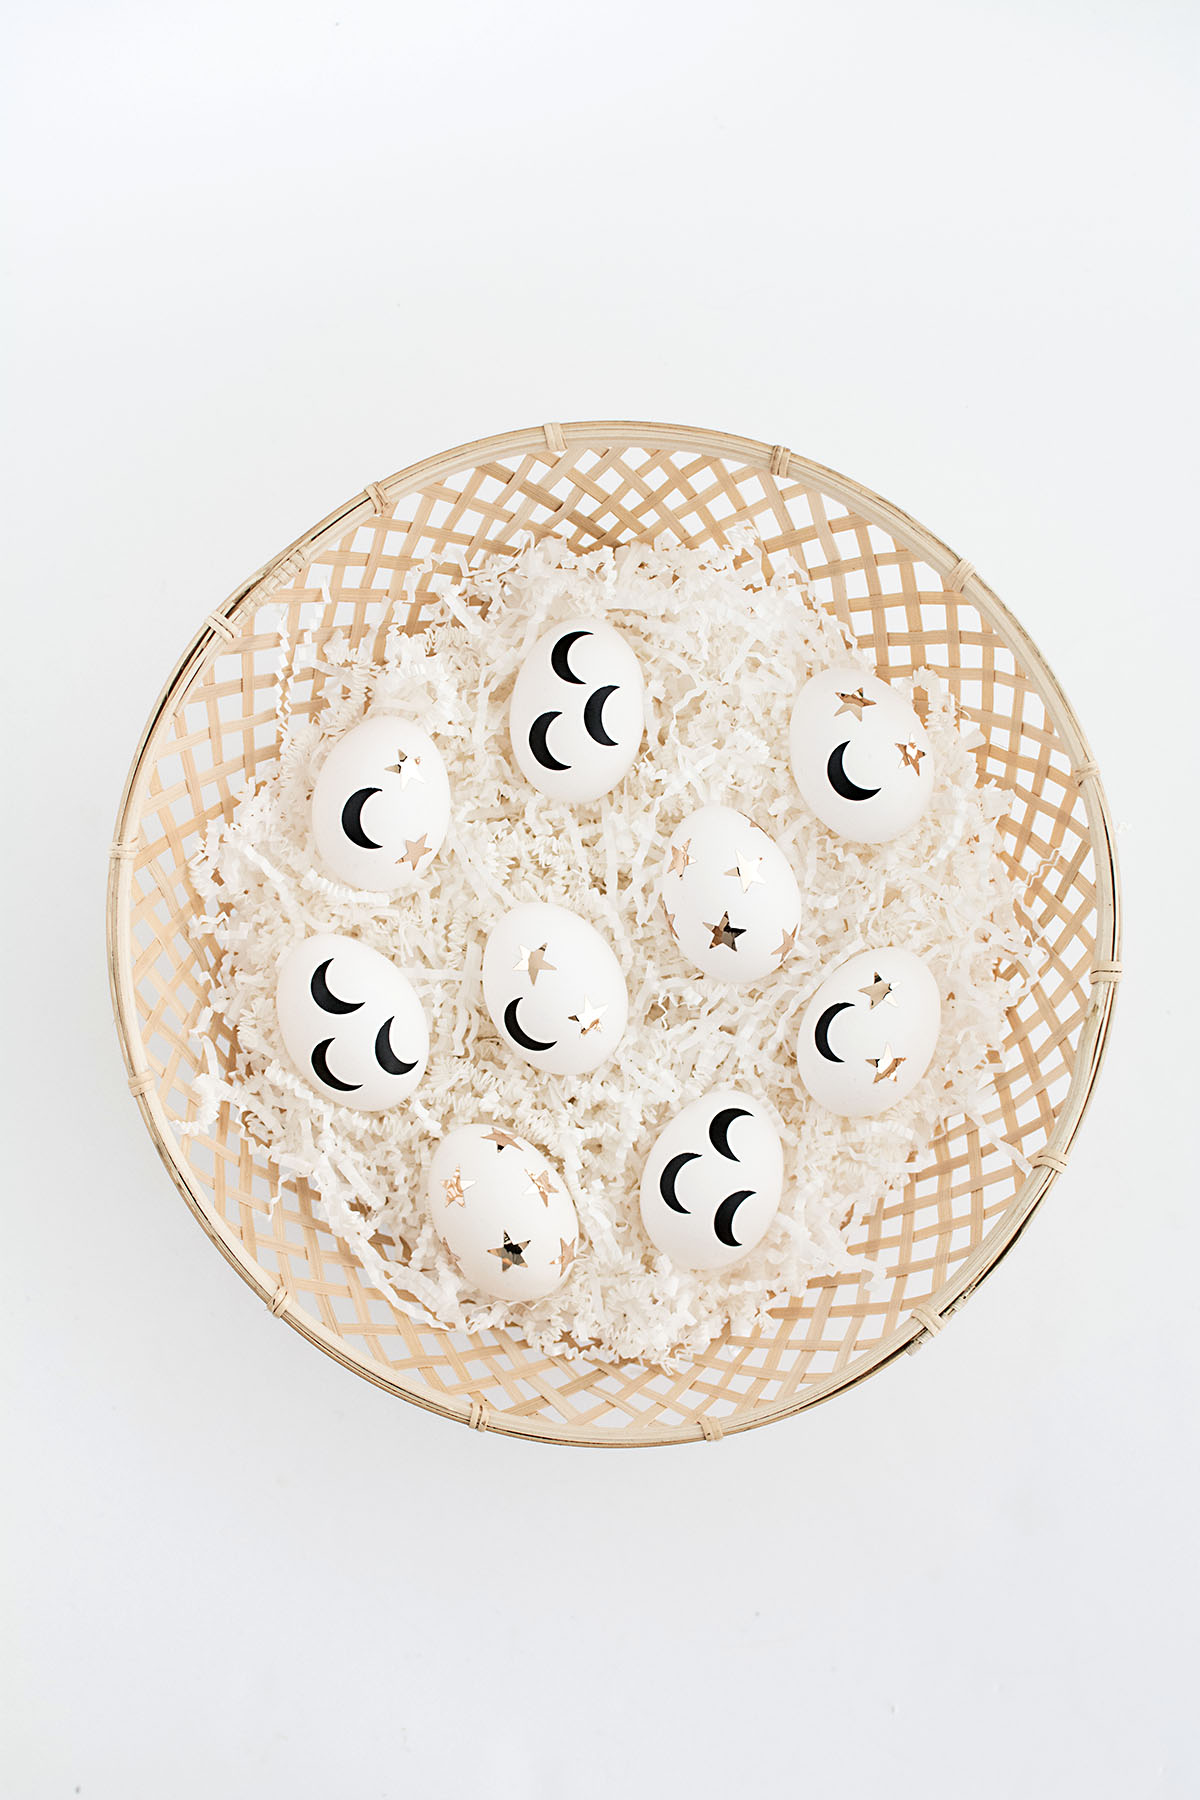
First Easter egg DIY on the blog! Decorating eggs was never a part of our tradition growing up, but it’s such a fun one, much like decorating pumpkins which I love. I do remember my mom getting those plastic eggs that you can put candy inside and then she’d hide them around the house for me to find. Candy is great and all, but now I’d rather eat an egg (most of the time), and I made sure that these eggs can still be eaten after decorating since it’s simply shapes cut out of adhesive vinyl.
See the full tutorial for these stars and moons Easter eggs at the PBteen blog!

These are so cute! Love no mess easter egg decorating!
What a cute idea for easter! So adorable.
http://tealattewithstyle.com/
Thanks, Emma!
How fun and cute are these.
Ah, these are so so cute! There are SO many egg tutorials out this year that I love so much, I have no idea how I’m going to make so many! But I do love that this one actually looks do-able for someone who isn’t “super DIY queen”. haha! ;)
Thanks for the tutorial!
Haha yes I like to keep DIYs easy around here ;) Thanks, Cortney!
Aww these look so cute! What a fun alternative to dying them.
xo Andrea
Thank you, Andrea! I’m a fan of traditional dying but anything simpler is worth a try as well :)
I love these. So pretty.
So dreamy! Love these!
Did u use a stencil? Or freehand?
Must know please ty
Crystsl
I used paper punches to cut the shaped out of adhesive vinyl.