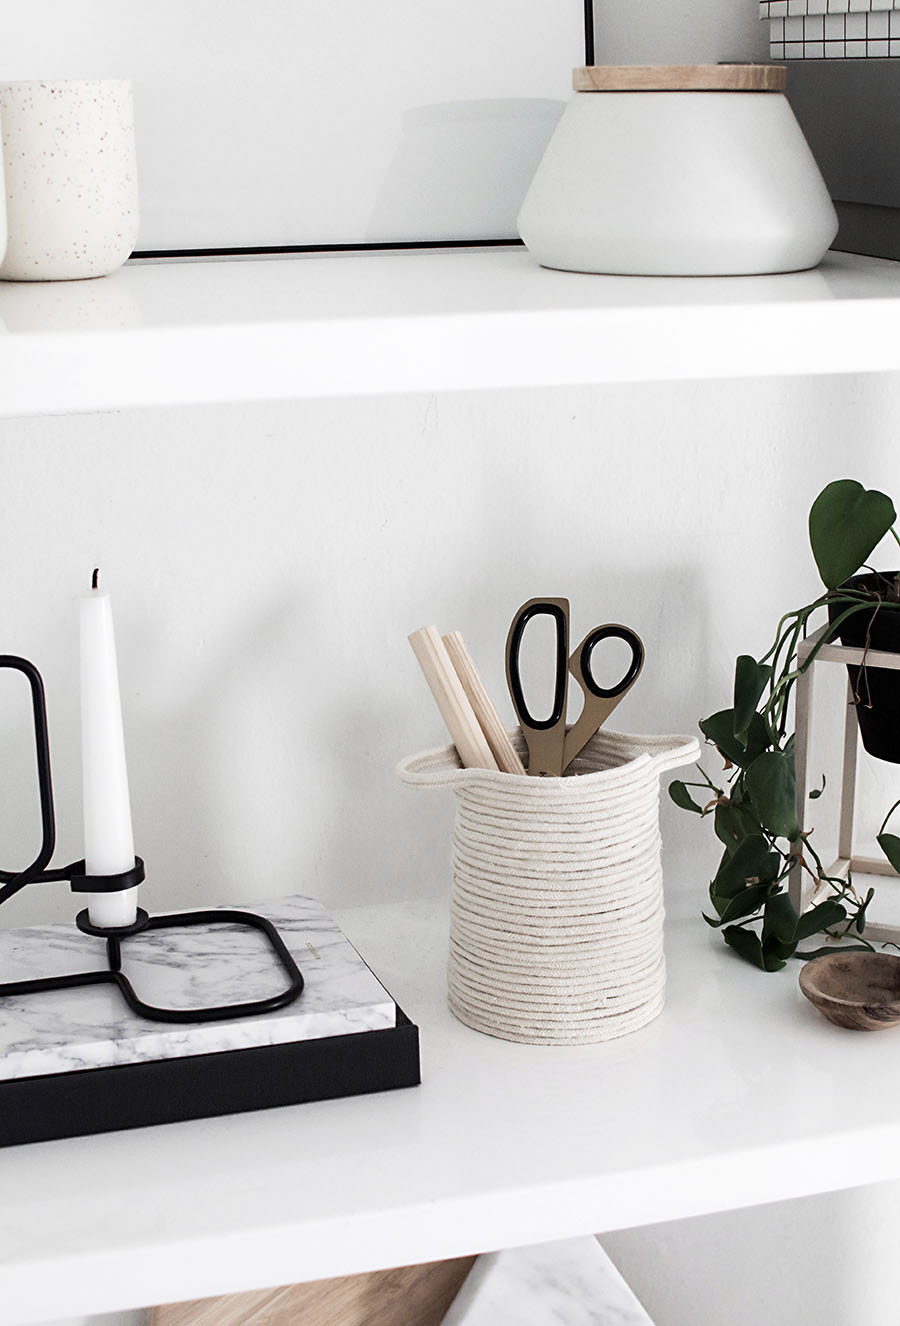
A no-sew rope basket has been on my DIY list ever since that one time I made string bowls, which honestly weren’t that sturdy though were fun to make. Using macrame rope this time, I love the natural and minimal look this basket has, and because I wanted to go smaller on the basket size I went with a thinner rope. A thicker rope would work beautifully as well and would be even sturdier and easier since it wouldn’t require as many rows. I’m doing that next time!
Materials:
–rope (I used 3mm macrame cord)
-glue gun
-scissors
-parchment paper
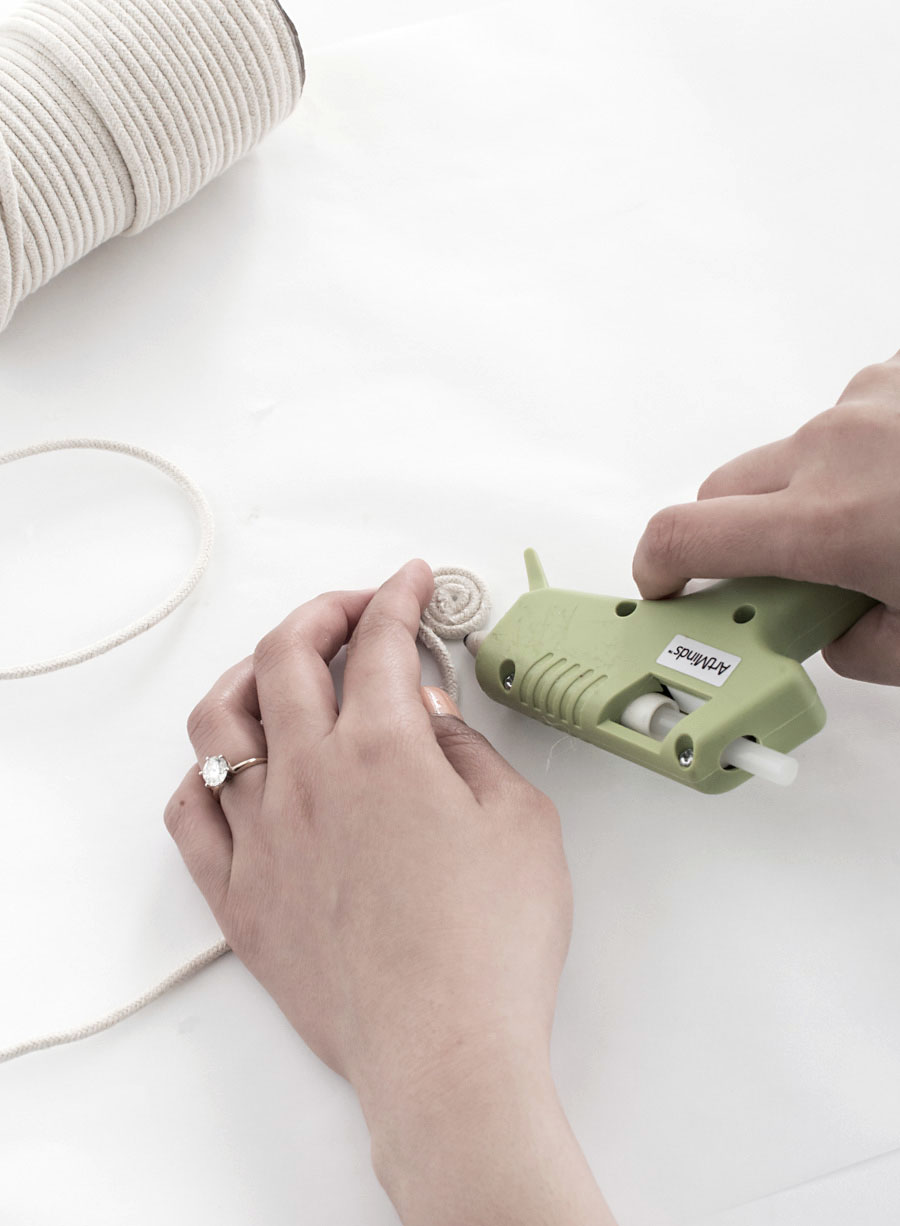
Lay down a sheet of parchment paper to protect your surface and start to coil the rope, applying hot glue around the perimeter as you tightly coil around. I’ve come to terms with that fact that using a glue gun comes with the territory of burning my fingers by accidentally touching the glue that oozes out the sides. It takes some practice applying just enough glue for a strong hold but not too much so that it isn’t lumpy and goopy. Pull off stringy pieces or excess lumps of glue as needed.
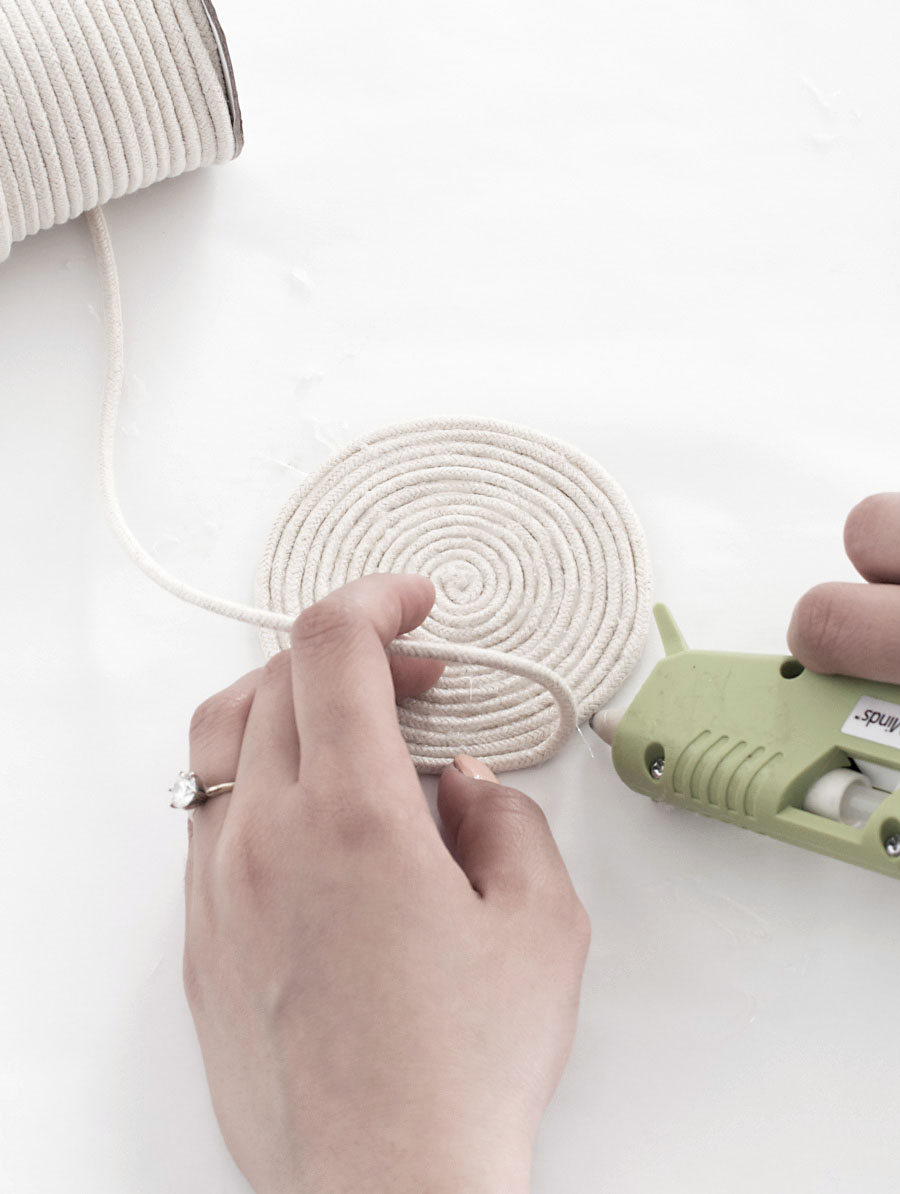
This coil is going to be the base of the basket, so plan ahead on how large you want it to be. Mine is about 3.75″.
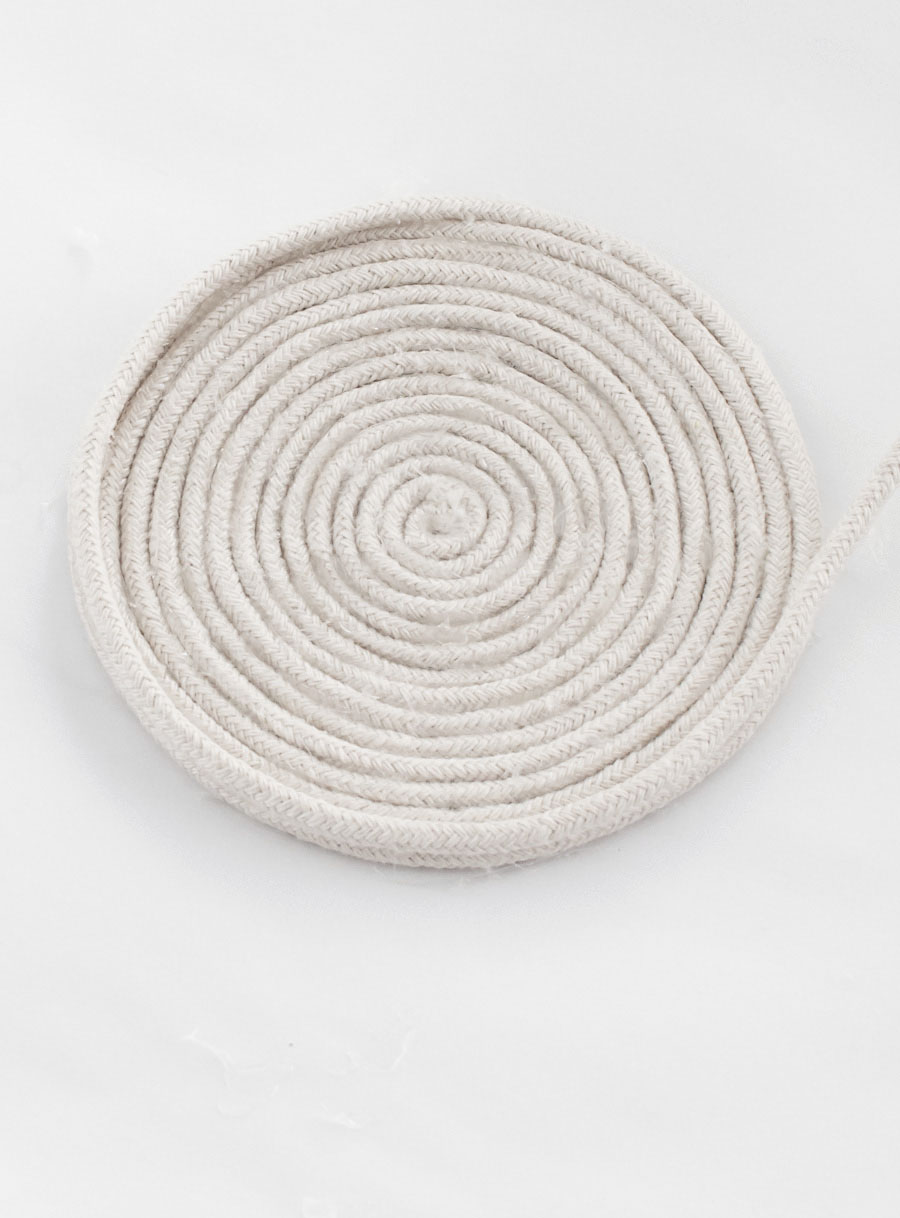
Once reaching your desired coil diameter, start to glue the rope on top of the outer ring of the coil. You can see near the top of my coil where I made this transition happen.
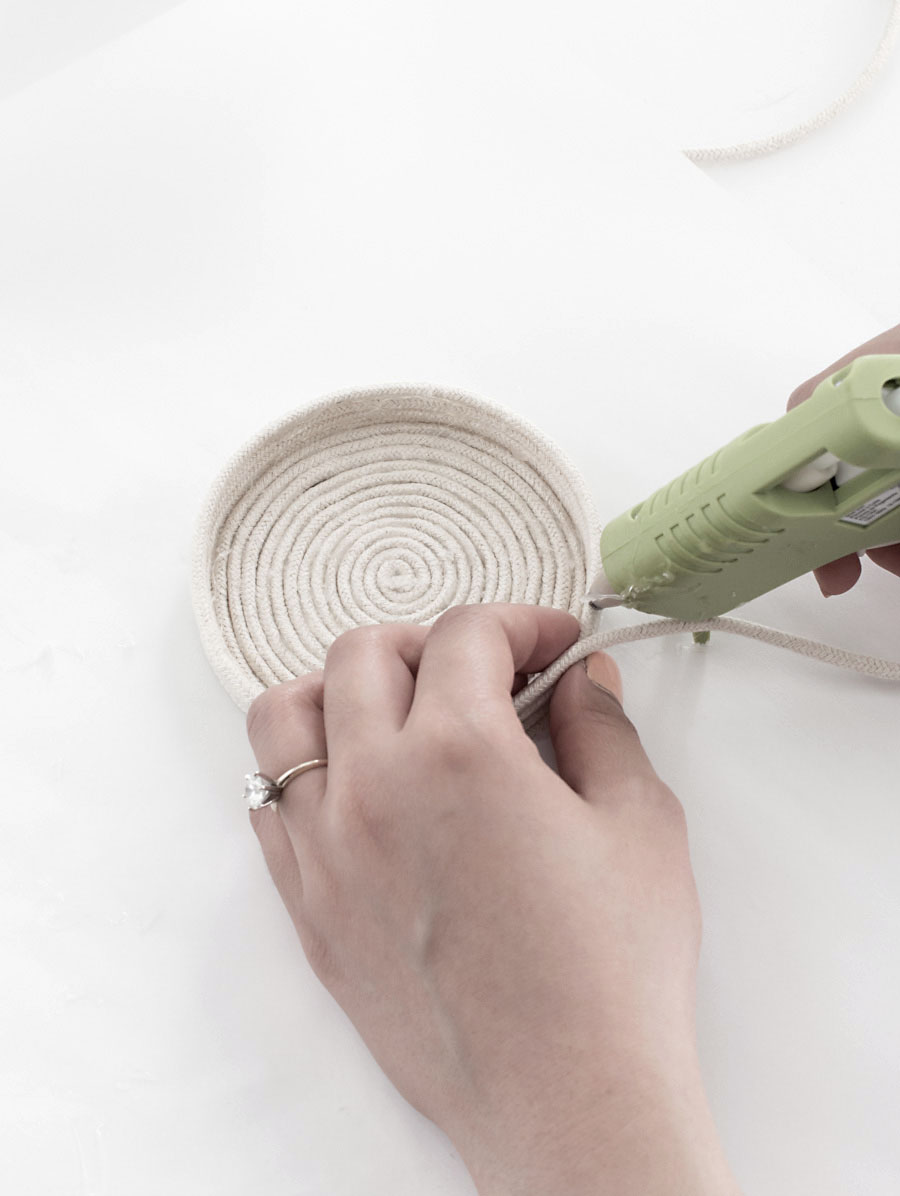
Keep gluing rows of the rope on top of each other. I did this free handedly as I didn’t mind having an organic look to my basket (isn’t this how all DIY feels? Ha!) but if you want to be more exact about your shape, take a vessel like a glass cylinder and glue your rope around it. Make sure to wrap the vessel first in parchment paper to protect it from the glue.
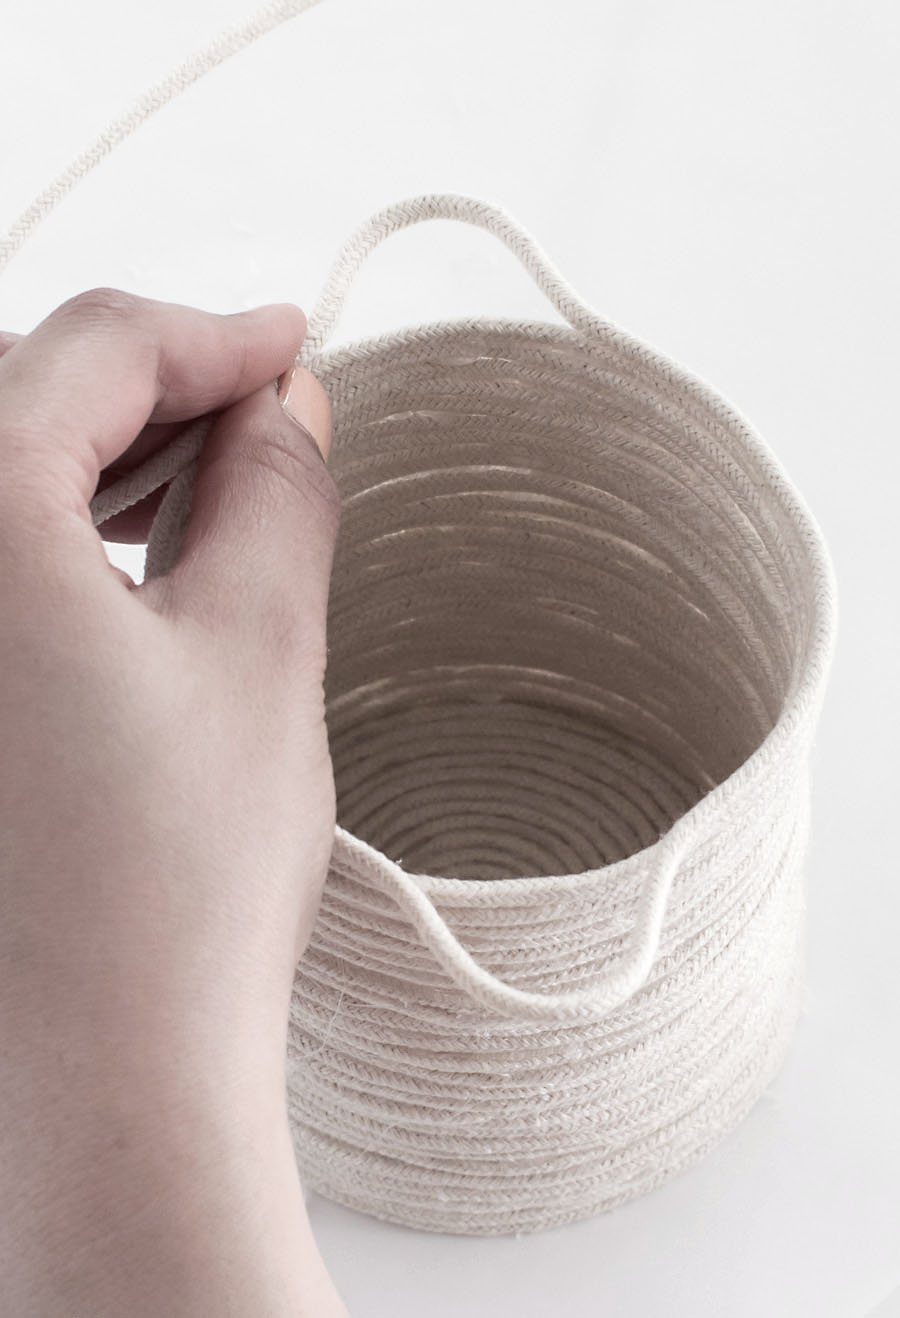
When you reach the top (mine is about 4.75″ tall) create a handle on each side like so by only gluing down the edge of each handle to the top.
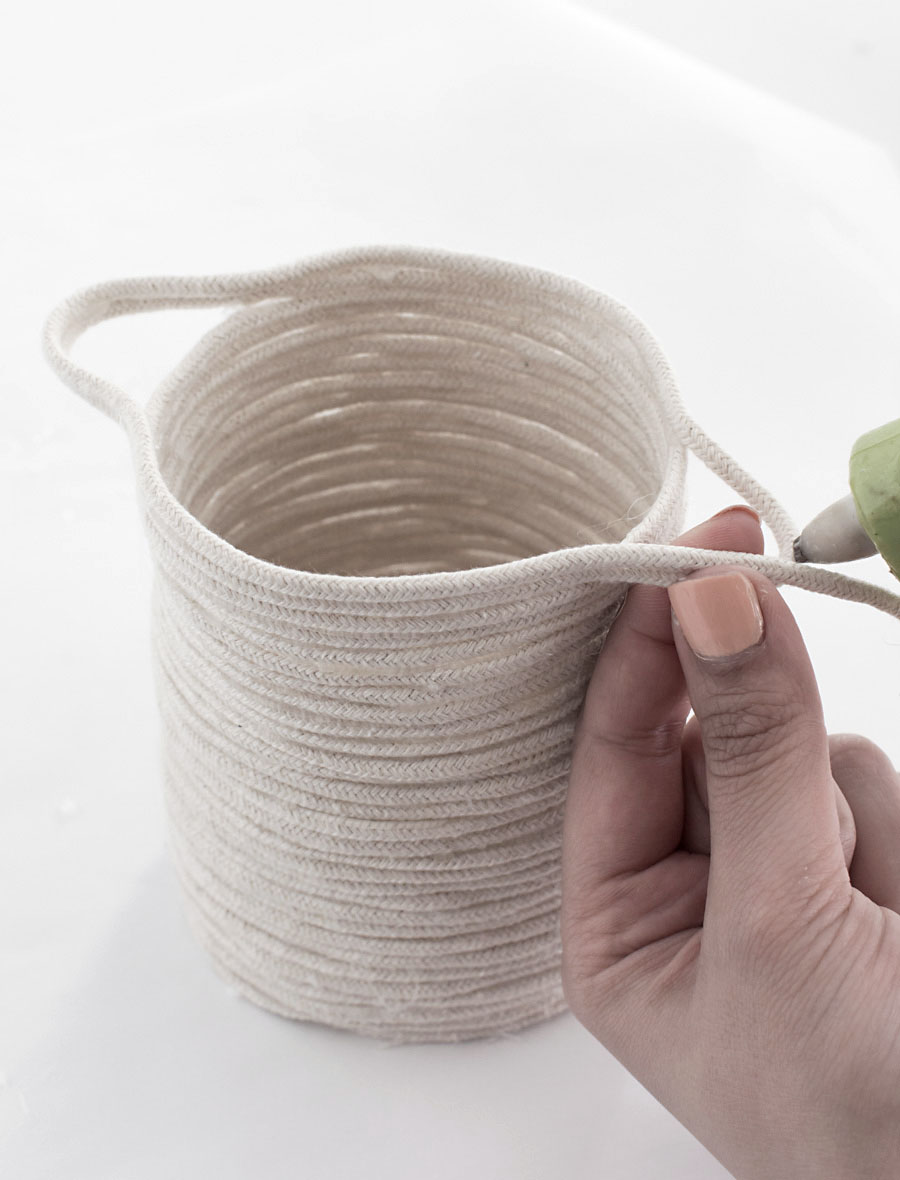
Reinforce the handles by coiling around and gluing the rope one more time on top.

Cut off the excess rope leaving about an inch at the end.

Glue the end of the rope down onto the inside of the basket like shown above. If you don’t want handles, you can skip the previous steps on the handles and just skip to this part.
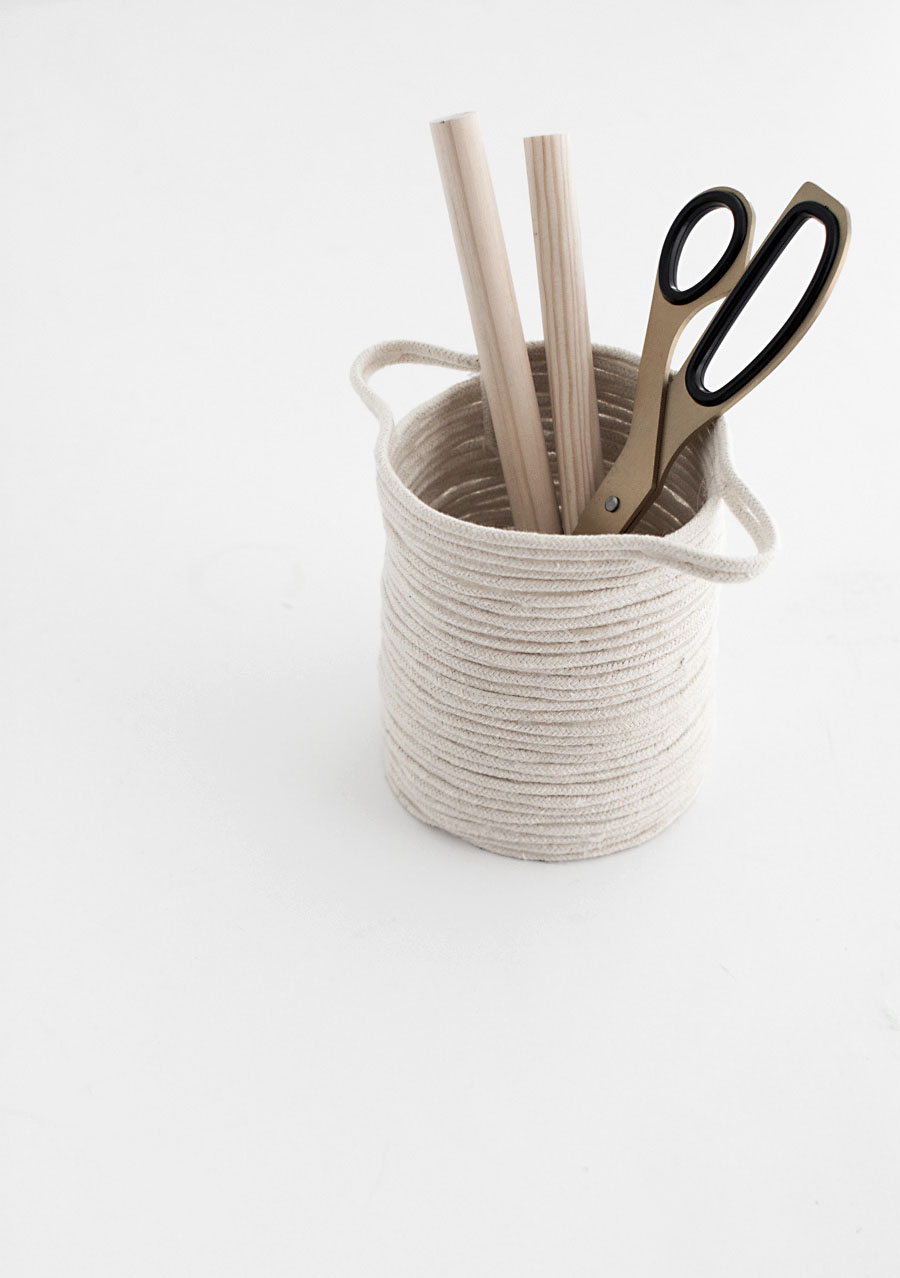
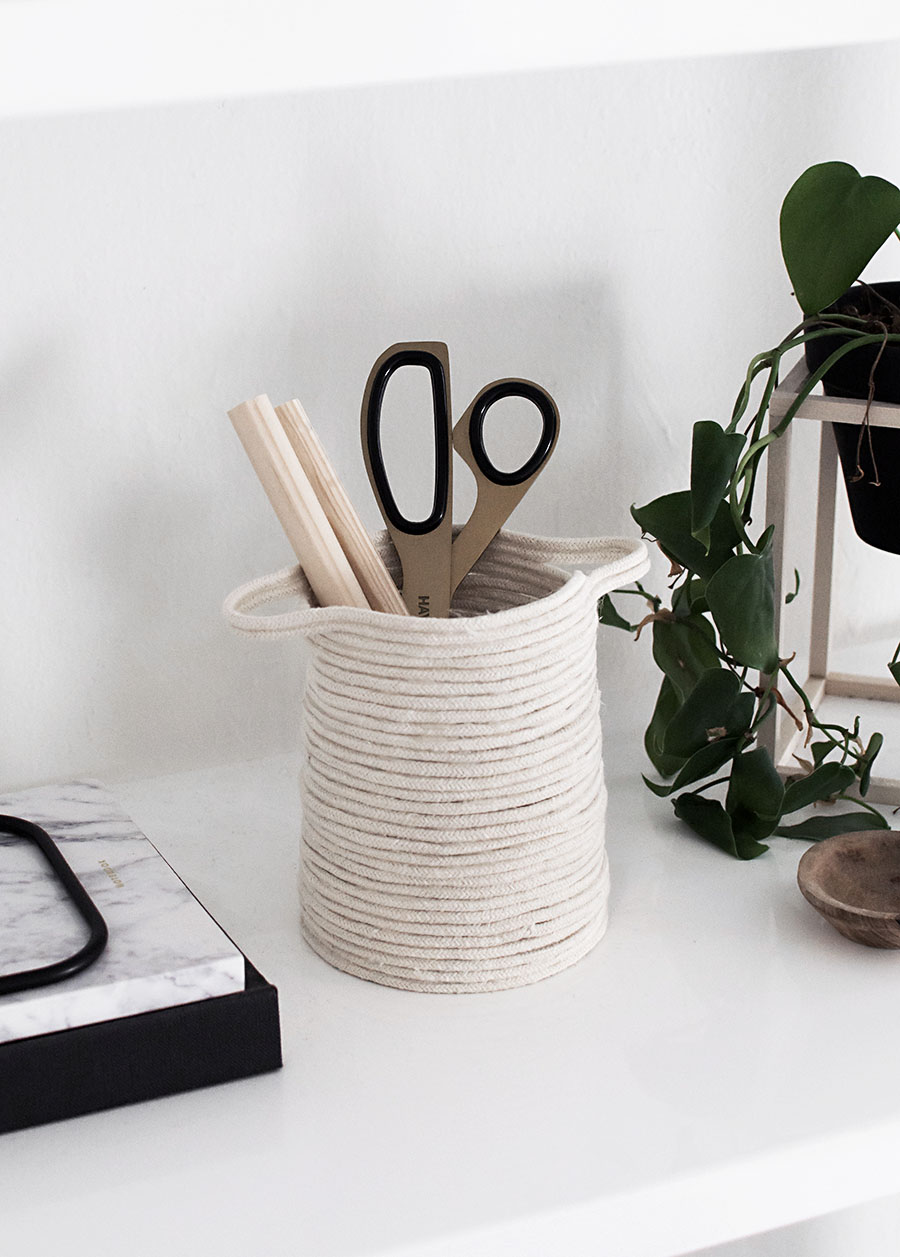
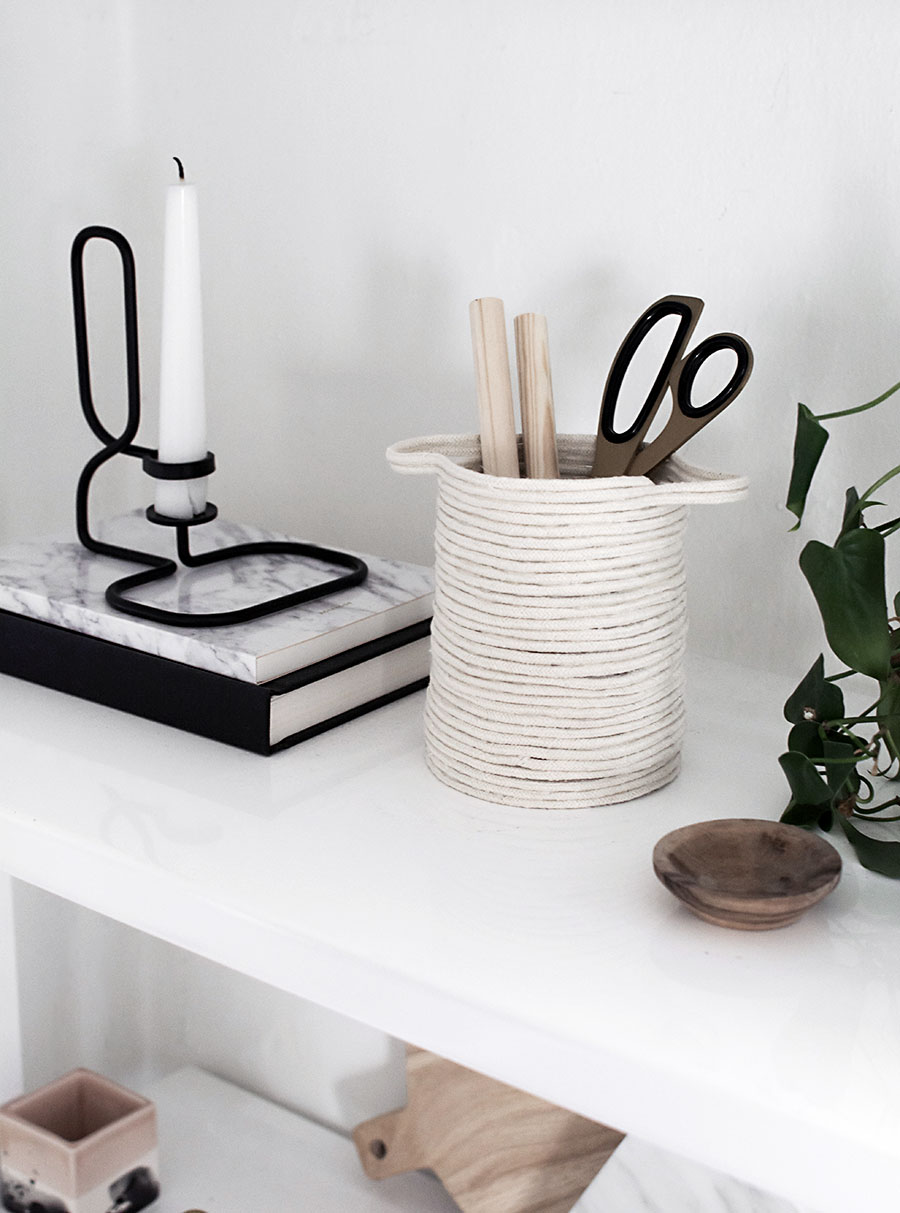
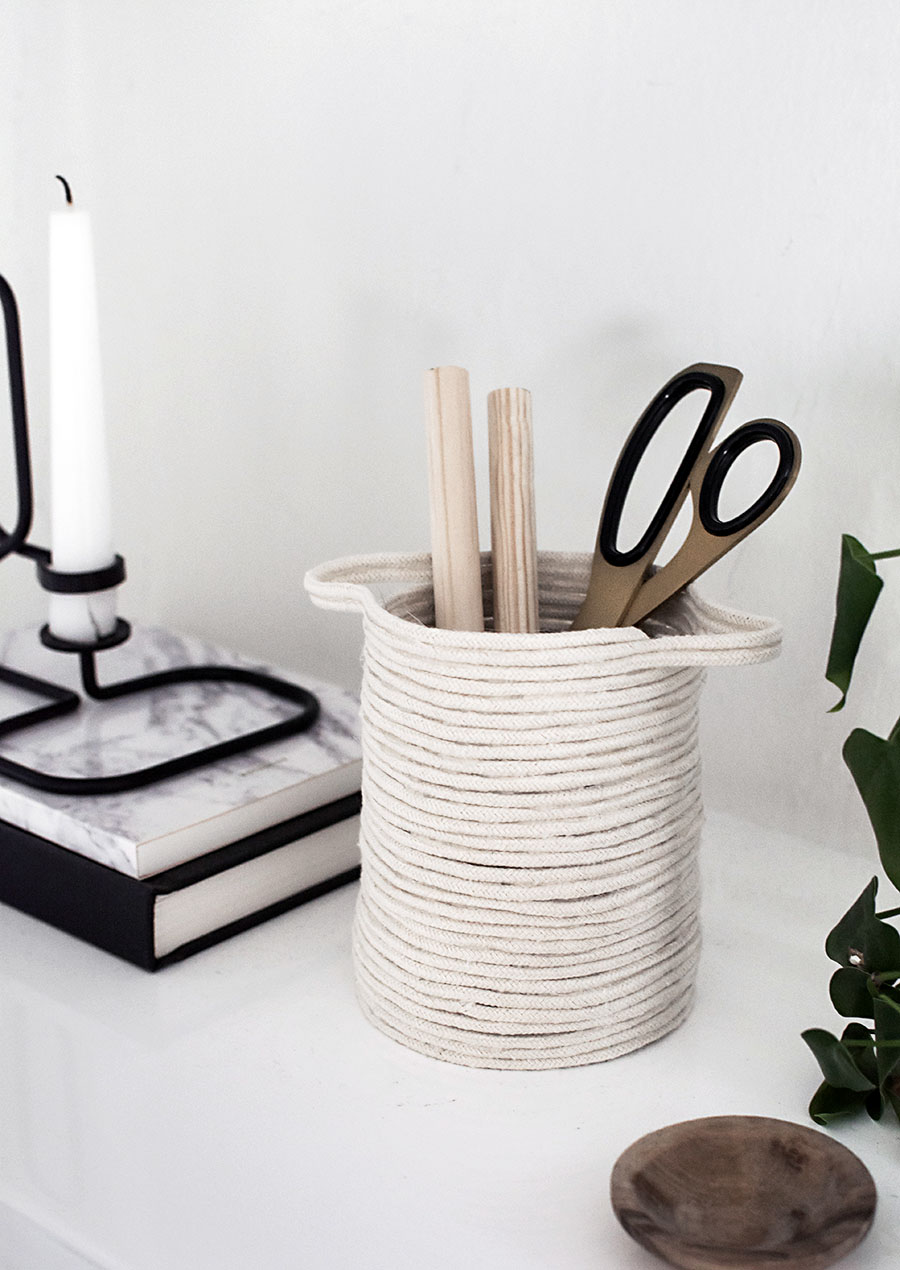
I have it used here for small storage near my desk but I can see this being very cute for storing makeup brushes or if you can find a container that fits, a vase or planter. A planter is probably my favorite idea! What else would you store in here?
shop this post


placing this on my “list of possibilities” . love the idea! Thanks for sharing
Haha I have a list of possibilities too. Let’s make ’em happen ;) Thank you!
This is so cute!! What a great storage option for an office!
Thanks, Eden!!
Bonjour
magnifique ce porte crayon j’aime beaucoup bravo a toi bise raymonde
This is awesome! I love the handle details. So cute.
Thank you Lisa!
I love this so much! I’m making mine today :)
how much of the rope did you have left after making the basket?
This is so good! And incredibly simple, I’mma make this soon in sha Allah :)
This would be great for crochet hooks!