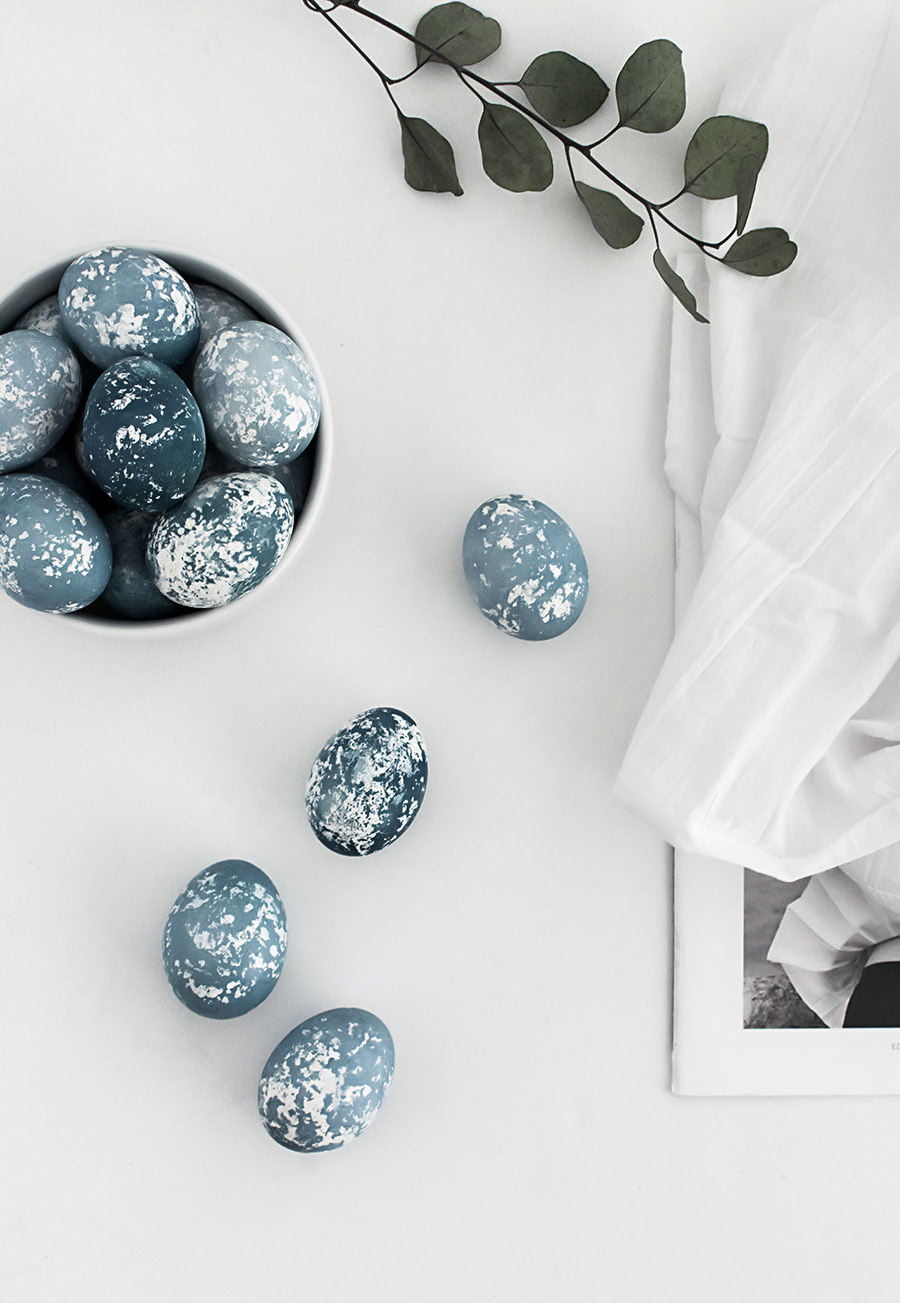
I went through 36 hard-boiled eggs to figure out this DIY so that you wouldn’t have to! Lots of egg salad around here these days. The hard part was deciding on the design and practicing the application of it, which now that we’re past that it’s actually a very, very easy thing to do.
My problem previously with dying or painting eggs was not trusting the chemicals even if they’d claim to be food safe. I will not risk not being able to eat the eggs after playing with them, so natural dye is my emphatic choice. After looking up color glossaries on natural dyes (VERY COOL), I decided to go for a blue color which I wouldn’t have guessed is made with red cabbage.
To make the blue dye:
1. Roughly chop a head of red cabbage and put into a pot.
2. Fill pot with just enough water to cover the cabbage. This took me about 10 cups and varies by cabbage size.
3. Bring to a boil then simmer for 30 minutes.
4. Strain and remove cabbage.
5. Add 2 tbsp of white vinegar and let dye cool to room temperature.
The dye will be a deep purple but it dyes blue, it’s bizarre.
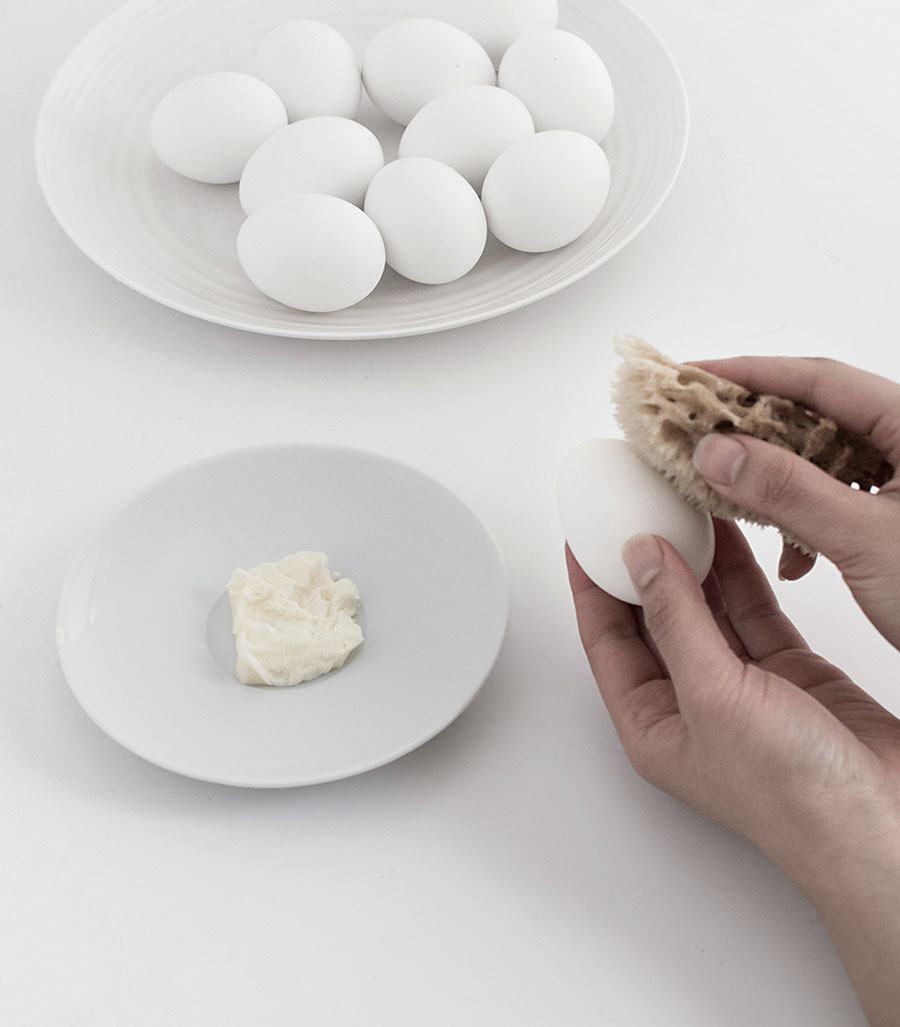
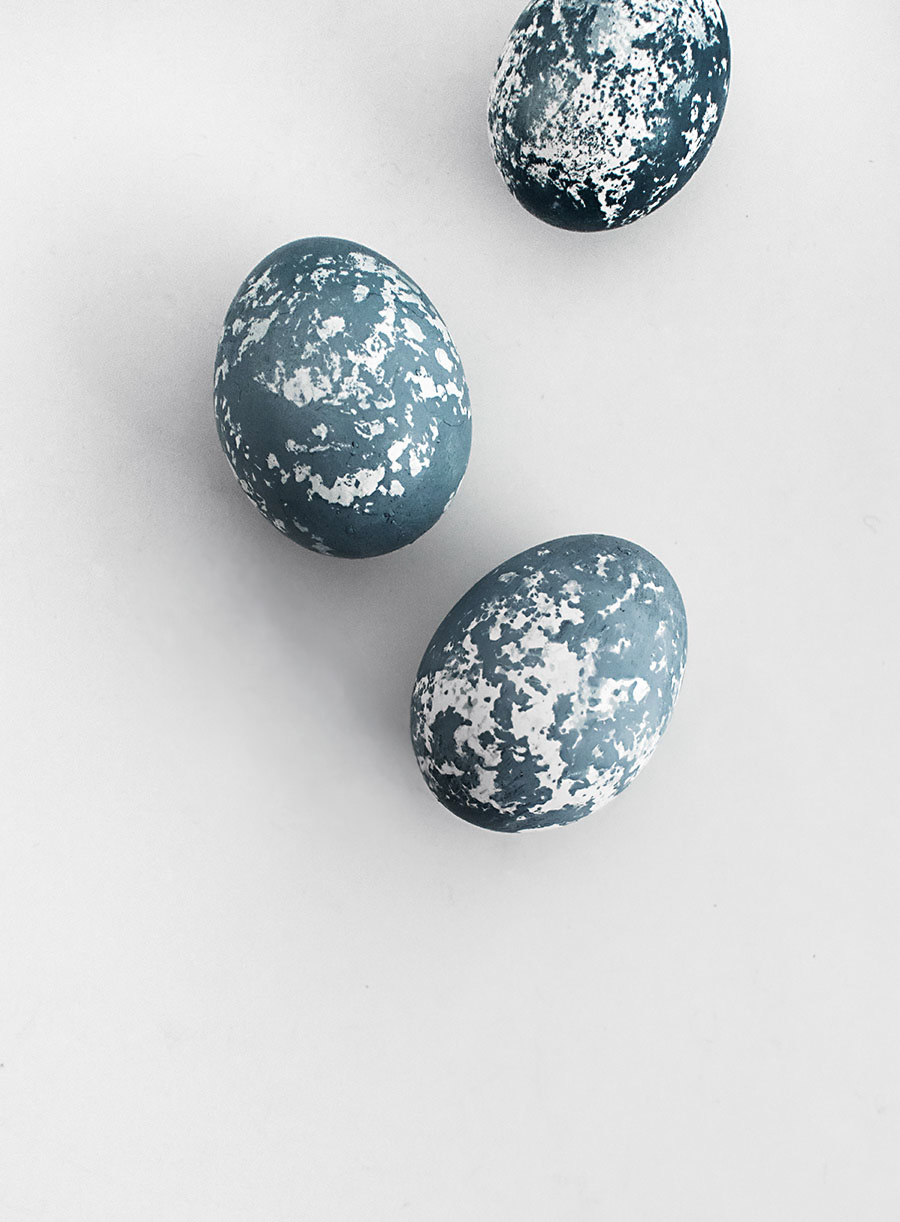
Now for the speckling, which I think in this case is better described as mottling, but speckling sounds nicer. Dab a sea sponge onto room temperature butter, than lightly pounce it all over each hardboiled egg. A few notes about this! First, don’t hold the egg like I am in the photo. Hold it with two fingers, one on top and one at the bottom, then rotate the egg around that axis as needed. Second, try not to pounce the butter over the same area multiple times unless you want the egg to be more white than blue. This is what took me several attempts and some practice to get, though it ultimately comes down to personal preference. Third, getting enough but not too much butter on the sponge takes practice as well. Generally the more butter used, the more white spots there will be, and the less used the less white spots there will be.
The butter acts as a resist to the dye, so you want to carefully transfer each egg to the dye without disturbing your buttery design. The amount of time you leave the eggs in the dye for depends on how dark you want them, more time yielding a darker blue.
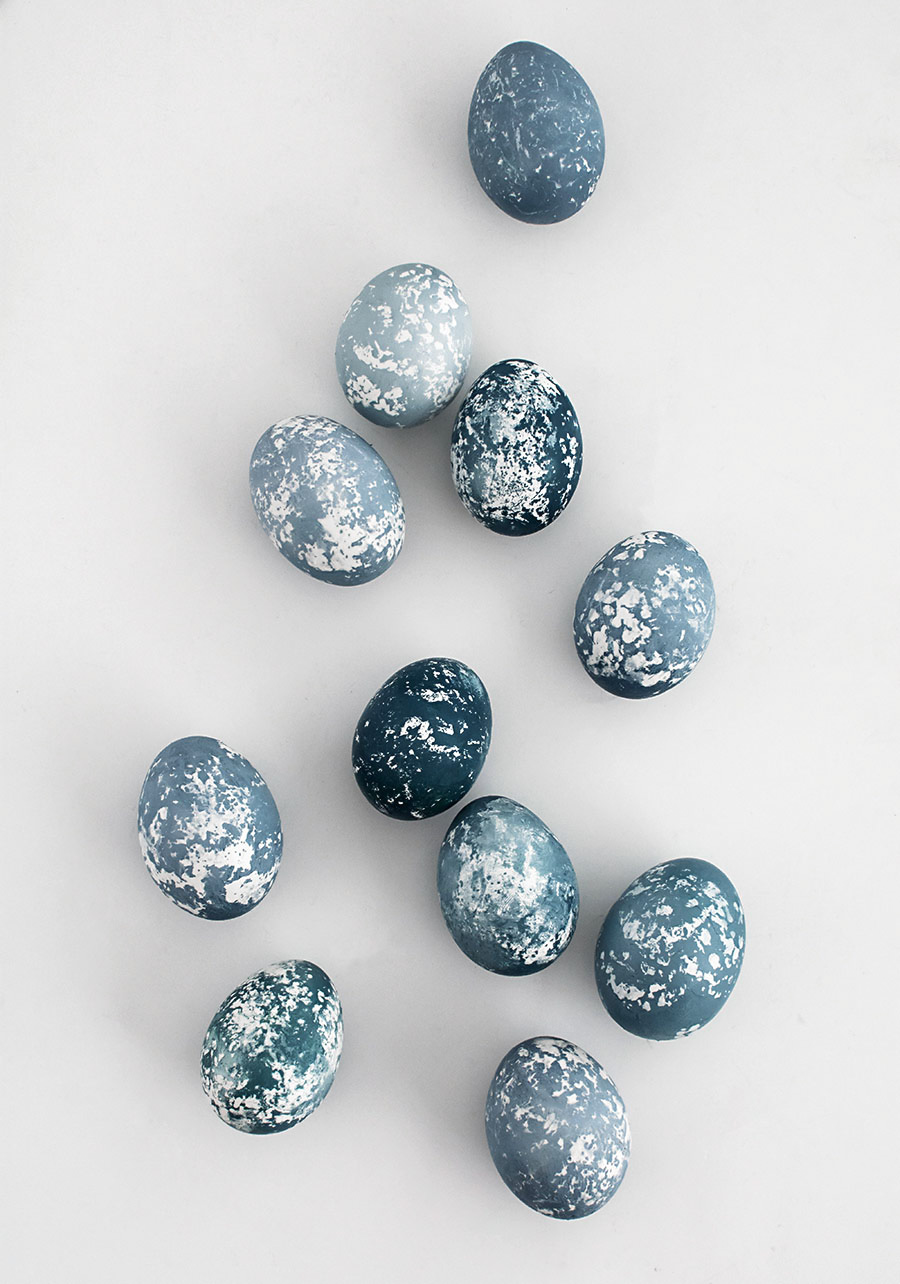
I varied the times among my eggs, ranging between 2 hours to overnight. Check on the eggs to see how they’re coming along, although don’t do this too often because again, minimal disturbance to butter is best.
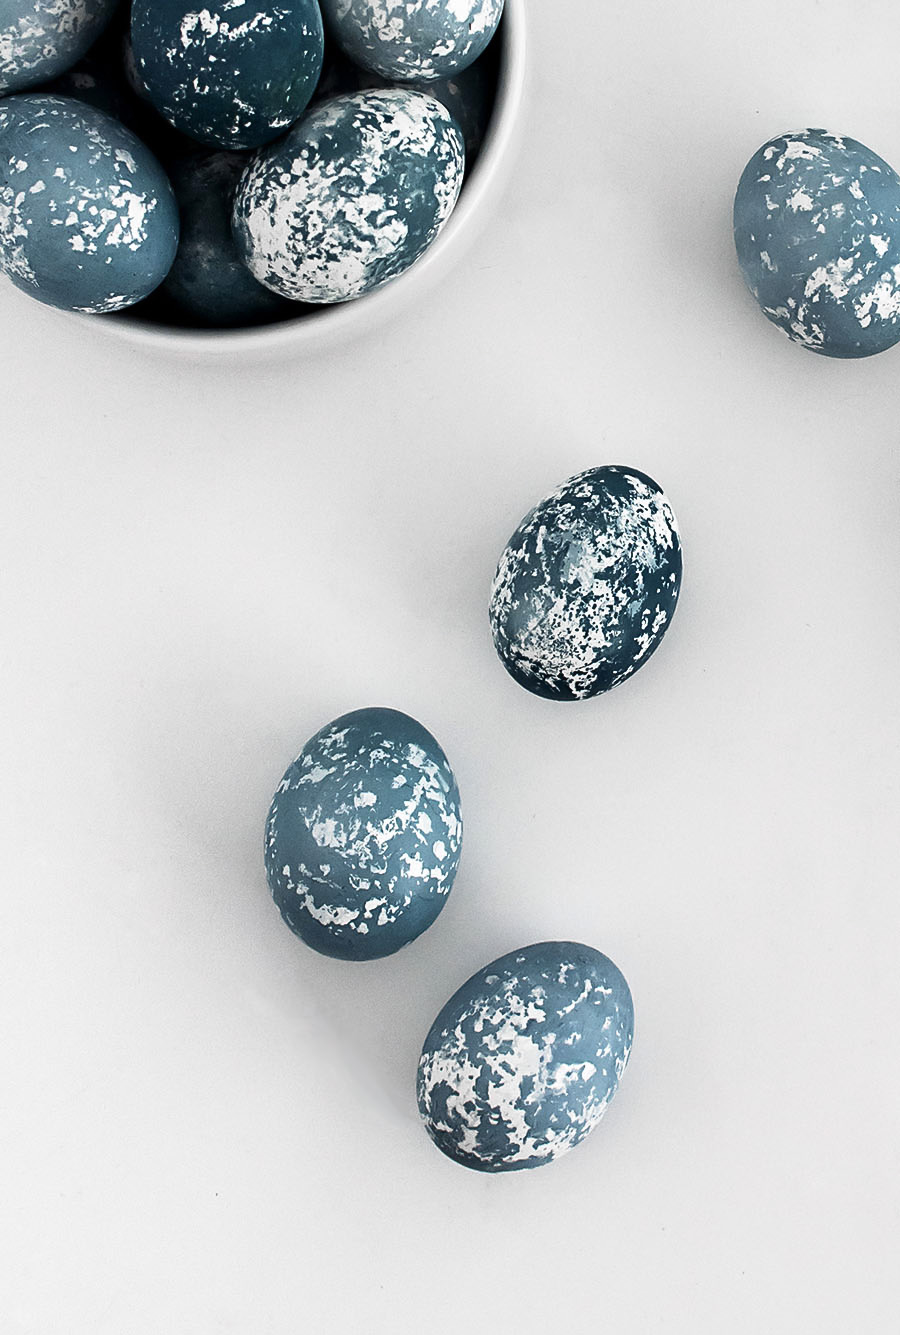
The lighter eggs weren’t planned but rather a result of my impatience after going overnight on some of them for that deep blue, which I love, but I more love having the variety and different tones.
Egg dying is not a tradition around here, but rather one I’ve had on my list to do with my future babies. This list actually has many things and why not enjoy them as my adult self, I agree. Modern design for grownups but still fun to do with anyone, that’s the game we’re playing ;)
Had any experience with naturally dying eggs? Is this a regular tradition of yours?

hi, what can I use if I don’t have a sponge like that?
You could try using a regular sponge, though I’d really recommend getting a sea sponge. Your local craft store should have them (I got mine at Michaels).
WOW !!!!!!!!!!!!!
I’ll think I’ll try this fro my self ty fro the inspiration!!!!!!!!!
Crystal Bennett.
Give. Me a message on messager or Facebook
Teacher from boilver
I love these! I love the idea of naturally dying eggs! I think the colors come out a million times prettier :)
xo, Sofia
http://www.thecozie.co
Yea I think the color variations turn out more beautiful, too. Thanks, Sofia!
So cool that you can make natural dyes! I would never have thought of that.
We have always blown out the eggs before dyeing because, like you, I didn’t like the idea of eating eggs with potentially harmful dye on them. But it takes so much time that we would end up dyeing about six eggs. I think we’ll be trying your method this year!
Thanks for taking one for the team, and enjoy your egg salad! ;)
These are gorgeous!! LOVE!!
I love this dyed eggs and the colour is great, I just tried it last year but i faked it with brush and acrylic paint and I applied littel gold splashes. It looks nearly the same.
Many greetings Kathrin
I love this and am going to make these tomorrow ready for Easter!! Thank you!!
2 yrs. Later , i love how artistic these are. Pretty enough to leave out all yr long. Especially if you have a pottery barn aesthetic home.
I love. The idea of trying out projects before hand to do with your future babies, once you have them there probably wouldn’t be time for the pre-test.
Your brilliant in my book.
And these eggs are on my to do list. Thank you for being an inspiration.
Happy Easter.
Hi there, these look beautiful! Just a quick (maybe obvious) question, some comments mentioned keeping them displayed as ornaments but would they not go off being essentially food items? Thanks
Hi, definitely wouldn’t keep these out longer than a day when using real eggs. Not sure if this method would work on faux egg alternatives but that could be something to try.