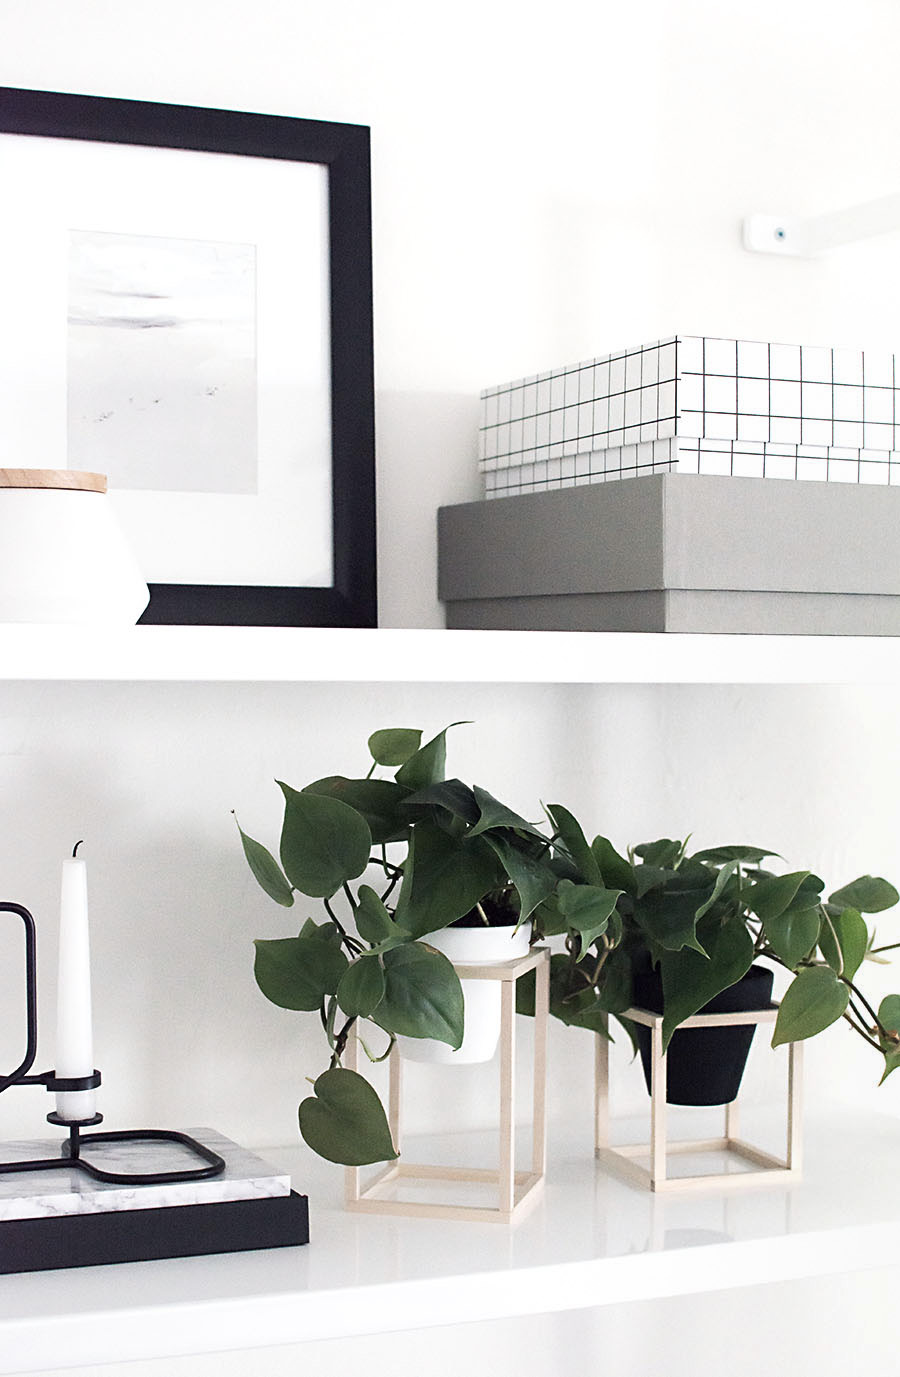
 I have zero problems finding plants I like or convincing myself to bring too many home, but the struggle lies in finding stylish and affordable planters to put them in. Simple ceramics are fairly easy to source, but for something unique or more decorative, it gets challenging.
This is why my plants will first sit around in their original plastic pots for a long time without getting planted in a forever home. Sometimes it goes on so long that I’ll resort to planting them in terra cotta pots, which there’s nothing wrong with those and I’m a fan of the low price tag, but I figured there’s an opportunity here to come up with an easy way to make them more modern.
These plant stands, though simple to make, are on the longer side of time commitment due to drying times (I noted them in the instructions), but the fuss is still very low! Definitely worth it for how much they elevate (HEH) your basic terra cotta pots through minimal and modern design.
Materials:
-1/4″ square basswood dowels
–saw
–mitre box
–E6000
-3.5″ terra cotta pots
-paint (I used black and white)
–foam brushes

I marked measurements on the wood with pencil and cut two dowels at a time, using a mitre box to help keep the cutting straight while holding the dowels against the box with my left hand.
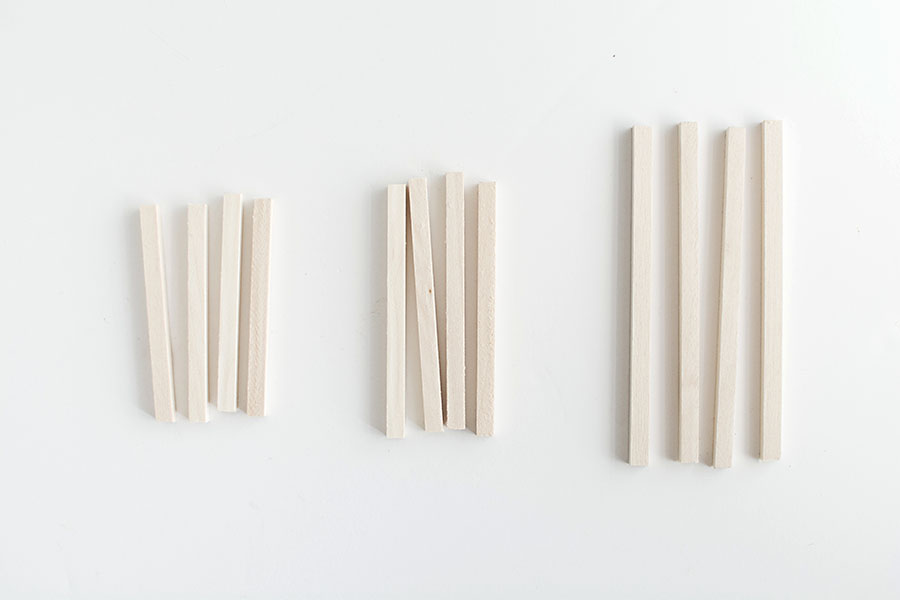 Wood piece measurements from left to right:
4 x 3.25″ (for the squares)
4 x 3.75″ (for the squares)
4 x 5″ (for the pillars)
For the shorter stand, the 4 pillars were cut to 3.5″ each.
 As previously mentioned, the pieces that make up the squares are the 3.25″ and 3.75″ pieces. Each square is comprised of two of each, so in the photo above the 3.25″ pieces are on the top and bottom and the 3.75″ pieces are on the left and right. I made two of these and used E6000 to attach them at the corners. It’s better to dot on too much glue and wipe off the excess after attaching than to apply too little.
*Note- this glue takes time to set and will require either clamping or patiently holding/pushing the corners by hand until it dries a bit. Wait until completely dry before moving on (I’d estimate about an hour… I know, not ideal, but while you wait you can build a second one, paint the terra cotta pots, go run an errand, work on another project, read, watch TV, eat, great excuse to go do something fun.)
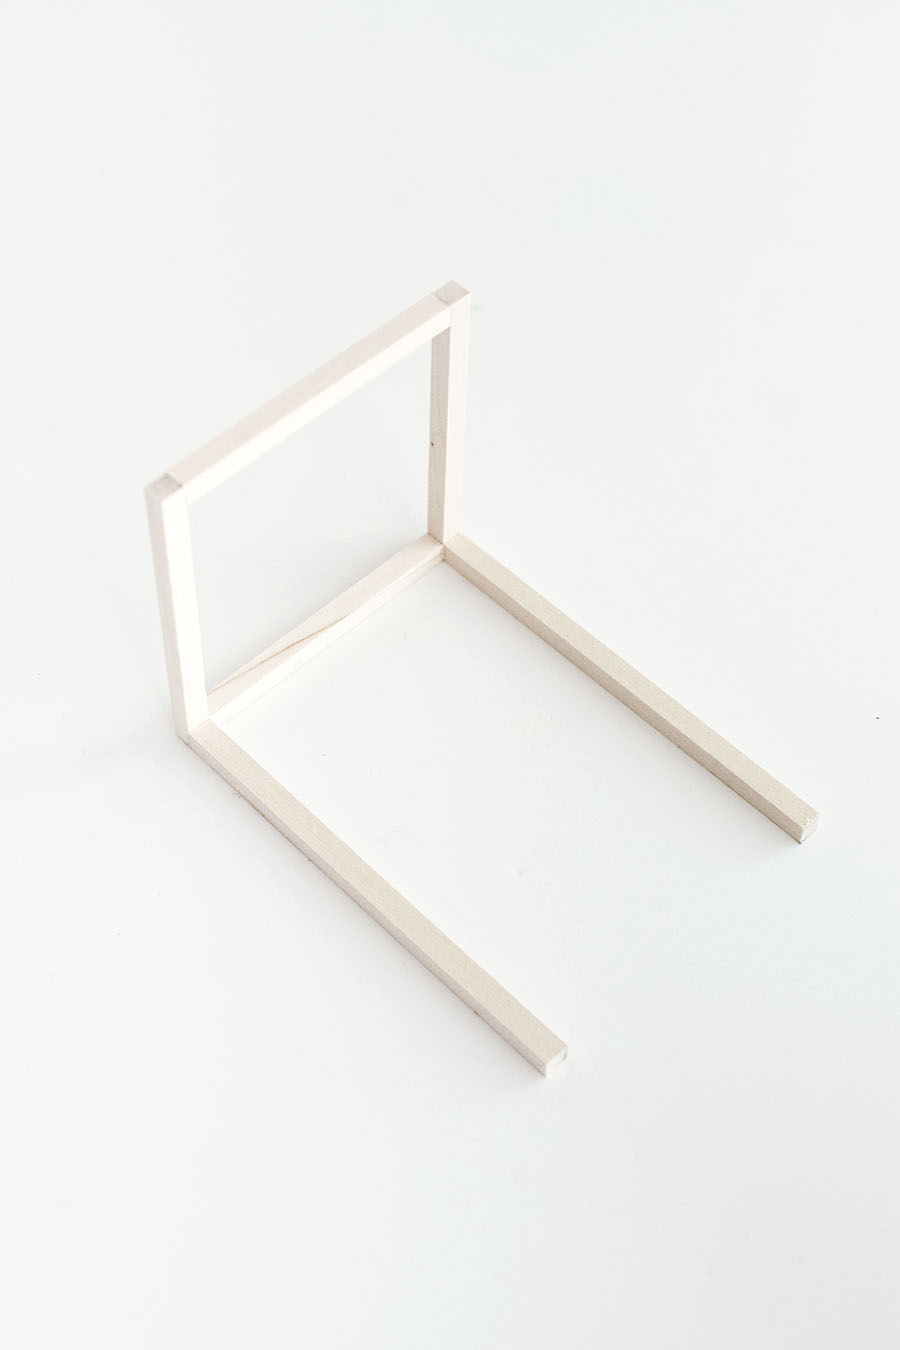
Next I glued on the pillar pieces. I only did two at a time because they won’t hold their weight until dry, so having them rest against the table is necessary. I waited until it completely dried before gluing on the other two (another hour, I know).
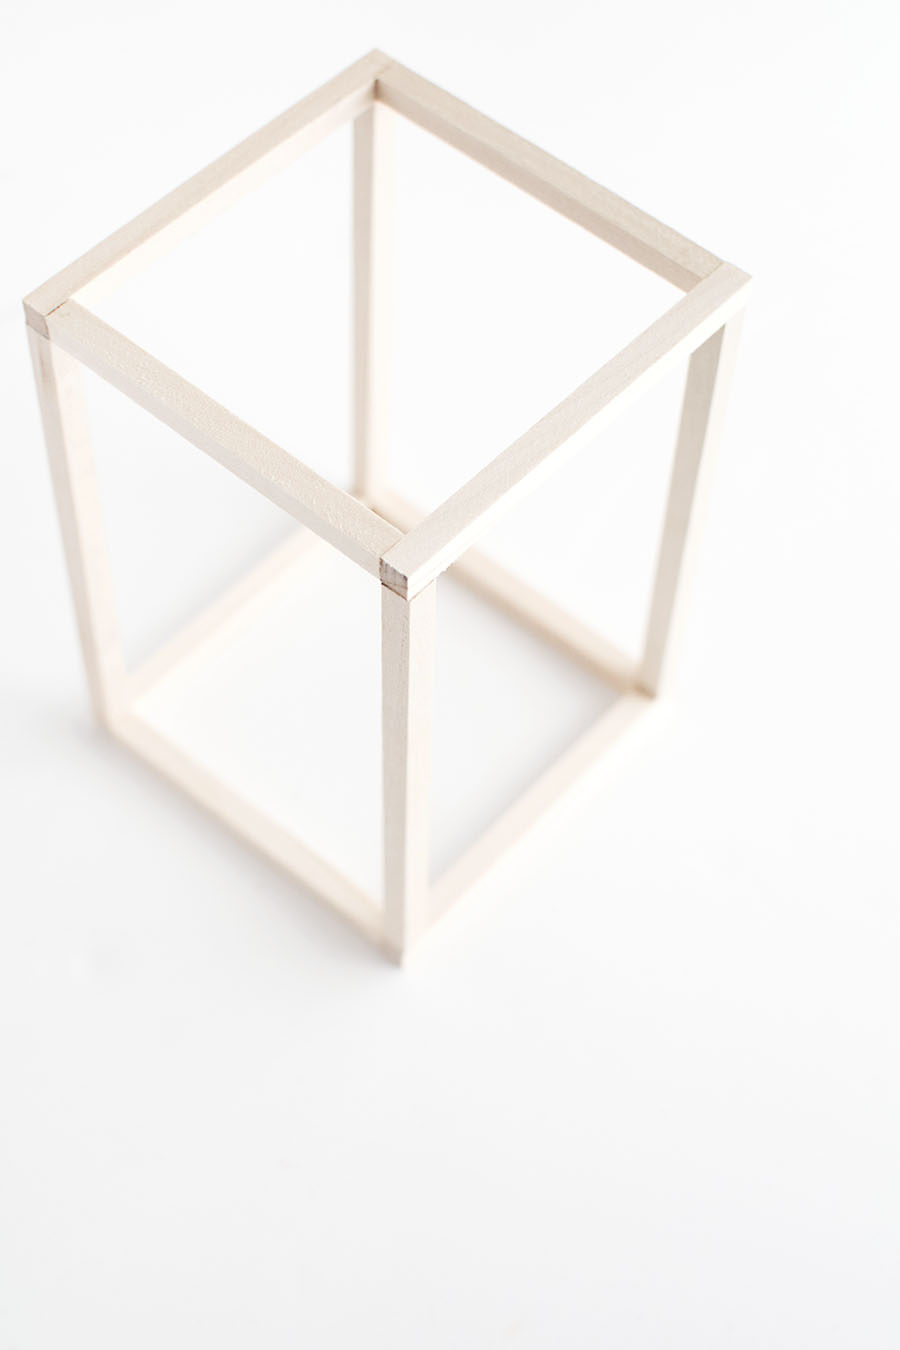
Lastly, I glued on the second square piece on top of the pillars. Again, I waited until it completely dried before moving on (yes).
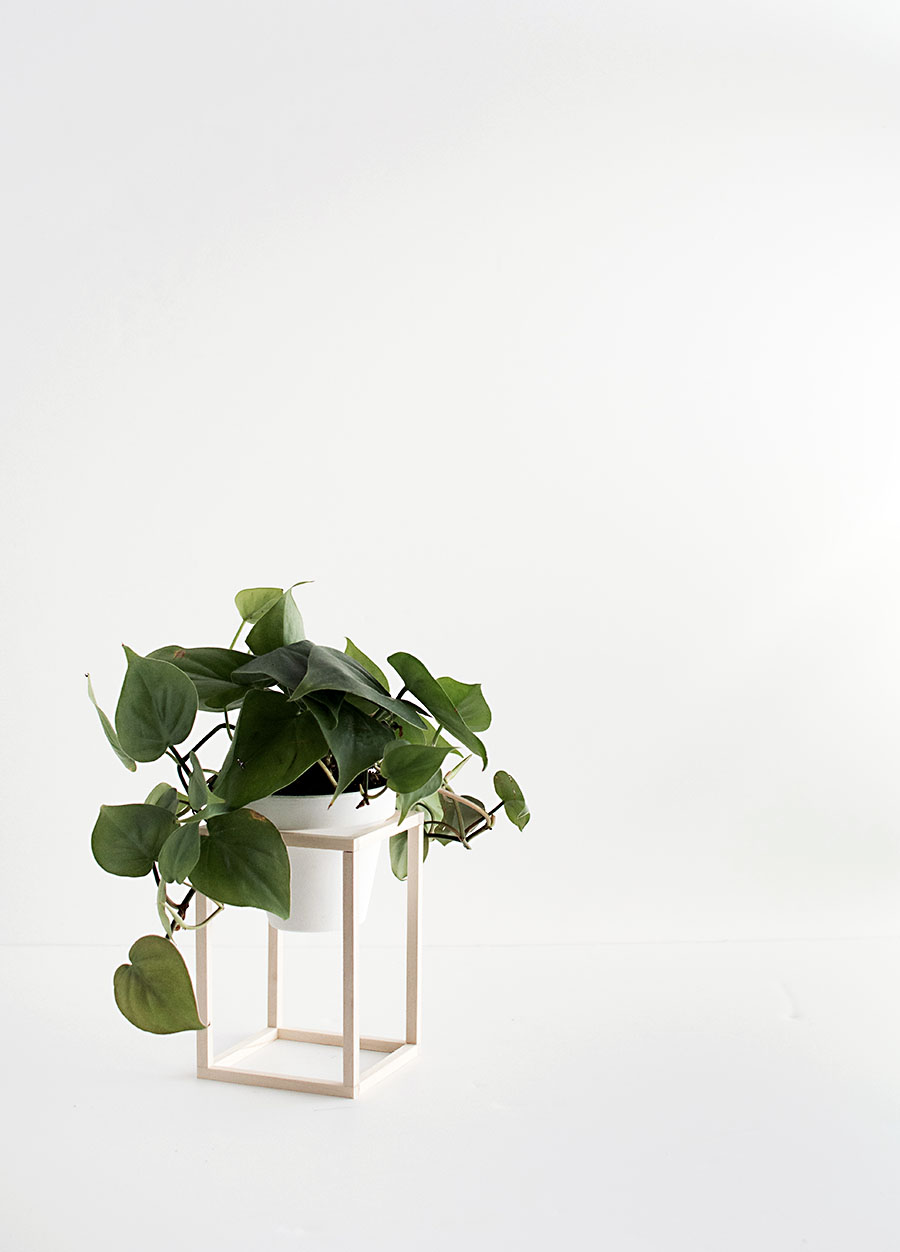
I used all the drying times to paint the terra cotta pots, among other fun things, so once all the glue dried I was ready to plop the plant in.
Ok, so how sturdy are these? Glue is not ideal for longevity, I agree, but as long as the plant/pot weight is kept small and the stands are handled very gently, it should hold pretty well. All my experiences with E6000 have been excellent and I’ve really come to trust the hold.
If you still don’t feel good about it, you can use a nail gun to attach the corners together. This was actually my initial plan, but the only nail gun I could find for 23G pin nails (very small and basically invisible) required an air pump attachment, which I don’t have realistic access to. Also, the room for error is super small given the thinness of the dowels, so glue was overall much simpler and really, sufficient for my needs.
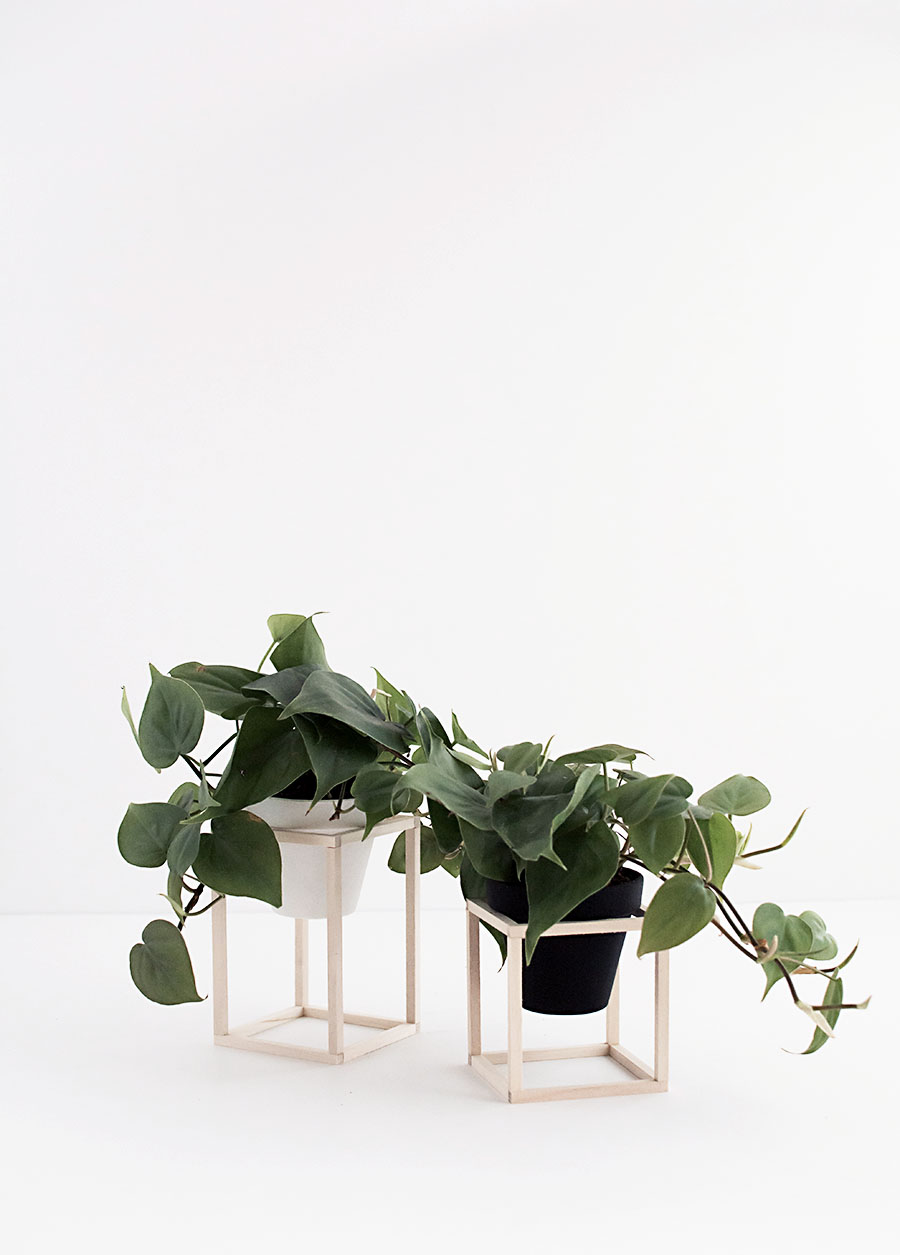
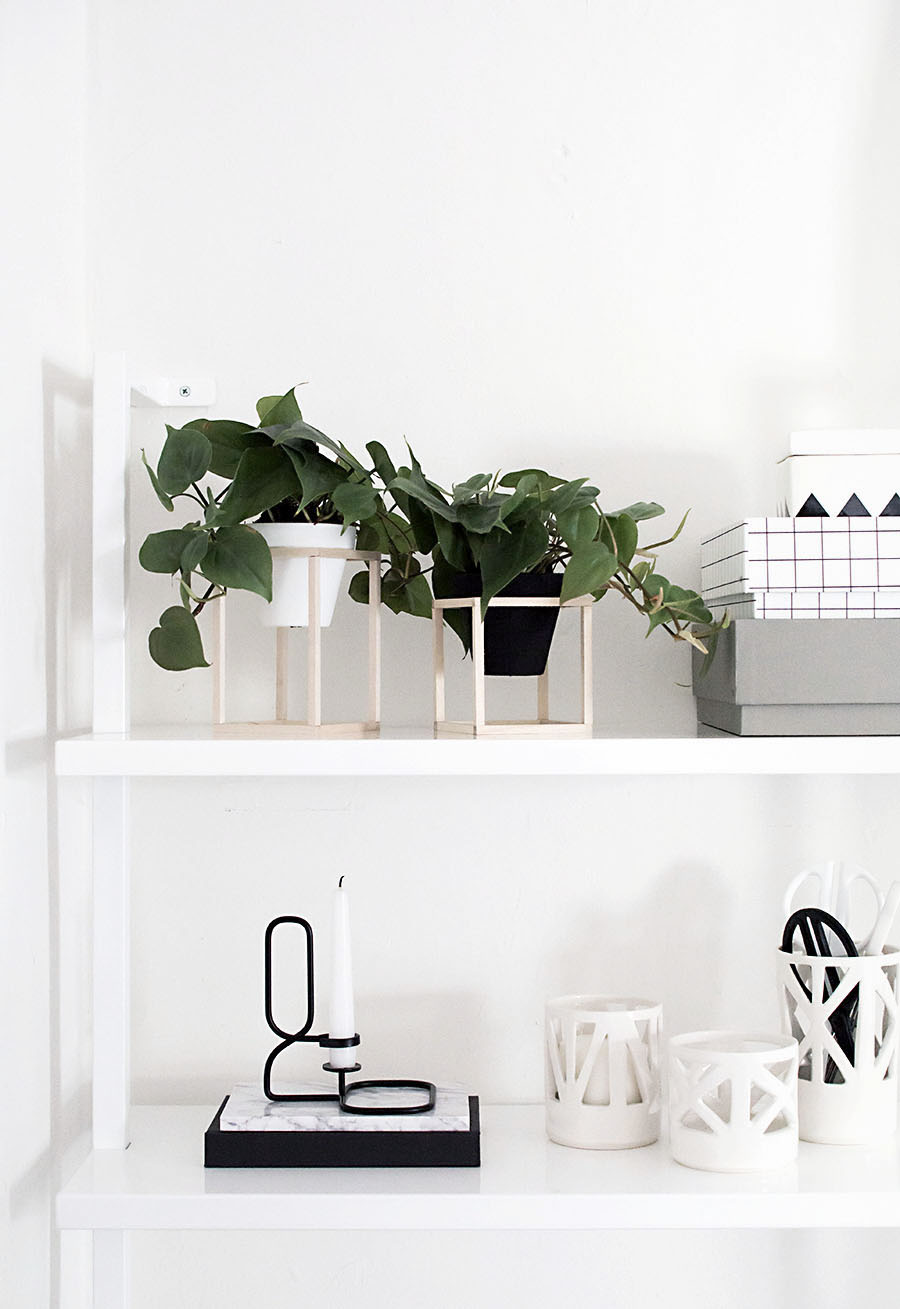
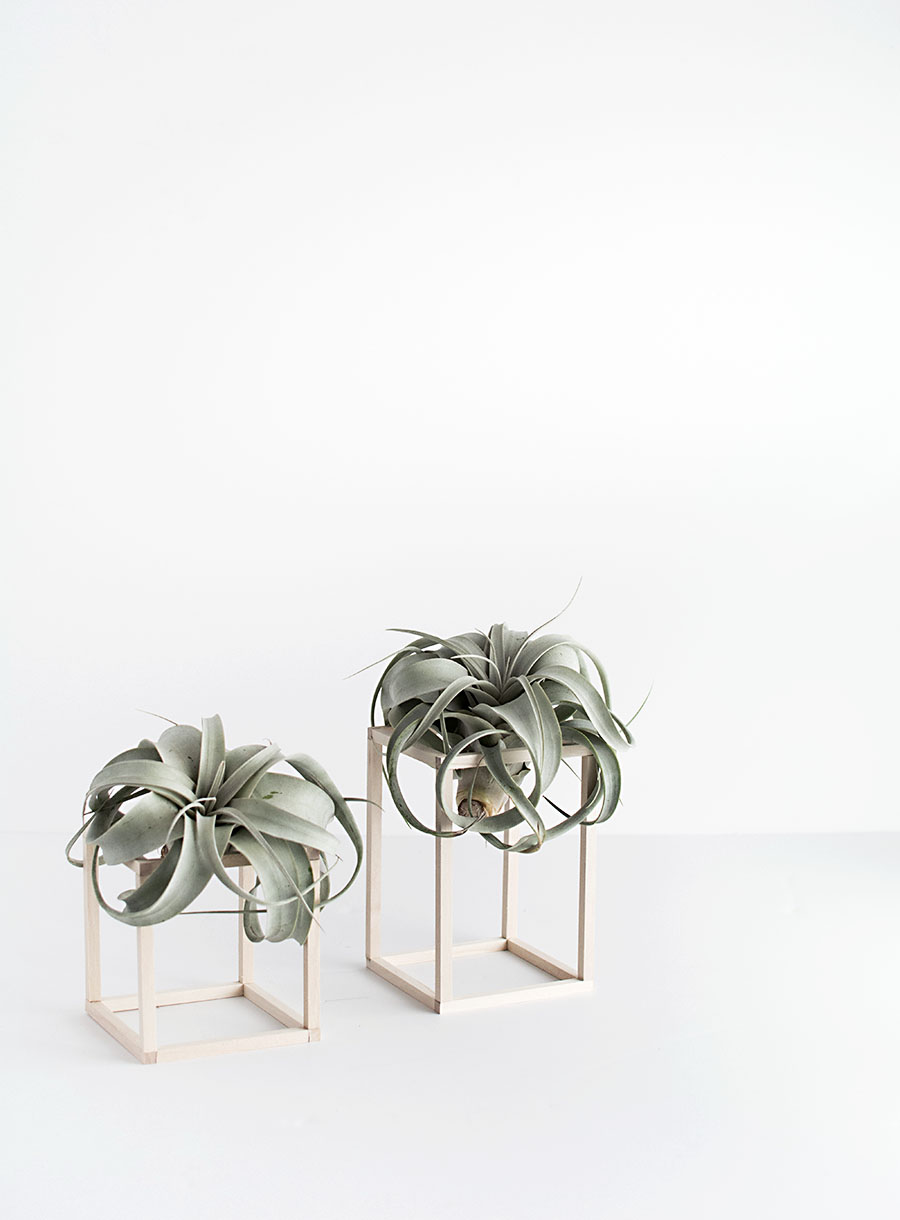
Alternative: These stands will be able to support the weight of air plants forever, absolutely.
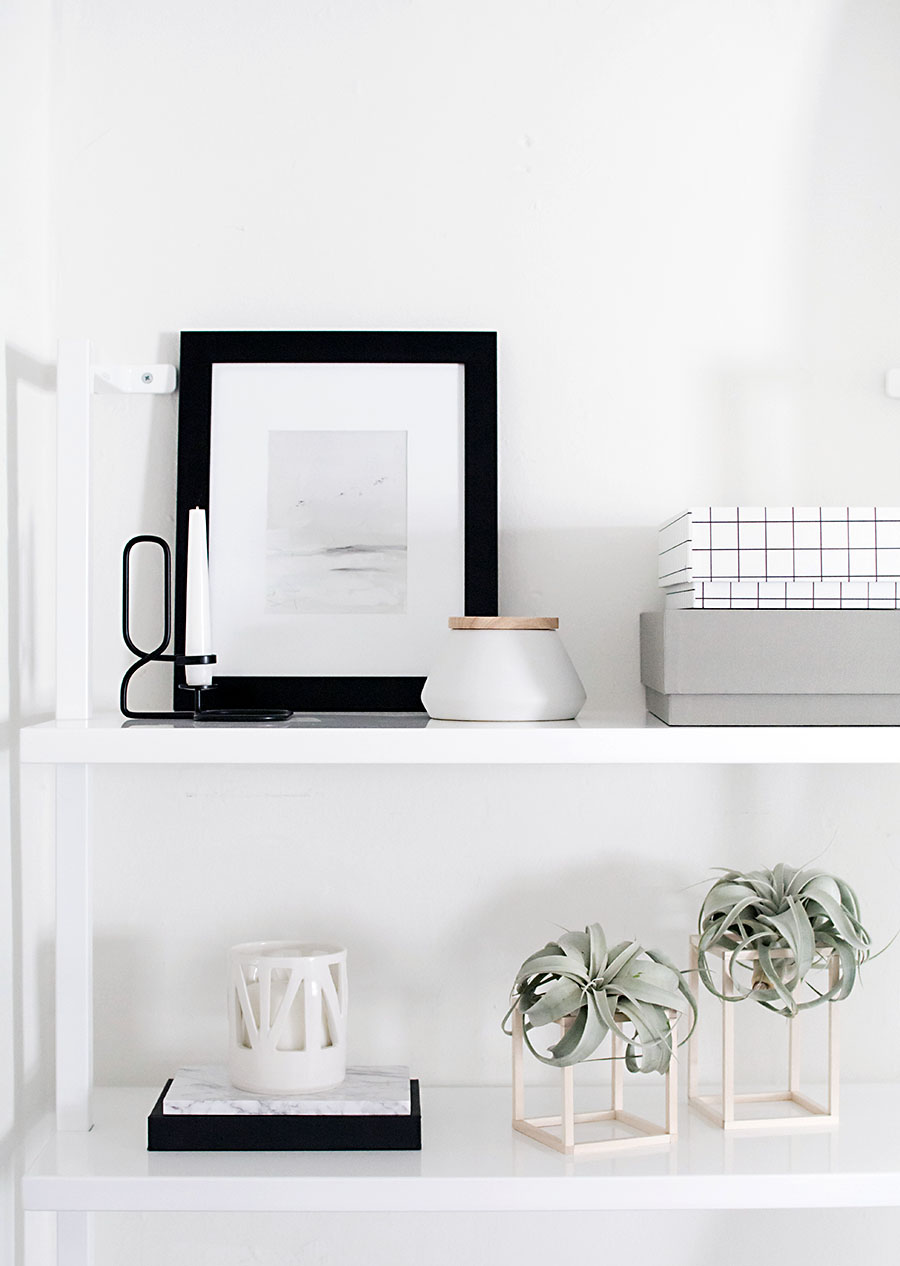
I ultimately prefer the stands with the potted ivy, but I so appreciate having the option to switch it up if I feel like it. What do you think? Air plants or potted plants?

It’s so beautiful ! thanks for this DIY (and last and next, I’m fan !).
These plant stands are gorgeous! Absolutely love them, off I go to get new plants!
New plants are always a good idea. Thanks Marwa!
Love these so much!
I love this diy! Definitely going to do it after my next craft store run. Where did you get that candlestick holder?
These are adorable! I always find so much inspiration from your blog.
http://tealattewithstyle.com/
Thank you, Emma! Honored to provide you inspiration <3.
so perfect! love your style :)
Thanks, Bridgette!
I love this DIY! I have a few plants but been itchin’ to get more. I will definitely try this.
That’s how I feel all the time haha! Thanks, Jenn, and enjoy making some plant stands!
Amy! These are so darling!
Thanks Rachel <3
Omg looks so easy and chic! I’ve been hoarding your DIYs in my bookmarks it’s about time I try them. This one definitely stands out!
Wow, what an awesome and original DIY, I think your plant stands look amazing!
Thanks so much, Ilse!
Those plant stands area perfect! Definitely on my to do list after my next craft store run. Where do I get one of those candlestick holders?
These are lovely! I think I prefer them with the air plants, though they’re great both ways. They’re a mini version of the cube planters from Vintage Revivals, perfect for shelves.Thanks for sharing!
Omg I thought about doing bigger ones but got intimidated by all the sawing I’d have to do. Of course Mandy tackled them, she would!! Thanks, Rachel!
This would be more appropriate for air plants. Watering ivy would be messy.
I like to take the ivy out from the stand to water them so I personally haven’t had an experience I’d describe as messy, but I see your point. Air plant care is less involved!
I was wondering, could you tag or mention where you get the items shown in the photos? I know that’s a pain but I’m always curious! I love the candle and scissor holders and the marble block shown here!
I had no idea that craft-size saws and mitre boxes existed. As an apartment dweller, I usually would click away from any DIY project using saws. But your links to the materials show it is possible! So thanks for that.
You’re the best. I love these!
I’m not sure what I’m most excited about :making some of these plant stands or that mitre jig! So need both in my life.
These are so cute, Amy! I need to add something like this to my project list.
Adorable! Now I have a project for tomorrow! ❤️❤️❤️
Hello, un petit mot pour te dire que j’ai adoré découvrir ton DIY, je l’ai sélectionné pour mon calendrier DIY du mois de mai ! Je te laisse le lien : http://www.cahierbleu.fr/calendrier-inspiration-diy/
Was just wondering what the plant was in the first photo? Love these plant pot holders!
These plant stands are so beautiful Amy! I had to include it in my latest roundup :)
http://www.thebeautydojo.com/10-diy-projects-for-plant-lovers/
I love this DIY! Thanks Amy!
Thanks for this!