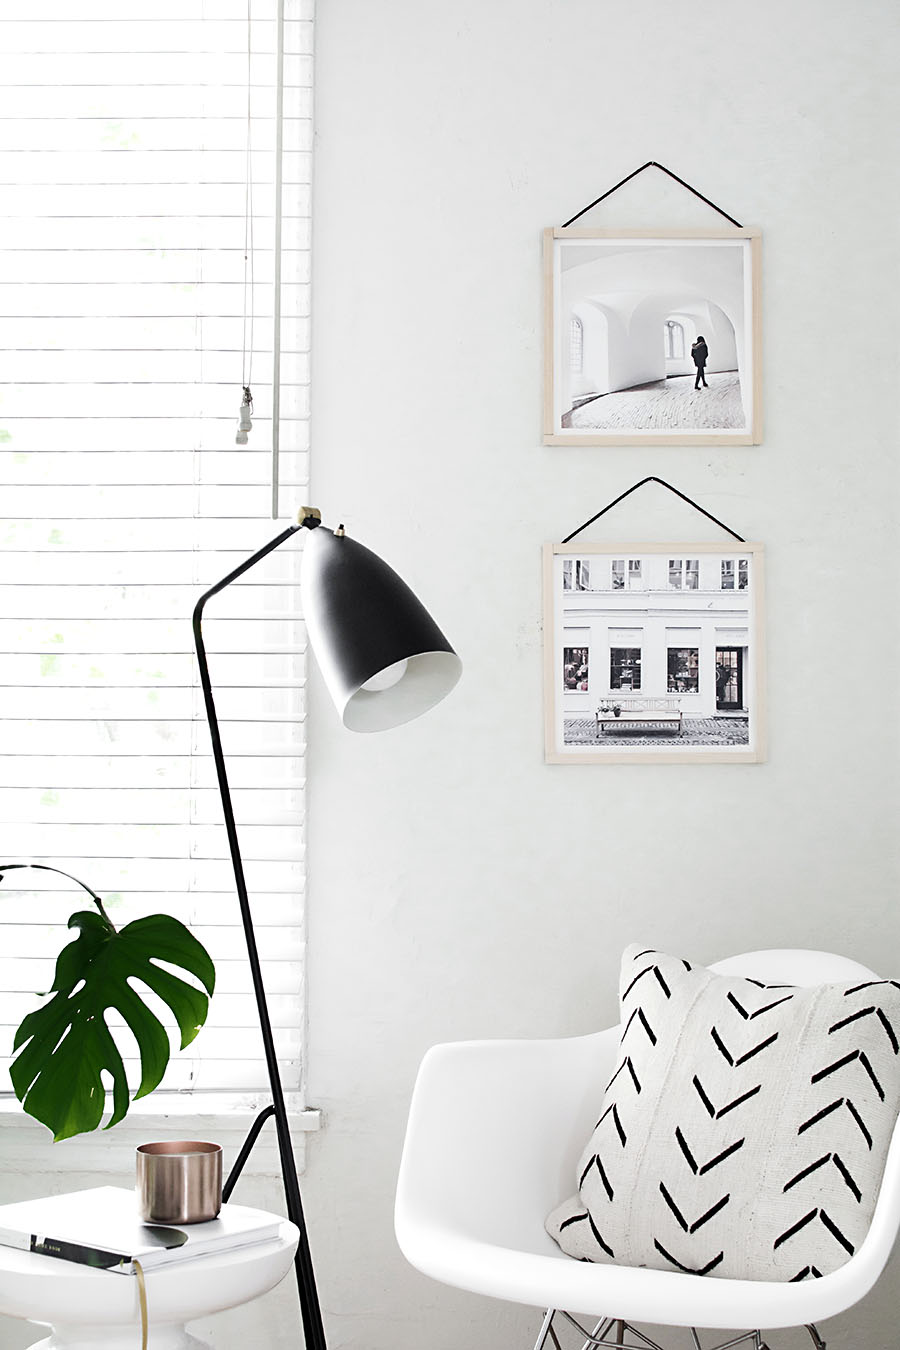
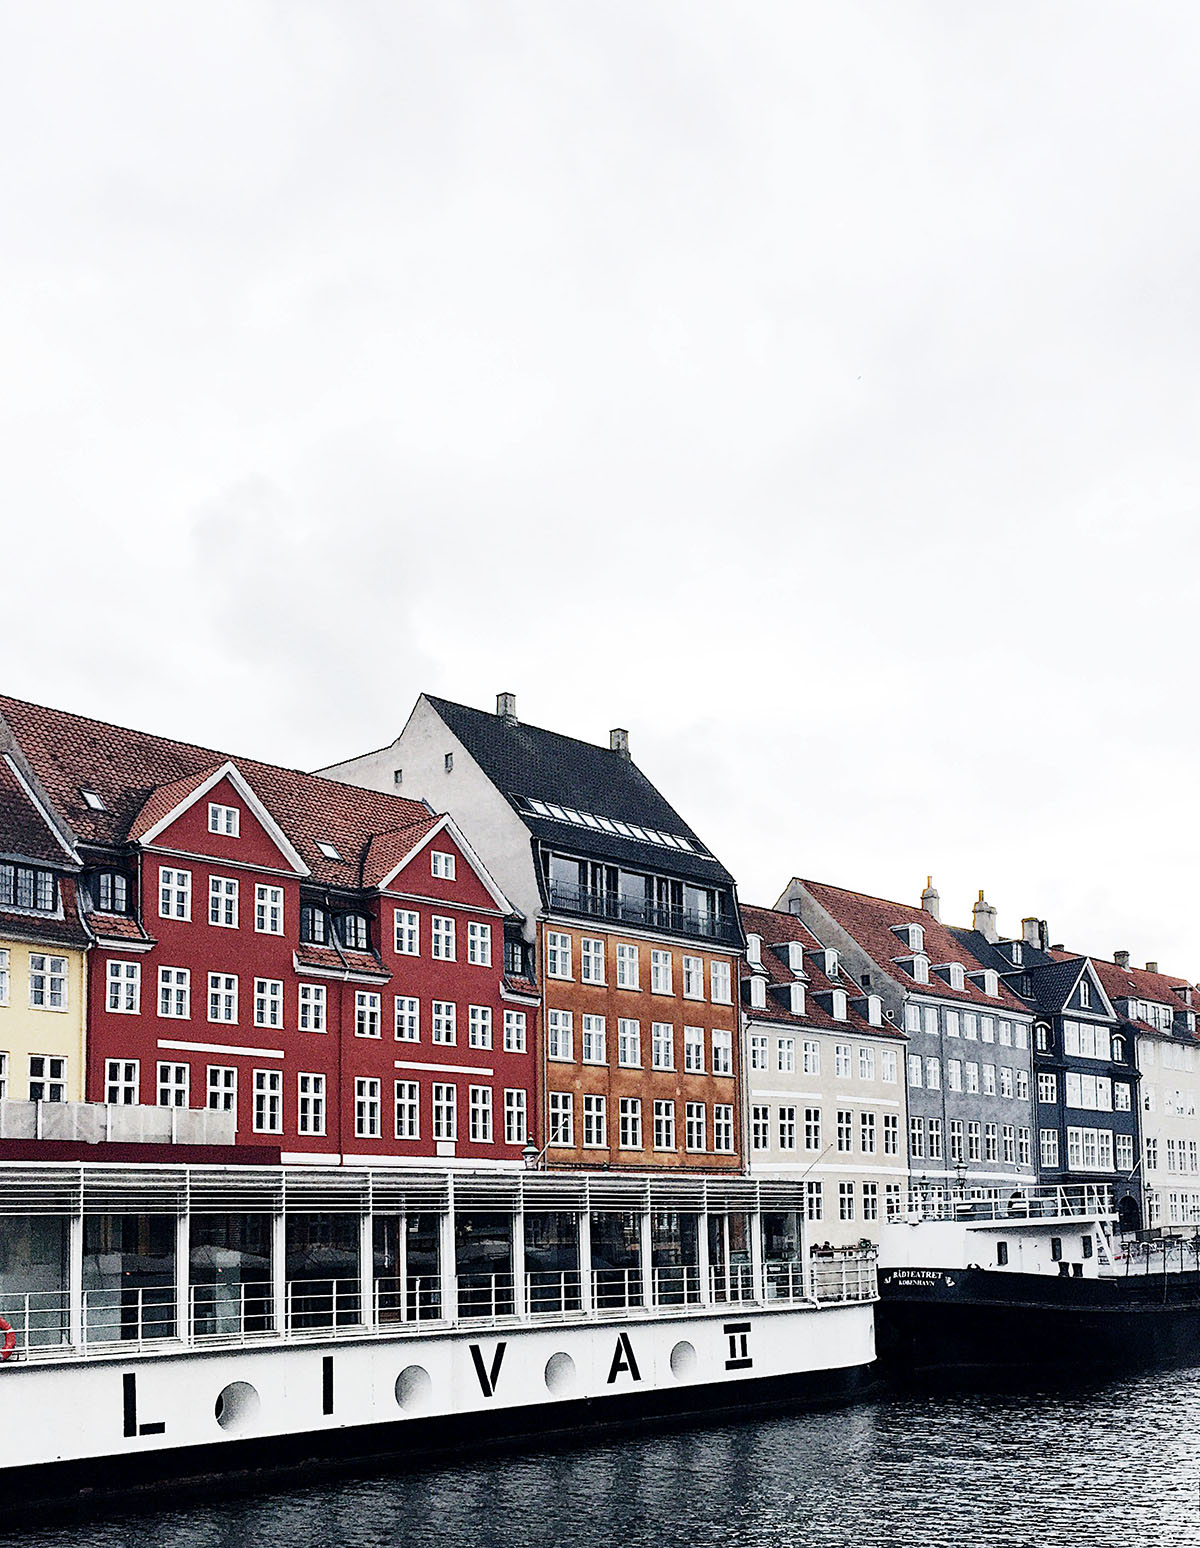
Inspired by some frames I saw in Copenhagen and using photos I took there, this is yet another time I’m going to be talking about Copenhagen, but with a DIY! I saw hanging frames like these at a shop that were much larger and there was no way they would fit in my suitcase, as much as I wanted to take them home, and I hadn’t stopped thinking about them since. Combined with the million photos I took while I was there, it felt like a really good idea to print some out and make some frames of my own, and I’ve partnered with my friends at Canon to show you how.
Materials:
–Canon PIXMA iP8720 Crafting Printer (the one that prints large!)
-printing paper (mine is 13×19″ matte printing paper)
-basswood sticks (frame made from 1/2″x1/4″”x10.75″ pieces, backings made from 1/2″x1/16″x10.75″)
–mitre box
–saw
–glue
-magnets (mine are 1/2″ in diameter)
-cord
-glue gun
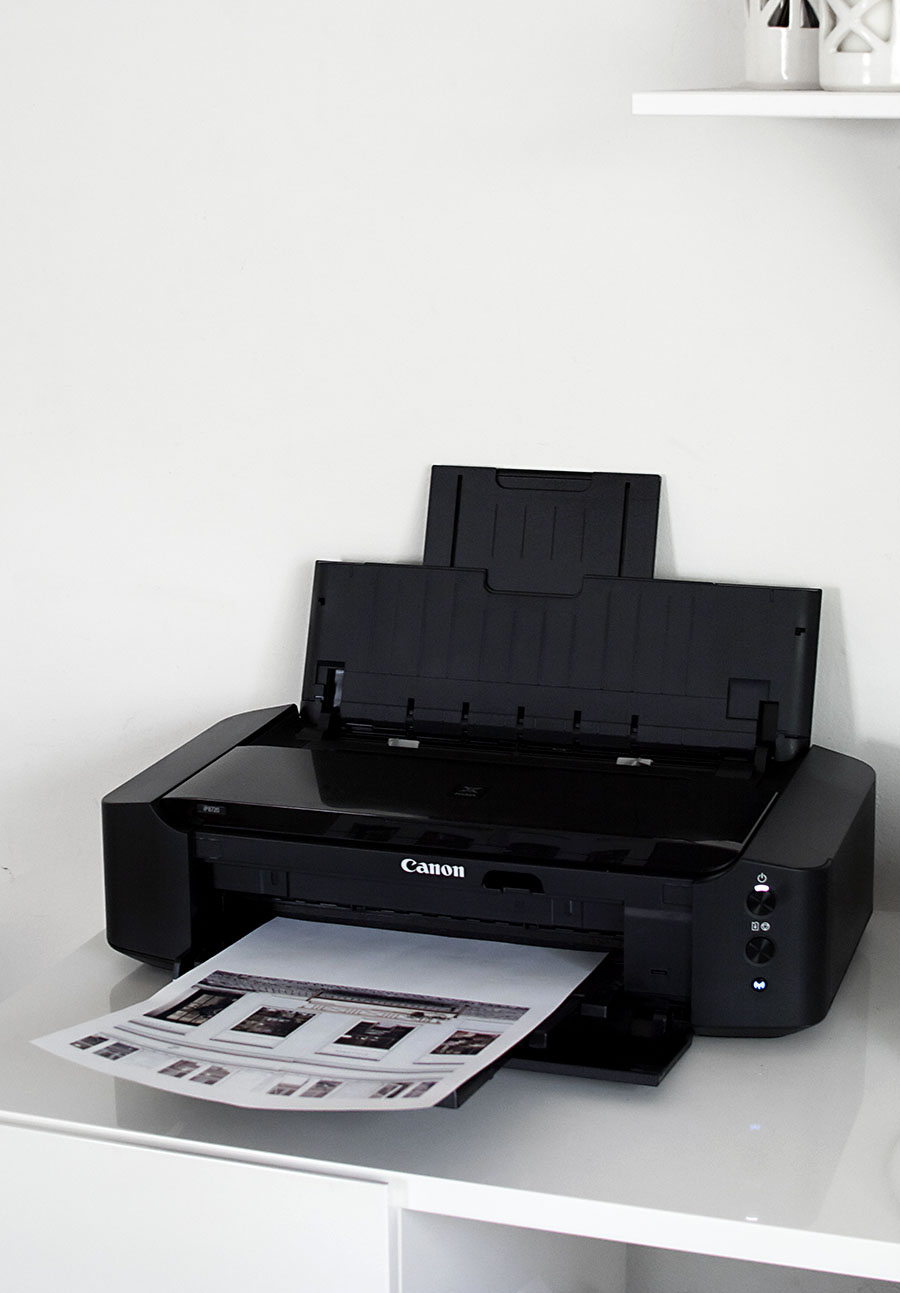
I have so many photos living on my phone from travels that aren’t doing me any good by staying on my phone. If it weren’t for my Canon crafting printer, the chances of me going to get them printed, especially in a larger size, is 0.2%. Having consistently felt the magic and joy of physically experiencing my photos in print, it would not be an exaggeration to say that this printer has changed my life. I adore this printer, and it was my weapon of choice to print on a larger 13×19″ paper. Of course, you can go with whatever size you want and adjust the measurements for your DIY frames, but for ease I’ll be detailing the measurements I used.
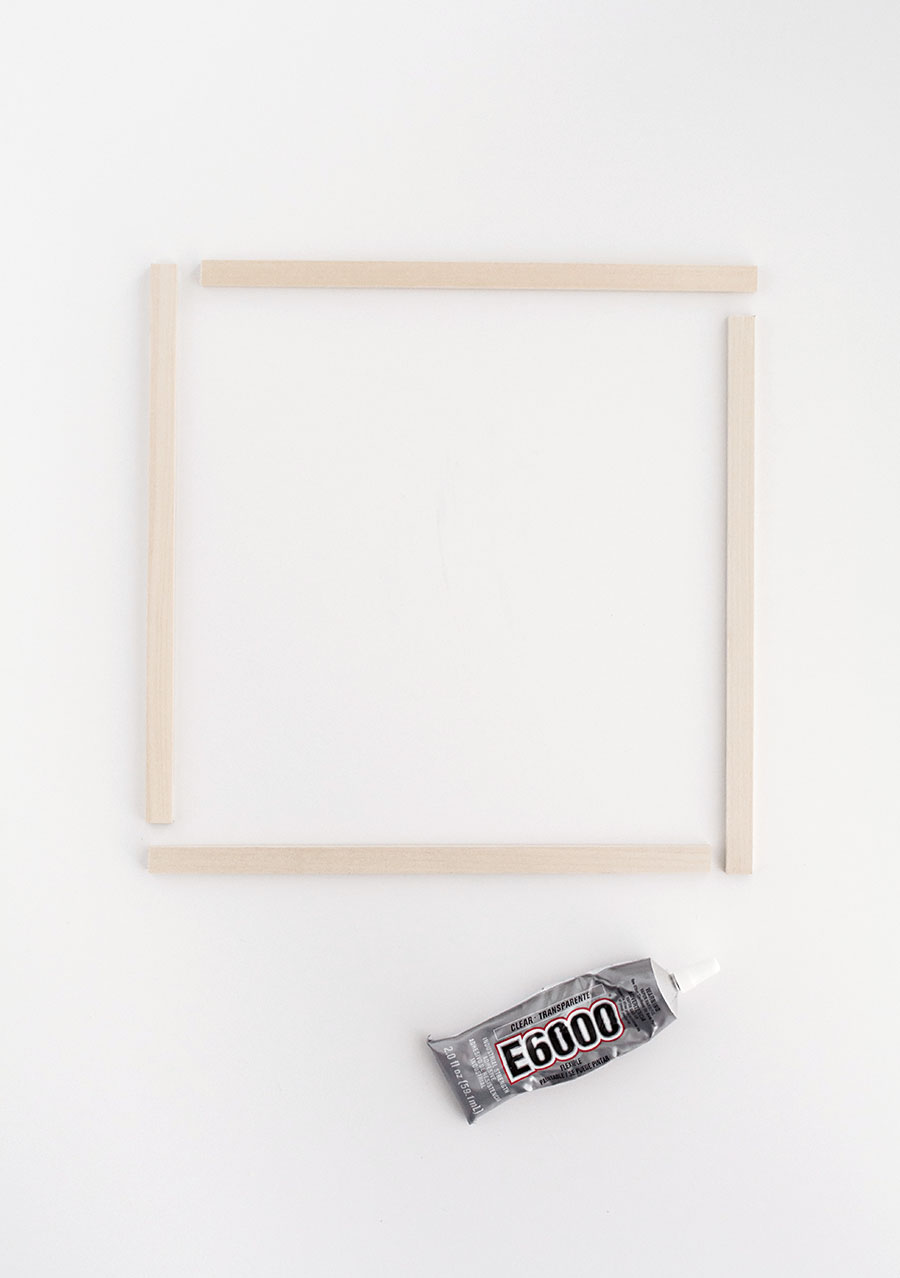
Using a saw and mitre box, cut 4 pieces of basswood about 10.75″ in length each. Glue the pieces together in the arrangement depicted above. You may need to hold the pieces together for a minute or so until the glue sets a little and no longer needs reinforcement. Repeat if you want a second frame! Let completely dry and go do other things like the next couple of steps.
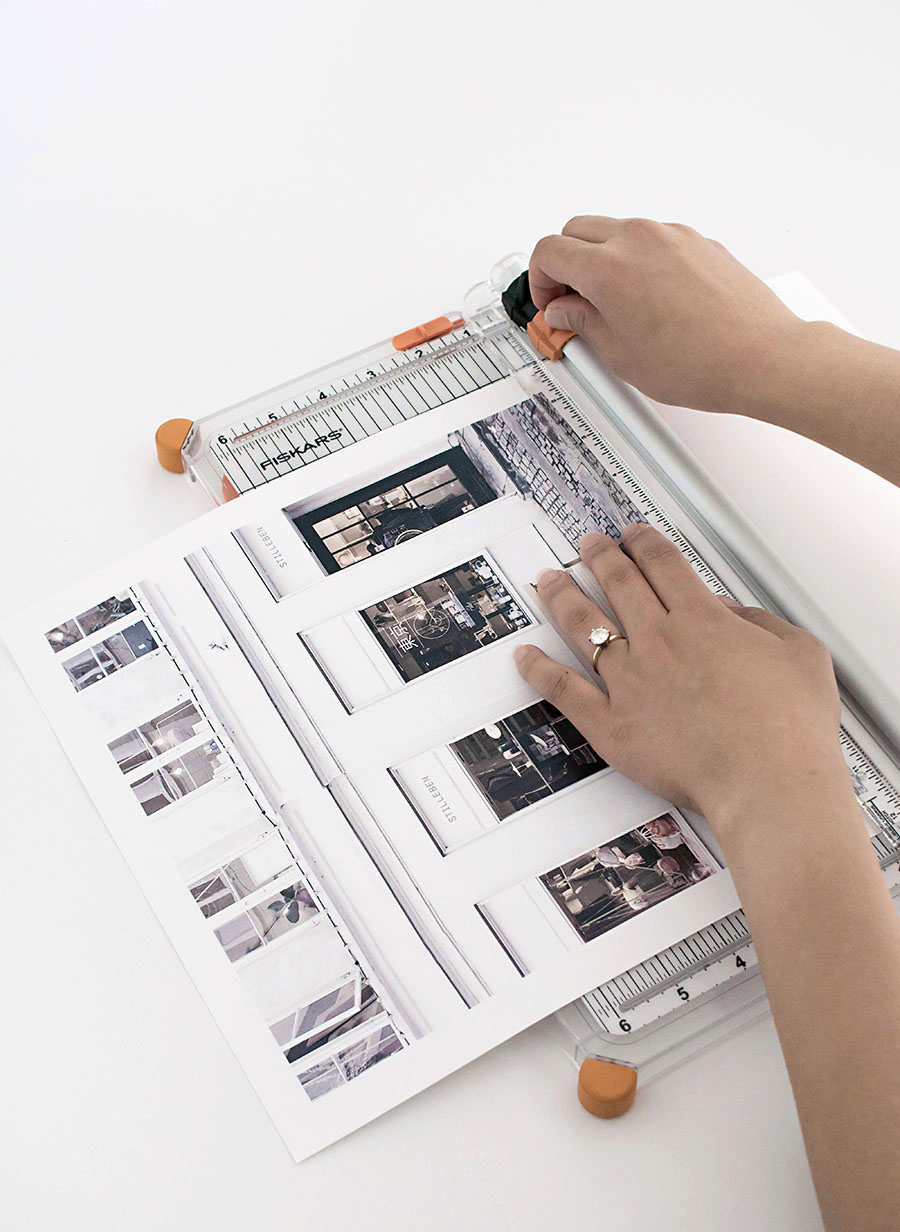
I printed my photos with a one inch border, and since they were square, I used a paper cutter to trim off the excess paper at the bottom.
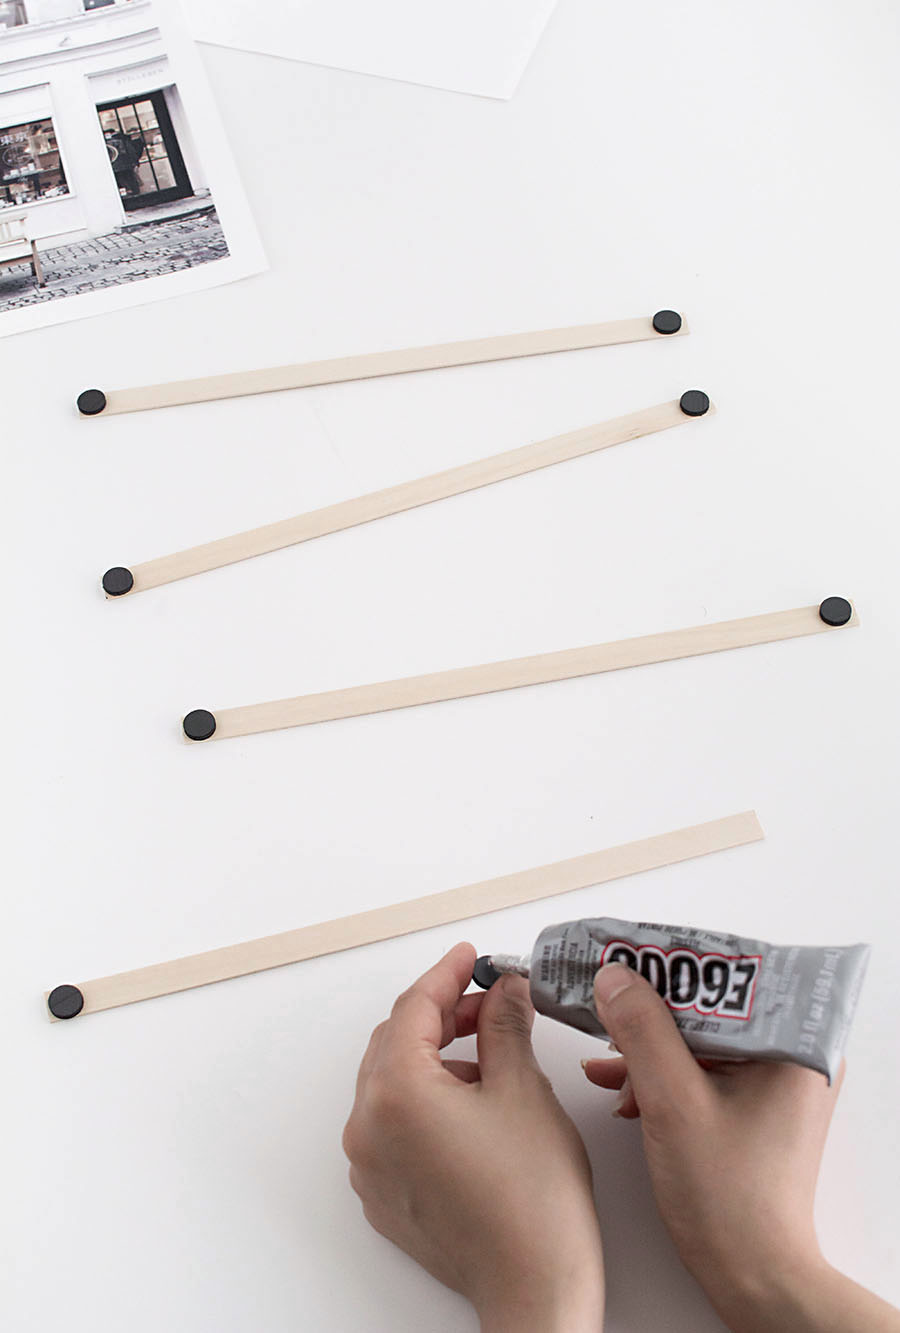
Cut the thinner pieces of wood into 10.75″ pieces, you’ll need two pieces per frame, then glue a magnet on each end. Let dry completely. Note- these magnets from the craft store are barely strong enough for the hold this DIY needs. Go with a stronger magnet. Neodymium magnets would be overkill, but something in between is great.
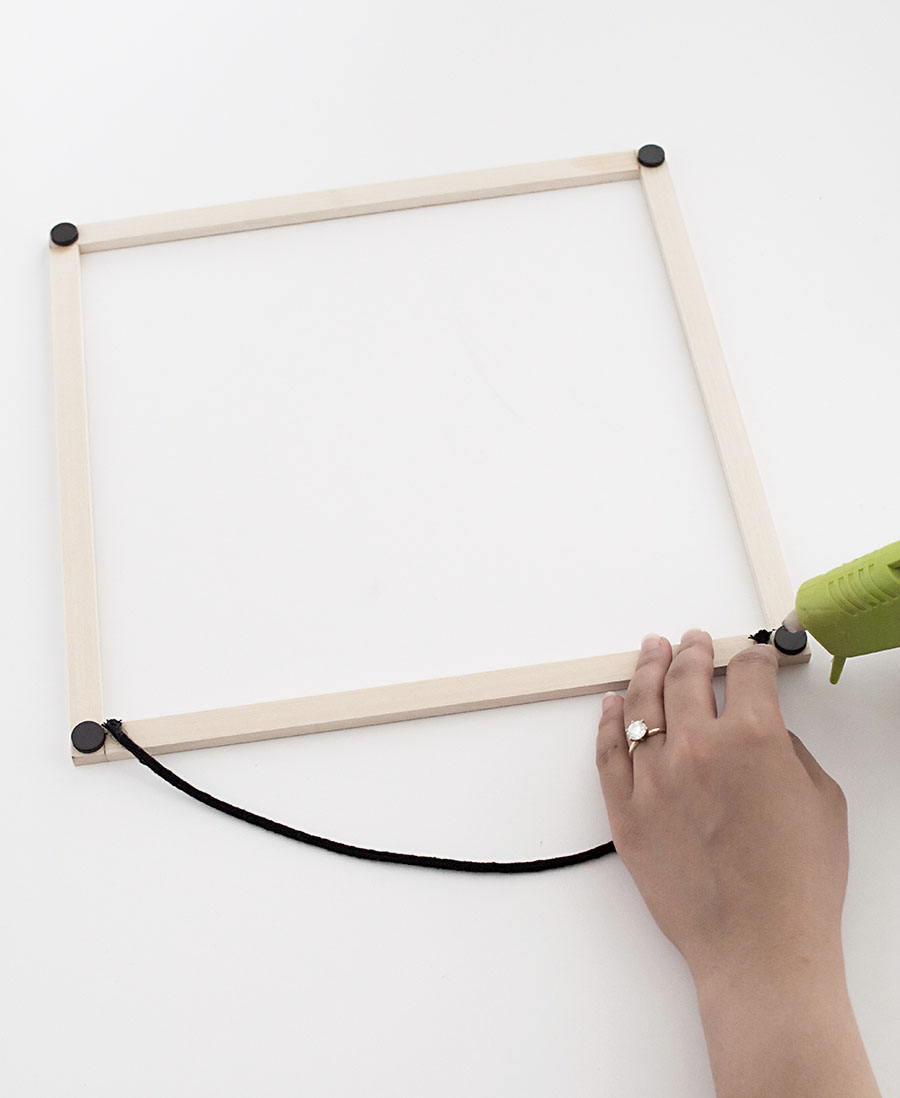
Glue a magnet on the backside of each corner of the frame. With a glue gun, attach the ends of a piece of cord on the backside of the top of the frame. Let everything dry completely.
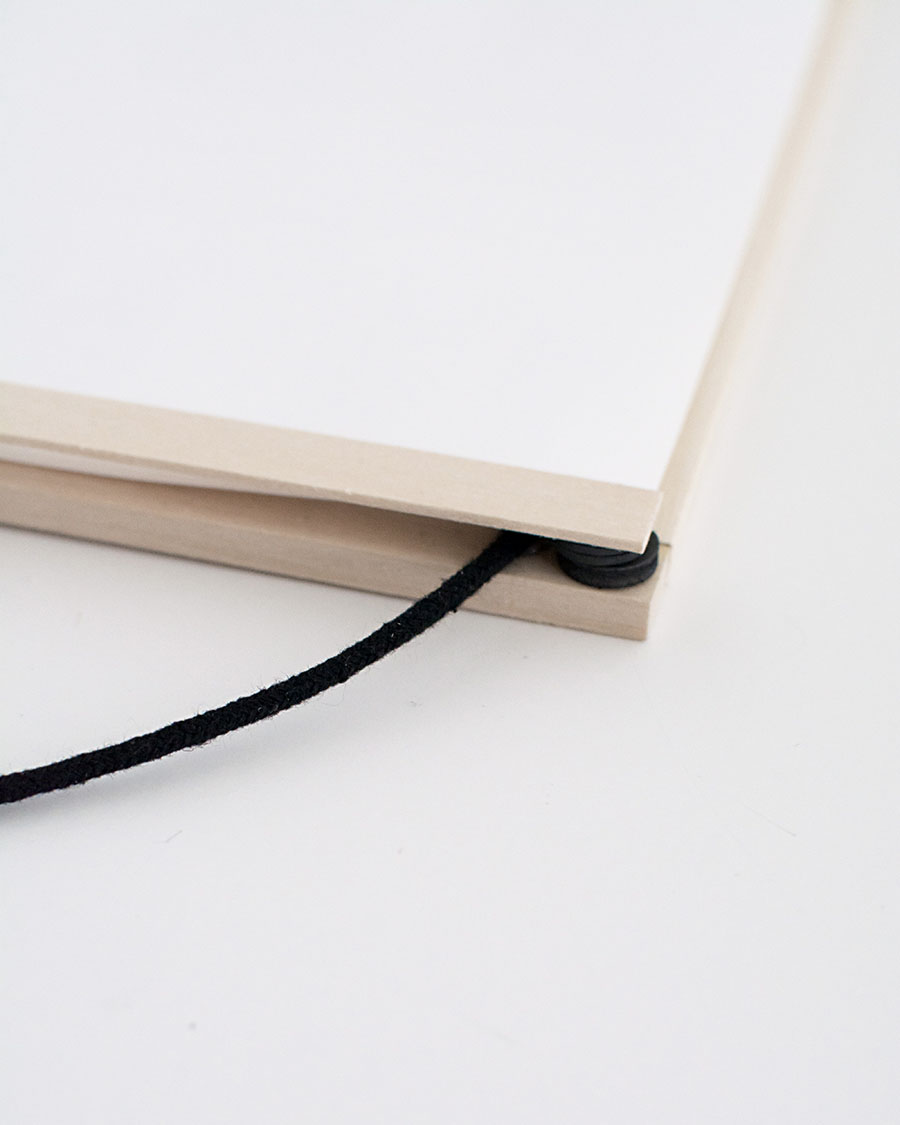
Place your photo with the corners face down on top of the magnets, then attach the wood sticks with the magnets over the photos (two per frame). This holds the photo in place, plus it gives you the flexibility to change out the photos later if you want.
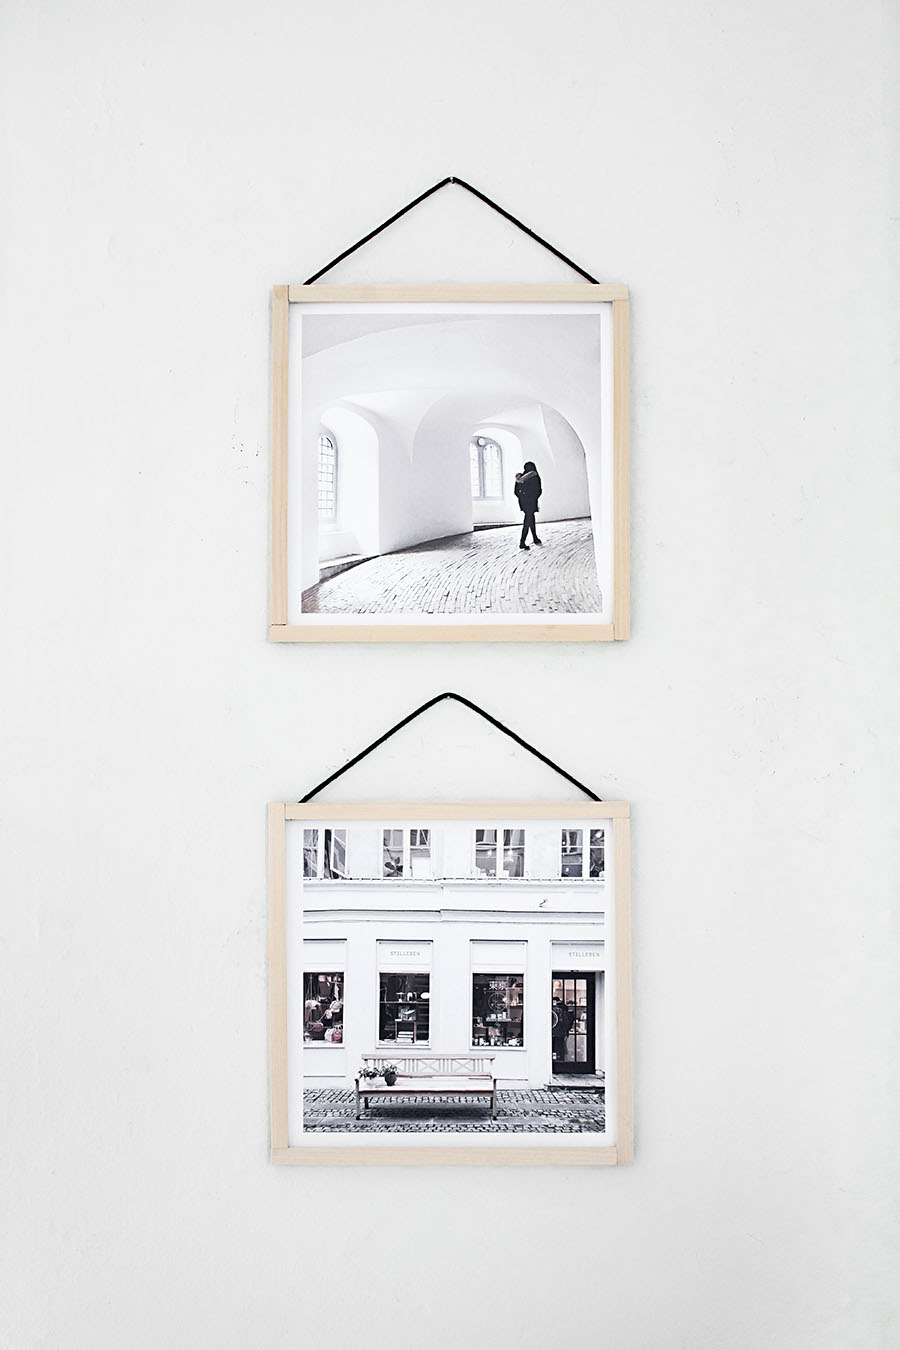
I kept my wood naked, but they can be stained or painted to your liking. I was torn on whether or not I wanted to stain them and I think I eventually will, something like a deeper walnut shade.
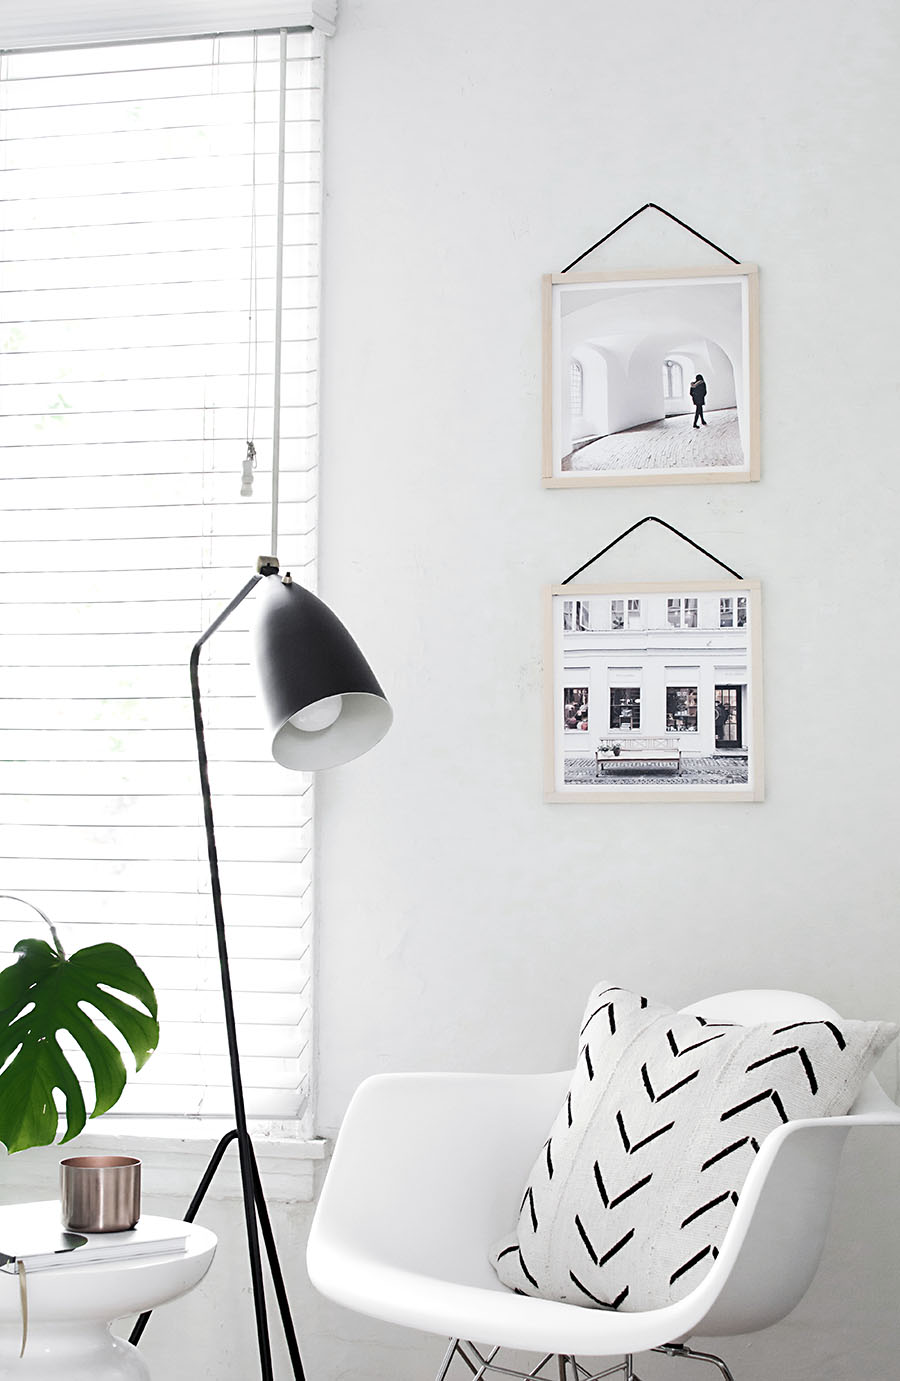
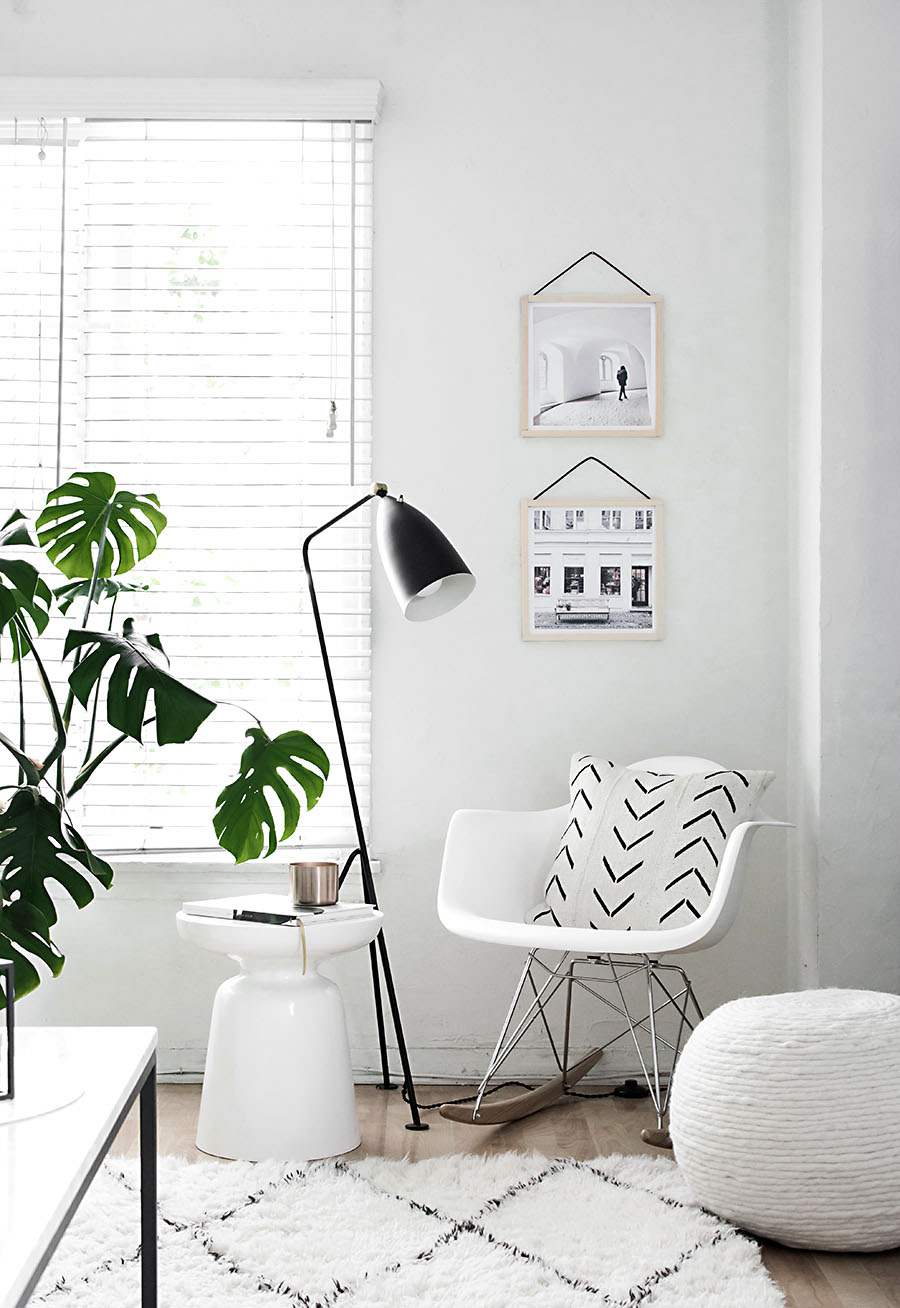
I liked the idea of picking photos that were a little obscure and could pass as decorative pieces I got from somewhere but no, they’re my photos, and I made the frames, and that’s me! This is a travel keepsake worth making, for sure.
Do you print photos from your travels? Know what I mean when I say there’s nothing like having them in real life??
 This post is in partnership with Canon. All ideas, content, and opinions are always my own. Thank you for supporting brands that help bring fun ideas for you to discover and try!


Beautiful decoration
The Pink Pineapplle
New post:http://thepinkpineappleblog.blogspot.com/
Thank you!
Thanks for this wonderful idea!
Best wishes, Sandra
Thank you, Sandra!
Great DIY! I’m so in love with that vignette.
Thank you! It’s one of my favorite corners in our home :)
Amy,
I think the links for the bass wood and magnets are incorrect? I keep being redirected to the Canon site
Hi Chrissy, thanks for letting me know. That was actually a coding error and those items weren’t meant to be hyperlinked, oops. I got those items at my local Michaels.