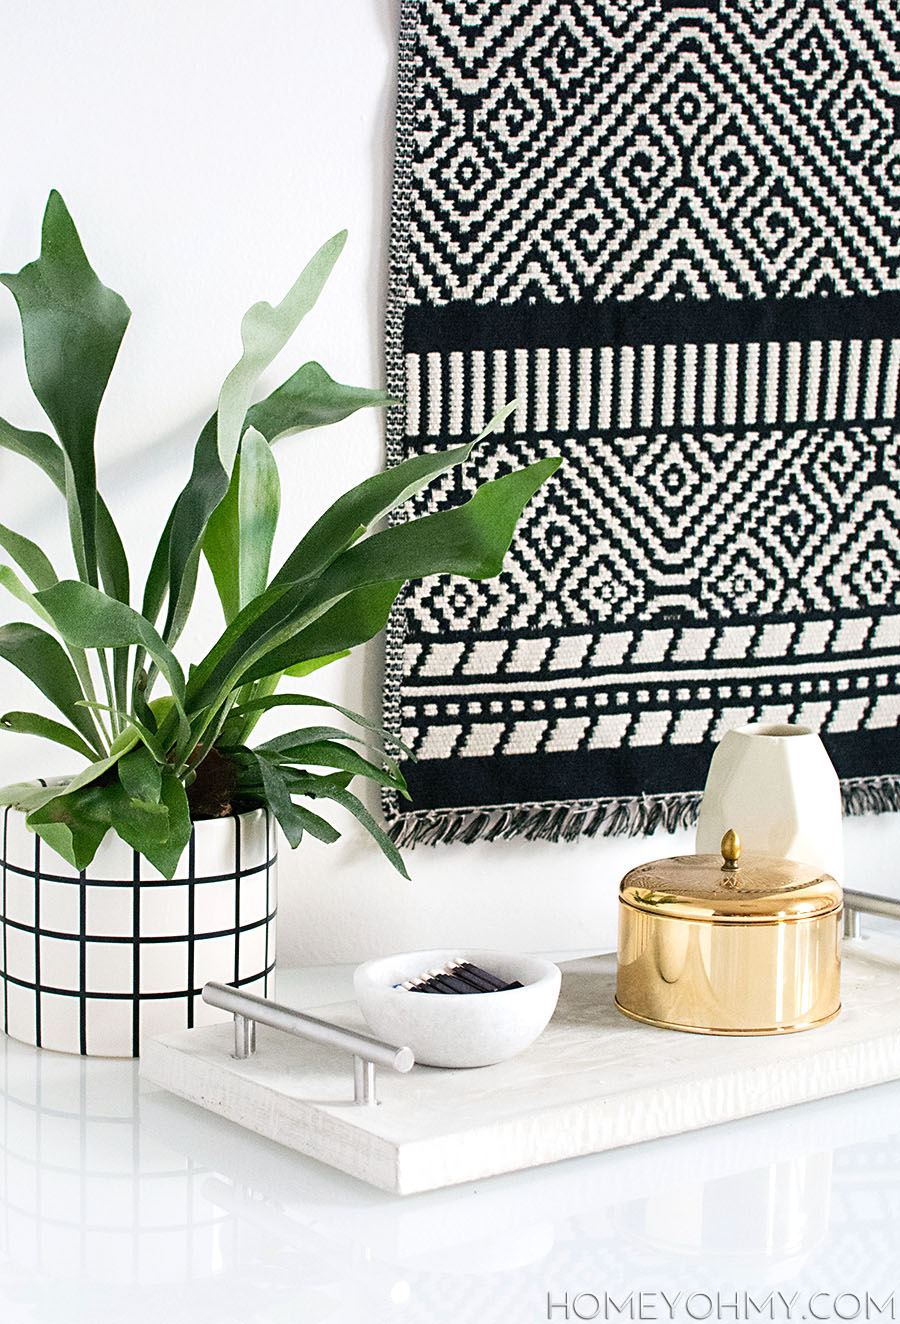
 We had a little discussion on here not too long ago about reasons for DIYing, and this is one of those times where I did it for the challenge of it, but also it turned out pretty cute so this is a good situation right here heyyy. I’m joining in on the concrete challenge over at The Home Depot Blog with my basic DIY criteria: simple, chic, and easy.
Ok, a little, honest disclaimer on the easy… the concept and required skill set I think are easy, but the execution can be challenging. A lot of it has to do with how concrete has the potential to be really fussy, and taking three attempts at getting this right pointed out that there were more things that could go wrong than I initially anticipated. But when I got it right, maaaaan did I pump my fist so hard. I call it the maker’s high. It refills the DIY tank, for sure.
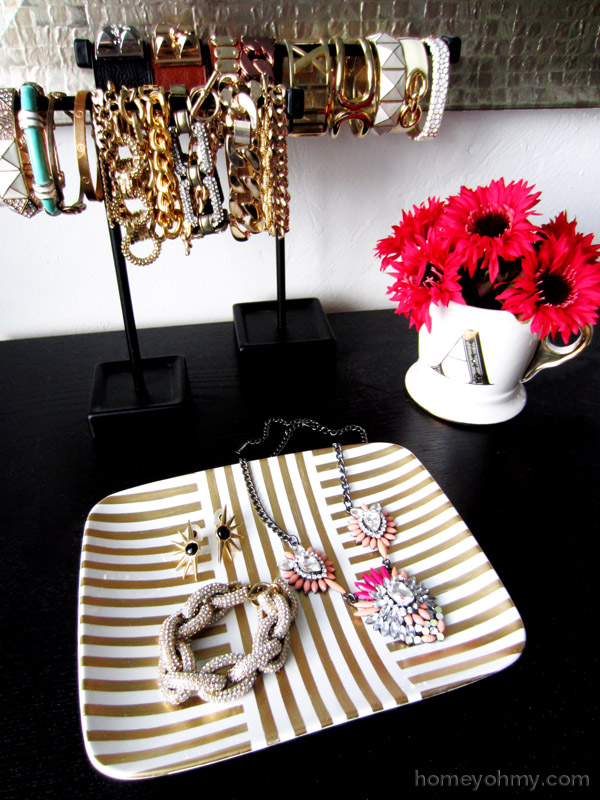
I styled the tray here as a decorative display, but styled it over at the Home Depot Blog as a serving tray. I love the minimal look and how it can really go anywhere, so while it could definitely be painted or embellished, I prefer the natural state of the concrete. If you’re up for the challenge, or are curious, or just want to show some love <3, take a peek at The Home Depot Blog for the tutorial! See you there!
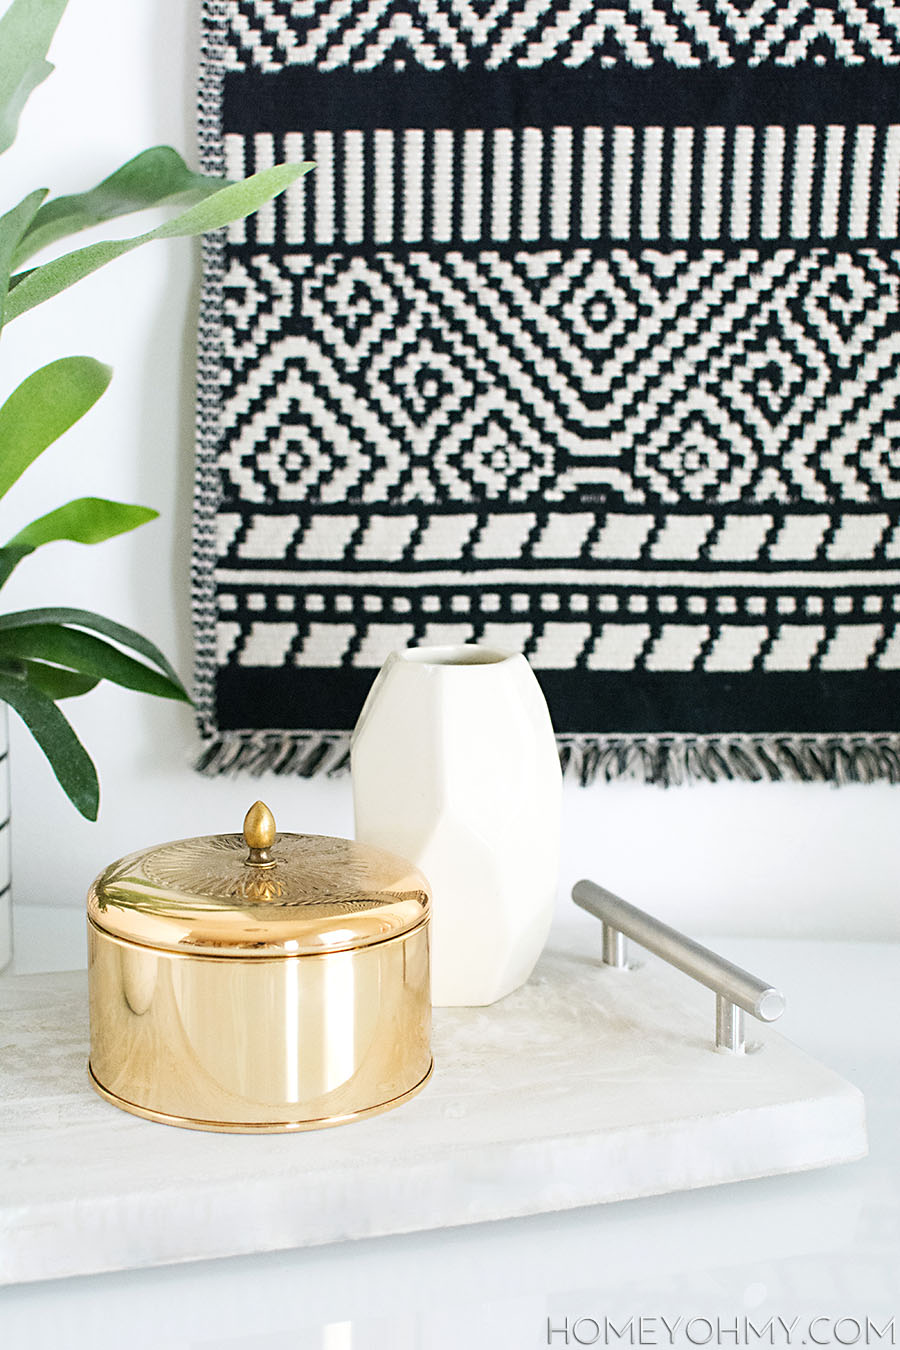
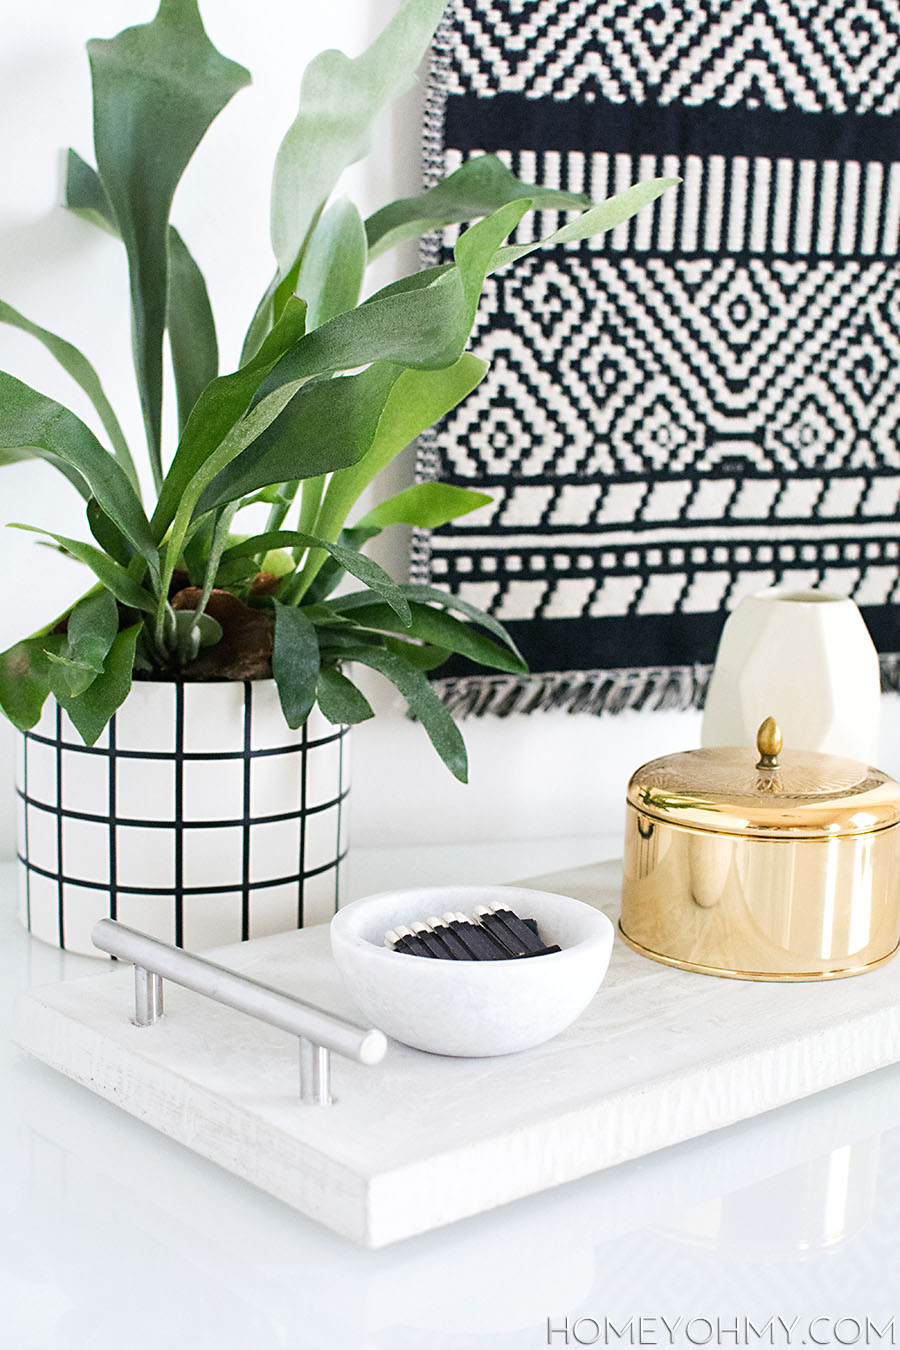
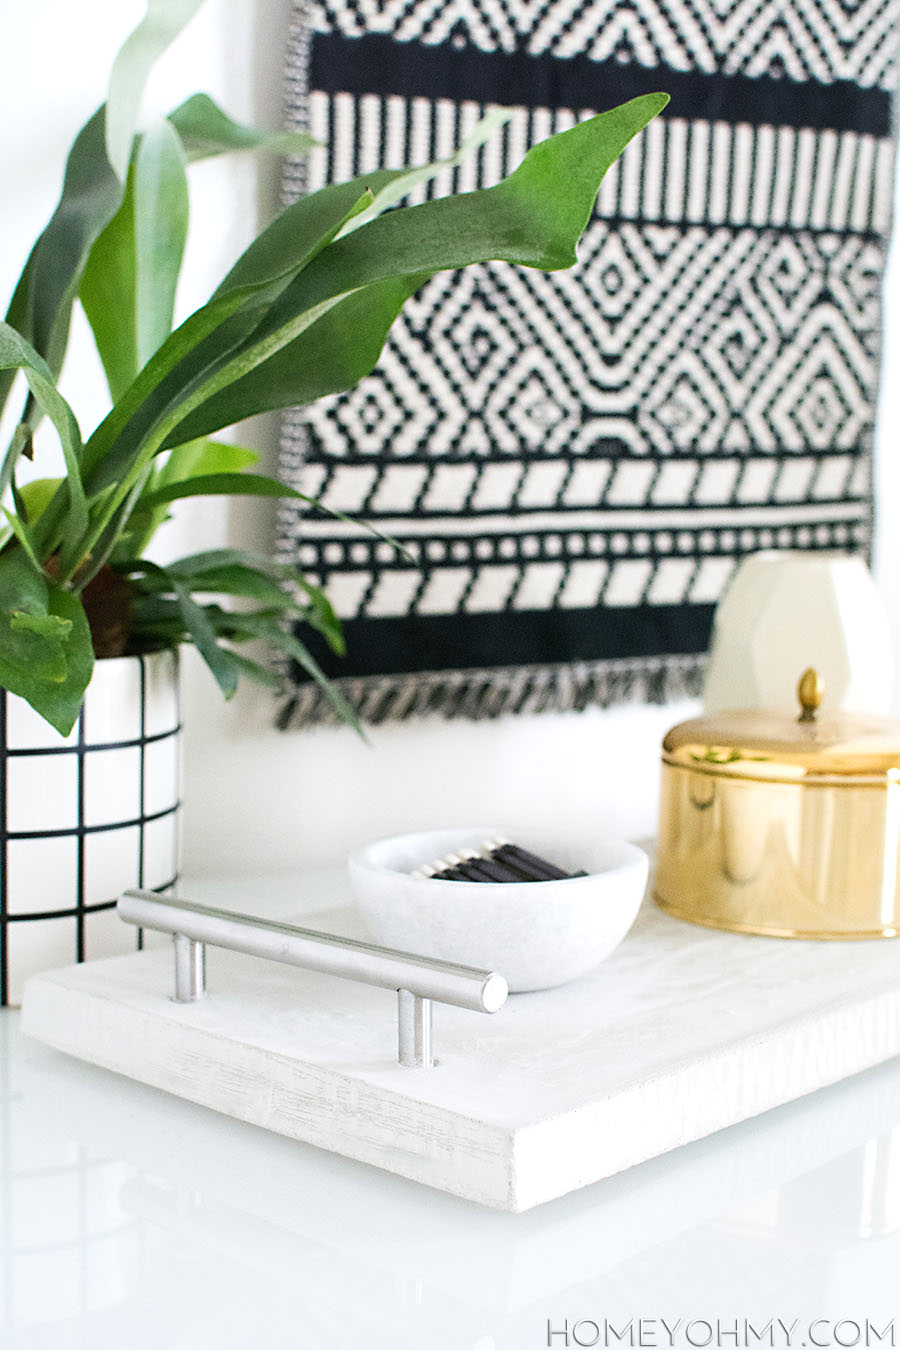
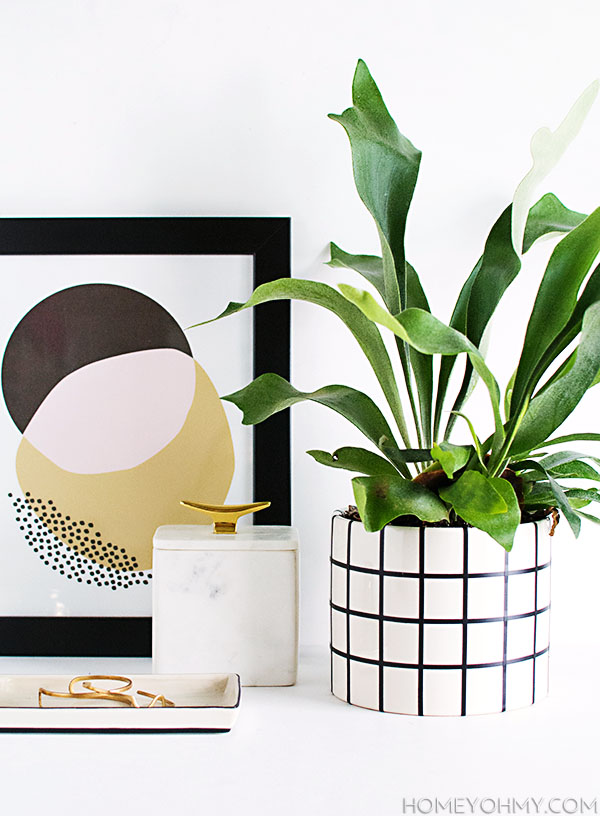
In case you were wondering about the props, the wall hanging is actually just this table runner, the gold thing is this candle, the white thing is a Nate Berkus vase no longer available, mini marble bowl is from Target, and the grid planter I did a DIY for right here!

Girl you are killing it! This styling is absolutely gorgeous. And that tray, man oh man. Having a major girl crush moment right now :)
Awwww thanks, Rachel! You are my eternal girl crush <3 Flattered.
I love this tray! Gorgeous, Amy!!!
Thanks so much, Laurel!!
I love this! I MUST know where your wall hanging & gold box are from?!
YES, I’m SO sorry I didn’t include that in the post to begin with, so thank you so much for asking! I’ve updated the post with sources but I’ll put the links here too. the wall hanging is actually just this table runner, and the gold box is this candle.
Holy cow, Amy, this is AMAZING! Seriously – SO in love with the look of this. And so true about the crafter’s high when something finally works! :)
Thanks, Lindsay!! Without the crafter’s high, there would be no crafters, is what I say ;)
It’s official. I need to start working with concrete. You’ve given me too much beautiful inspiration!
Aw Jamie you’d do amazing things with concrete, I already know! Thank you!
This is beautiful! We are big fans of all that you do! Our project is going to be featured tomorrow on Home Depot blog, and we are just so honored to be in the same challenge as you! Congrats on another DIY well done!
Jessica! Really happy you stopped by, and likewise, so pumped to be in this challenge with you! Thank you!!
OMG! AMY, this is stunning. As usual you are killing it! *runs off to get out the concrete xx
Thanks, Fran!! From what I remember you are a concrete queen <3.
I still haven’t tackled a concrete project yet. I know if I had success I would be on a maker high for a while! This is so good! Love the styling, and how smart are you with the table runner wall hanging? Genius!
Thanks, Alexis! The table runner hanging was another high moment, for sure, maybe even more than the tray ha!
I love the way you styled this, that table runner is sick (also what a cool idea to hang a table runner..)! I am so nervous about using concrete for anything but this turned out really well – enjoy your maker high!
Thank you, Sam! Concrete is a little nerve-wracking, agreed, especially with a quick-drying one like this, but there are sooo many creative things to do with it!
This is gorgeous! x
Thanks, Kate!!
Love the entire concept! The decor the black and white styling!
Thank you so much, Reshma! I’ve been all about the black and white lately. And always. ;)
I just had a major fail on this one…so if it helps anyone else…here are my troubleshooting tips!
After I lightly sprayed the cooking spray (I probably didn’t do it “light” enough…)my box started curling up and coming apart from the tape. I ran for duct tape because I had already started pouring the concrete. Not sure if the painters tape was strong enough to hold…duct tape might be better?
I also made the mistake of trying to use the same amount of mix for a slightly larger tray. I ended up having to mix more concrete after already pouring the first round of 8 cups + 3 cups of water. Also I’m wondering about how much extra water you added? My mix seemed thinner than pancake batter (maybe I make thick pancakes…) so I only added an extra tablespoon or so of water. I don’t think I mixed it long enough either. I was afraid it was starting to harden, so I went ahead and poured, but there were still some lumps.
After pouring both rounds (double the amount), it wasn’t smooth on top and was already getting pretty hard (hot day out makes it dry faster too), so I didn’t bother putting my handles in.
I haven’t given up though! I see that it took you a couple of tries too. I’m saving the handles and I’ll give it another go once I buy more concrete! Hope my struggles help someone else!
Christine, this is is so amazing, 1) because if you sharing the details of your experience and 2) because you’re not giving up and staying positive about trying it again. LOVE that.
I added a good amount of extra water… I want to say one cup extra, maybe more. They say too much water isn’t good, but I’ve always been able to get away with adding extra, plus it gives you some more time to mix the concrete since it takes longer to harden. Good luck with your next attempt! I believe in you!!
Christine, this is terrific! I think I might give this a go this weekend. Also, I was wondering how you styled the runner in the picture to look like a tapestry on the wall? did you cut/ fold it, hang it on something? Love the look!
Hi Roxie! You can hang it over a suspended dowel like the one I made for this project.
Honestly wish I had your eyes for photography…superb idea..simple and very classy