I’m back with the gold, y’all.
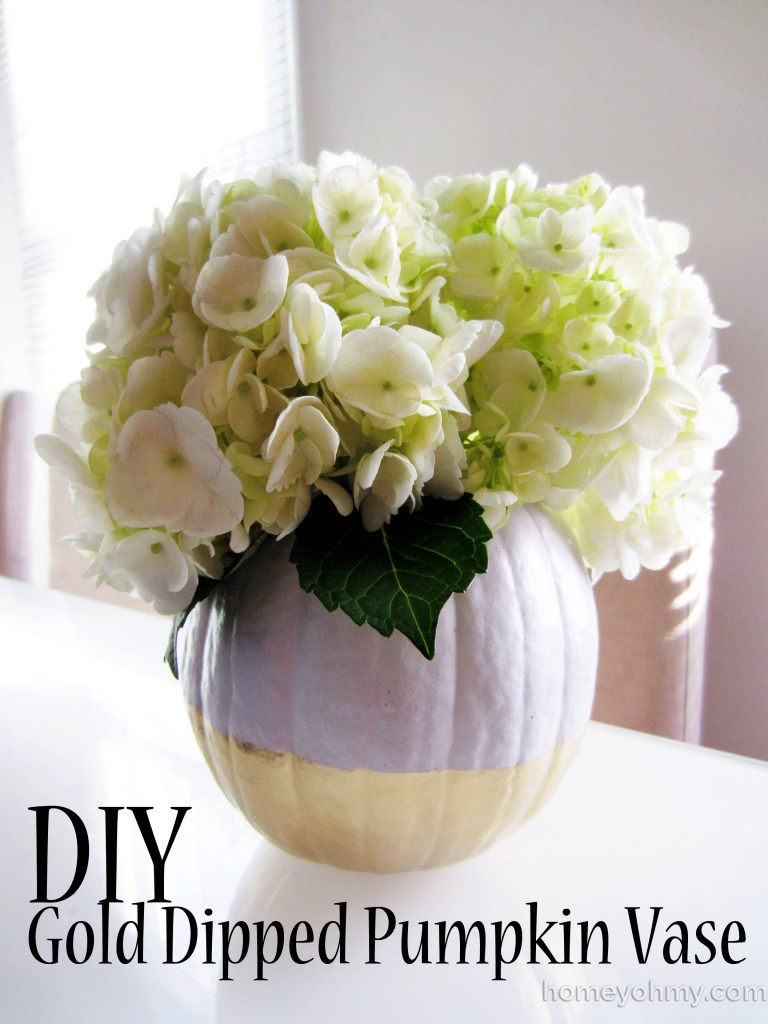
I’ve been loving all the pumpkin vases on Pinterest and wanted to try my hand at it with my gold flair. I set out to look for a naturally white pumpkin, but after a week of searching I couldn’t find any other than the mini-sized ones. So what do we do in these situations? Yup, we DIY.
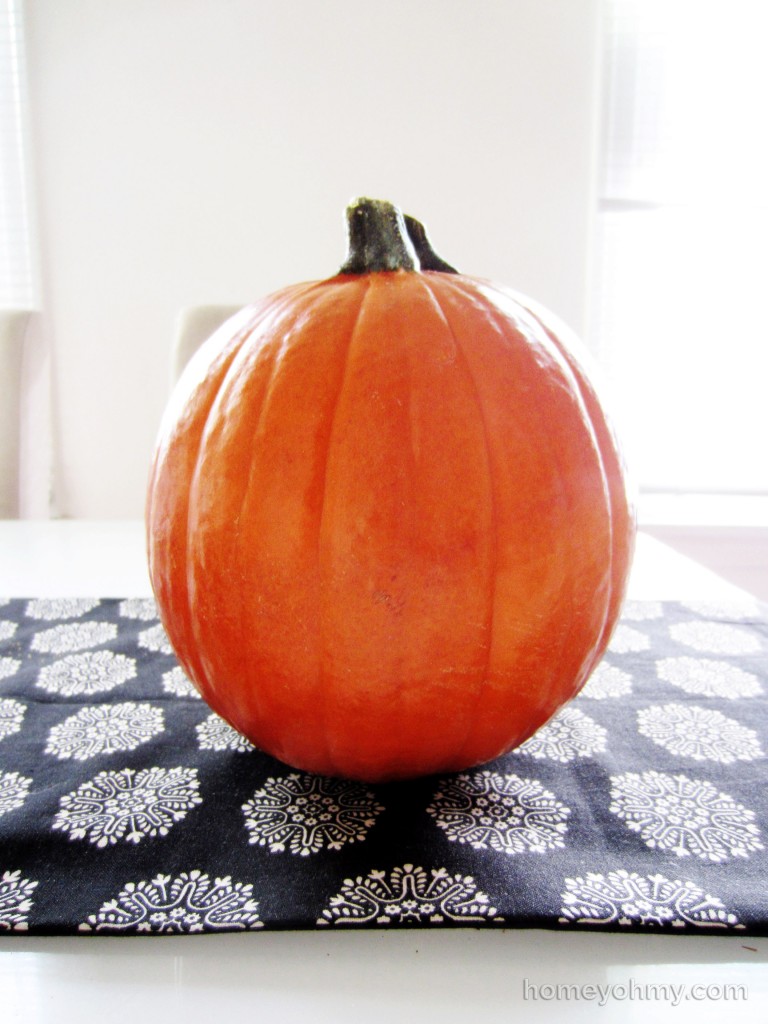
This is a pie pumpkin. I learned that it’s meant more for eating (pumpkin pie!) than for decorative purposes. For my purposes, it is the perfect and most manageable size for this vase project.
First, cut out the top like you would for a jack-o-lantern and remove the pumpkin seeds and stringy insides. I used a metal spoon to scrap everything out and it worked just fine.
Now if you want the top part of your pumpkin to remain orange, then you can skip the step I took to spray paint the majority of the top portion white. If you’re lucky enough to find a white pumpkin, that would be best if you want your pumpkin to be white and gold like mine. I learned the sad way that painters tape will strip the white paint off of the pumpkin :( This called for improvisation.
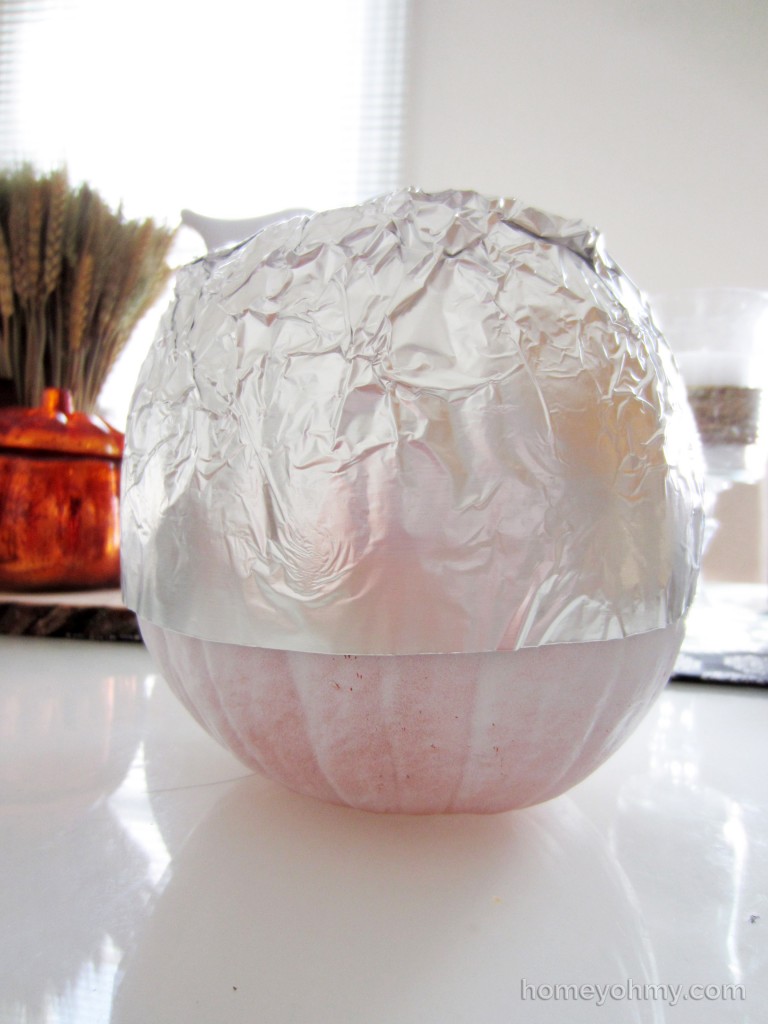
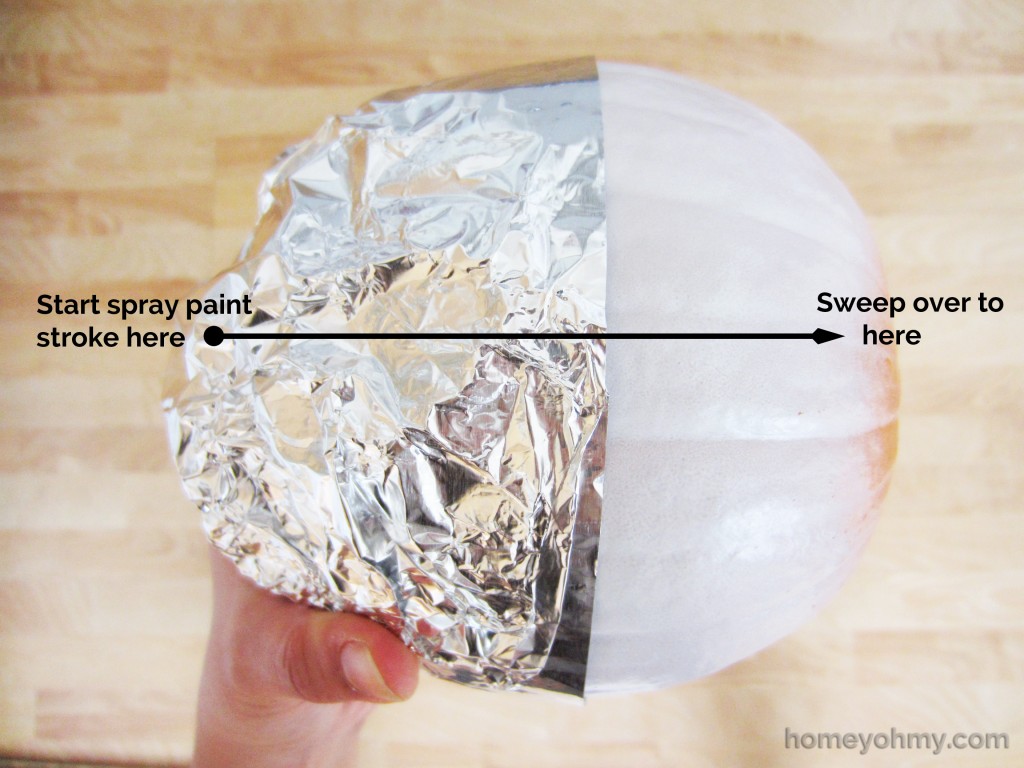
After the white spray paint dried, I wrapped aluminum foil around the top 2/3 of the pumpkin and stuffed the excess in the opening at the top, using the straight edge of the foil to delineate at the bottom where I wanted the gold paint to start. Since there’s no adhesion between the foil and the pumpkin, it is super important to make sure your spray paint strokes go from the foil towards the bottom of the pumpkin.
This actually worked really well! I was surprised. Again, the key is to spray from left to right as shown in the photo above. If you go in any other direction, you are more likely to get the gold paint underneath the foil and won’t achieve a clean line. I held the pumpkin just like I did in the photo and rotated it like a rotisserie chicken, spraying left to right in light coats. Review some spray painting basics here if you’d like. The spray paint I used is my most favorite spray paint ever: Rustoleum Metallic Spray Paint in Gold.
That’s it for the crafting part. The next part is optional, but I highly recommend it.
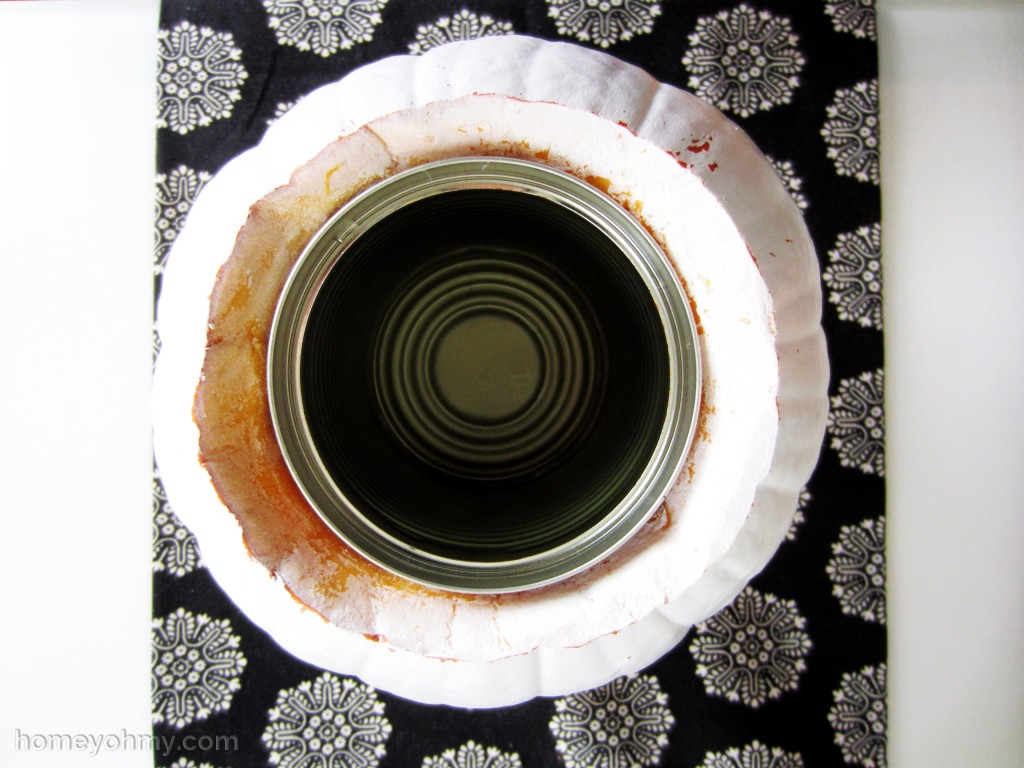
I picked up this tip from Pinterest (Are you following me yet? I’d love to have you!) to place an aluminum can inside the pumpkin for your flowers to sit in. GENIUS. Not only will you not have to fill up the entire pumpkin with water, but the can helps keep the flowers arranged and contained better.
Pour water and arrange flowers into the can and that’s it!
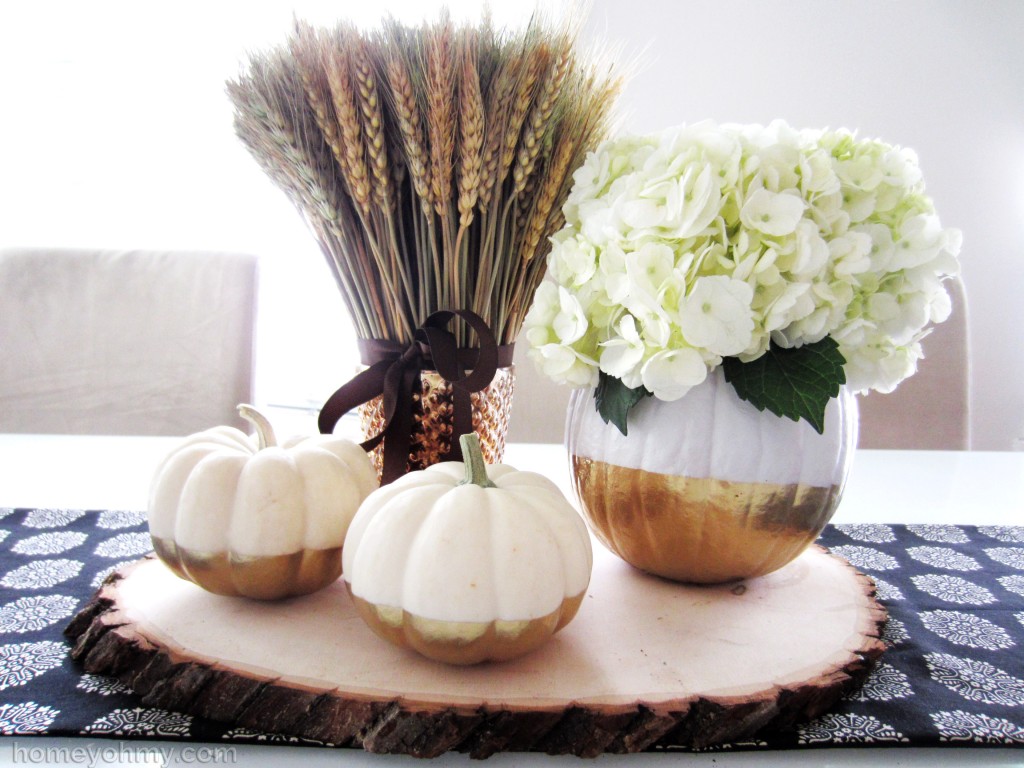
I love fall decorating with hydrangeas. They are so elegant and happen to fit nicely with my new pumpkin vase :) I got a couple of those mini white pumpkins I mentioned earlier and painted them in the same way, except I used painters tape instead of aluminum foil. They’re all sitting on my dining table and are a nice variation to my fall centerpiece.
My boyfriend mentioned to me probably about 26 times that this pumpkin vase is going to “die soon.” While it is always sad to think that my work will be going in the trash, a large part of me is relieved by that in this kind of situation. Apartment living usually doesn’t afford much storage, and I just don’t have the space to store a lot of seasonal decor. Plus, decorating should never be permanent, right? It’s the process that really makes it special and gets you into the spirit of the season.
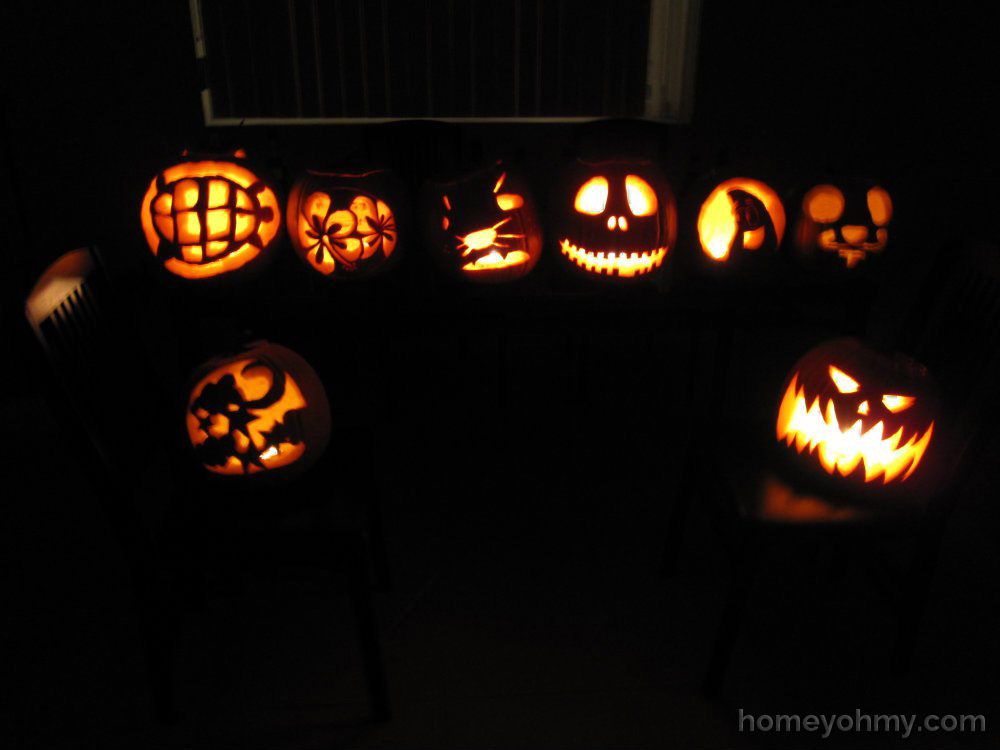
Take for instance these pumpkins my friends and I carved back in 2010.
Pretty sweet, right? Can you guess which one was mine? Hint: it’s missing a tooth. It just isn’t Fall or Halloween without pumpkins, whether you carve them, don’t carve them, or turn them into vases. Pumpkins aren’t forever, but the memories of them are. :) Cheesy overload.
Happy pumpkin decorating!
Like what you see? Stay connected with me:



Love everything about this! I love the combo of white and gold and you can never go wrong with white hydrangeas. They do add a bit of elegance to any room. Beautiful work :)
How pretty! The pumpkin vase looks beautiful, and I love the gold dipped look! I just made some pumpkin candle holders – I love how there are so many different things you can do with pumpkins!!! I love what you did, thanks for the inspiration! :)
First of all, hydrangeas are my absolute favorite. If we ever live somewhere that they will grow, I want a huge hydrangea hedge. Secondly, your pumpkin vase looks awesome! And you were so smart to use aluminum foil!
This is so cool! I might have to do this myself. :) I’m hosting a pillow cover giveaway that you should enter. http://homecomingmn.blogspot.com/2013/10/pillow-covers-giveaway.html
Just wanted you to know, I loved this so much it’s been featured on The DIY’ers this week! http://homecomingmn.blogspot.com/2013/10/the-diyers-34.html
Very pretty!
Ahhh! One of the cutest pumpkin ideas I’ve seen this year!! love it!
Hi your white and gold pumpkins are just stunning! I saw it on I gotta create party.
Julie
Love this idea, they look so clean and modern, I wouldn’t of guessed it was an actual pumpkin underneath…so cool! Found you on Inspire Me Please!
Beautiful! Love how pretty they are! Thanks for coming out to the Inspiration Exchange – we’ll be featuring this tomorrow. Have a wonderful weekend!
Jenn :)
Dear Amy,
I found your blog through the Best Of The Weekend Link Up and I am super duper glad that I did! I am a DIY beginner and have been looking for some Halloween DIY table displays that I think I might actually be able to achieve. I love your gold dipped pumpkins I am obsessed with everything gold lately so this DIY is perfect.
Totally going to give this a try.
Love Gi
xx
Such a beautiful idea!
Ohh I’m going to have to try this with my little white pumpkins!
Ps. You are so creative!
Xo
Keeping it thrifty
I found your blog through the Inspiration Exchange Pumpkin Link-up.
The gold-dipped pumpkin vases are so elegant and fun. I found several white pumpkins this year at my local grocery store. I found the small ones at Trader Joe’s. I have them all over as they look great with everything. I am going to try your idea this week. Thanks for sharing.
How lovely! I love the aluminum can trick and the white and gold combo is beautiful! Such an elegant little centerpiece.
Oh that bit about the tin can is genius! Love it! I featured this on my blog today! I’m just stopping by to pin it and say thanks again for sharing! You can check it out here, and grab a Featured button if you don’t already have one: http://practicallyfunctional.com/14-pumpkin-projects-recipes/
I love this pumpkin vase idea and it looks so glamorous (btw you are an awesome pumpkin carver!). How long would it last for, do you think?
How pretty! I’ve been dipping everything in gold too! :) Your vase will be featured tomorrow! Have a great week!
I love gold accents on fall decor…just did that with some pumpkins, but I did the dipped look with glitter. Yours came out fabulously! (Found you at Lil Mrs. Tori.) Cheers!
Congratulations…this post was featured on Create It Thursday #25! Thanks for sharing such a wonderful idea last week!
Hi! I wrote to you on the 20th about how much I loved this idea. Today, I linked this post into my post about updating my home for fall decor. Hope that’s okay. Let me know what you think. I was excited to share your creative idea.