You don’t have a sewing machine and/or do not know how to use one and/or do not have the patience to sew? Let’s be friends. :)
Learning to sew has been on my to-do list ever since I quickly forgot how to use a sewing machine after learning in my 8th grade Home Ec. class. I envy those who can whip out tote bags, scarves, and other sewing creations with seemingly endless ease and grace. I’d love to say that I’m that girl, but I’m not, and luckily for those of you like me, there are ways to work around this.
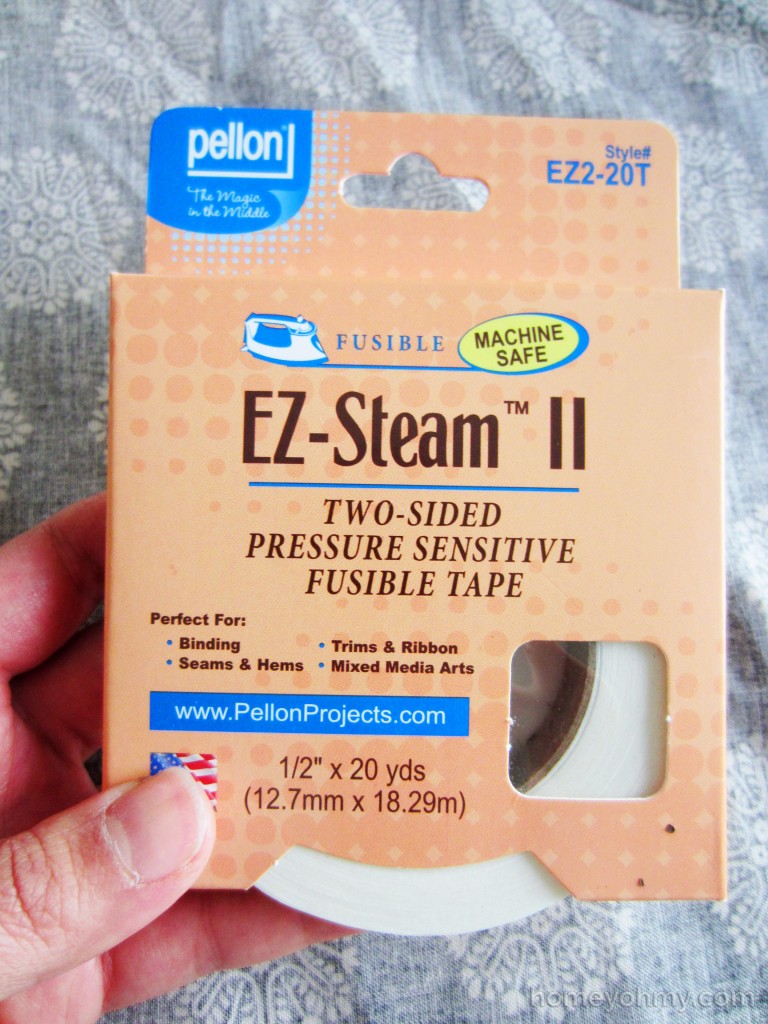
Let me introduce the star of the show.
Fusible webbing is a popular choice for no sew projects, but I chose this one because it’s fusible tape. This stuff is adhesive and will hold your fabric pieces together for easy adjusting and re-adjusting before you iron it in for good. I’ll show you in a bit how easy it is after first going over the fabric prep.
For my runner, I got 2.5 yards of fabric. The length and amount of fabric you use depends on the dimensions of your table, so measure out how long you want your runner to be and make sure you add at least two additional inches in your fabric length (you’ll see why later). So for example, my table is about 70 inches long and I wanted at least 8 inches of overhang on each end. That makes 70+8+8= 86 inches of fabric that I need at minimum. Add two inches, and that equals 88 inches, which is just under 2.5 yards (2.5 yards = 90 inches). Hence, I got 2.5 yards of fabric.
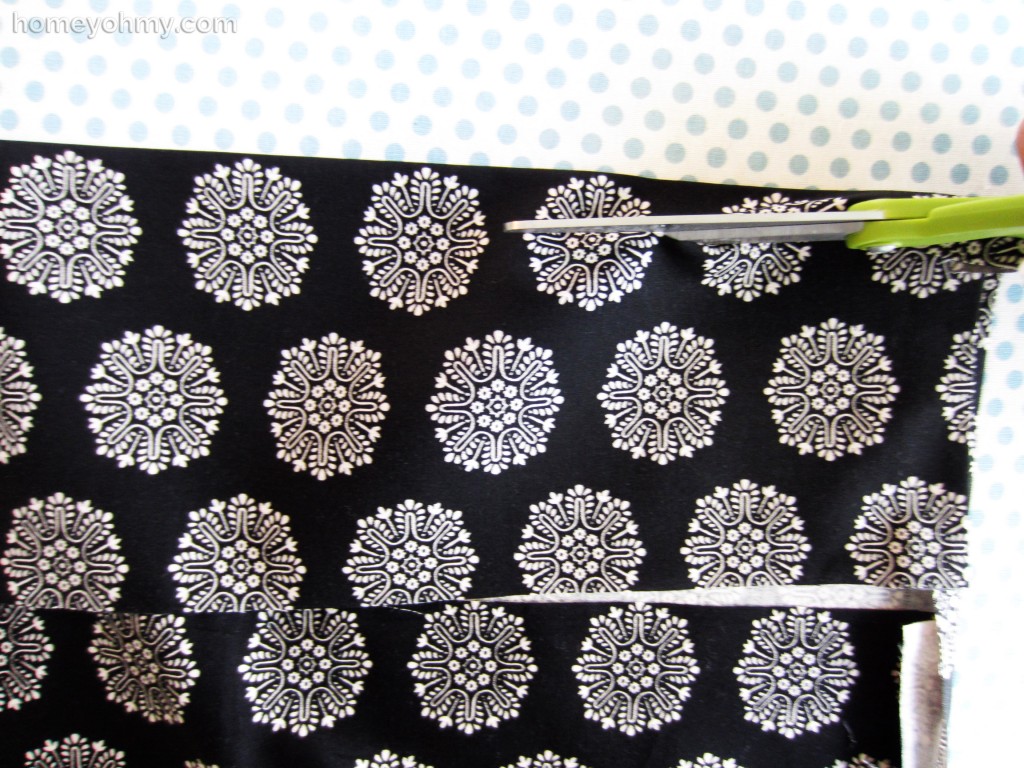
Fold the fabric length-wise and cut it down the fold so that you have 2 equally sized, long, rectangular pieces of fabric. These are going to be the pieces you’ll be fusing together.
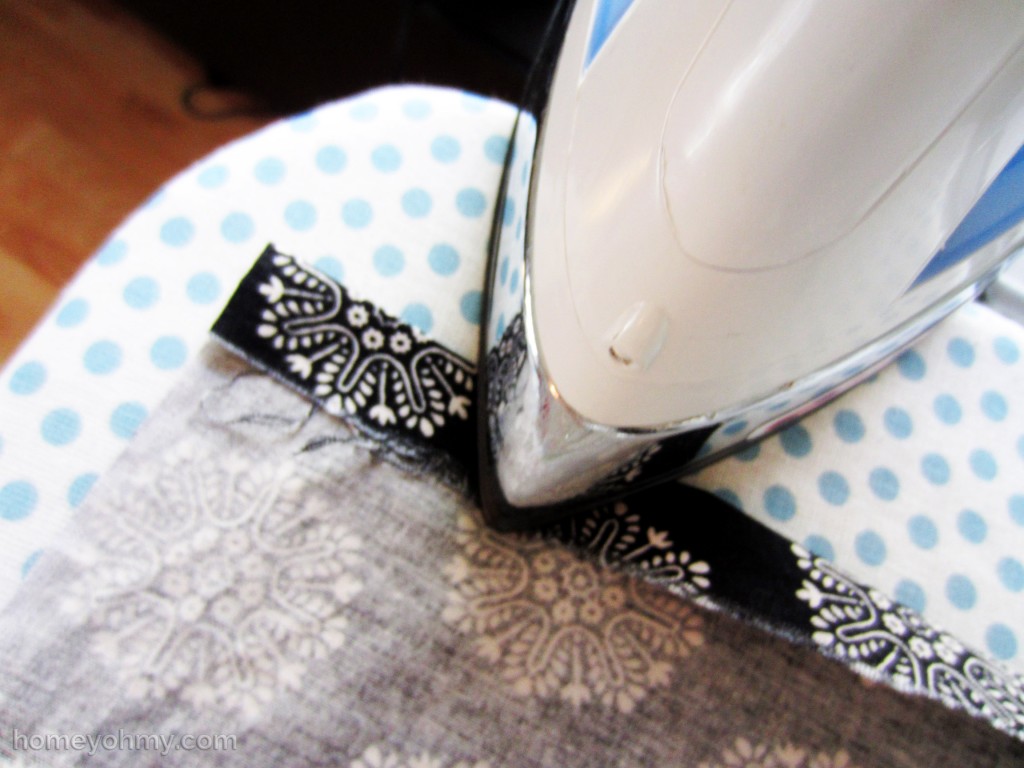
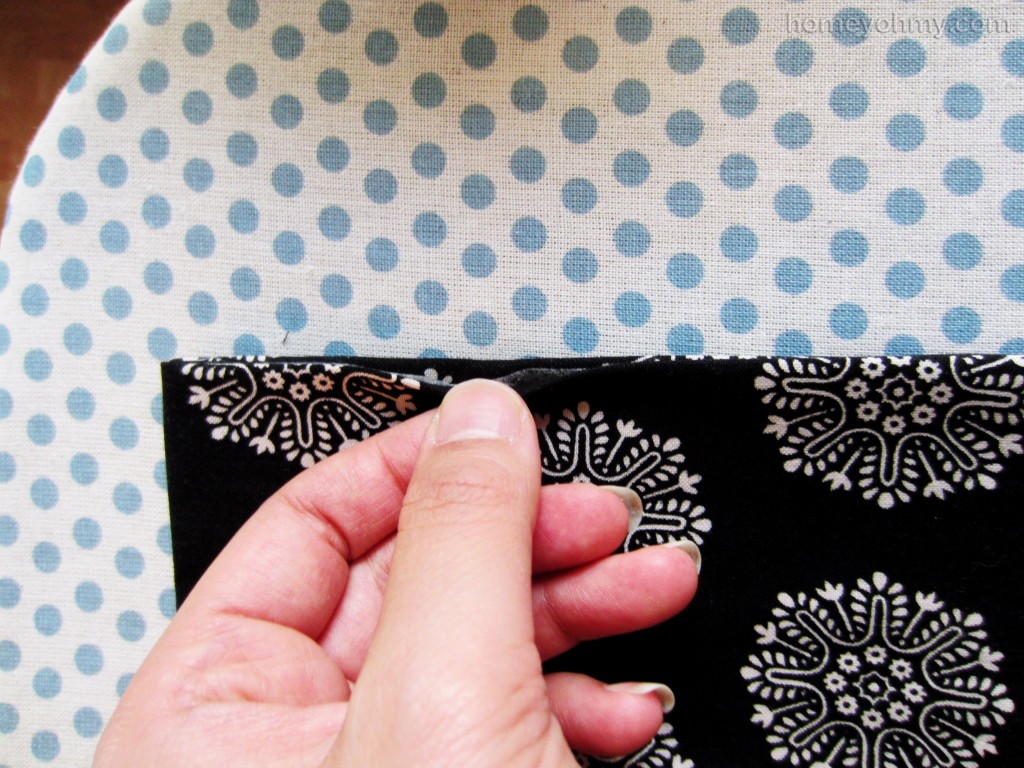
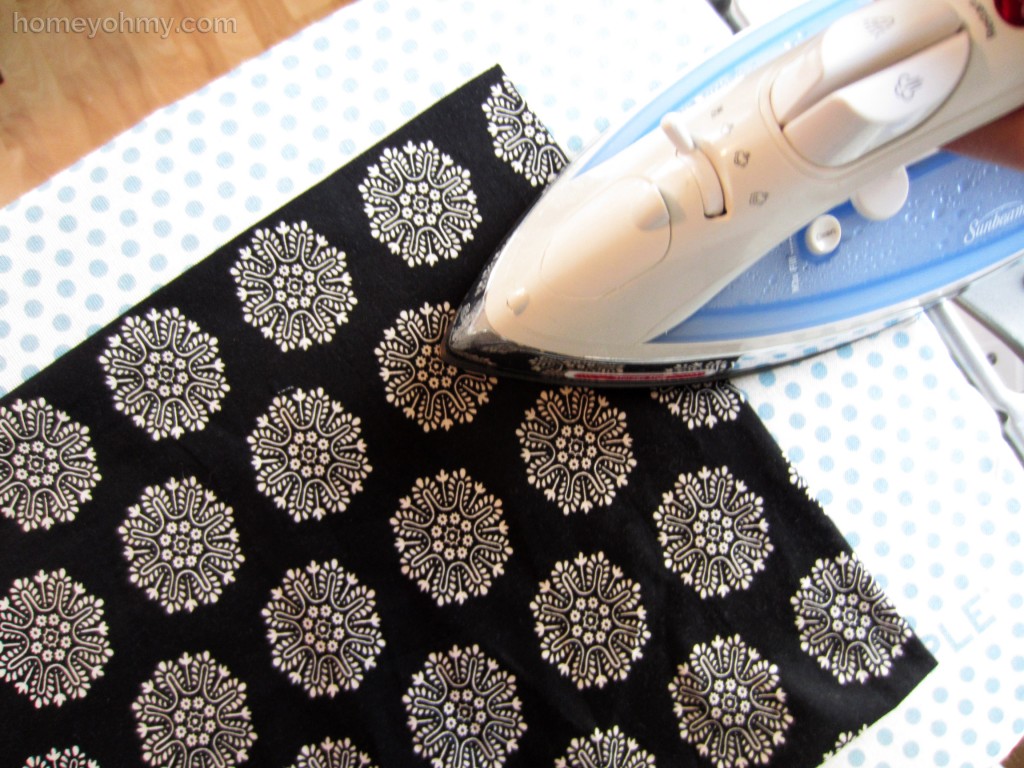
Start with one of these pieces with the front side (the side with the design) facing down. Fold over the edge on the end upward and iron it down like so. You want to iron it so that the fabric stays folded down
I folded over about an inch of the fabric. This is one of those extra inches we added earlier to the length when figuring out how much fabric we needed. Do this on both ends. That accounts for the two extra inches we added in the fabric length (cool!).
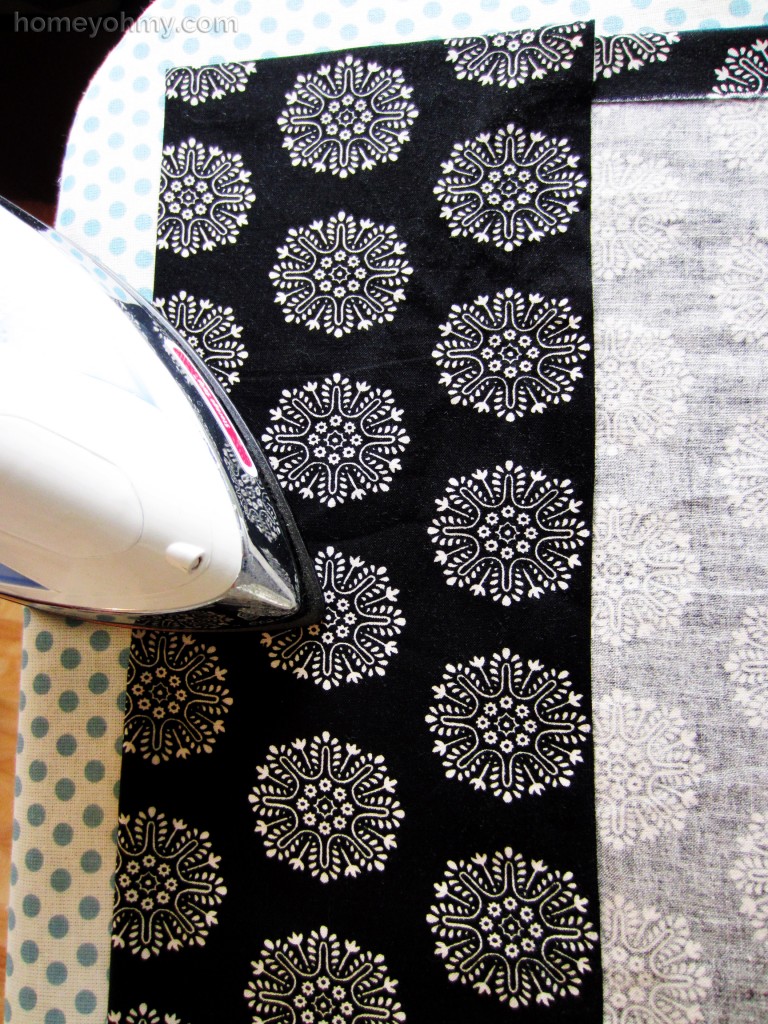
Next, do the same thing on the length-wise edges.
How much you fold over depends on how wide you want your runner to be. I read somewhere that Martha Stewart recommends table runners being about 1/3 the width of the table. Martha knows, so I listen to Martha. For my table, this meant I needed the runner to be 11 inches wide. The fabric piece was 22 inches wide, so I folded over 5.5 inches on each side (22-5.5-5.5= 11 inches) and ironed them down, as shown in the photo above.
Now, 5.5 inches is longer in excess fabric than what’s needed, so I trimmed it down on both sides roughly to about 1 inch remaining. This does not have to be exact or neat.
Do all of that again with the other piece of fabric. Yes, you are doing this entire process twice. All this is doing is folding in the edges of both fabric pieces so that the edges are clean and no rough ends are exposed.
Here comes the magic.
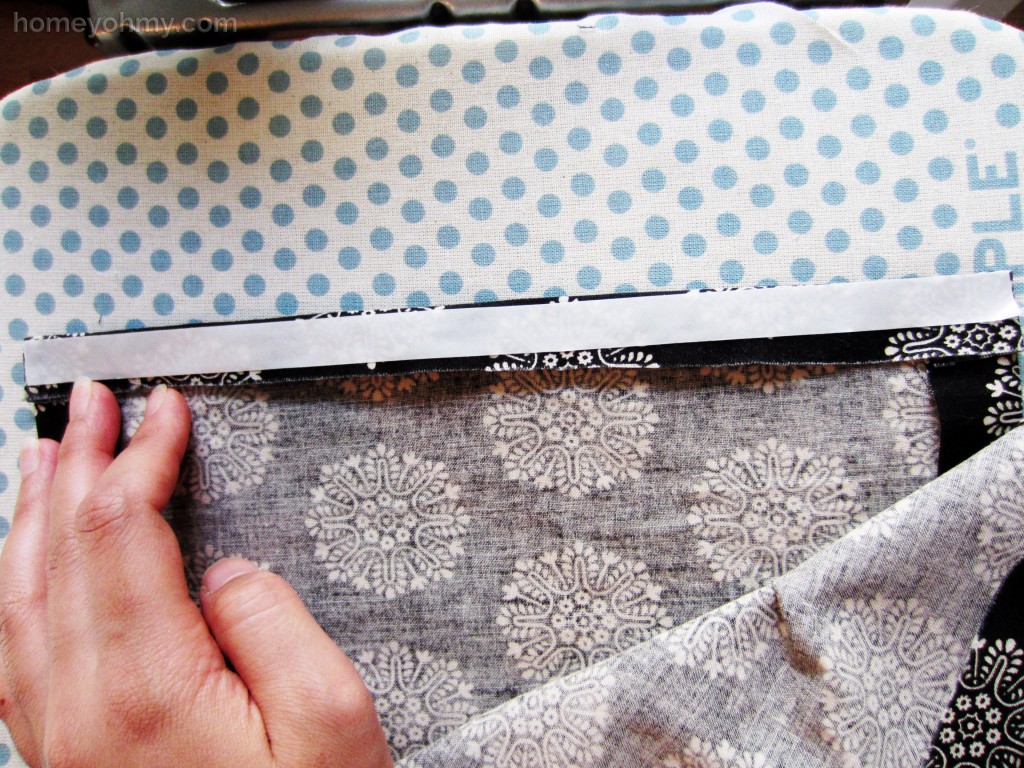
Apply the fusible tape on top of one of the folded edges of the fabric. The tape looks white in the photo, but that’s just the protective backing that needs to be peeled off.
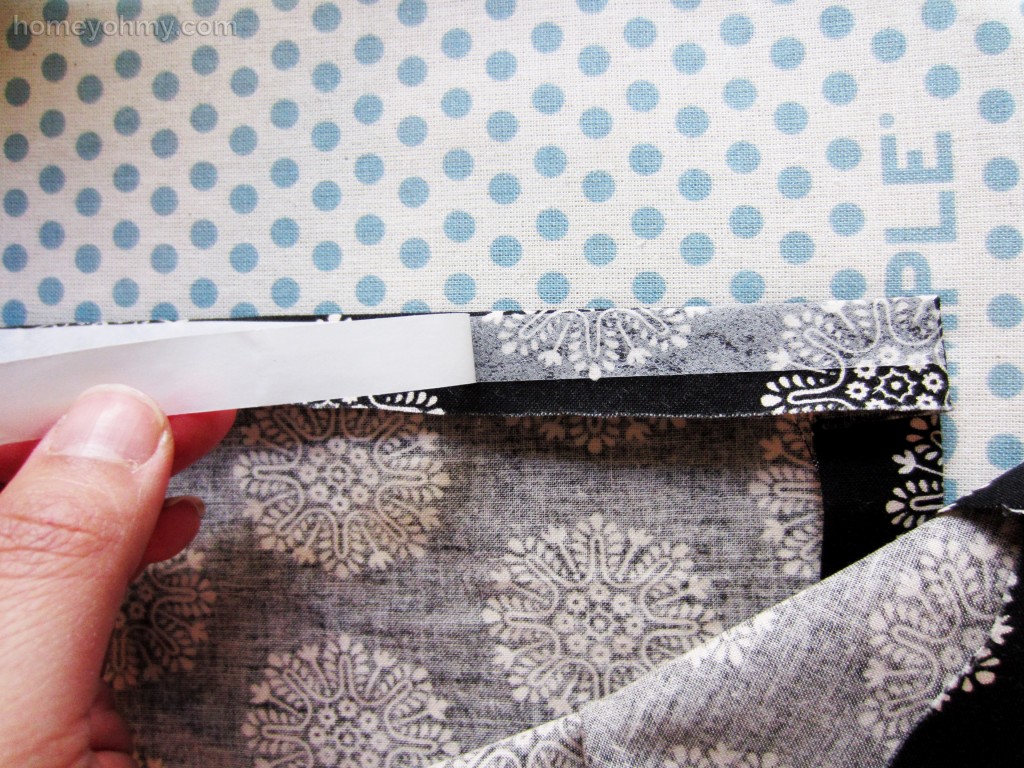
Once you peel the backing off, you’ll see the actual fusible tape and it is now just like double sided tape. You can now stick the other fabric piece on top (the back sides of the fabric pieces should be facing each other) and line up the edges.
In the photo above, I’m lifting the edge to show how the fabric pieces are joined together by the fusible tape. Once you’ve adjusted and lined up the fabric pieces perfectly, you can iron the edge to fuse the fabrics together.
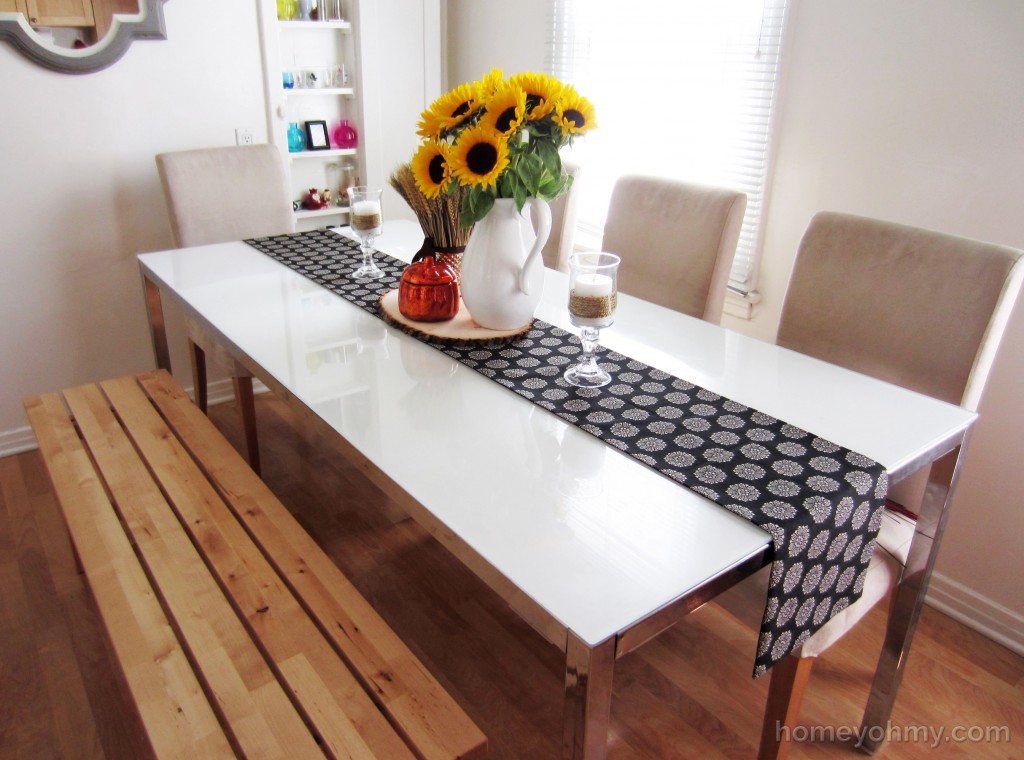
The package instructions say to press the iron for 10-20 seconds either on the steam or cotton setting. I used the cotton setting and held the iron for 20 seconds at a time while moving down the edges. This. Takes. Time. And a lot of counting. Consider this as meditation and relax. Regularly check that you’ve pressed the iron on long enough for the fusing to occur. After doing this on all four edges, you have now made your very own, custom table runner.
The good thing about the way this runner was made is that it’s reversible. For people like me who would prefer as little laundry as possible, this is an *excellent* feature that allows you to hide stains simply by flipping it over (ha!). You can also use two different fabric patterns so that you have reversibility in style. Who doesn’t like a 2-in-1?
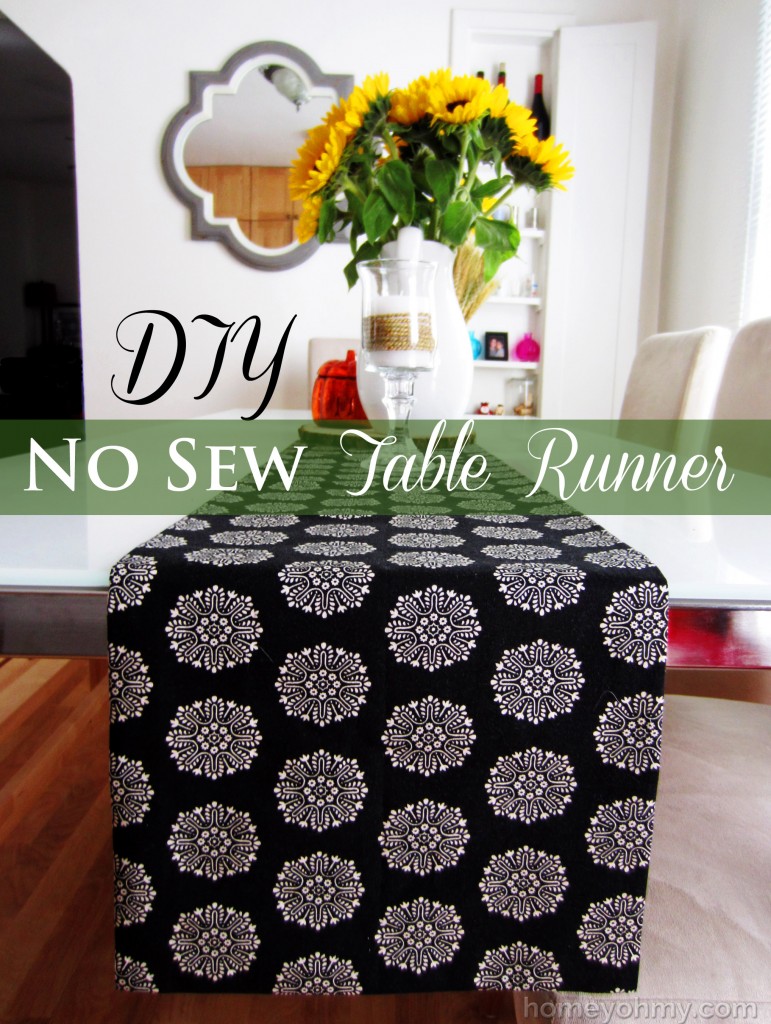
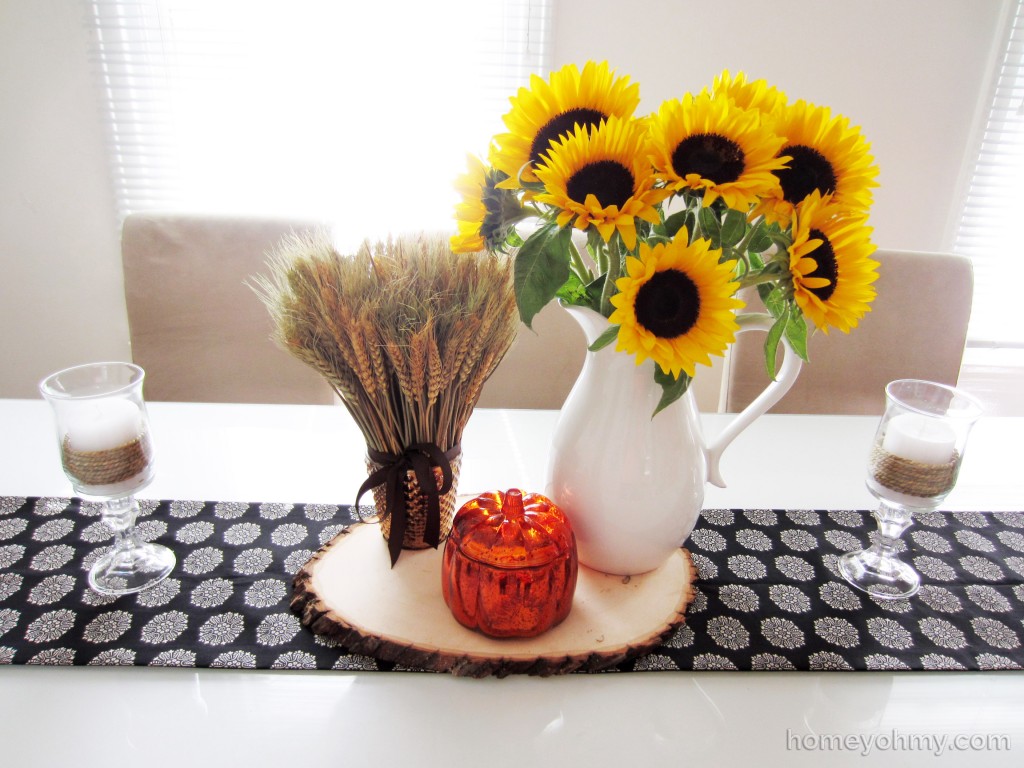
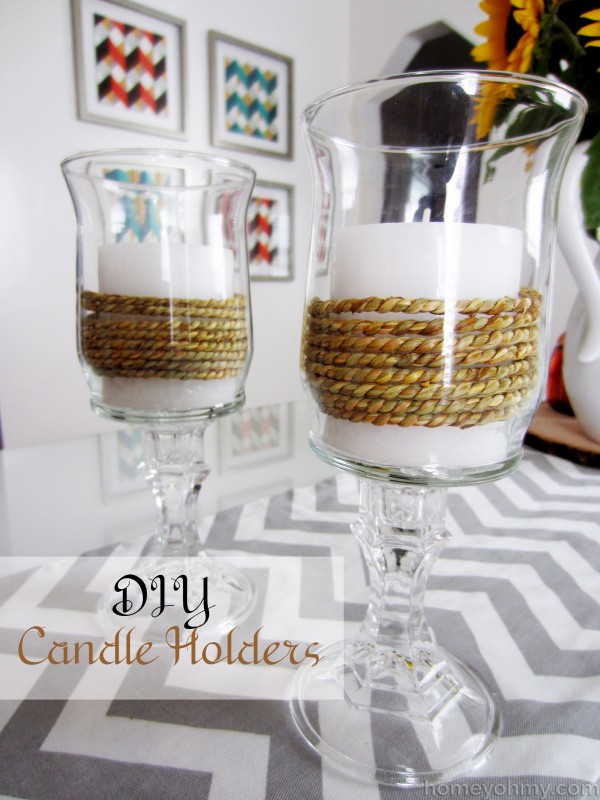
Here it is with my fall centerpiece and DIY candle holders. Overall I prefer the white and gray chevron runner that I previously had, but I wanted to go darker for fall and it’s nice to switch things up from time to time. Plus, now that I know how easy it is to make a runner, I can see myself making one for every season, occasion, or mood I’m in :P.
I’m also wondering… is there a name for the pattern of my fabric? Please tell me if you know what it is!
Thanks for visiting!
Like what you see? Stay connected with me:
This post was featured on:








You know Martha knows. Great project! Can’t wait to try. I might have a sewing machine, but you know the only think I know how to do it turn it on. Now I can be crafty.
Genius! Can’t wait to try this once I move and am decking out my new space. Have you ever thought about starting an Etsy shop?
I’m loving the flip-over feature of the table runner. If my table stayed clear of crayons, juice boxes, etc. long enough to have a lovely table runner, then I would definitely be going for one with the flip-over feature. ;) Love your table and that bench.
LOVE this! Just pinned! I avoid the sewing machine at all costs, so this table runner would be absolutely perfect! I popped over from Link Party Palooza– thanks for sharing!
~Abby =)
This is stunning, eye popping, looks great. I love the new so instructions. Our weekly Super Saturday Link Party is live. We would love to have you join us with any of your great ideas. It would make us so happy to have you on board. http://www.madefrompinterest.net/2013/10/super-saturday-link-party-14/
Beautiful work. Have a great weekend. Linda
So pretty! You chose so lovely fabric. And it doesn’t get much easier than that does it?!
Your table runner is fantastic as was your tutorial. Love it, so clean and perfect for your table. Would be fun and quick to use two different fabrics. Before you know you it you’ll be a table runner making genie.
I looked around our house the other day and realized how many things in our home I’ve made. Felt pretty good about it. Most of the fabric items were made with fabric I already had. About only thing I have to buy lately is burlap. I’ve become very enamored of printed duck fabric at Hobby Lobby also, they have some really pretty prints and IKAT prints. I’m just getting to like IKAT. Have fun making your table runners, you did a great job, looks very professional. Happy weekend
Hi Jane Ellen! I tried responding to you via email but mail delivery was unsuccessful so I’m responding here in case you check back again :)
I SO wish I had a Hobby Lobby near me. Funny you mention Ikat. I initially wanted to use an Ikat print but couldn’t find one at JoAnn’s that I liked. I’m still on the hunt for one!
Thank you so much for your kind words and compliments. I appreciate you stopping by and hope you visit again soon!
Beautiful job! I’m hosting a pillow cover giveaway that you should enter. http://homecomingmn.blogspot.com/2013/10/pillow-covers-giveaway.html
This is so brilliant! I’m a total klutz on the sewing machine but have never experimented with fusible webbing/tape. You have me convinced! Now I just have to find and dust off my iron :)
So cute! I love your fabric choice.. And great tutorial!
Perfect for the upcoming holidays!
I love this so simple but so cute! I highlighted this on my blog tonight for Centerpiece Wenesday.
Karin
I featured this this morning at Work it Wednesday. Hop over to the happy housie to grab your button when you have a chance:)
~Krista
Very nice tutorial. You have a new fan. I have a question though. I know the box from the fusible webbing says, “Machine Safe”, but I understand this to mean you may sew with a sewing machine without gumming up the needle. Is the table runner you made with the webbing washing machine and dryer safe? Thanks in advance
~Karen from Eastern Washington State
GREAT PROJECTS. THANKS FOR THE TUTORIAL INFO. HOW DO YOU GET THE TABLE RUNNER SIDES STRAIGHT?
Thank you, Judy! I used the fabric pattern as a guide, so wherever I started the fold, I took note of how much of the medallion pattern was folded over and made sure the same part of each medallion was folded over as I went down the length of the fabric. Does that make sense? I basically use cues from the fabric pattern to help me out, but measuring the fold-over width as I go is another thing I do to help keep things straight. Hope that helps!