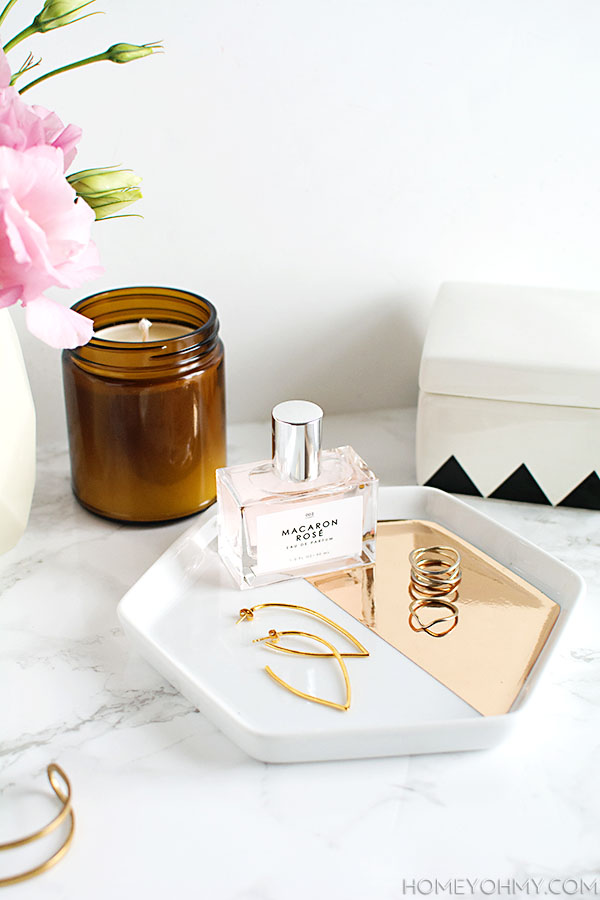
 If I go too long without doing a DIY related to jewelry organization, send help- something is wrong with me. Good thing today’s post confirms nothing is wrong since I’ve got yet another jewelry tray DIY to share with you guys, and it is SO. EASY. and terribly exciting for how pretty it is.
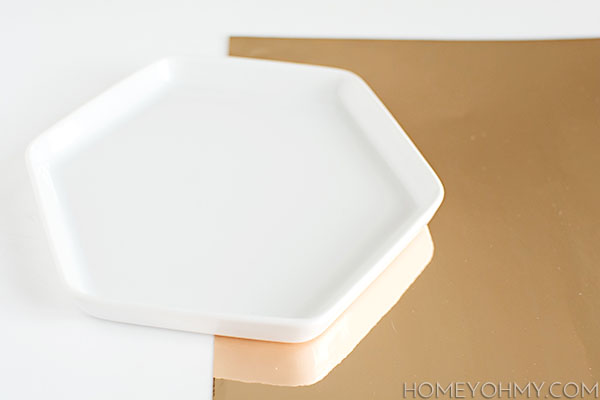 Two major discoveries here. 1) Crate & Barrel has these hexagon plates that are begging for repurposing and 2) adhesive gold mylar. The latter is a game changer, guys. You know I love my gold details, but this is the first time I’m entering into mirror-y gold chrome territory, all thanks to a lovely chick that works at my favorite craft store- gotta give a shout out to Artist & Craftsman Supply. No question it is the best craft store in the LA area because they have everything. And, you know how places like Michaels or Joann constantly feel understaffed and you walk around wondering if anyone works there? Not at A&C- super attentive people who will patiently listen to me describe vague wishes for made-up supplies that I’m not even sure exist and they’ll be like oh yea we have that right over here. So good.
 All I did was trace half of the plate onto the back of the adhesive mylar sheet with a pencil.

After cutting out the tracing and putting it into the plate, I determined it was a little too large, so I free-handedly cut off a bit more around the edge.
I peeled off the backing then stuck it onto the plate, which is a little tricky to place perfectly while making sure no air bubbles are created because this stuff sticks on really well. I lined up one edge of the piece to the corresponding edge of the plate, then stuck that down as the “anchor” before smoothing over and sticking down the rest of the mylar.
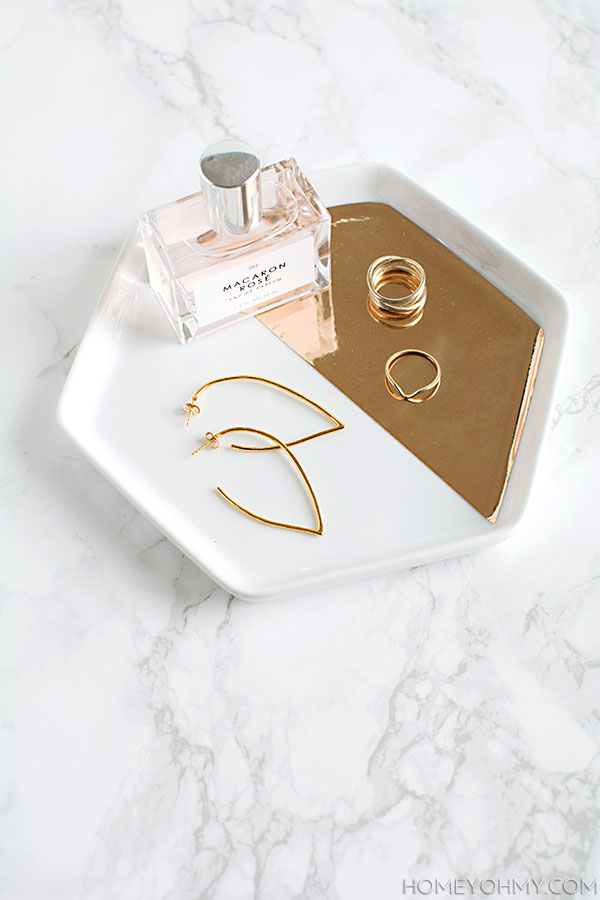 It’s best done in one shot. An air bubble got into mine, so I peeled back that section of the mylar and smoothed it back on to be air-bubble free, but it messed with the chrome finish of the mylar just a bit. In the photo above, you can see a little cloudiness in the gold where I had peeled back the adhesive, which is hardly anything to get bent up over, but I’m just saying- it’s better not to peel and re-stick!
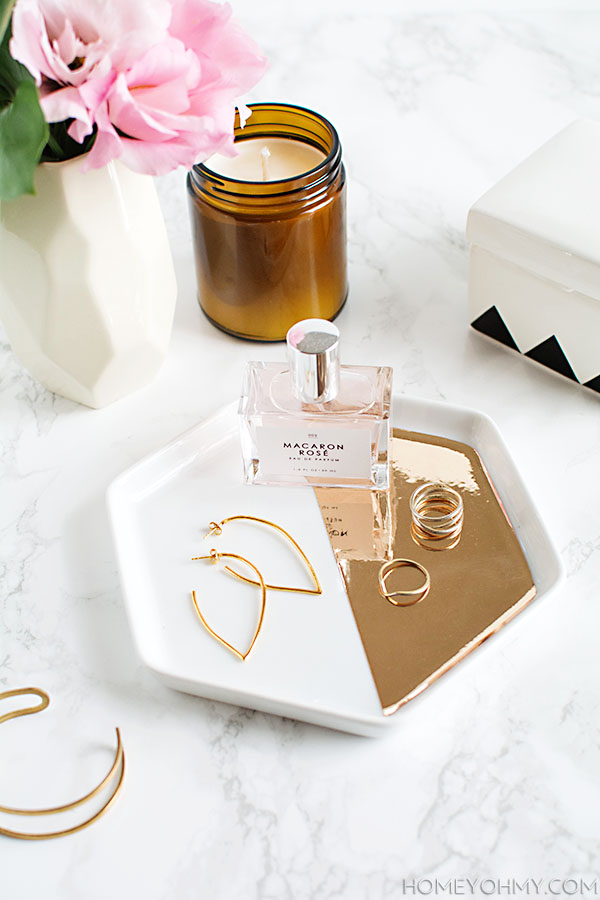
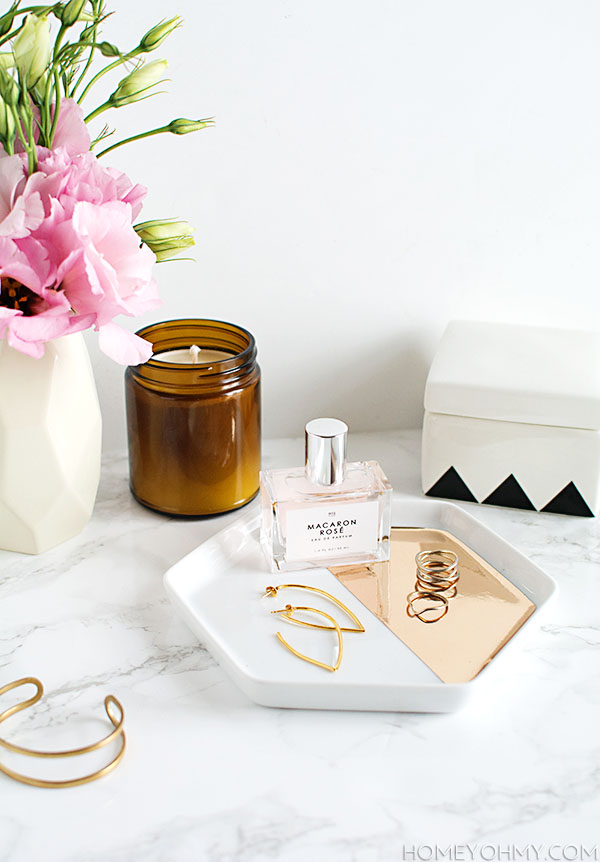 I love it. A lot. This is everything that I mean by simple ideas with big impact. And how the heck am I going to resist sticking this gold stuff onto everything? I’ve done a lot with gold spray paint, but it doesn’t come near to achieving the shiny finish of this mylar. What should I do with it next??

So pretty and SO easy!!! I need to get to Crate & Barrel ASAP!
Thanks, Leticia! Run don’t walk.
Oh great! It looks so good and expensive in taste
Happy you think so! Thanks, Marwa.
so. good. the mylar I have isn’t as shiny. where did you get this one?
Thanks, Yasmin! I got it at a local craft store. I think maybe a place like Blick would have it? I’m also not 100% sure that it’s mylar. That’s just what the woman who worked at the store called it but she may have been saying it’s “like” mylar.
say whatttt?! that stuff looks amazing!! I need to come to L.A. stat ;)
Thanks, Bre! You need to come to LA so we can hang.
I am loving this so so much! I had no idea about mylar sheets until just now – I’m itching to go and try them out!
I had no idea at all until I asked the craft store chick if they had anything “shiny gold metallic with adhesive backing.” I’m always going to talk to the people that work there from now on!
I love this! So simple yet so elegant! I’m going to have to find the adhesive gold mylar in Minnestoa stat!
Thank you, Ruthie! Best wishes on finding it :)
I <3 this so much!
Thank you Kat <3
I love that art supply store too! It’s the best!! I used to work right down the street and would stop in anytime I needed a small gift or crafting supplies.
Oh cool!! I would go so often if I worked down the street, how convenient.
This is such a good idea! Do you know if they make adhesive copper mylar? I’ll have to check out Artist & Craftsman Supply, I live in LA and have never even heard of it! Thanks for this awesome DIY!
Yay LA! No idea if there was copper, but good idea I’ll ask next time I’m there. Glad I could help you discover this gem- you’re going to love it!
Oh my goodness this is just too pretty!
Thanks, Melissa!
This is the perfect DIY for me. I get so lazy sometimes, haha. I love how the gold made such a difference. So nice!
The Office Stylist
http://www.theofficestylist.com
Hahaha no one has time to be making stuff. Not even me :P Sort of. Thanks for the love!
Beautifully Elegant, just like all your DIY’s!
Aww Gilly thank you!!
This is TOO pretty, Amy! I love the contrast between that glossy white and gold!
Thanks, Amy! Tried and true combo ;)
Oh man, I love this! I need to make something to organize my jewelry asap.
Thanks, Aileen! Jewelry organization is where it’s at <3
Love me some Crate and Barrel and I’ve been on the lookout for a cute jewelry tray for awhile now! This is perfect!
Thanks for sharing!
Let’s Mingle Blog
Girl, this is soon good! I think I need to make one asap.
Amy– You’re seriously so talented. Love this and love your blog!
Erin!! You have no idea how much I needed to hear that. Thank you thank you thank you.
Gold Mylar is my life right now! Oh the things you can do with it…
This looks great. I love how quick and easy it is but looks like a million bucks. These are the best types of DIYs.
Thank you Heidi!!! Love the way you said it. Everything I try to do is always with that goal in mind!
I LOVE a helpful sales associate with awesome ideas. The mylar will be a game changer for me- Thanks for sharing! Great DIY – and I love your site! Xx
Hi!! I am i love with your creativity and beauty in your items. Would you mind telling me where you got your vase from?? Keep up the good work! :)
Hi B! The vase was from Nate Berkus at Target from a couple years ago. I don’t think it’s available anymore.
Thanks so much for your kind words!!