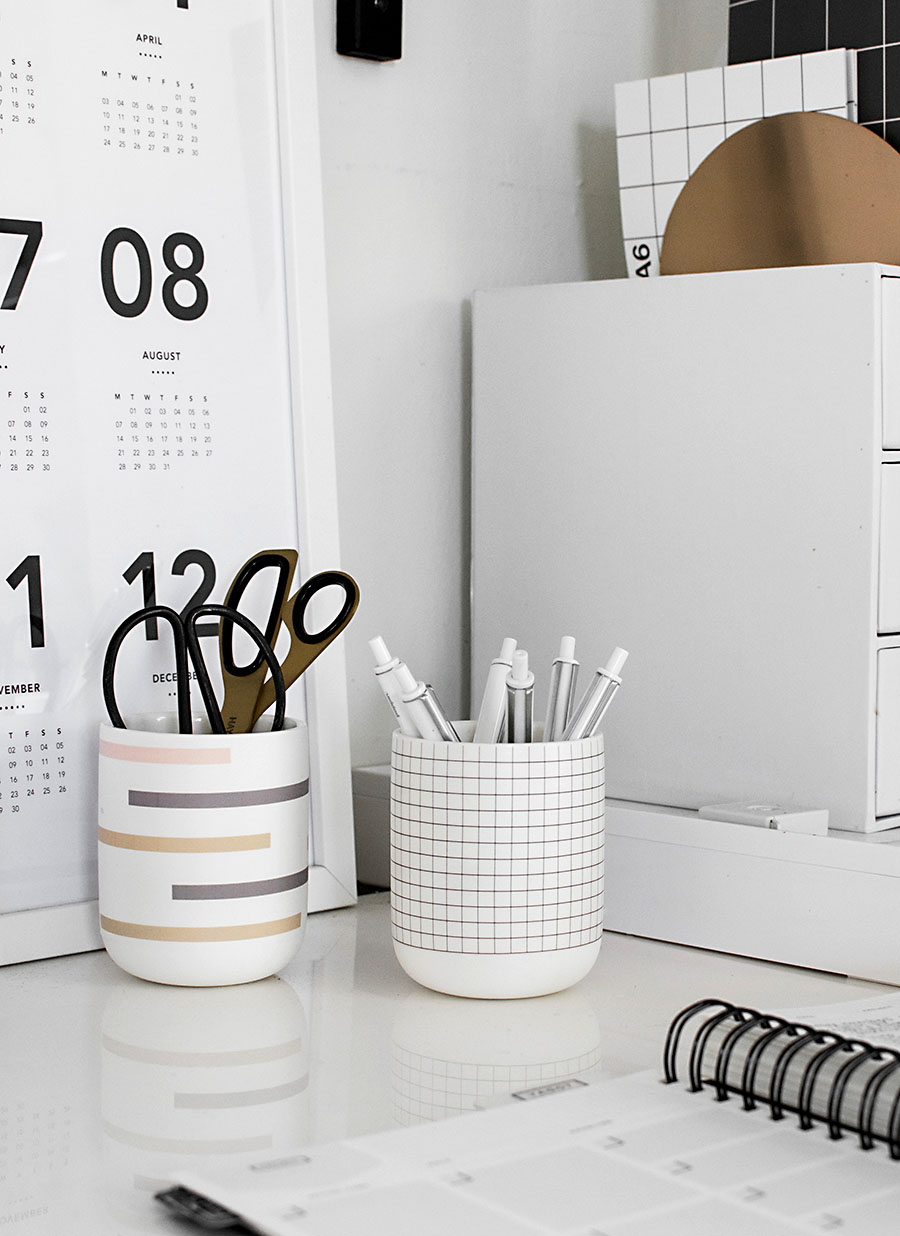
This is probably the easiest, coolest thing I’ve learned how to do in DIY decor and even cooler that it can be done with ceramics, which for me have sometimes been challenging to customize. It’s usually sufficient to rely on hand drawing or painting on surfaces to achieve handmade/organic designs, but for more precise patterns and clean lines, using a printer makes it amazingly simple and quick. I’m partnering with my friends at Canon to show you how to print designs on ceramics, specifically on these ceramic cups I’m using as desk organizers (links for downloads of these designs after the jump!)
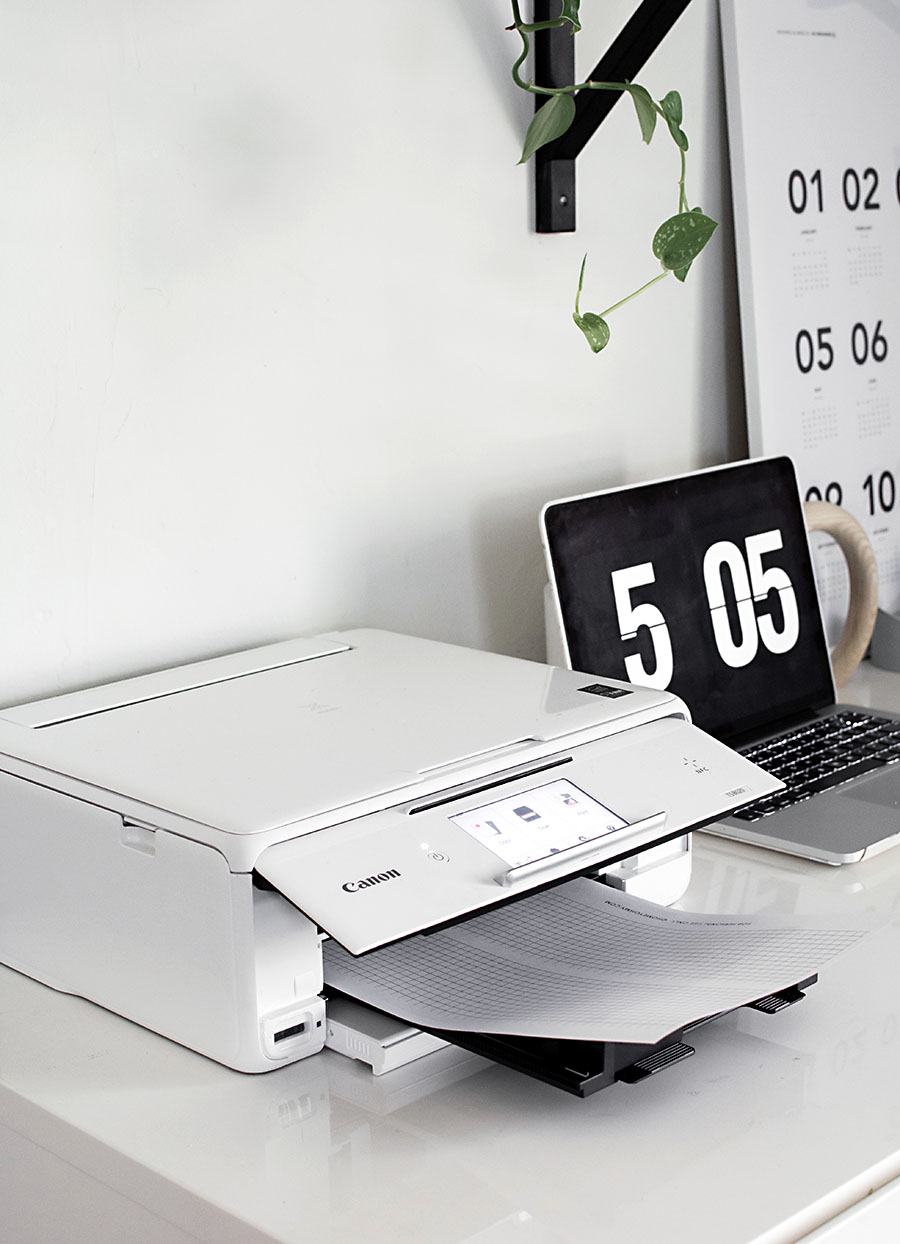
Start by printing the design (download grid template here | download bar template here) on decal paper. I used my very cute and compact Canon TS8020 printer to print on this waterslide decal paper. Make sure you print on the correct side, then let the ink dry for 30 minutes before handling.

Wrap the paper around the container to determine the needed length and cut the template to size.
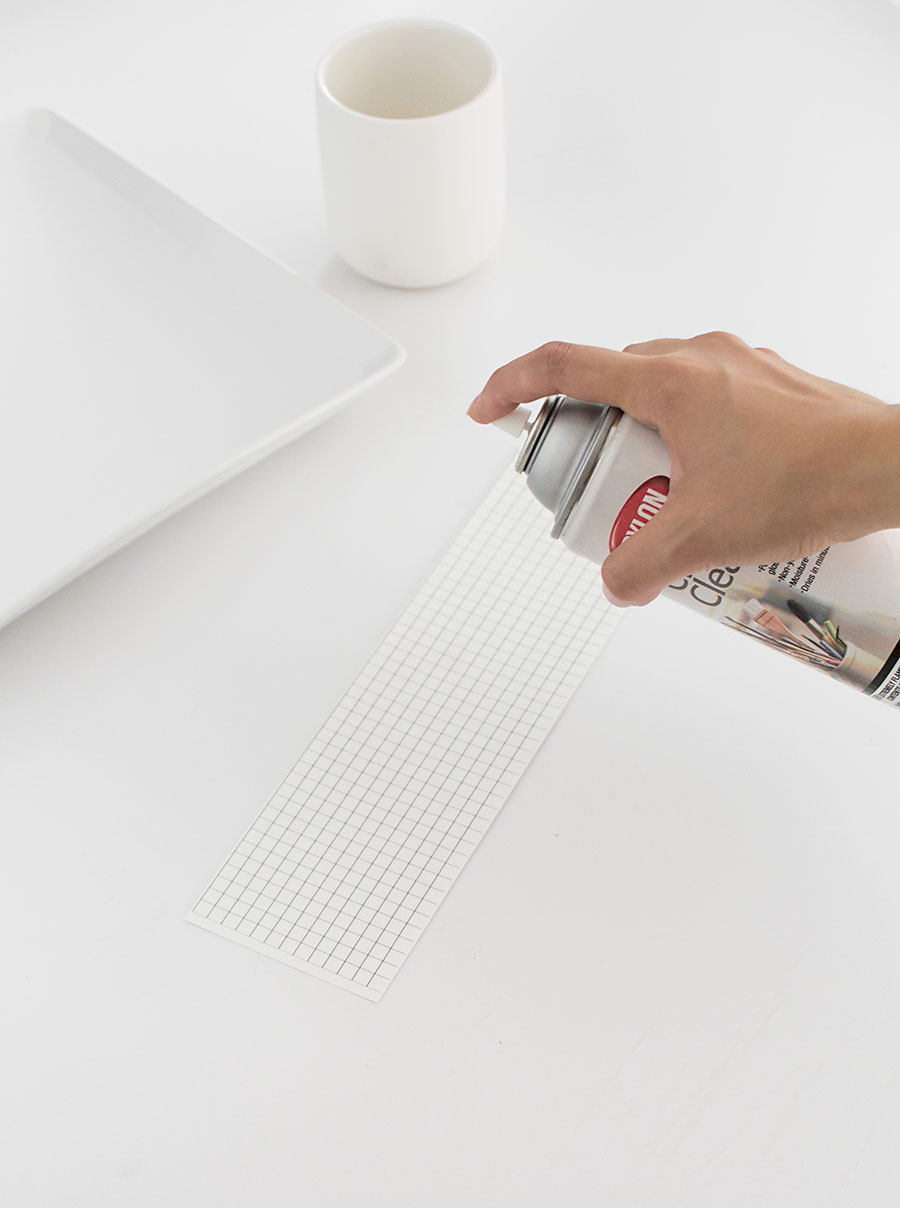
Spray two to three coats of acrylic spray onto the decal (will explain soon why we need to do this.) Wait until it’s completely dry before proceeding.
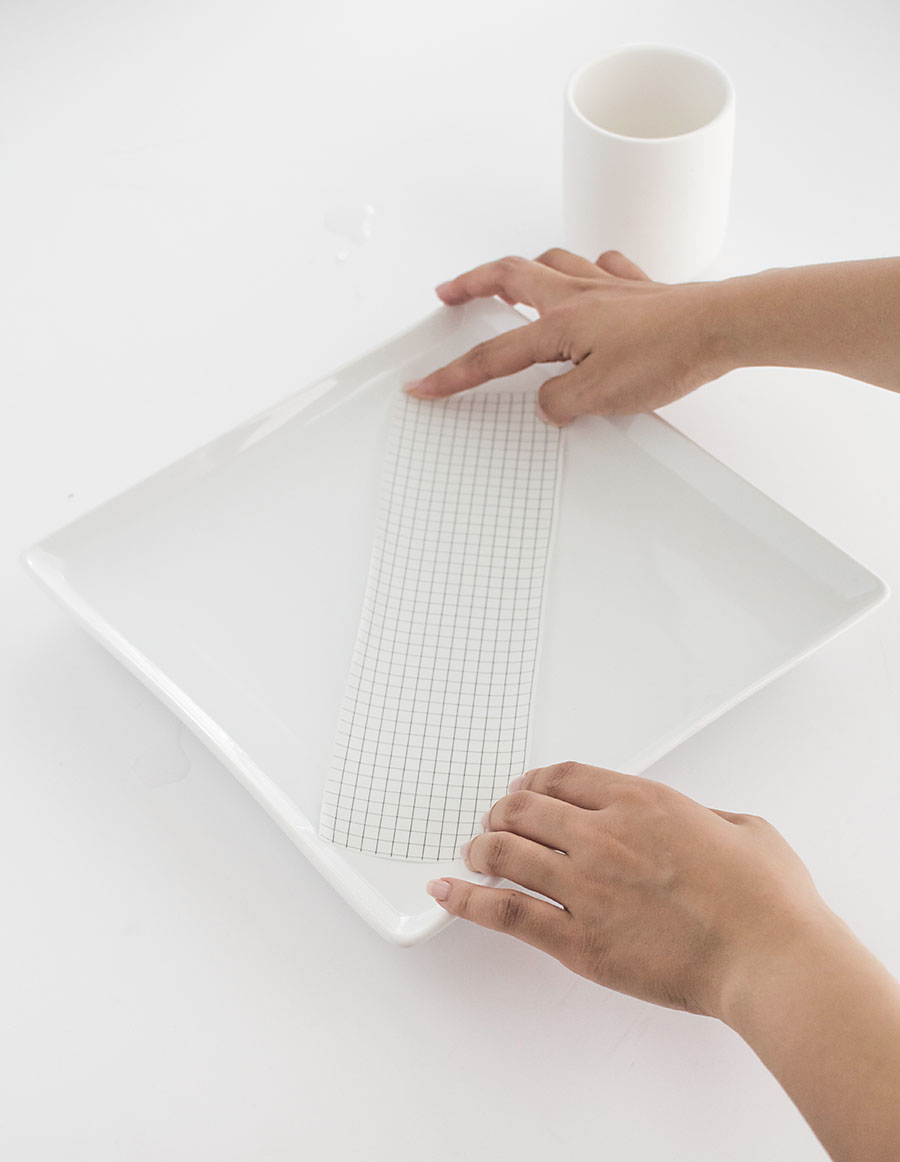
Fully submerge the decal in water and let it sit for about a minute.
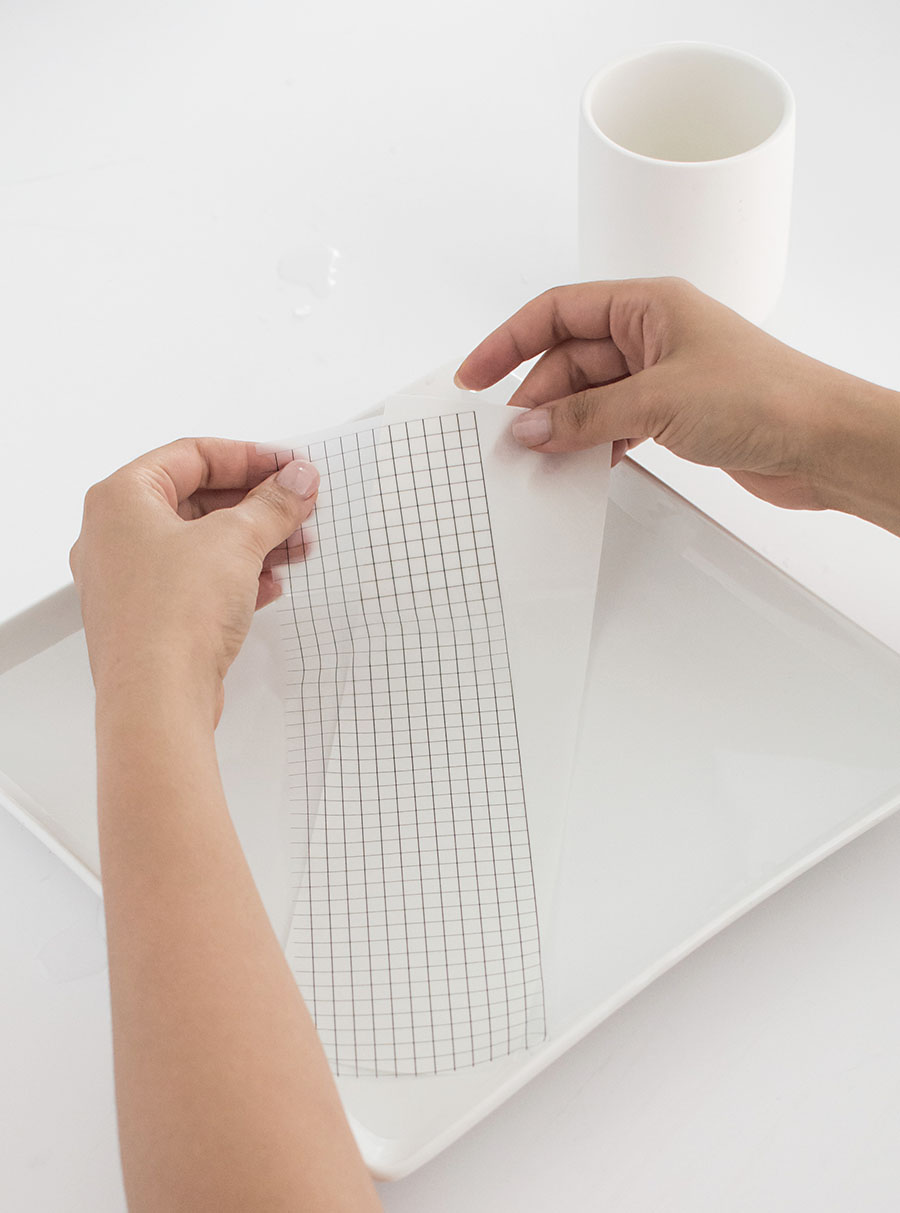
After a minute or less, the decal should release and slide off the backing like this.
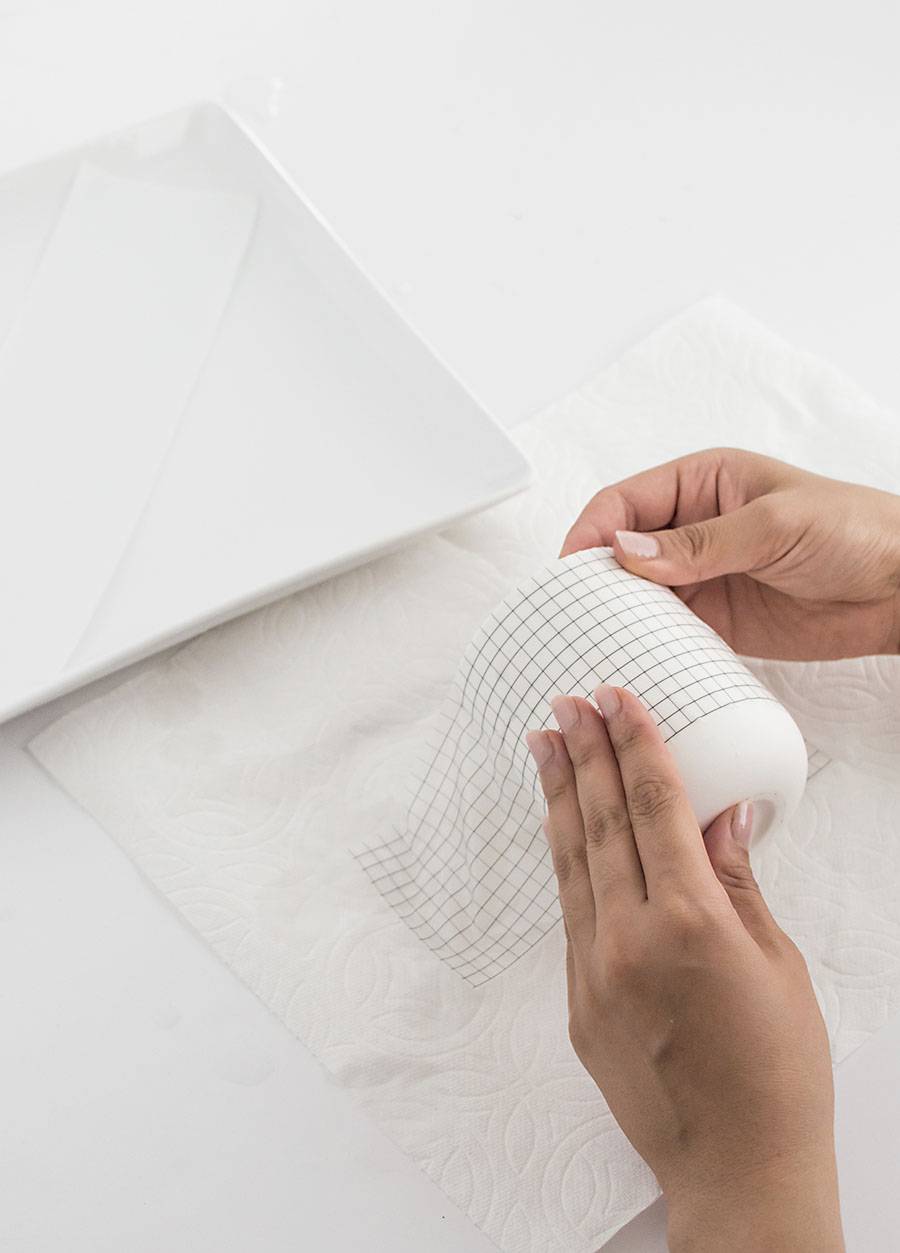
Wrap the decal around your container, starting at the center of the design and smoothing it out around so that there are no bubbles or creases. The water provides some slip which makes it easier to adjust the positioning of the decal, so you don’t have to be exact about the initial application. Just be careful not to stretch the decal or else it might tear or the design may warp.
With this being a wrap-around decal that requires a good amount of smoothing and shifting, the acrylic spray that was previously applied helps protect the printed design from bleeding or smudging off as you rub the surface to get the bubbles out. I learned this from my first failed attempt. Don’t skip the acrylic spray!
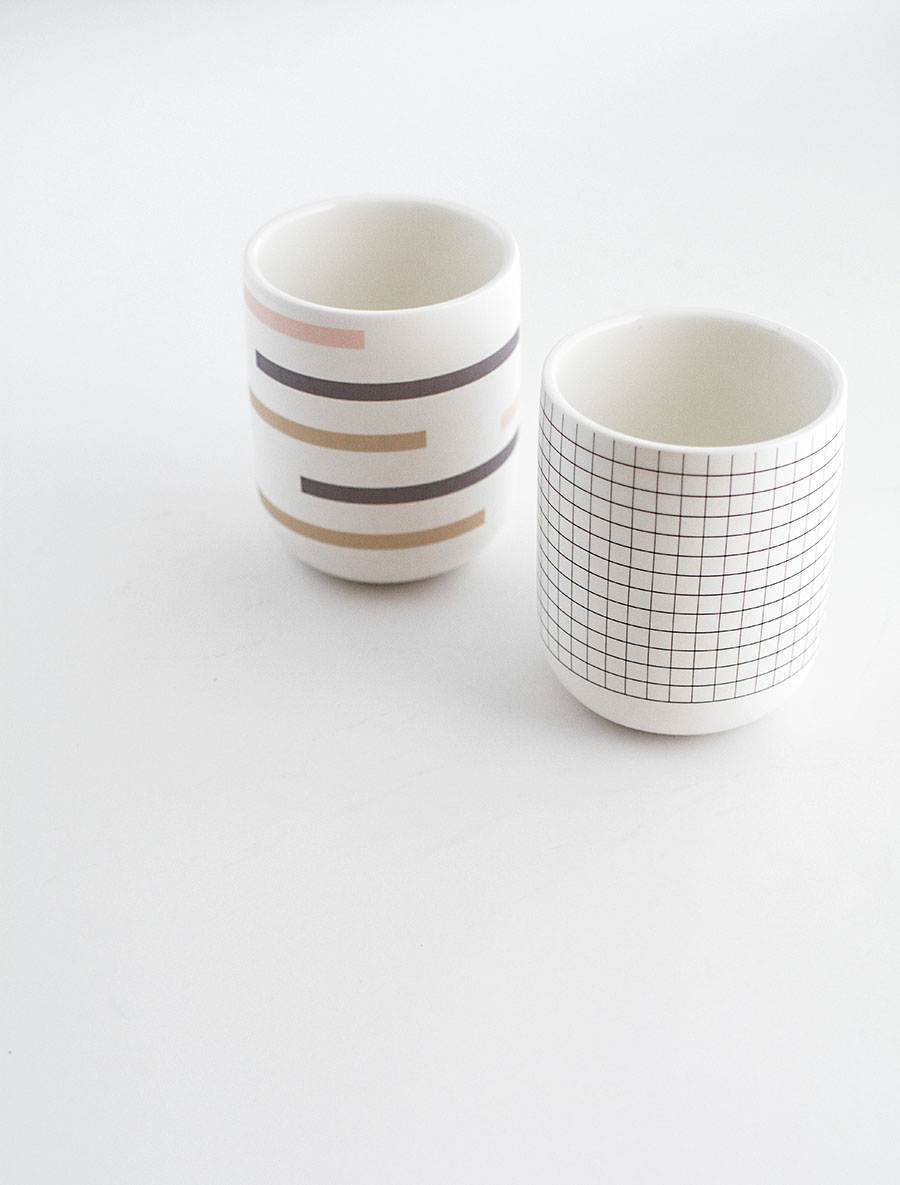
Let it dry completely before applying varnish, or refer to the instructions that come with your decal paper if it’s different from the one I used. With this paper, apply 2-3 coats of an oil based varnish to make the unprinted parts of the decal clear, or apply a water based varnish to keep the unprinted parts of the decal white.
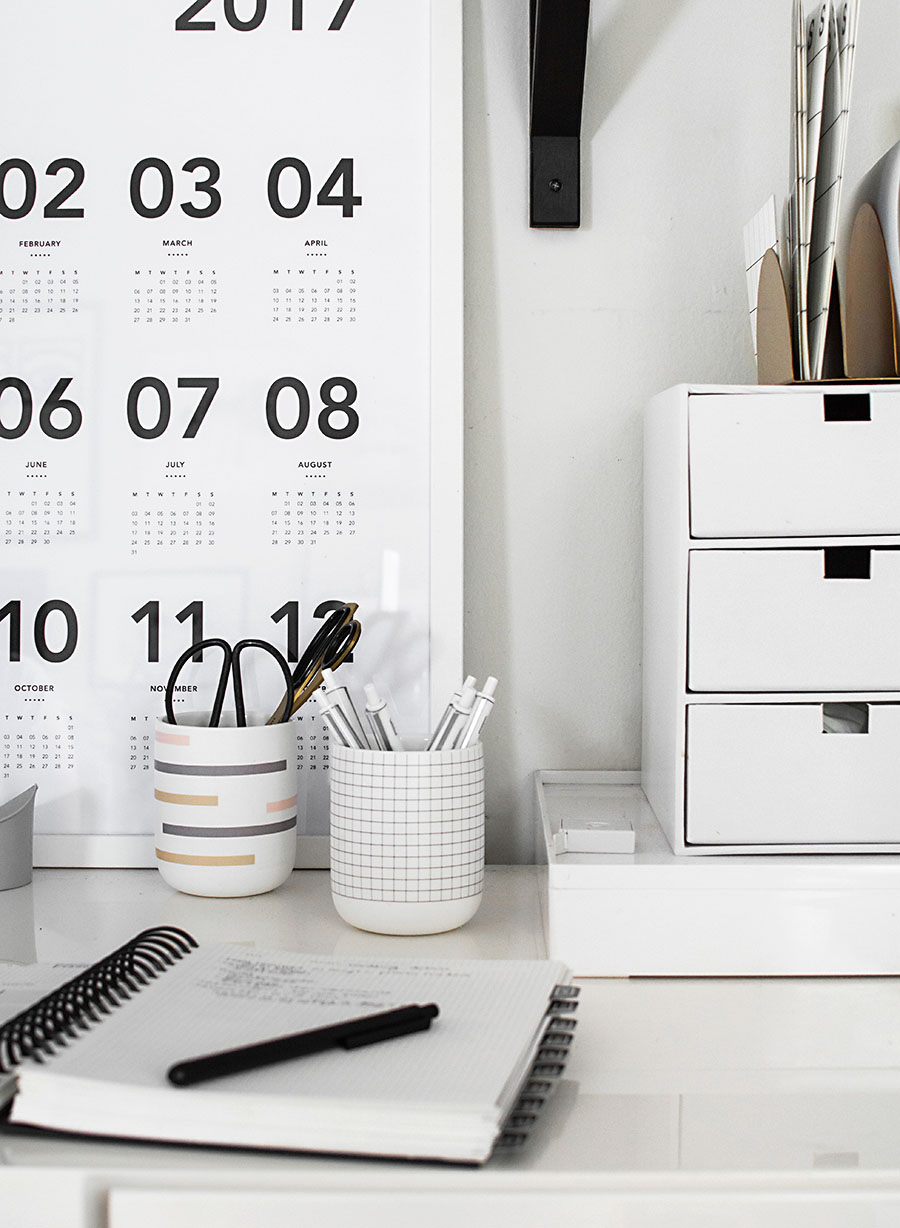
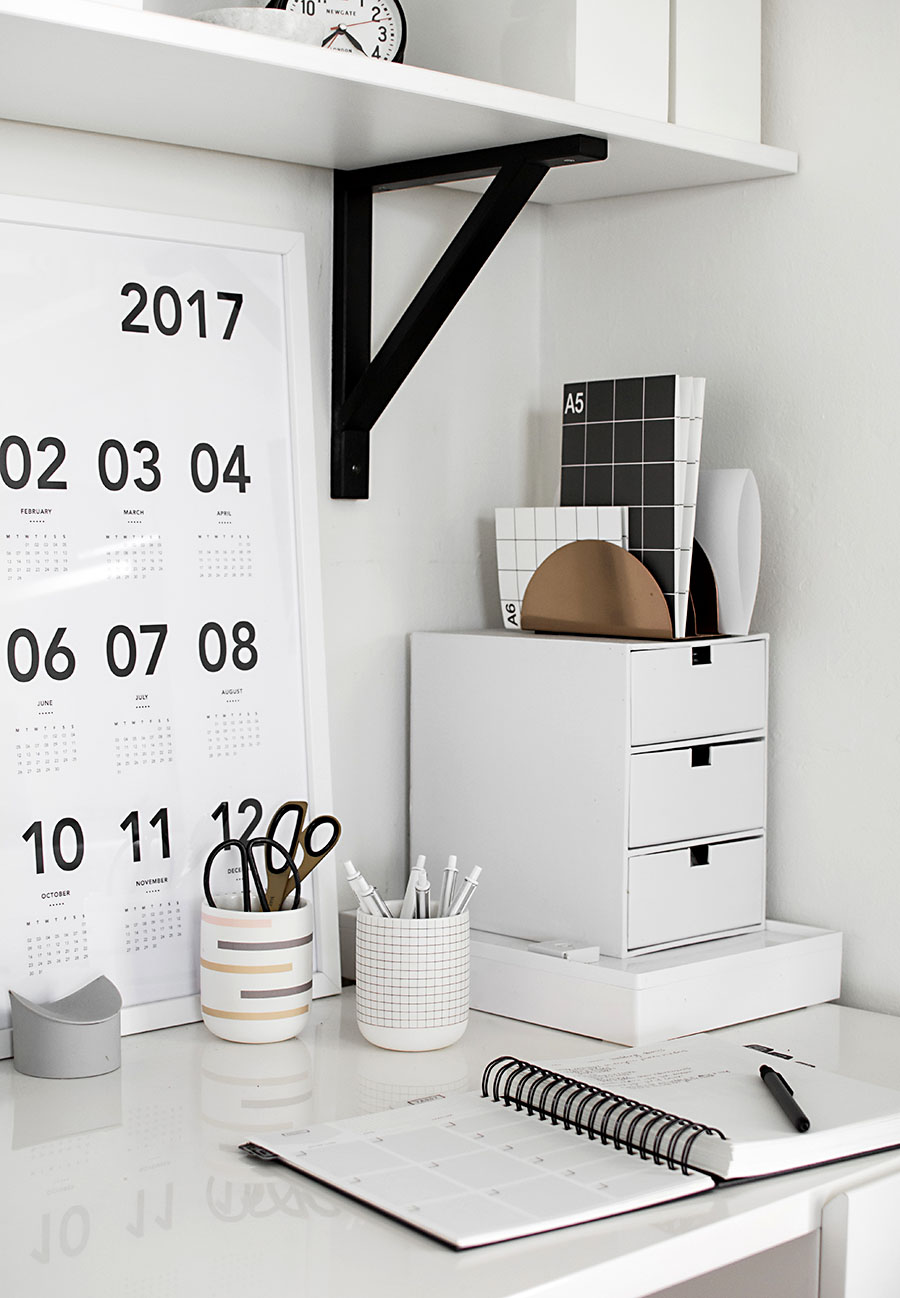
There are so many ways this could go- you could apply photos, or a logo, print designs on ceramic vases, or bowls (decorative ones because this is not food safe). Have anything that you’ve wanted to customize like this? What design would you print on it?
If you missed it in the post, download the grid template here or download the bar template here.
 This post is sponsored by Canon. All words and content are always my own. Thank you for supporting brands that help bring fun ideas for you to discover and try!




Wait are you kidding me with this?!!? This is so simple! I even have acrylic sealant at my house right now. I have to try this.
It really is so simple. Thinking a lot about how I’ll use this technique next!
this is a dream come true!!!
but I would like to see the other side of the grid cup ;)
how much gently do the 2 sides of the sheet merge?
Hi Gaia! Lining up the lines at the ends of the grid template depends on the container circumference and some just won’t line up perfectly, in which case just cutting it to the exact length is best. It won’t look perfect but looks pretty good, especially better than overlapping the ends and having the grid pattern not line up.
This is so cool, imagine all the possibilities! Thanks for sharing this!
https://www.makeandmess.com/
Is this water and wash proof… in orher words if i want to decorate coffee cups for my children is it dishwasher safe or wash by hand in soapy water safe? Or is this just a decorated container forf pencils type of project?
Hi Holly, according to what I read on Amazon, it can be washed with mild detergent and a soft cloth but is not dishwasher safe. I haven’t tested this out myself though.
Hi! Where can I ban the poster whit the dates please? Thanks a lot!
Yes i would love to know where i can get the calender in frame too
Hi! It’s from An Organised Life.
This is the first I’ve heard of waterslide decal paper! I want to decorate some containers for Halloween and I think this will be perfect.
This is really an amazing idea. I liked this. These designs look cool. I am definitely going to try this.
Wow! It’s so easy! The hardest part maybe wrapping the decal around the container. Thank you for sharing!!
http://piknu.me/
This is a great ideal and it is a cool at that I love the way you told me how to do it thank you so much
This is such a cute idea. I am going to have to try this when I make my next pattern
I’m trying to transform some preowned country items to more contemporary decor. I think this might just help me do that!!! I have a bunch of crocks..and ceramics… the ideas are flowing!!! Thank you so much!
Hi Amy,
You didn’t mention it specifically, but did you use the oil varnish for your jars or the water based varnish?
TYSM
_bengt
Hi Bengt! I used oil based to make the unprinted parts of the paper clear.
thank you so much fore this site.
Hi, just a question, do you have a link to the waterslide decal paper you used? I’ve used one in the past it was very expensive and not good at all.. Thanks!
Hi Sara, I linked it in the post!
This is really amazing for everyone
Hi!!! This is amazing. Mind sharing where you got the containers from?
Hi! From CB2.