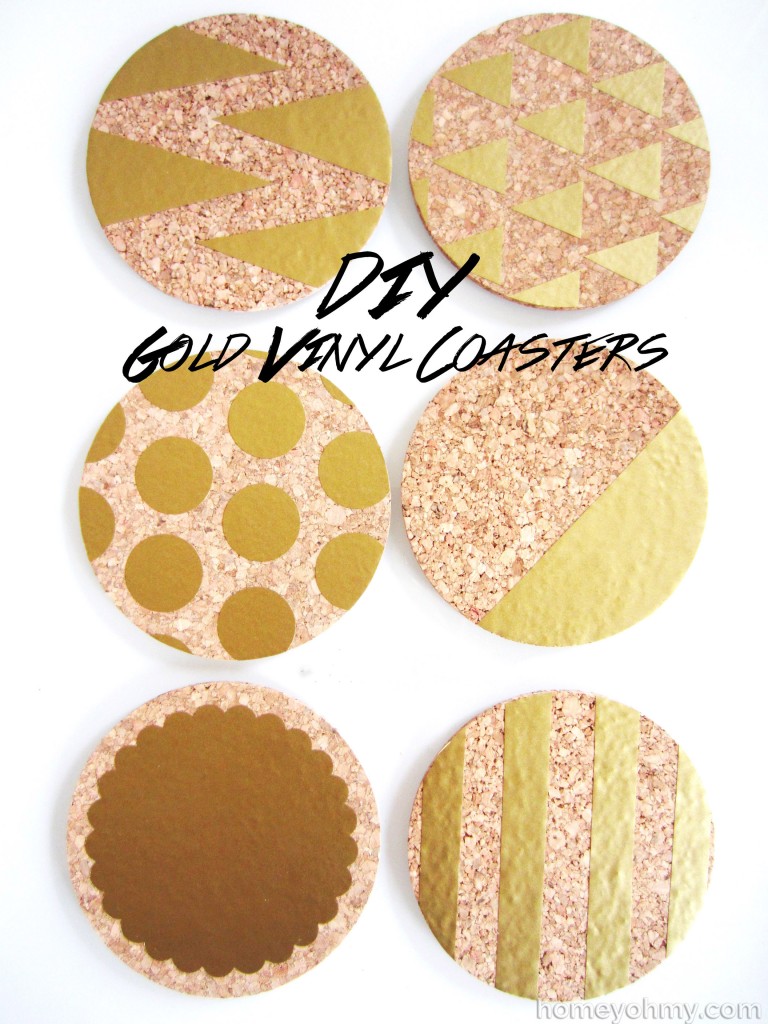
Before getting these coasters, I had a set of six that would occasionally get outnumbered by the amount of people that came over. With the holidays coming up, this dilemma is likely to occur more often, so I decided to prepare ahead of time and make sure that extra guests will have a cute and stylish coaster to place their drinks on top of. Priorities, people! ;)
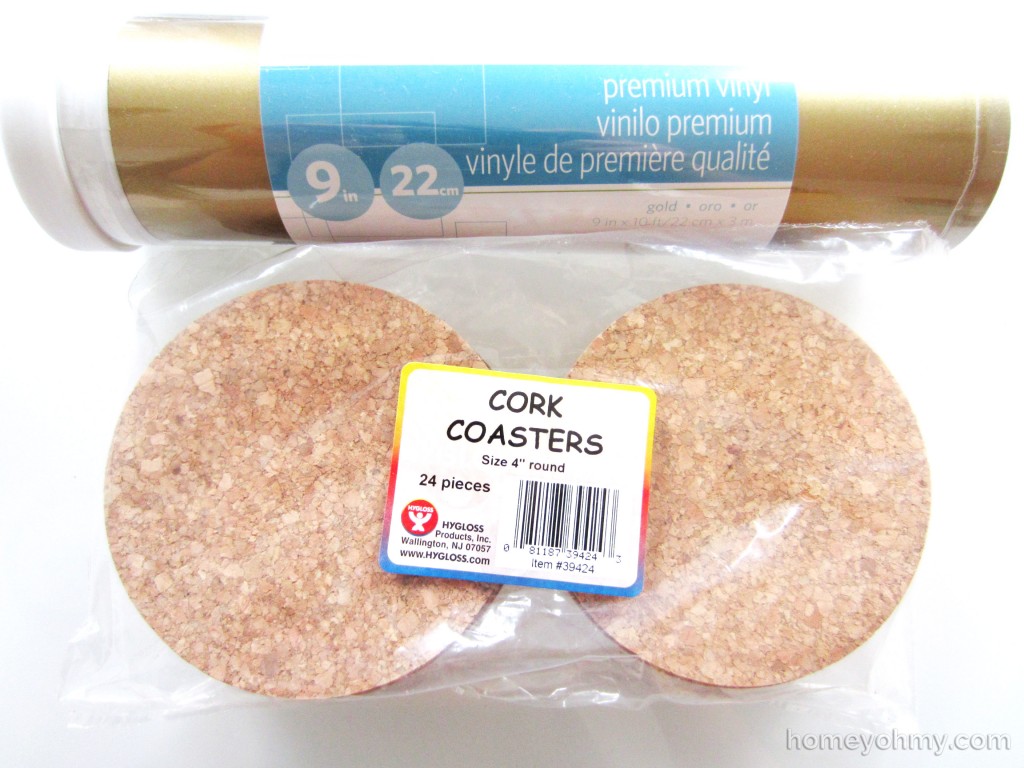
I used adhesive gold vinyl, which you can get here (affiliate link), and cork coasters that I got from here
(affiliate link). The coasters are a bit on the thin side, but it doesn’t bother me. For the price I think they’re great, and you can easily double up on the coasters by gluing them together if you want them to be thicker. As for the vinyl, if I didn’t already have it I would have just used some gold paper from the craft store and applied it with Mod Podge. You can do the exact same steps I’m about to show you but with paper and Mod Podge instead if you’d like!
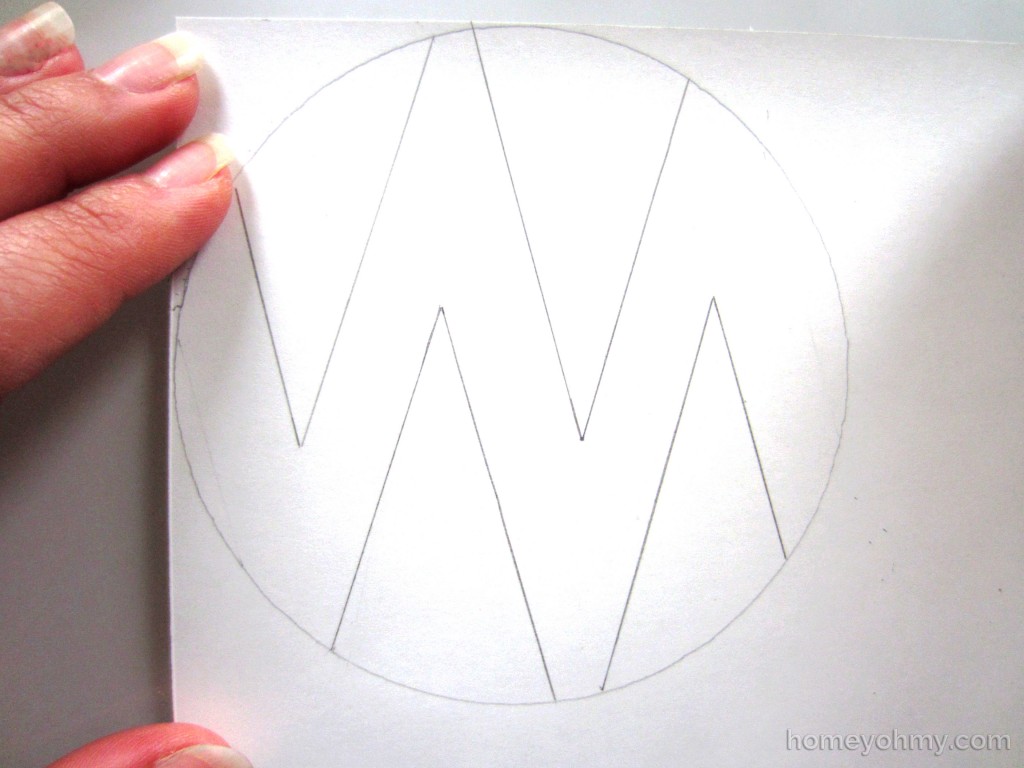
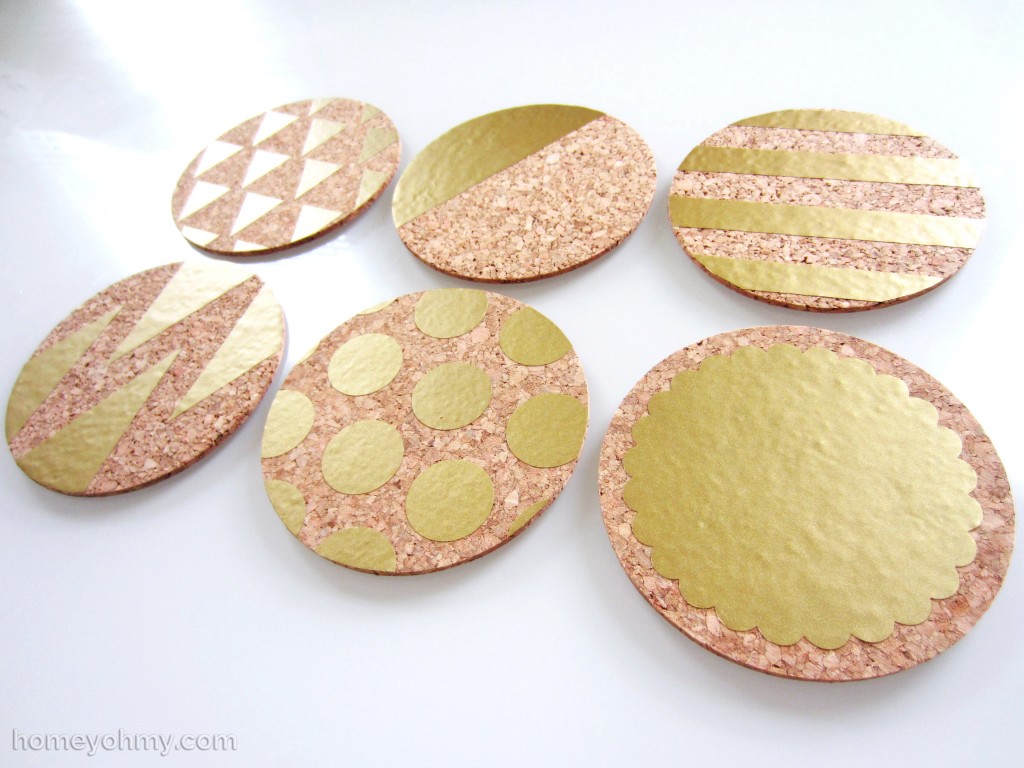
Using a pencil, I traced out one of the coasters on the backside of the adhesive vinyl and drew out my design.
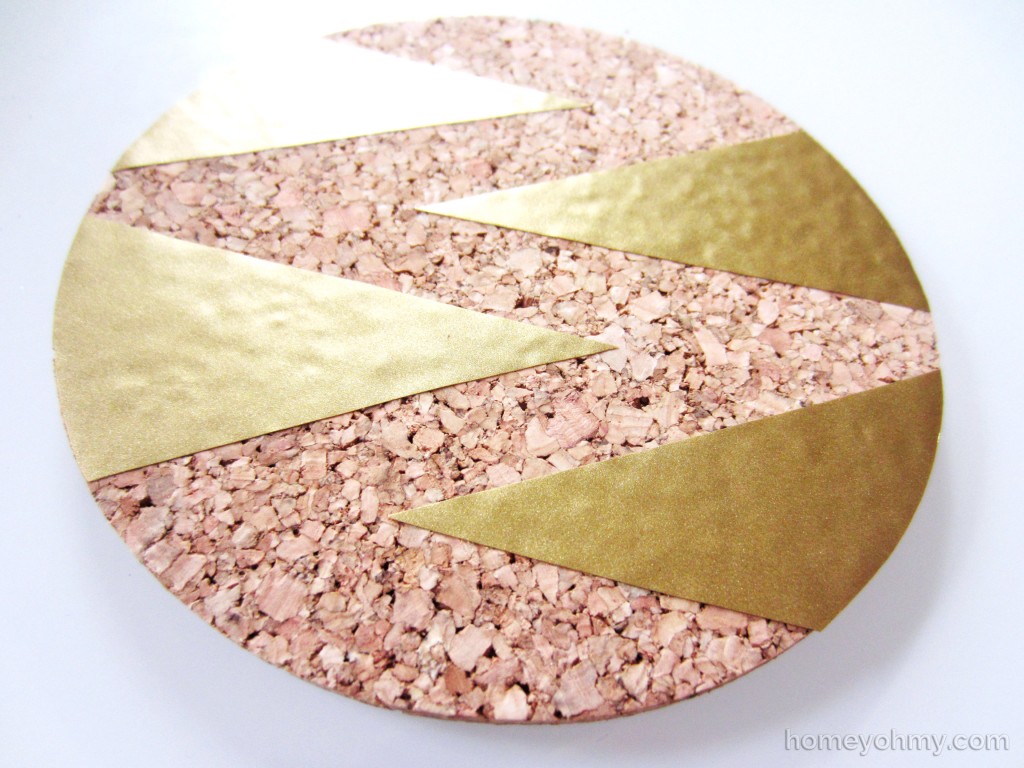
Then I cut out the pieces with scissors and applied them to the coaster.
How easy is that?? The hardest part is coming up with the designs, but that’s also the funnest part. For the final step, I applied a layer of Mod Podge on top to seal in and protect the vinyl.
I used lever punches for the polka dots and the large scalloped circle, but everything else I drew by hand, which wasn’t difficult at all since I kept the designs simple.
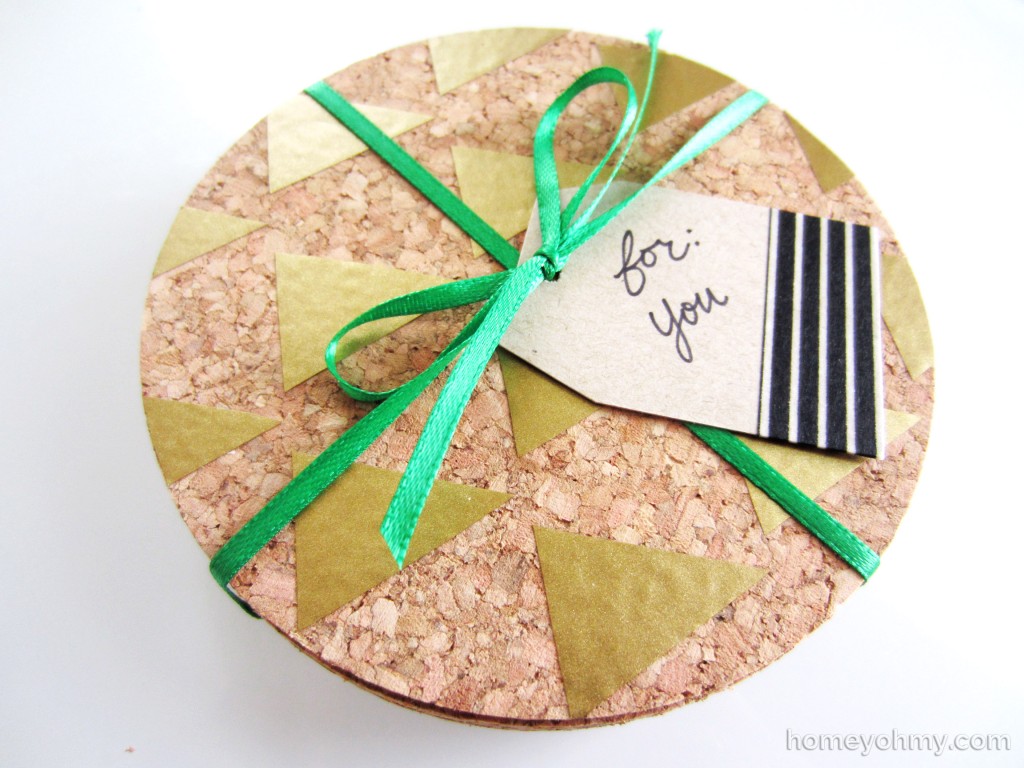
May I also mention that these would make a fantastic gift??
I tied the stack of coasters together with green ribbon and added a gift tag that I cut out from a scrap piece of cardboard. At the end of the tag I applied a piece of black and white striped Washi tape. Sometimes I wish I could keep things tied in bows all the time, as impractical as that is, but bows are just so cute.
Which coaster design is your favorite? I’m curious to know!
Like what you see? Stay connected with me:



I love the dots, but I think it is because I have been loving everything with polka dots lately! Great job. Amy!
Great idea, and a super cute and easy project! I couldn’t pick a fav, they just all work so well as a set!!
These are fabulous Amy! Thank you so much for sharing them at the Inspiration Monday party too, Pinning!! xo
I haven’t tried working with vinyl yet. Need to now! Love these, Amy. Your patterns are perfect!
I think I actually have all the stuff to make these, except I have cork trivets, not coasters. I love the DIY!
I mean, given the option of polka dots, I’ll rarely pick another favorite. But seriously love them all! I have too many coasters to begin with but am totally going to try this out for gifts. The gold makes it universally appealing :)
Love these!! So pretty and festive.
Very pretty! I like the polkadots and triangles ones!
These are great! What a fun craft… and useful, too. I am visiting from Best of the Weekend, and I’m happy to find you!!
I love these! Great hostess gift, I may need to make some of these.
Thanks for the inspiration.
Very pretty! I love the scalloped edged one : ) Would’ve never thought to use vinyl!
So pretty!! I just love these coasters. I am featuring them on Tell Me Tuesday! Have a great week!
Seriously adorable Amy!! I love cork coasters as a DIY gift- so fun!! Thanks for sharing it at Work it Wednesday this week:) Hope to see you back tomorrow!
Thank you for linking up at Craft, Create & Inspire linky party last weekend !!! Your awesome/cute project is featured this week :)
I hope you will join us again this weekend !! dont forget to grab a featured button
Claire
Reply
I didn’t know there was GOLD vinyl. This is so much fun and simple and GOLD and I love it!
How did these hold up? Have you had any issues with the vinyl peeling off after the coasters get wet?