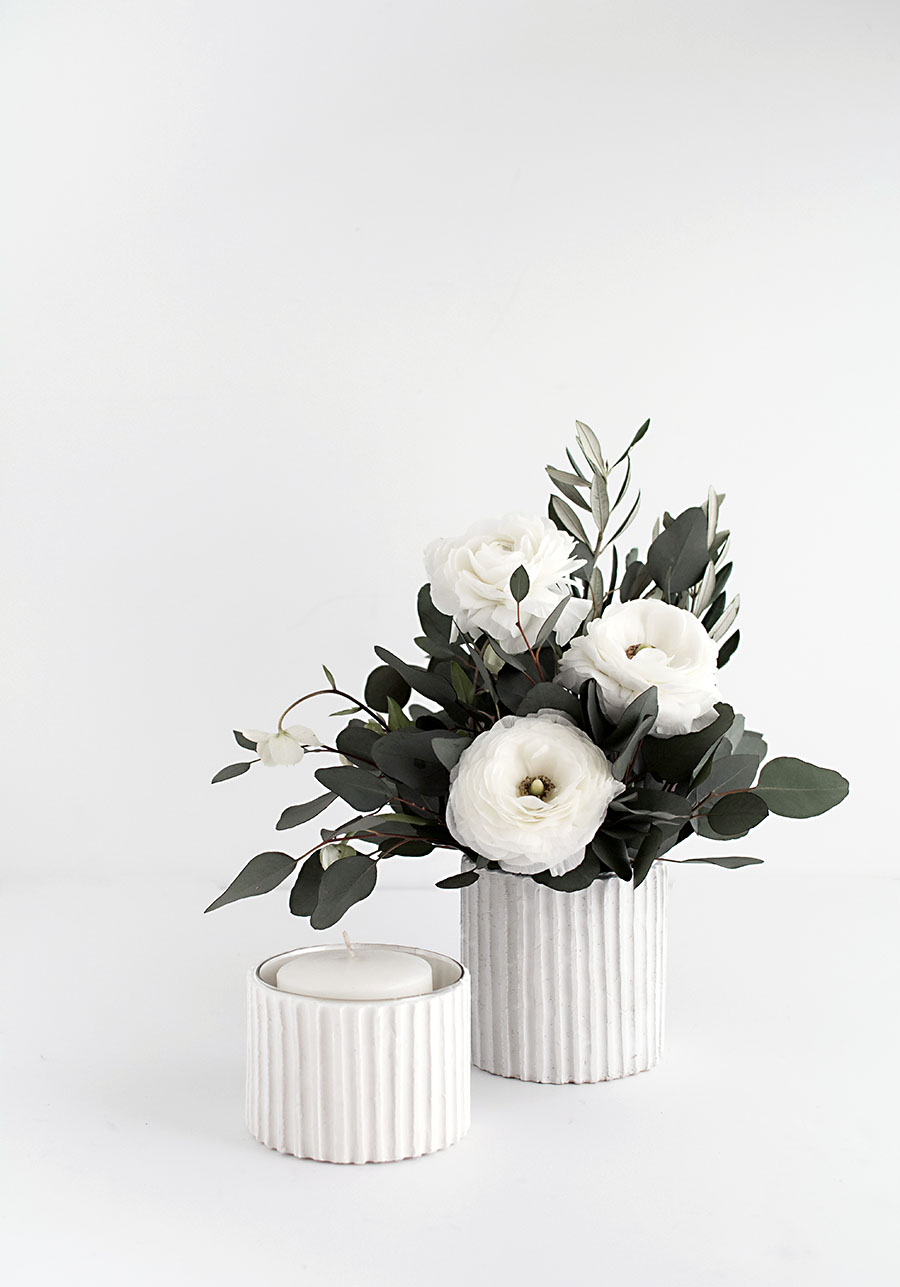
I had plans for a different DIY that ended up not turning out that cute, and through my attempt to salvage that idea I ended up here with this one. It came from wanting to cover up a vase I painted with clay, then wanting to hide the uneven texture/marks from my fingers with an intentional textural design. Yea sorry the story isn’t more exciting haha, but this kind of thing happens a lot around here. I would call it a main leg of my “creative process.” Fails always have something to give!
Materials:
–air-dry clay
-rolling pin
–parchment paper
–clay ribbon tool
-glass vase
–X-ACTO knife
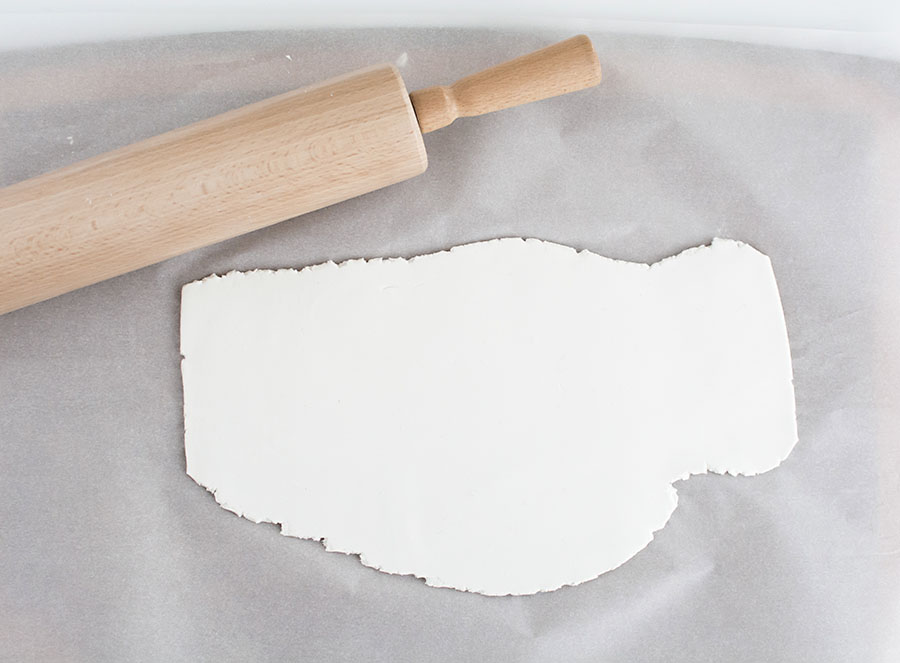
Roll out the clay long enough so that it can wrap around the glass. It doesn’t have to be pretty, but more importantly it should be as even as possible in thickness (mine was about 1cm thick, maybe a little thicker).
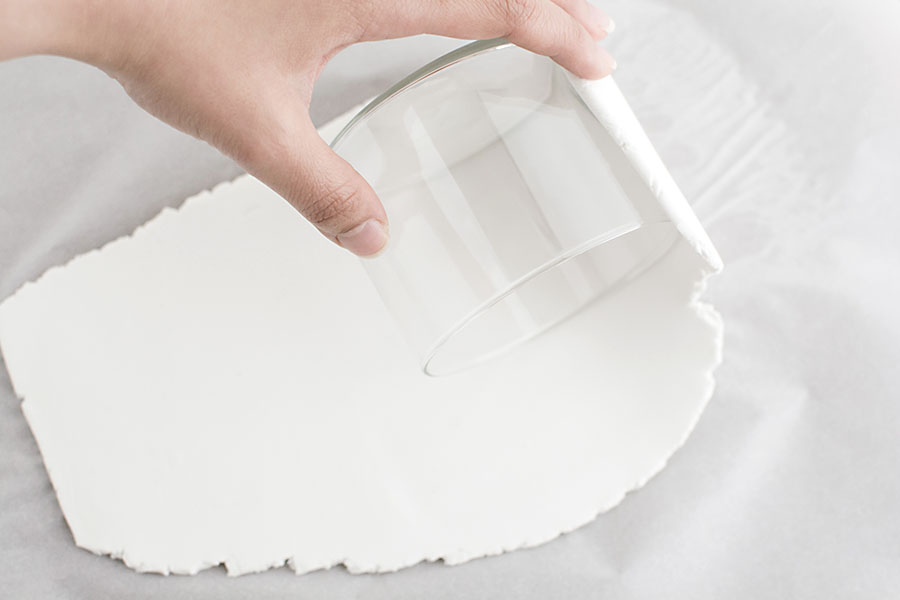
Wrap the clay around the vase and bind the clay where it overlaps after cutting off the excess length.
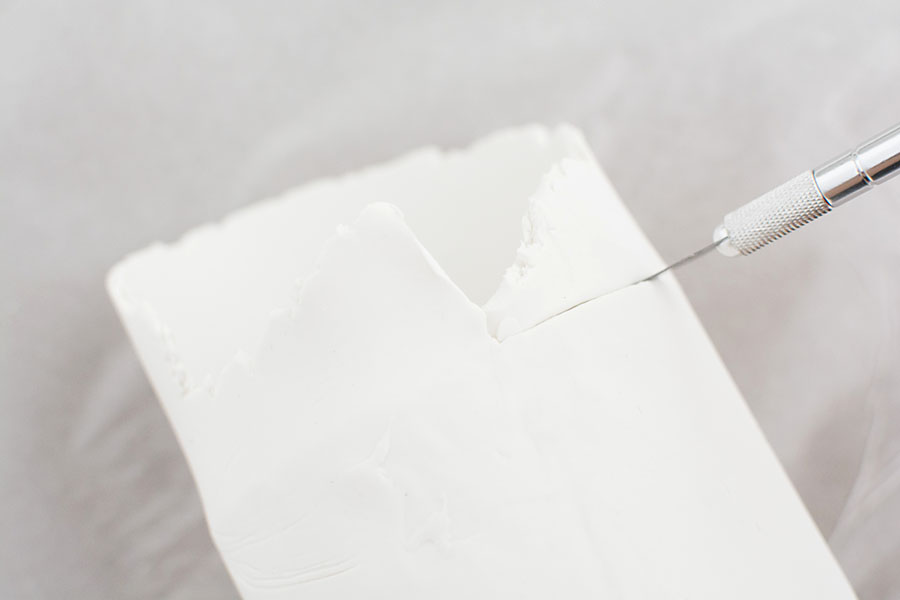
Use an X-ACTO knife to cut of excess clay around the bottom and top edges of the glass.
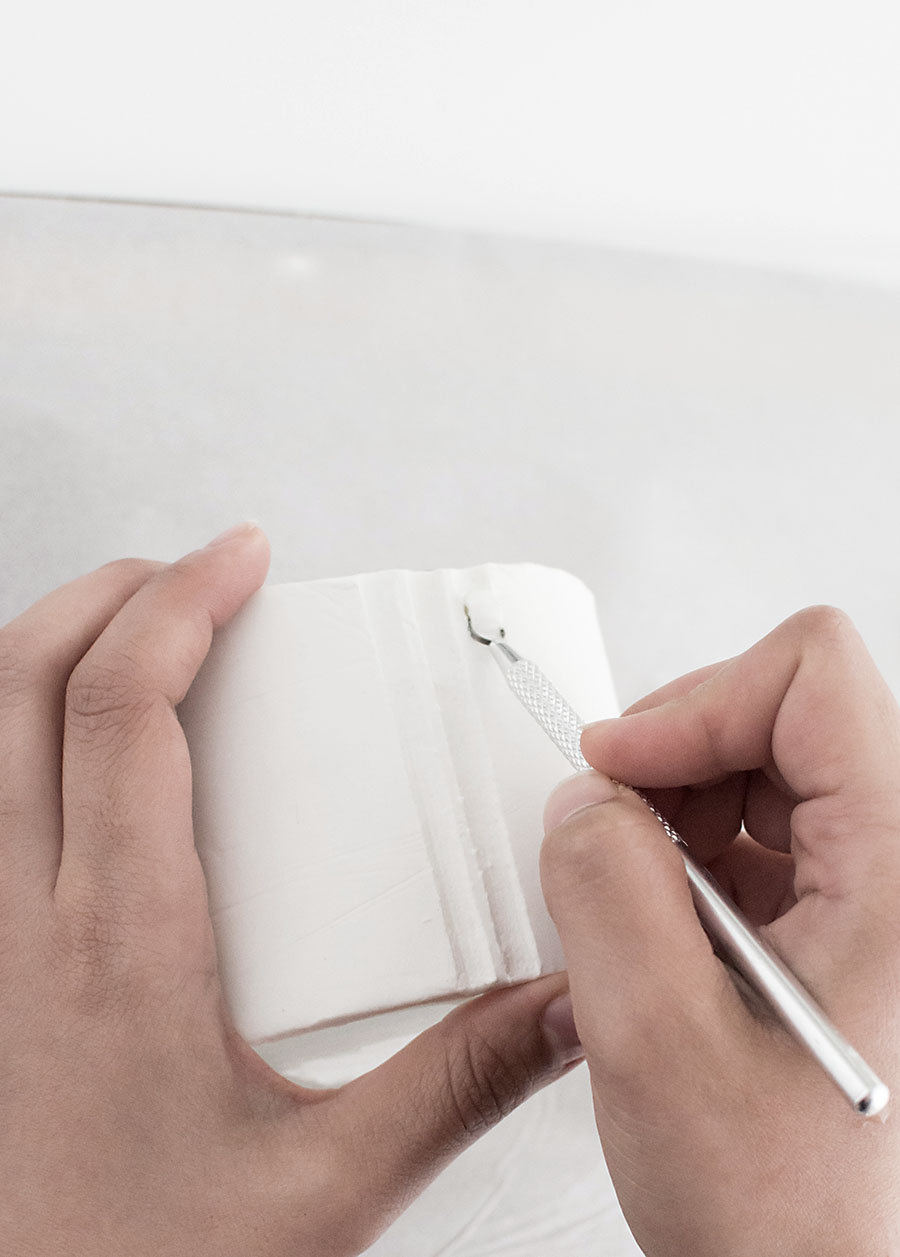
This is the fun and therapeutic part. Use the clay ribbon tool to cut lines down the side of the vase. It takes some practice to cut steady and at a consistent depth.
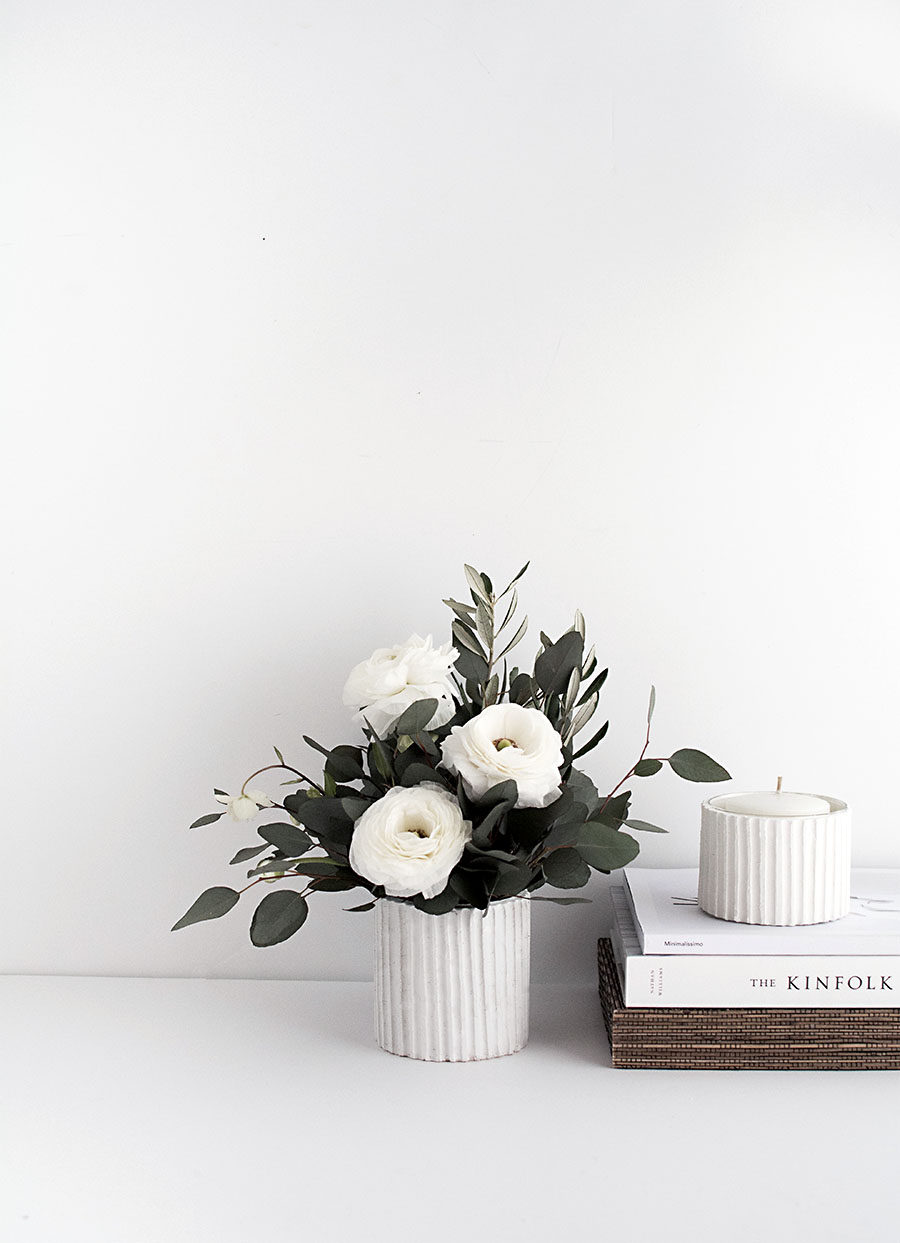
Air dry that. 24 hours. I used air dry clay knowing that it’s usually softer in texture and thinking that would make it easier to work with, but I found myself wishing it had less give when I was using the ribbon tool. I’d give oven-bake clay a go next time to see if the ribboning part goes more smoothly.
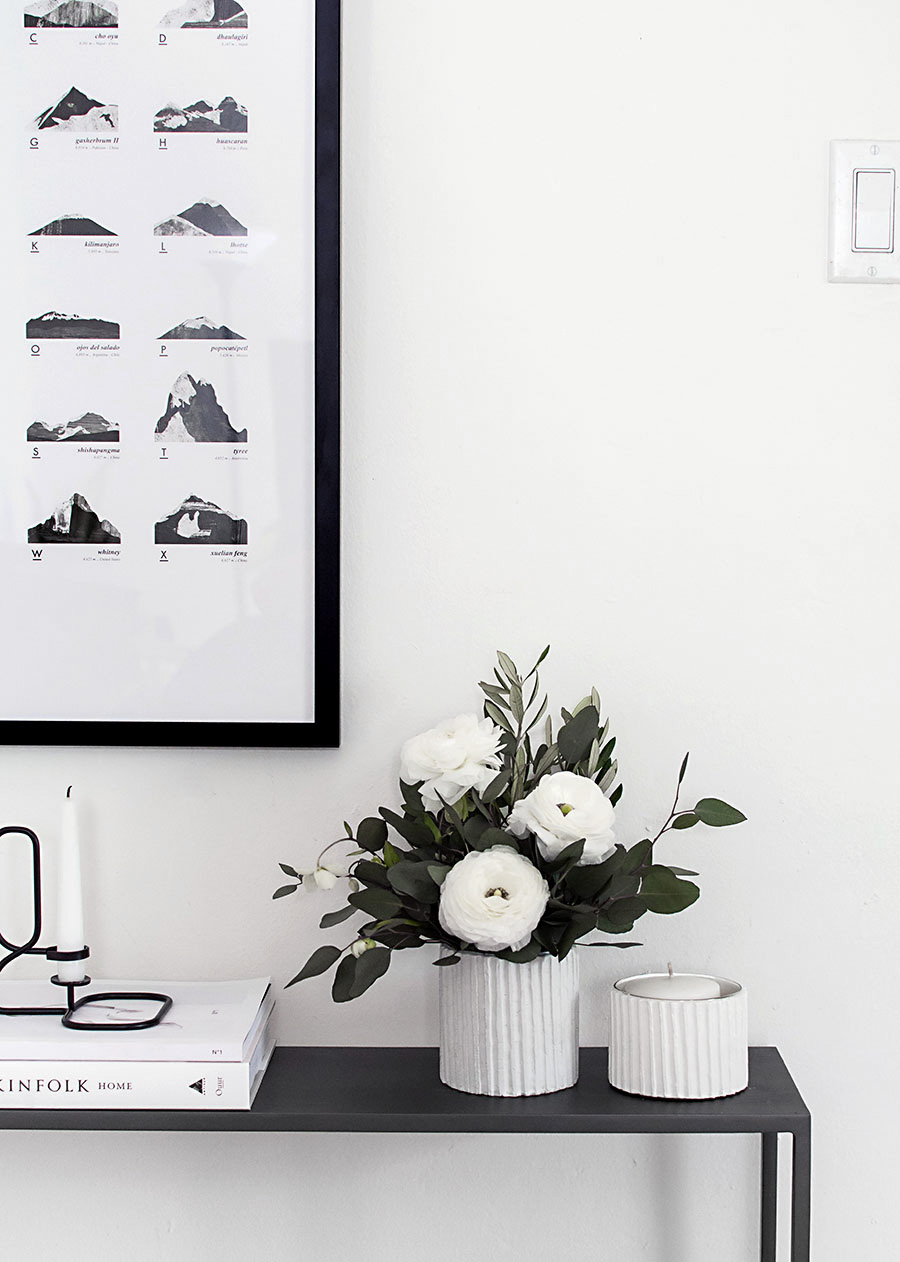
Also next time I’d be curious to try cutting different patterns, even something as simple as cutting diagonally (the idea came to me as I realized yet again that cutting straight is not the easiest thing to do.)
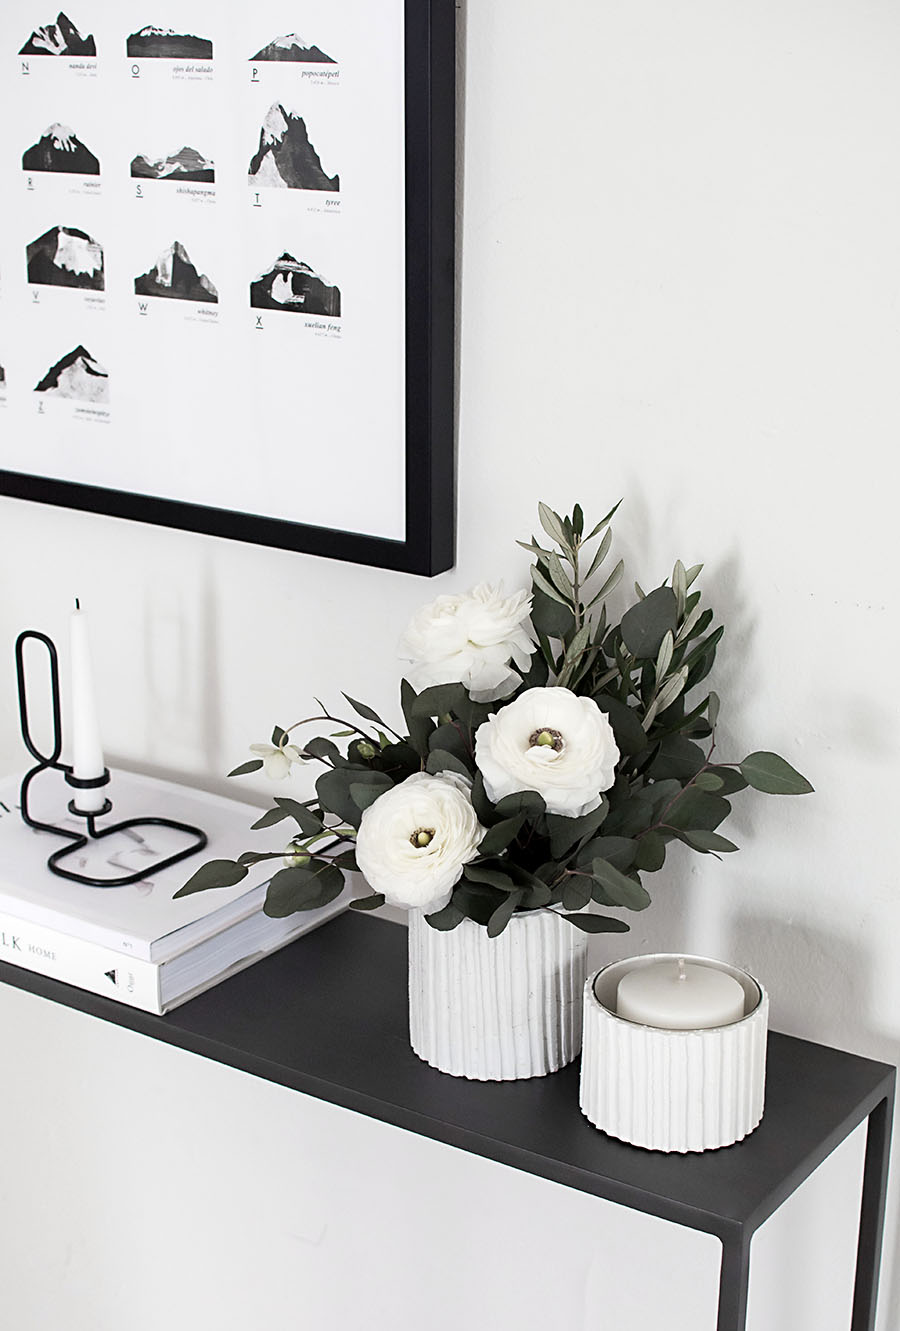
This definitely goes for the look of handmade ceramics which is easily a very favorite thing of mine. Knowing that can be a pricey genre of goods, I for sure consider a DIY for this as a worthwhile option to take!

This is brilliant + you’re making it looks so easy :D
Thanks Corina!! And it IS easy!
I love this and am totally going to have to make it! Thanks for sharing.
http://www.sophschoices.co.uk
Sophie
Thank you, Sophie! Let me know how it goes!
Oh so happy to have found your blog! This one is going in the to-do-list! But first going to share this with our Luvly Market community! :D
Thanks so much, Yamini! And welcome!!
Hi Amy,
wow, what a great idea! I´m totally in love with this DIY textured Vase *-*
Thanks for sharing – it just made it to my To-Do-List :)
Have a nice week,
Rosy ♥
Making it on to a to-do list is a high honor, for real <3 Thanks Rosy!
Brilliant! Oh my god girl, why do ceramics when I can just do this? Need to get my hand on one of those clay cutters. xo
I think you’ll love a clay cutter… the feeling is addicting!
These look really classy & expensive…but they are actually very affordable & look relatively easy to make. You could make loads of variations on the ones you’ve shown here, great tutorial!
Would you consider adding it to my new ‘crafting is my therapy’ blog linky?http://www.meyouandmagoo.co.uk/2016/03/crafting-is-my-therapy-2.html thank you! #craftingismytherapy
So cute! I have to say, what caught me the most was how awesome your photos are. I am experimenting with a new camera so maybe it is just on my brain today, but your photos along with your projects always look really, really good. Keep up the good work!
Thank you! I put a ton of work into the photos and it’s so nice to hear about anyone enjoying them :).
These are great! I love how they’re very simple, but stylish and unique! Have to give it a try!
Sara
http://saradiventi.blogspot.com
Thanks, Sara! All about simple style, and glad you’re loving it!
They look great – love it!
Thanks, Manda!
awesome!!! great site with lots of super DIYs ; ))
Thank you so much, Vicki!
These are gorgeous!!! And I love the story of how you came up with them… I can totally relate.
Hahaha yes girl, a boring story but happens often! Thanks Rachel <3
The texture is perfect for the vases.I hope you do other designs and share those as well. Is the glass removable? Could you remove it and let the clay dry without it?
Hi Mia! I don’t think the glass is not removable, especially while the clay is still “wet” since that kind of maneuvering is bound to ruin the design. I generally would advise against removing the glass since it’s providing a lot of structural support, but it’s worth a try if you really want that!
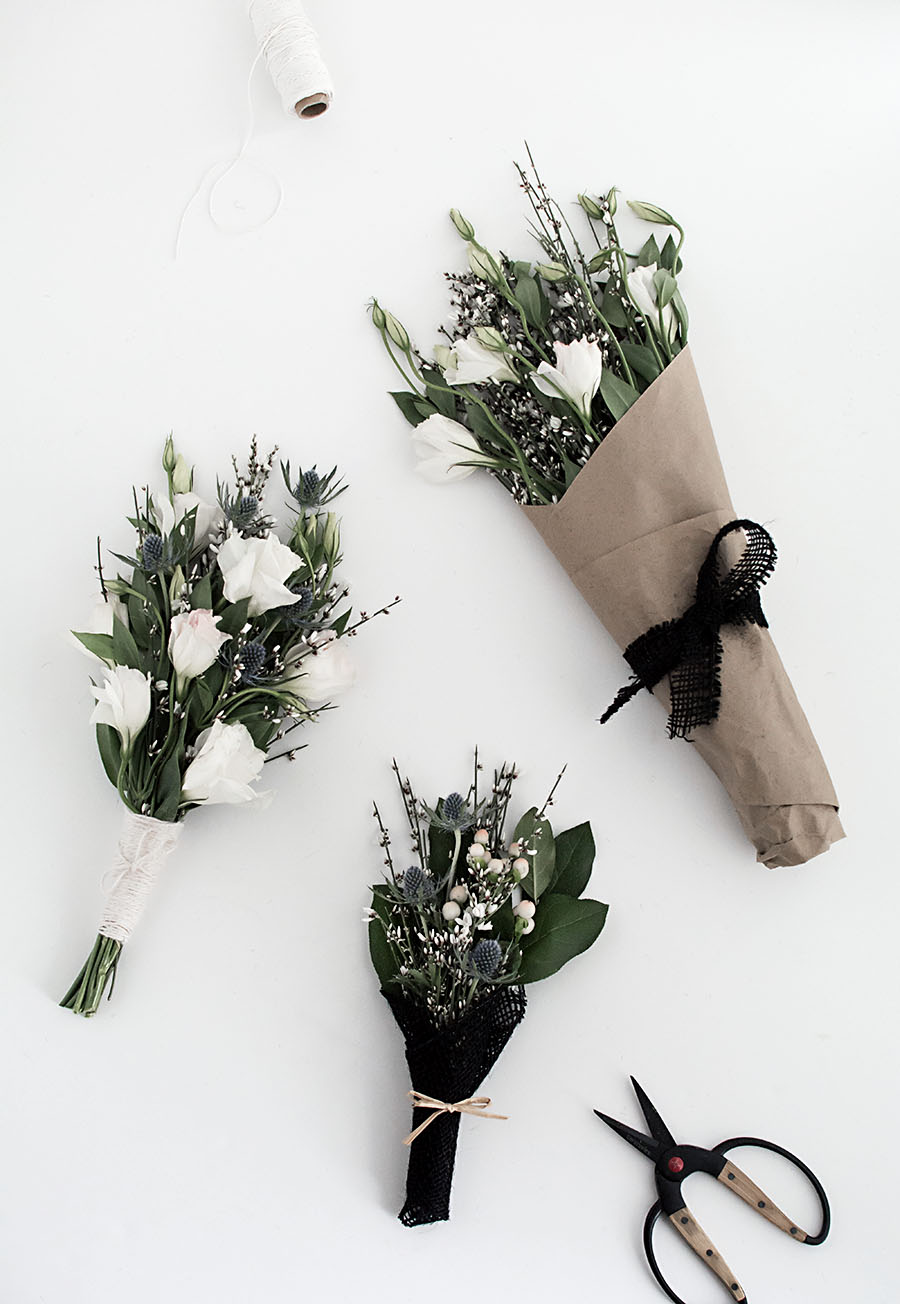
These are just gorgeous, Amy! And the flowers too!
Thanks, Alexis! I was most excited about the flowers :)
LOVE this! I actually have a glass vase from Goodwill that I painted, but after a run through the dishwasher, it all peeled off. I was about to give up and toss it, but I think this DIY has saved it from the trash!
I LOVE that this might save your vase. That is what this is all about <3. Thanks Stacy!
amy, i absolutely love this! it’s gorgeous! i pulled out some clay the other day to make a necklace and hated it…. so now I have something else to try and make!!
This is lovely! Thank You for that idea.
That looks just beautiful…
Greetings
Silke
cool project, and perfect timing for spring flowers. but i have to ask…where did you get that amazing mountains print!?
Thanks, Carolyn! The print is by Coco Lapine, you can find it here: http://cocolapine.bigcartel.com/product/mountain-abc
Such a beautiful DIY! Really really amazing! May I ask you, which Filter or brightness you use for your instagram pictures? Would be nice:)
Thanks for sharing this! It looks like a really simple way to add better detail to a plain glass vase. Not only that, but you get to make it your own as well, so it won’t necessarily look like someone else’s.