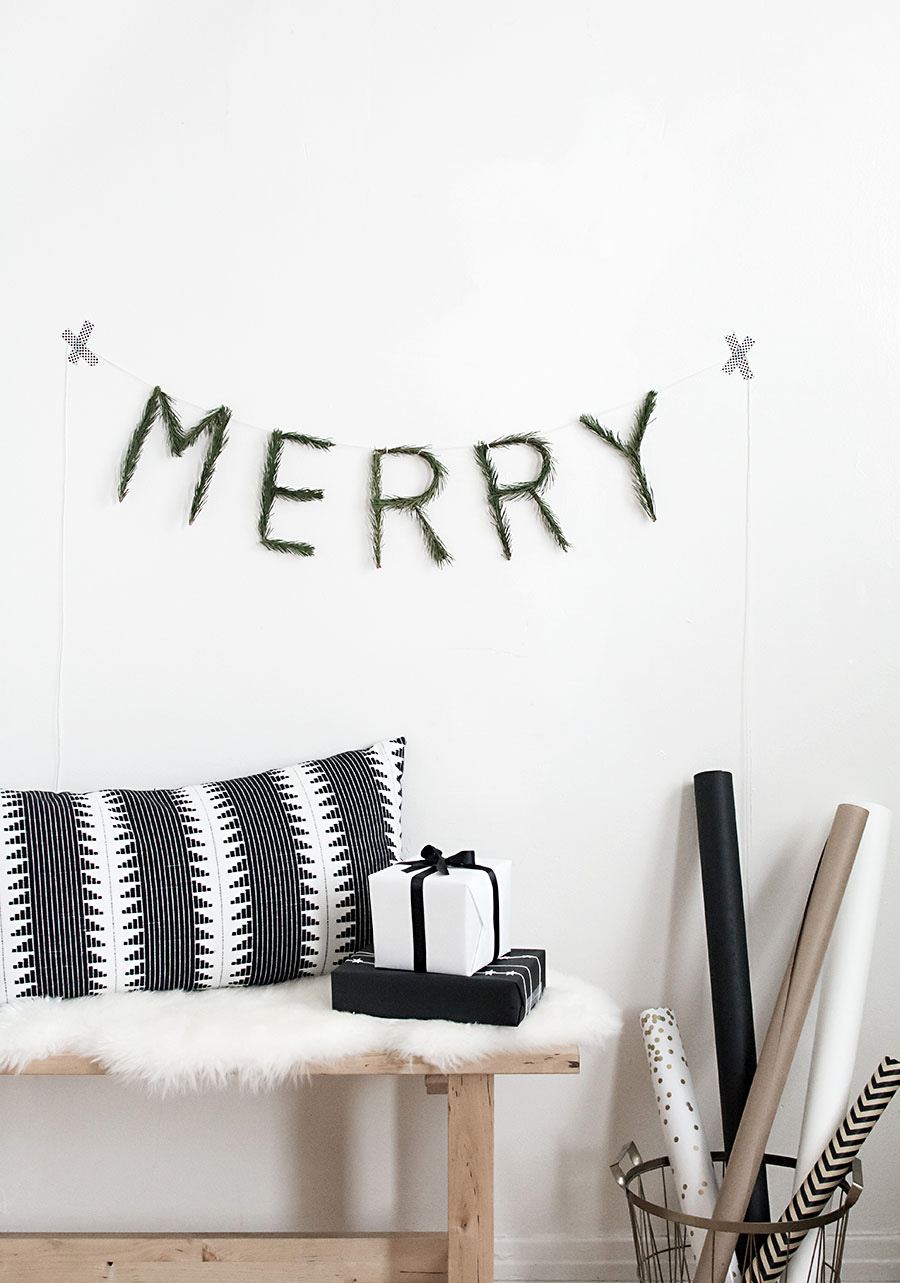
Guys, I like garlands a lot. Greenery garlands in particular seem to be the thing I can’t get sick of this season, so I’ve got one more very simple one to share with you for your holiday merriment. The plus with all this garland making is that I had most all of the supplies on hand already (few things feel better than using up supplies) but even if this is your first time making one, the materials list is not at all extensive and you should try this, ok?
Materials:
–vine wrapped wire
–floral wire
-greens (I used Australian pine)
-wire cutters
-string
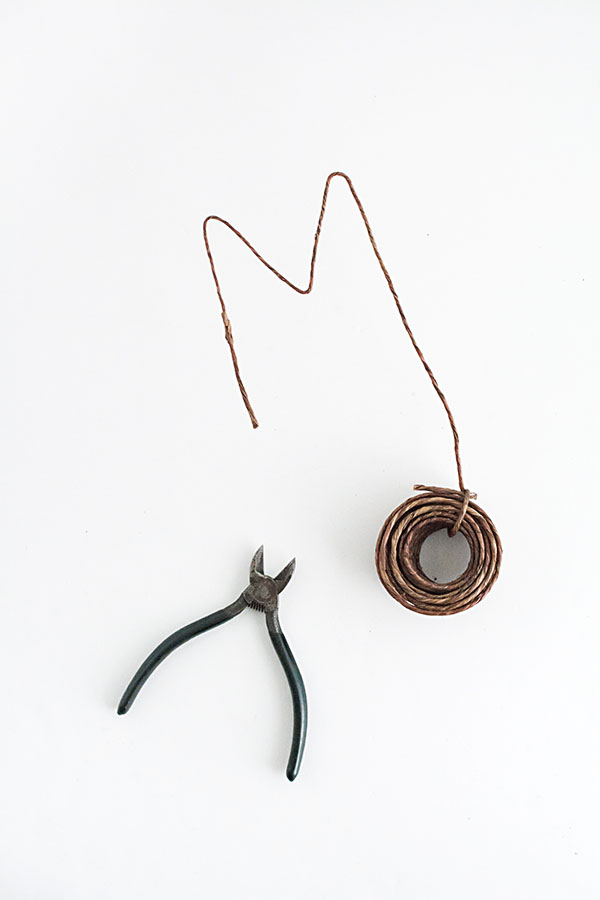 Bend the wire into letters and cut, referencing the previous letter to make sure they’re all about the same size and height. My letters are about 6.5 inches in height.
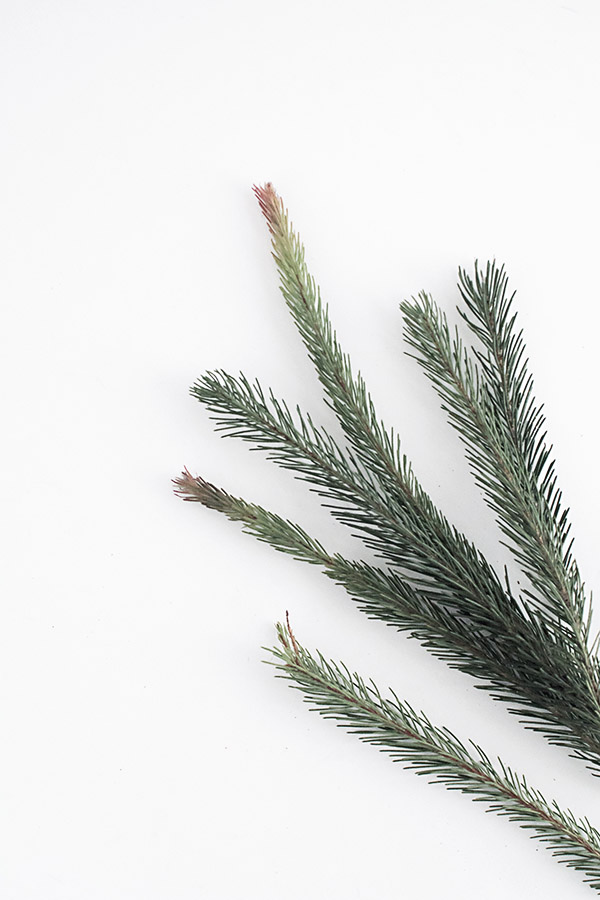 I get asked a lot where I source florals from, and 99% of the time it’s Whole Foods. I don’t even regularly shop there for food, but I will frequently browse their florals for inspiration because they do an excellent job of stocking all the good seasonal stuff. That’s how I found this Australian pine. Initially I thought it would be cool to utilize that ombre thing happening at some of the tips but there weren’t enough of them in my bunch, so I ditched that idea and only used the all green ones.
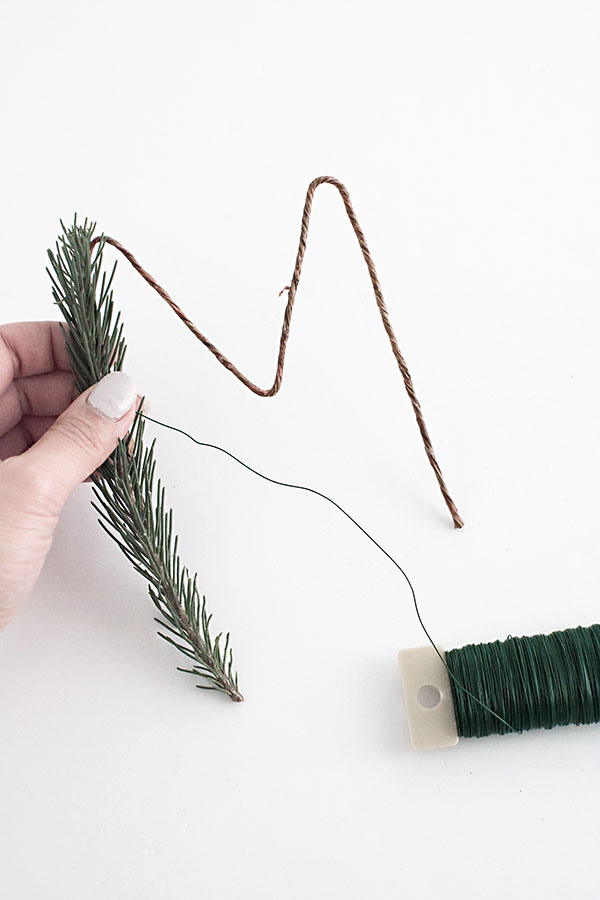 Wrap pieces of the pine around the wire letters using the floral wire. Overlap the pieces at the corners as best as possible.
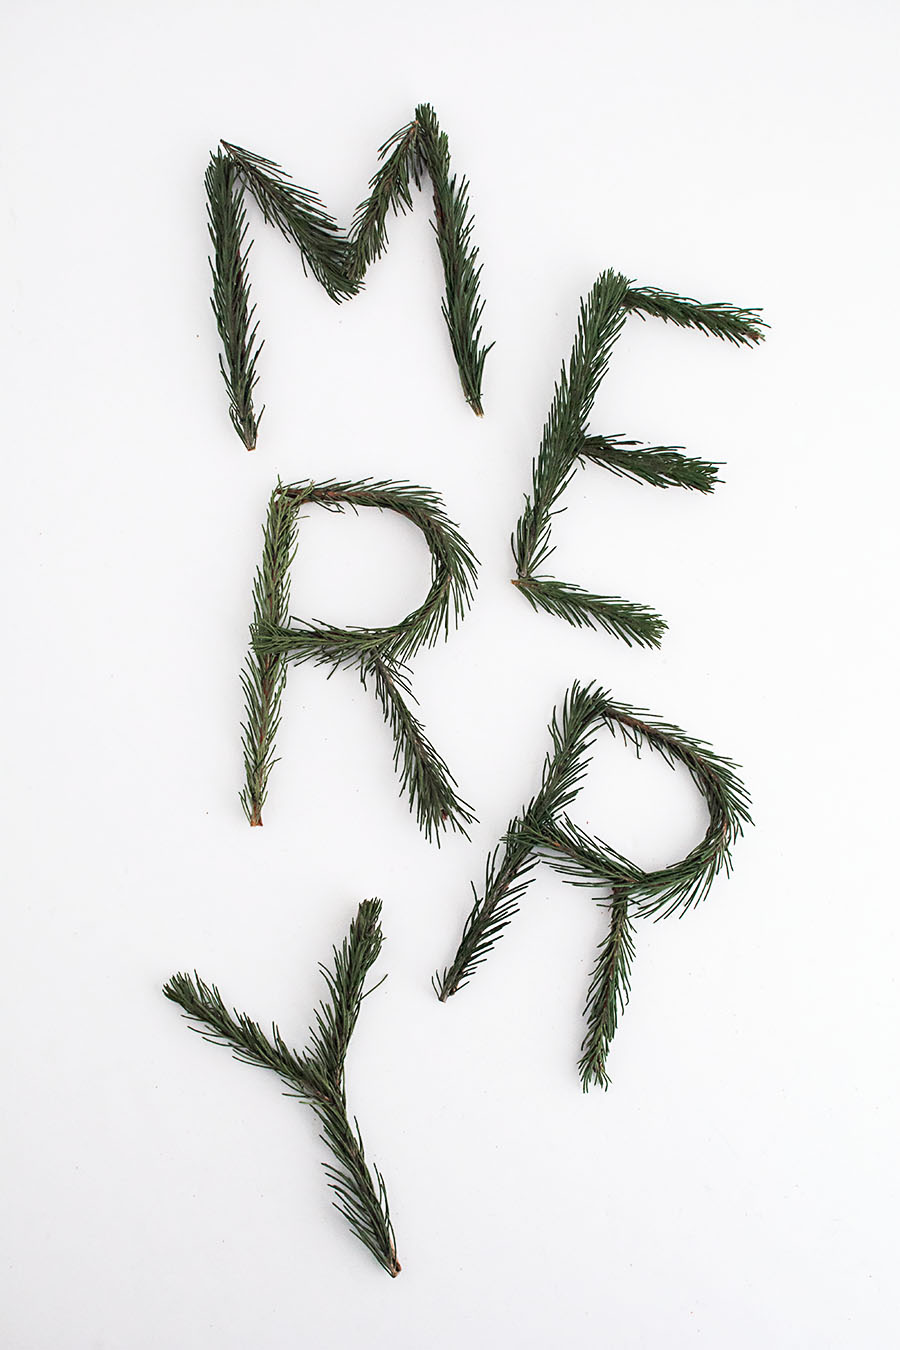
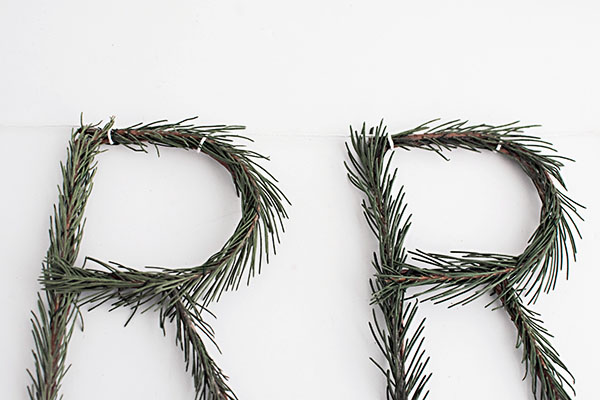
Tie the letters to the string, making sure each letter has two attachment points at the top or else they’ll hang funny.
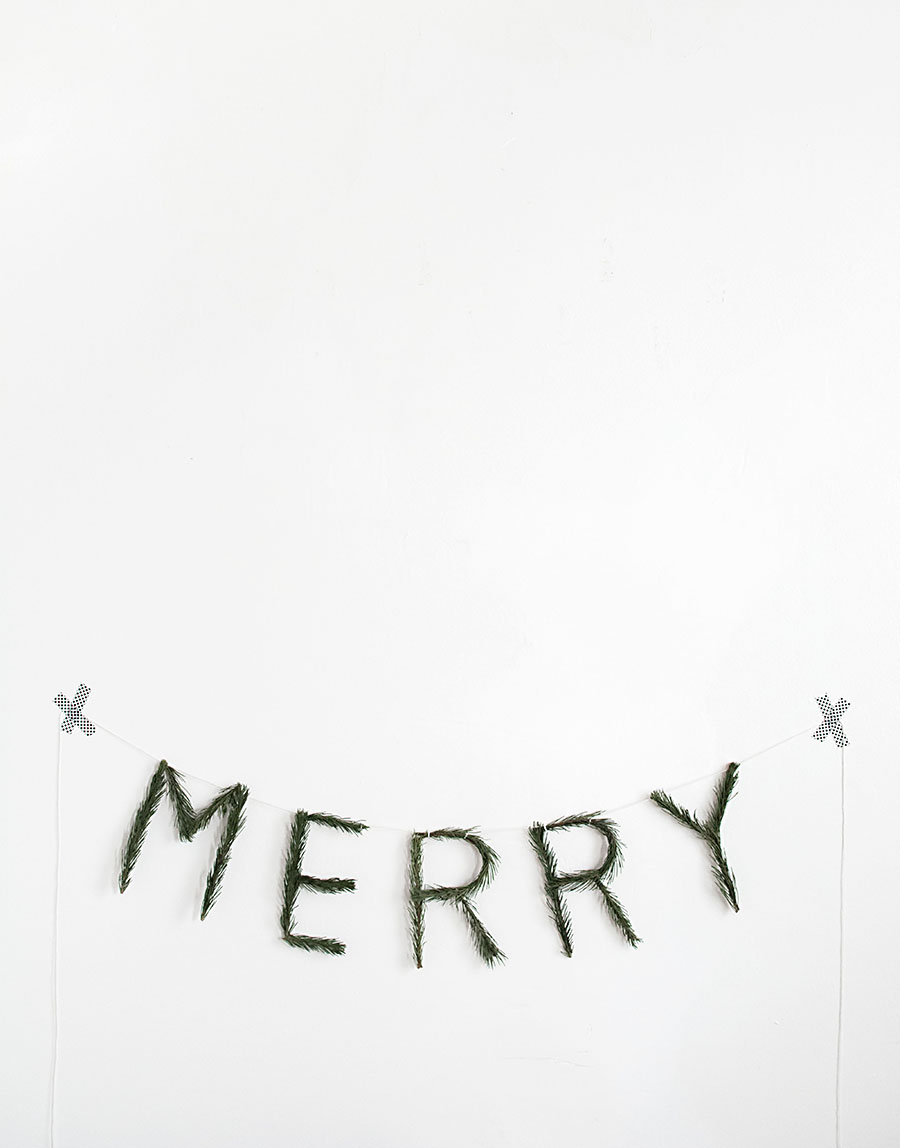
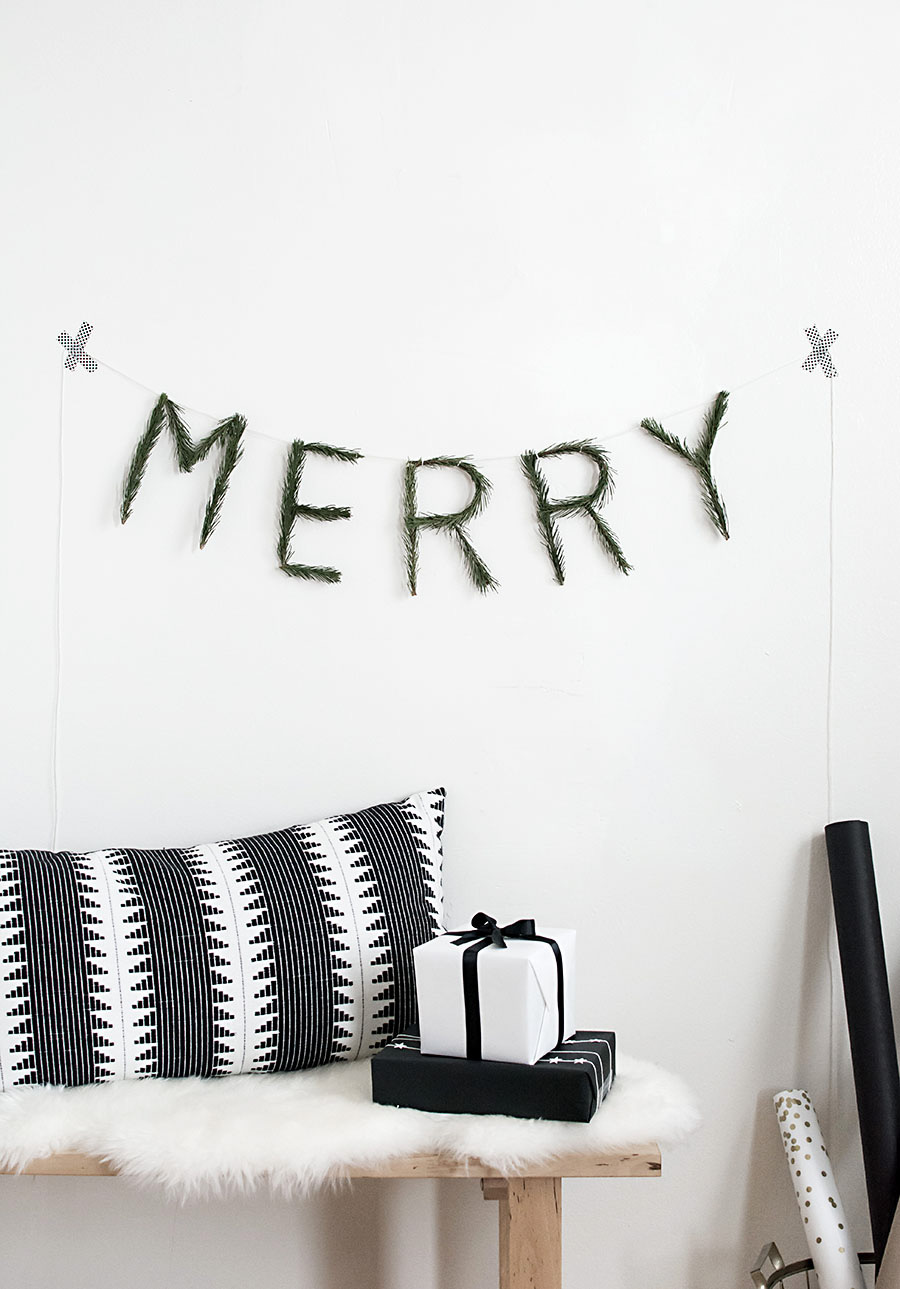
I contemplated hanging other things off the string, but simplicity tends to always win that decision for me. Still, I think combining this with something like a pom pom or star garland would look very cute, and even adding those things on to the ends of this garland would work well, too!


So cute and easy! Perfect little garland for my Christmas party this year!
Ah yay! Makes me wish I was throwing one! Thanks, Andrea.
You have so many cute and fun holiday themed decorations. It’s so awesome! Thanks for sharing all of it.
http://tealattewithstyle.com/
Very happy you’re enjoying them, Emma! Thank you!
What a fun project and a lovely tutorial! Thank you!
~Rachel
covetedhome.com
Thank you so much, Rachel!
I love how elegant yet simple this garland is! What a fun idea and such infinite possibilities with the phrases!
Definitely. I thought about adding “Joy”! Thanks, Amy <3
Great idea! Now that I live in a forest, (instead of nyc) I have tons of pines and cones and firs and even overgrown boxwood, so I’m very happy to have found your blog. The one thing i do with garlands is to put a few very small red glass balls on them, which I may do with this one, I’ll see. Thanks! and a glorious holiday to you.
Ahhh that’s so cool. No way I’d be finding that stuff outside around where I live- you’re so lucky!
Thank you and wishing you a wonderful holiday as well!
SO cute!! I want to try this with everything now!
Is that regular washi tape holding up the garland? How strong is that stuff? Thanks!
Yes, it’s regular Washi tape. It’s not terribly strong but the garland is fairly light so it worked out fine!
Adorable! So simple and fres, but with such an impressing effect! Well done
I love this, thanks for sharing! How long does this last before they start dying/ dropping needles?
Hi! They start drying out maybe in 3 days but I don’t recall the needles dropping that quickly from this specific pine I used. I kept it hanging up for a while and just let it get dry and crispy.