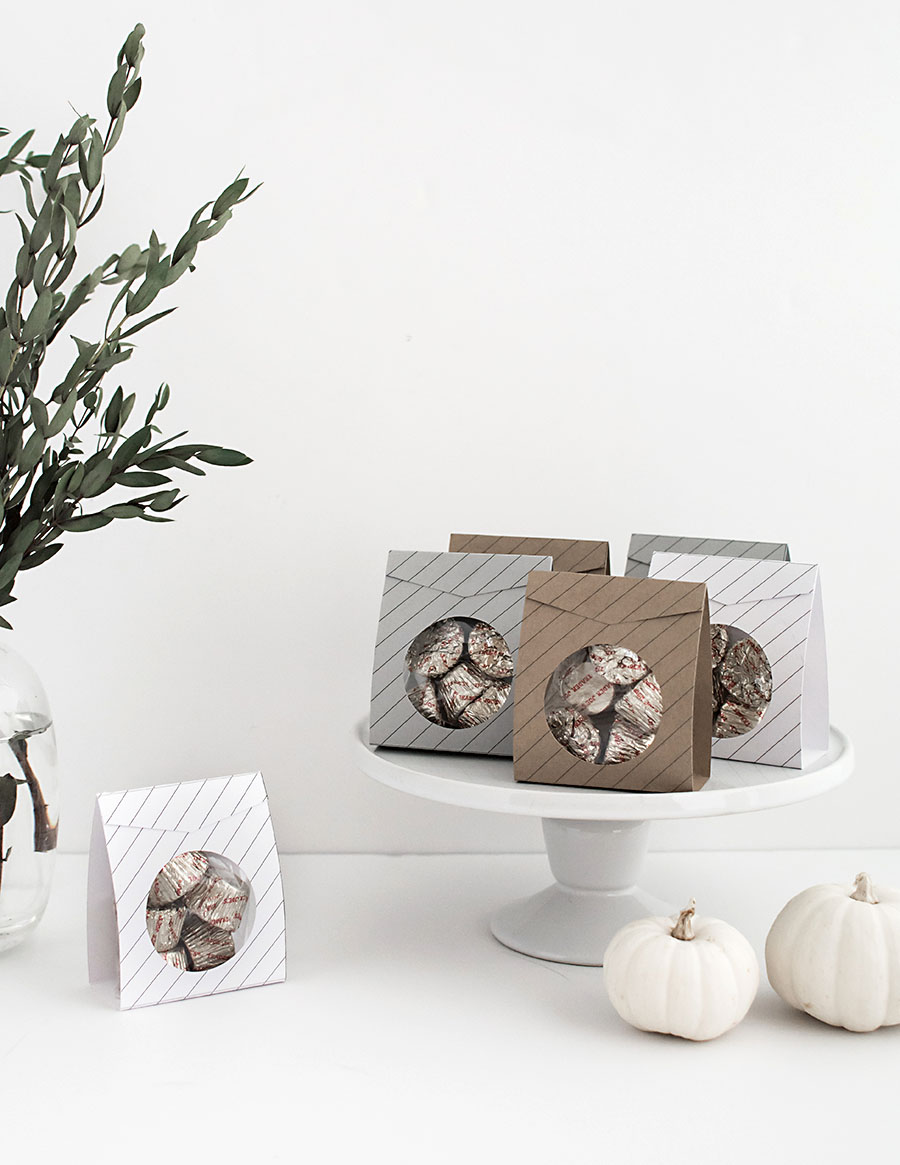
I was at a candy shop where I found packaged goodies like these and thought they were adorable EXCEPT that what was inside is one of my least favorite candies of all time. I’m just going to say it: candy corn is awful and I don’t understand it. I went ahead and got it anyway though so I could pick apart the packaging and recreate my own version that would involve a much better candy: dark chocolate peanut butter cups from Trader Joe’s, anyone?? Let me know if you’d still prefer candy corn and why- I really do want to understand why it’s so loved!
These are super cute and easy to put together for Halloween, especially for those of us who can’t handle the scarier traditions of this holiday (everything scares me) and I’ve partnered with Canon to share this free printable that can really be used for any occasion where you want to hand out treats as favors!
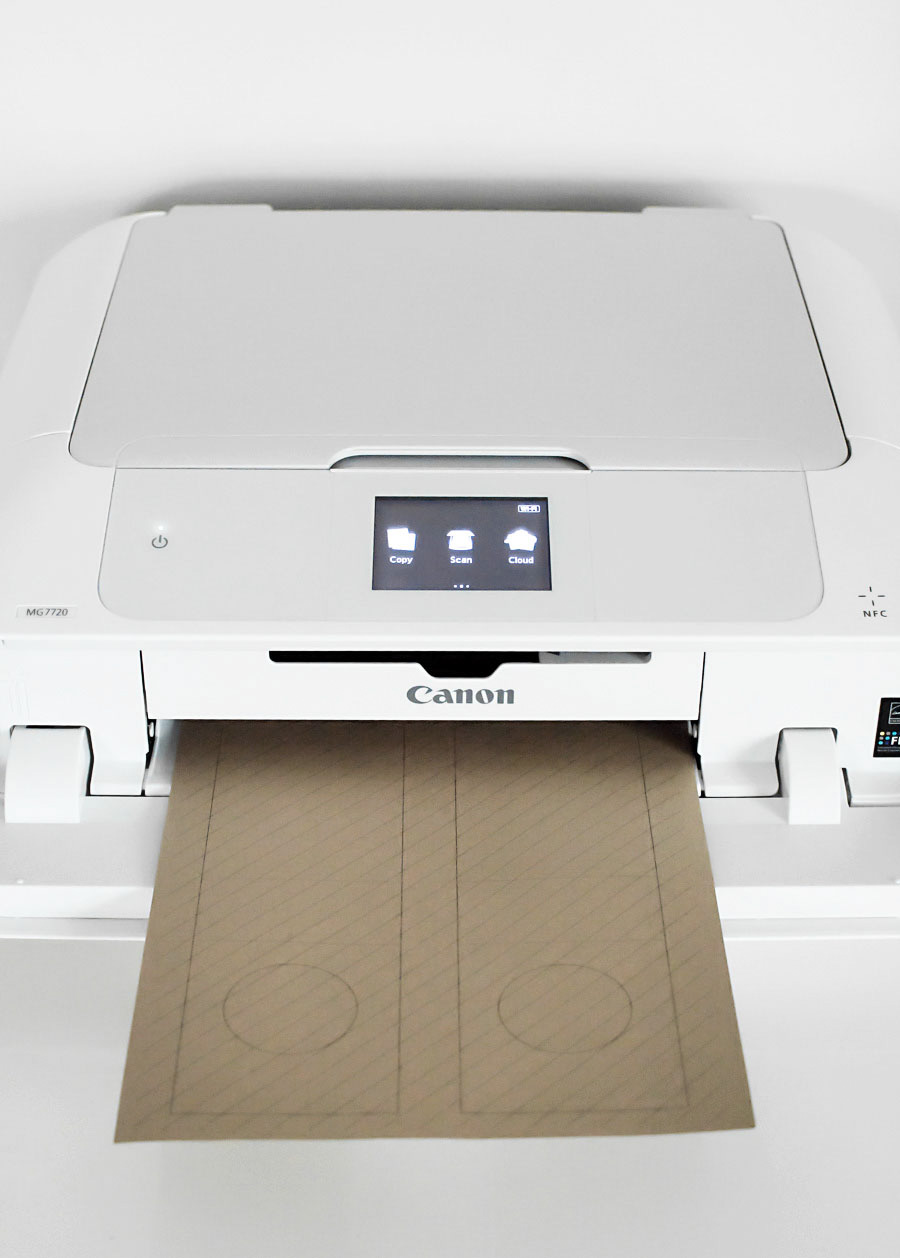
I used my PIXMA MG7720 Wireless All-In-One Printer to print the box template (link for download at the end of this post) onto 8.5×11″ card stock. I went with white, kraft, and gray card stock but you can use any colors you want. I highly encourage you to mix it up and use different things- the MG7720 can handle it!
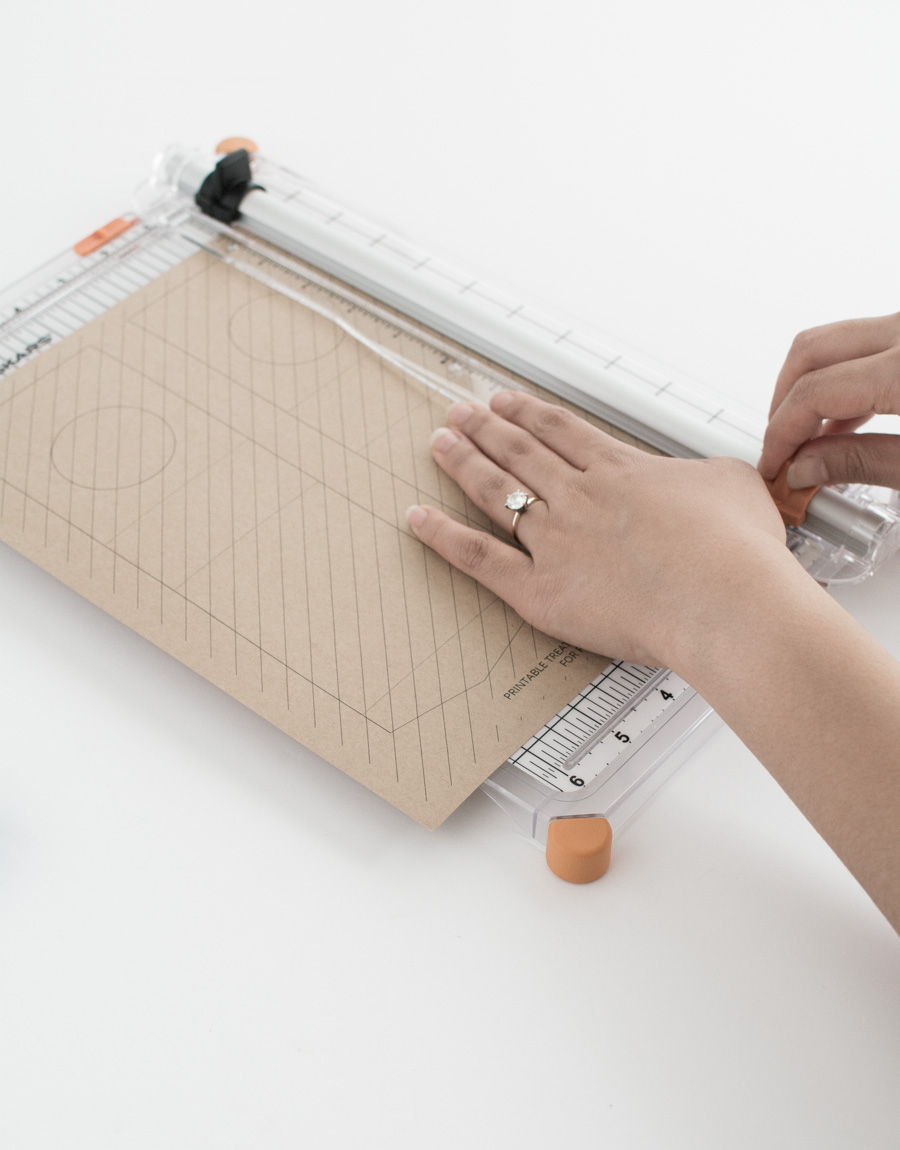
Next, cut out the templates from the cardstock. I used a paper trimmer and it is nothing short of life changing, though scissors are absolutely sufficient for this part.
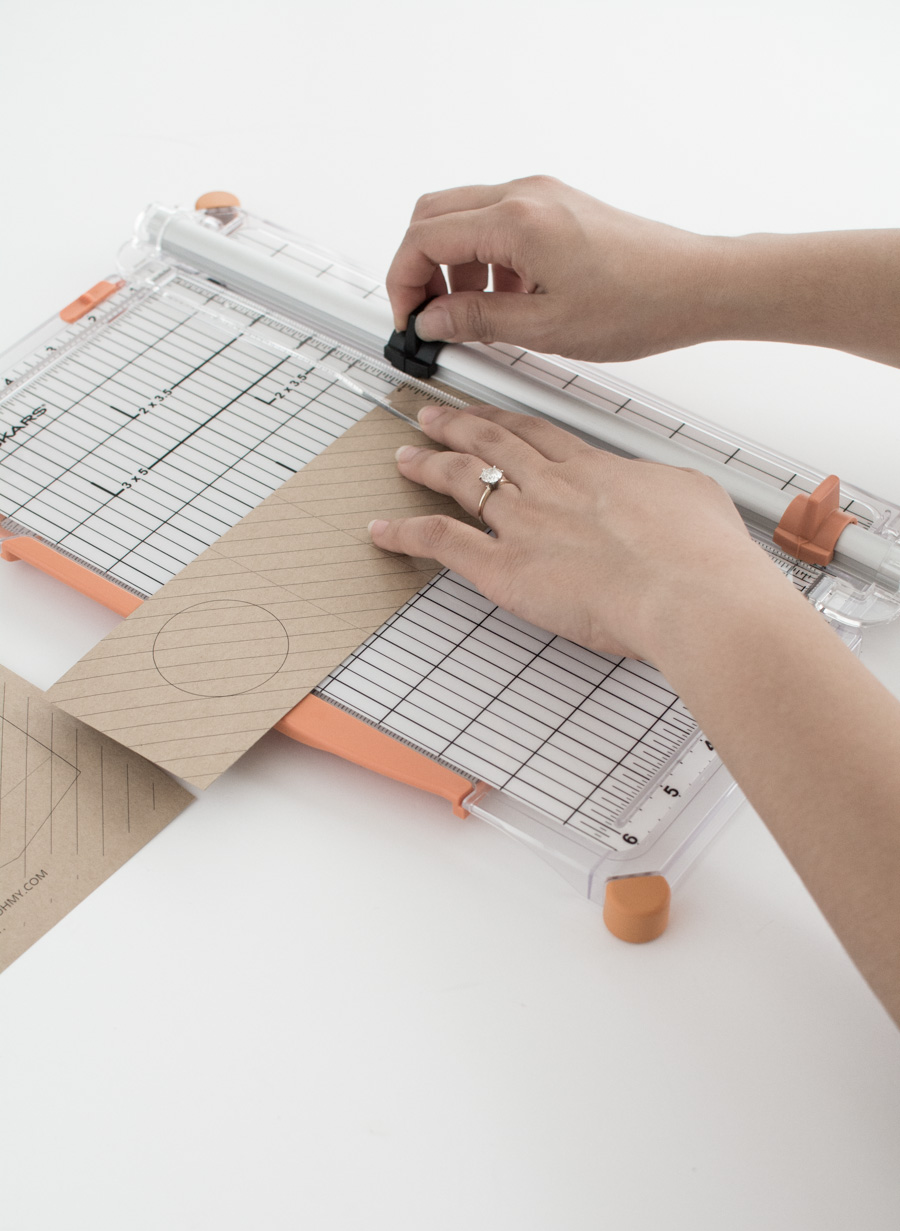
On the template are lighter, horizontal lines. This is where you’ll be scoring the paper for folding. My paper trimmer conveniently has a scoring blade, but in case you don’t have any scoring tool and/or don’t want to get one, you can just manually fold along the lines. Scoring first just makes it easier!
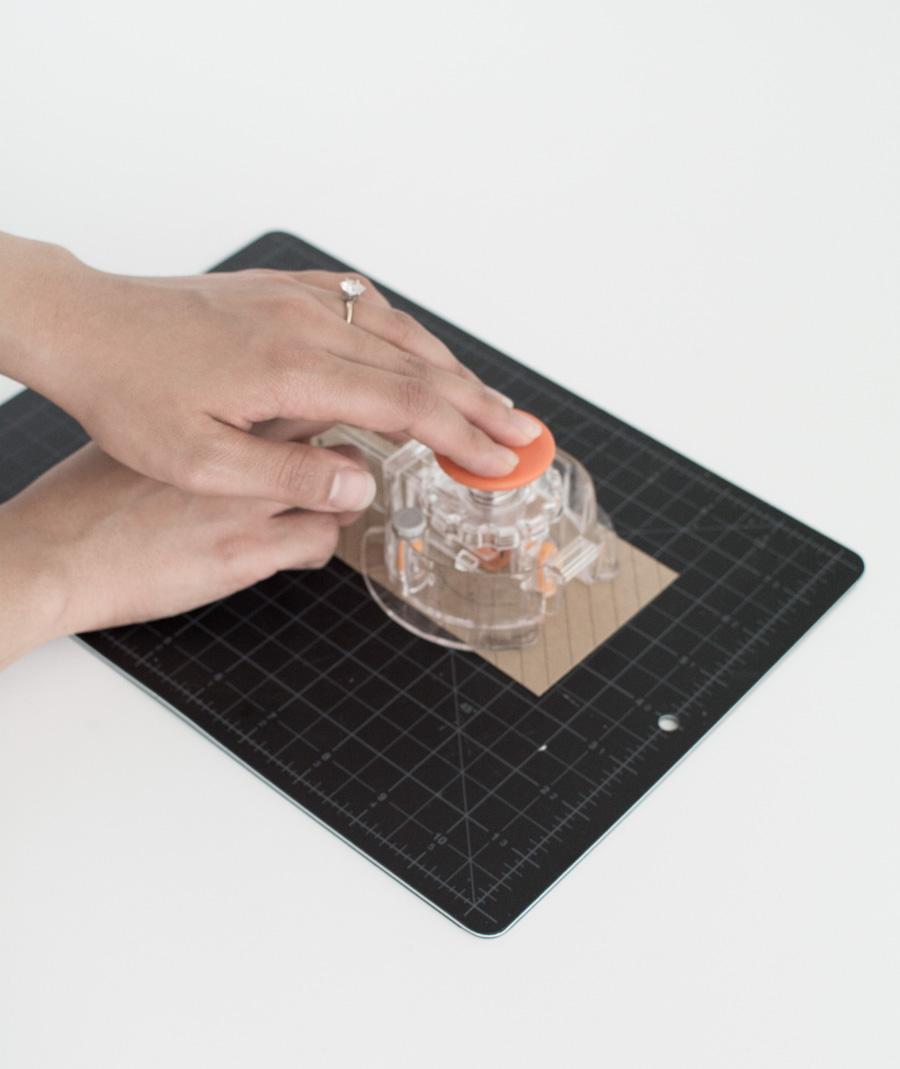
Unfortunately most circle punches won’t be able to reach far enough into the center of the card stock, so cut out the circle using a craft knife or this circle cutter at a diameter slightly larger than the one on the template (about 1.5″ works great). Note: any diameter too large will make the box less stable, so err on the side of a smaller circle.
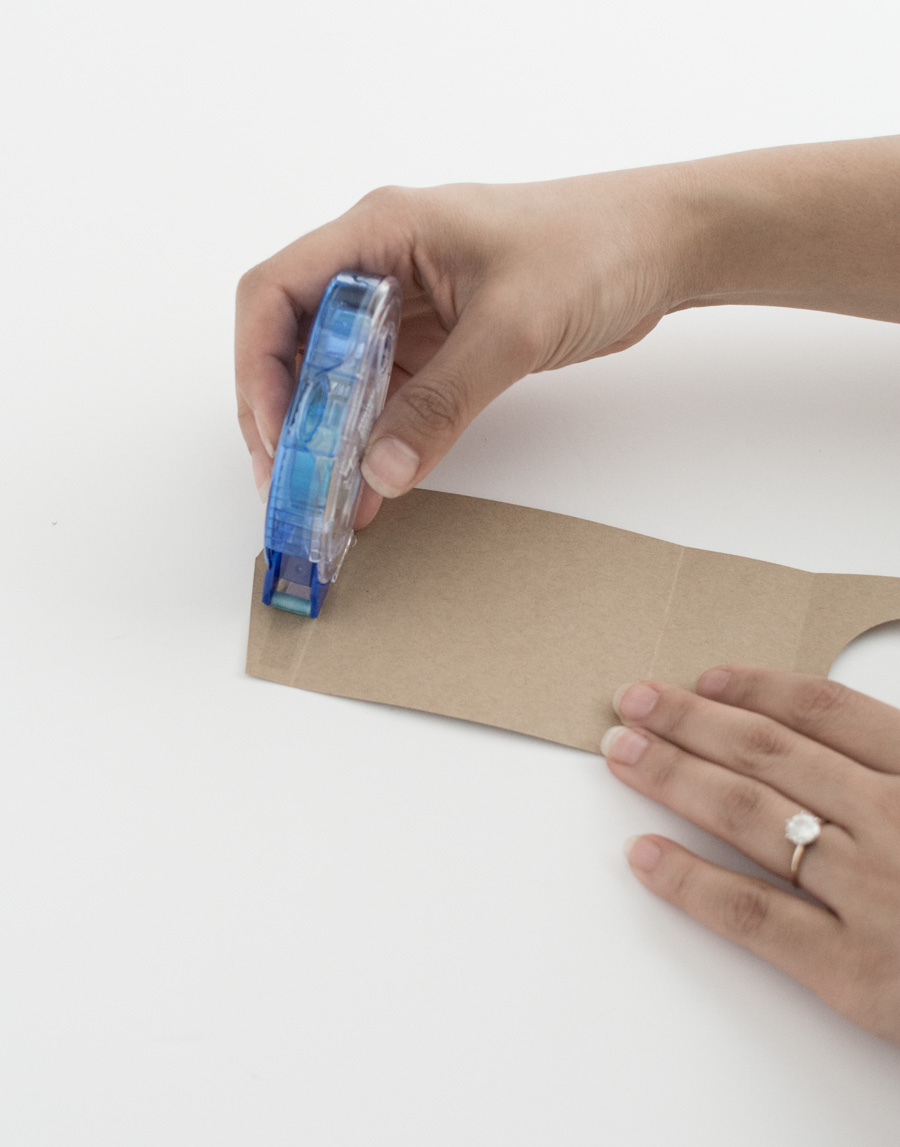
Apply permanent double-sided tape with a tape runner on the inside of the top flap.
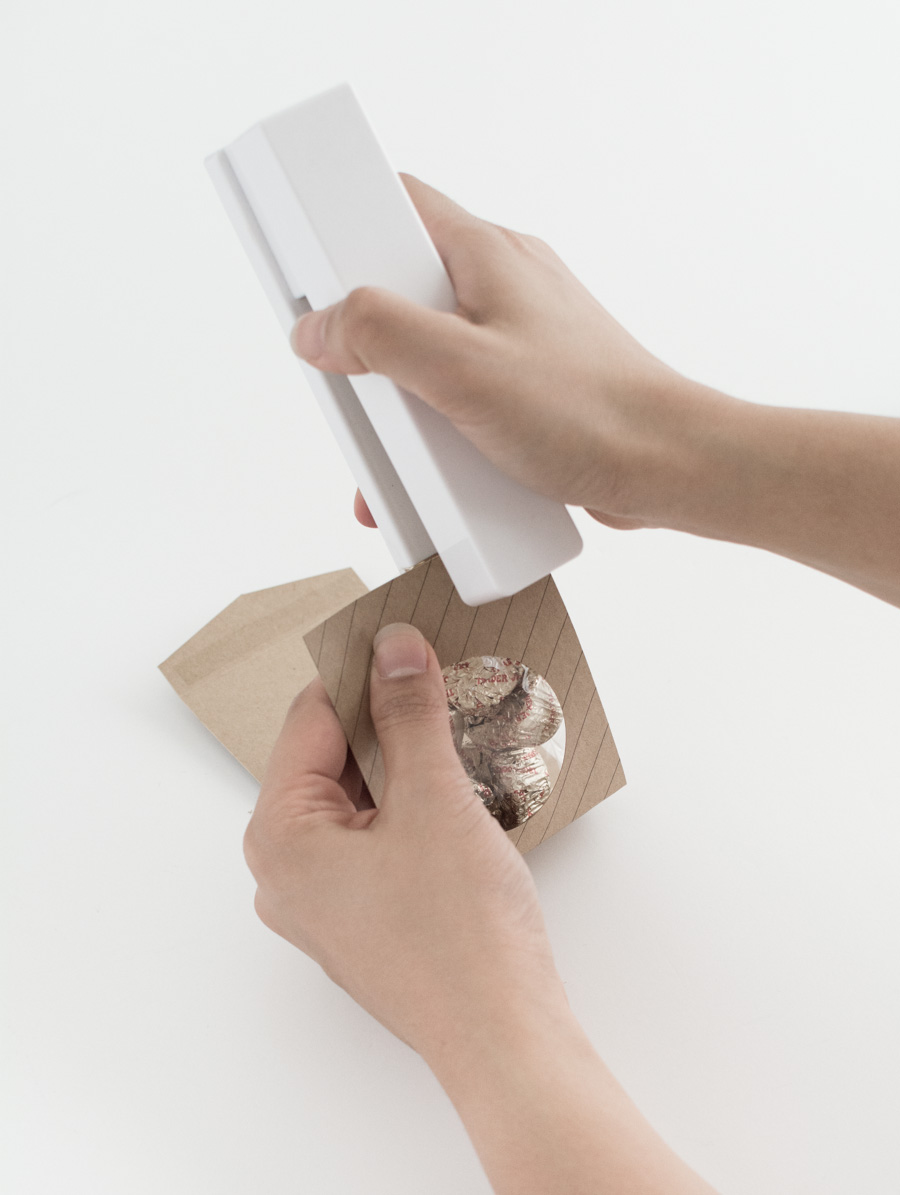
Fill a 3×4″ clear bag with your treats and staple them to the inside of the card stock with the circular opening. Fold the box into shape and press firmly on the flap with the double-sided tape to stick it in place.
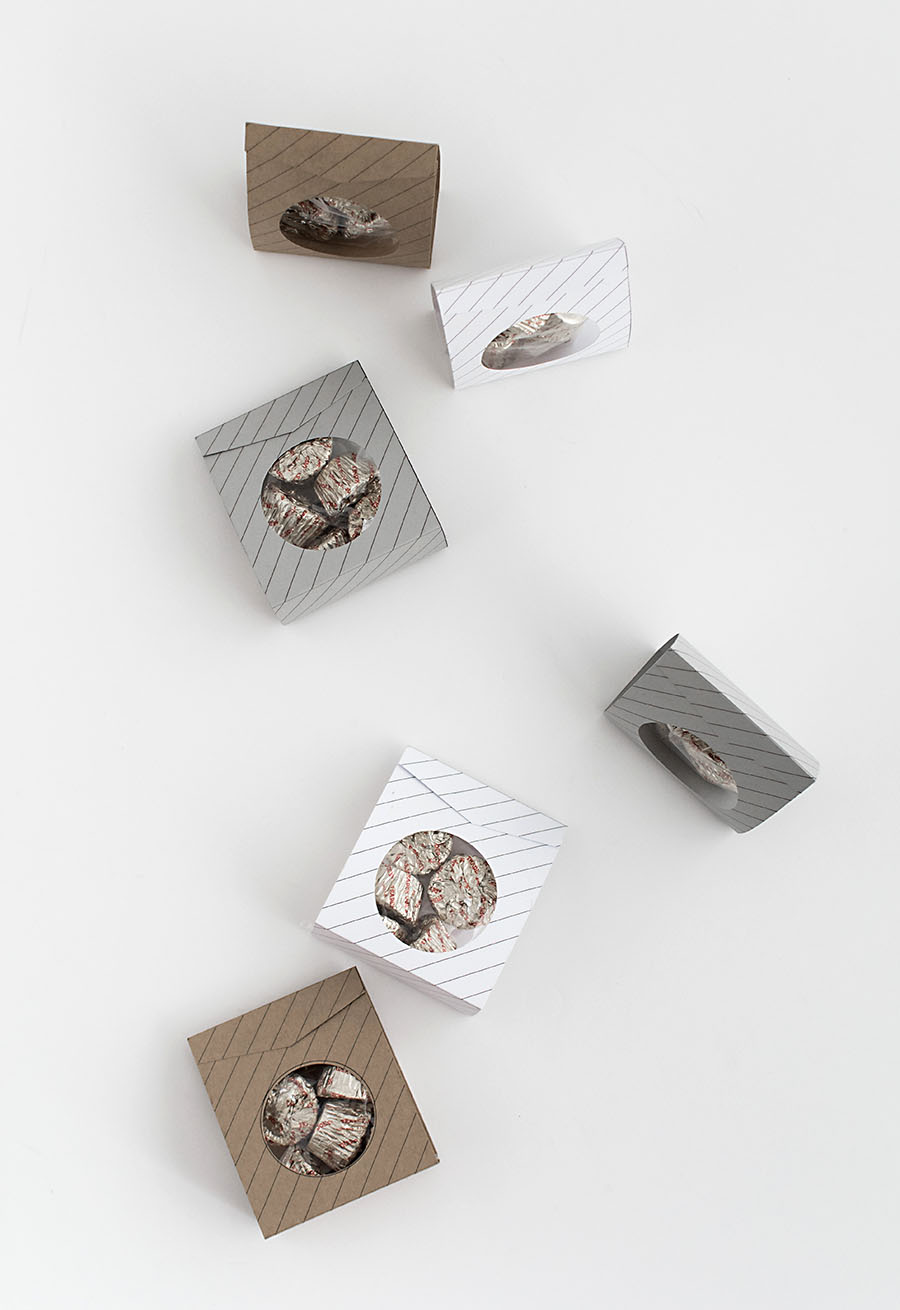
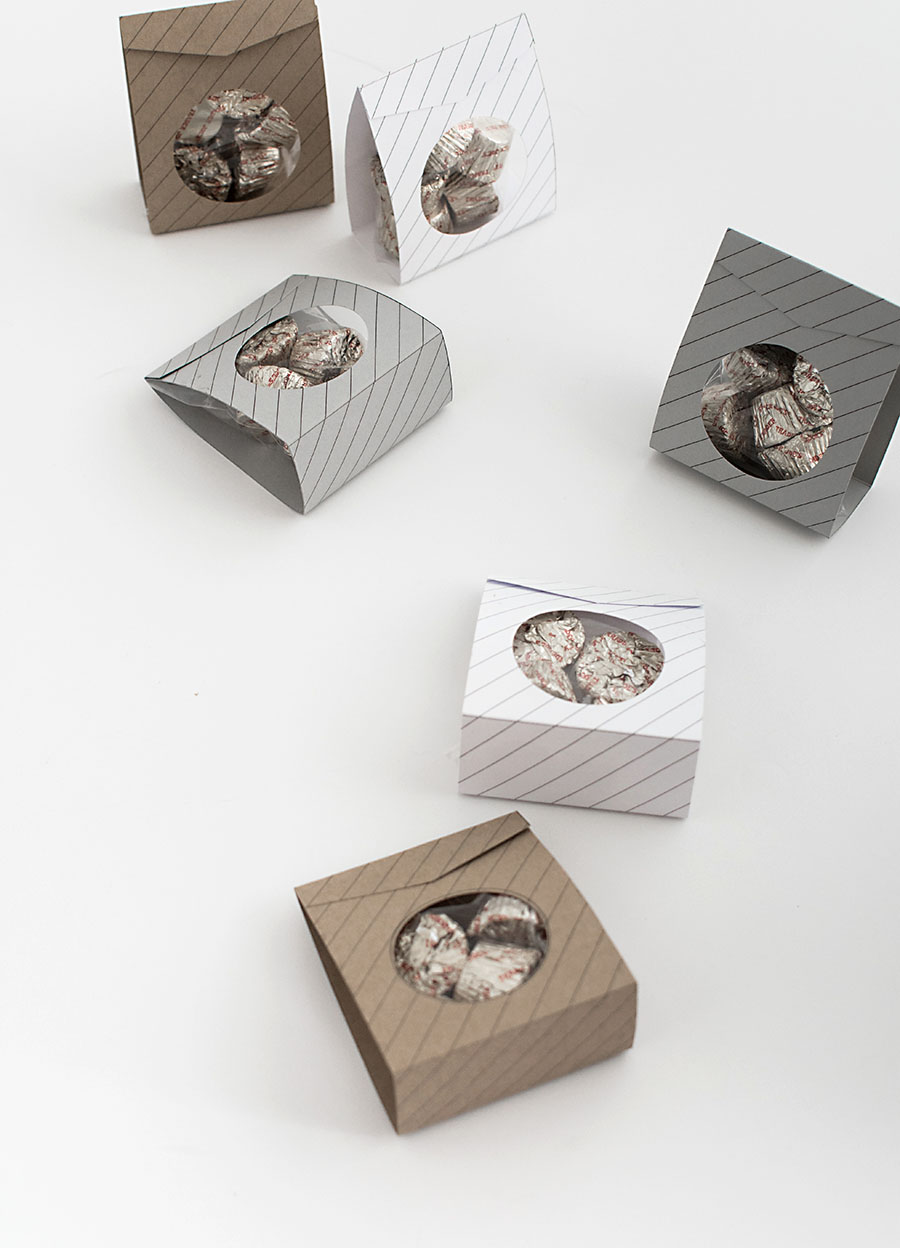
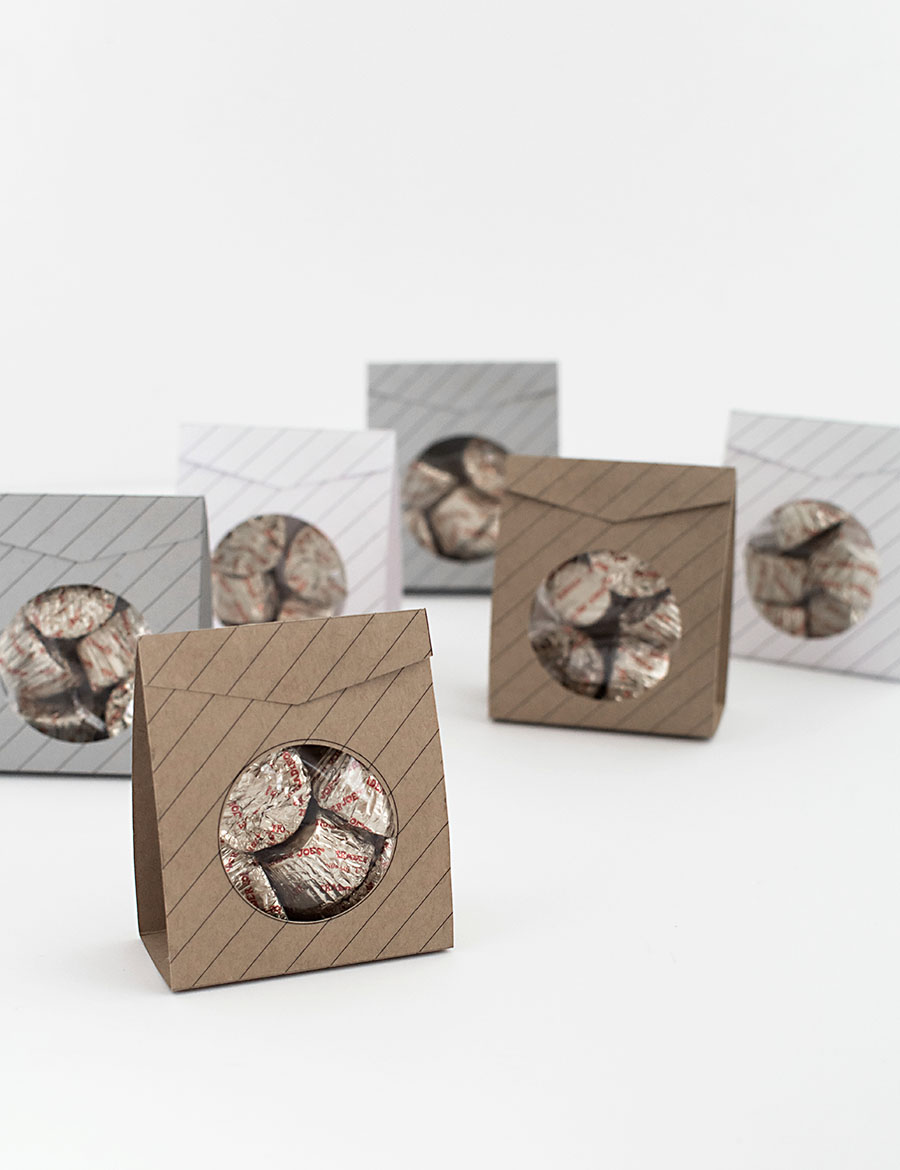
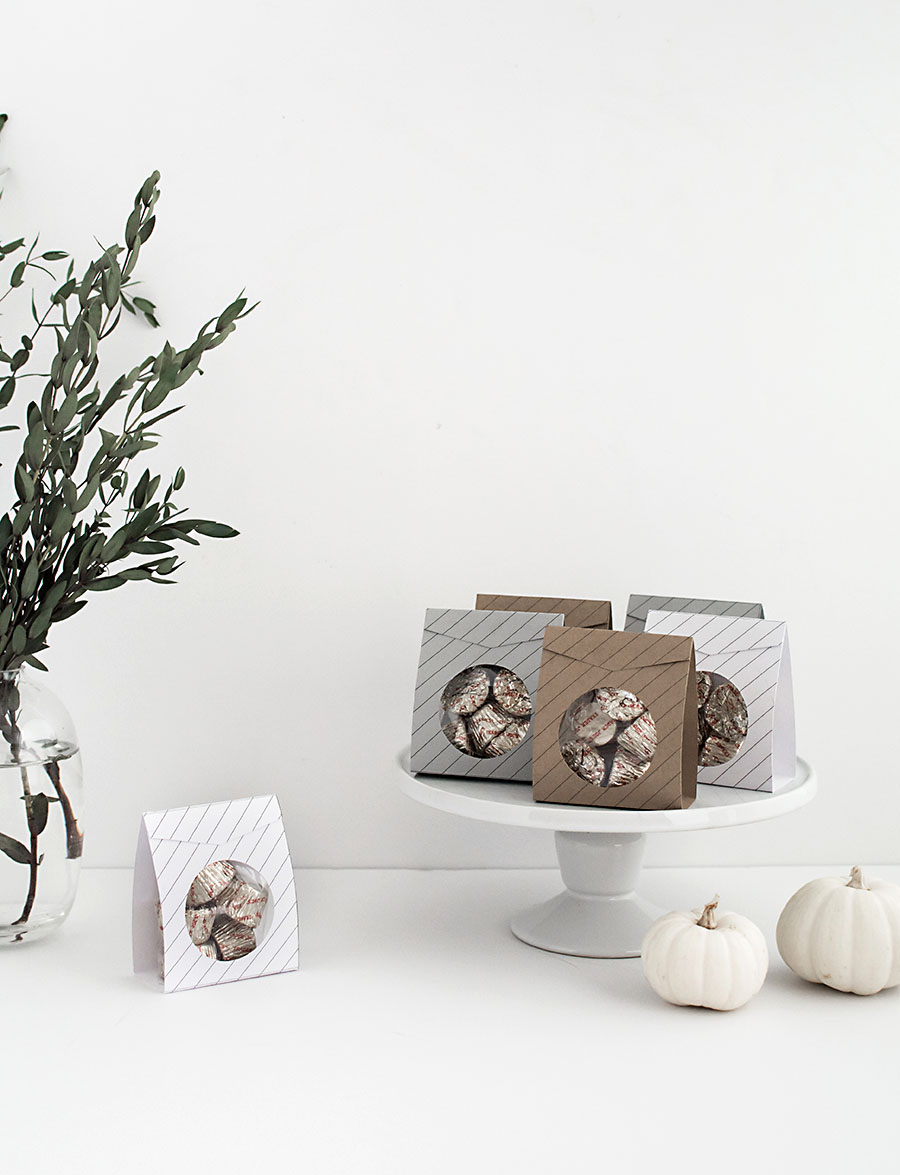
I kept the box design really simple so you could use these for any occasion, not just Halloween, but you should print these out now for your Halloween party if you’ll be having one. Get the printable here!
 This post is in partnership with Canon. All words and content are always my own. Thank you for supporting brands that help bring fun ideas for you to discover and try!



I love these! I also love seeing your engagement ring in all these photos :)
Hahaha I waited SO long for him to ask, that thing is never leaving my hand!
Thanks, Anna!
So very nice these boxes. I just loaded down the printable.
Greetings Kathrin
Thanks, Kathrin! Enjoy!
I’ve printed three copies and they are coming out huge. They certainly won’t fit on card stock. I really love them though. Patricia
Hi Patricia! Are you printing straight from your browser? Save the file first and then print the file. Hope this helps!
Thanks for this printable. Came out perfect for me.
Great to hear! Thanks for letting me know :)
Hi Amy. This is a great printable. Thanks for doing all the measuring for us Also, the tape runner link goes to the circle cutter on amazon.
Thanks for letting me know! So glad you’re enjoying this printable.