My obsession with gold is something I openly share, and I’m shocked that it has taken me so long to finally try out gilding. And let me tell you guys… I’m HOOKED. I want to gild everything now. While it’s more time consuming and labor intensive than something like spray painting, the results are absolutely worth it.
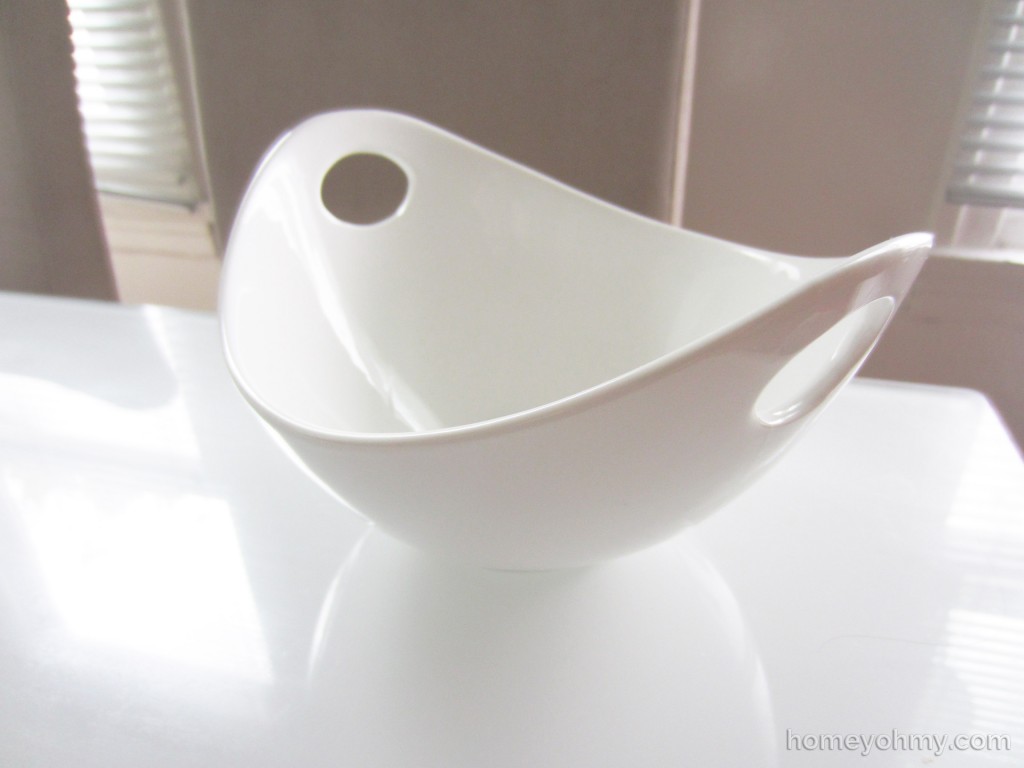
I found this white ceramic serving bowl at Marshall’s (I share these finds and treasure hunts on Instagram. I’d love for you to follow me if you aren’t already!).
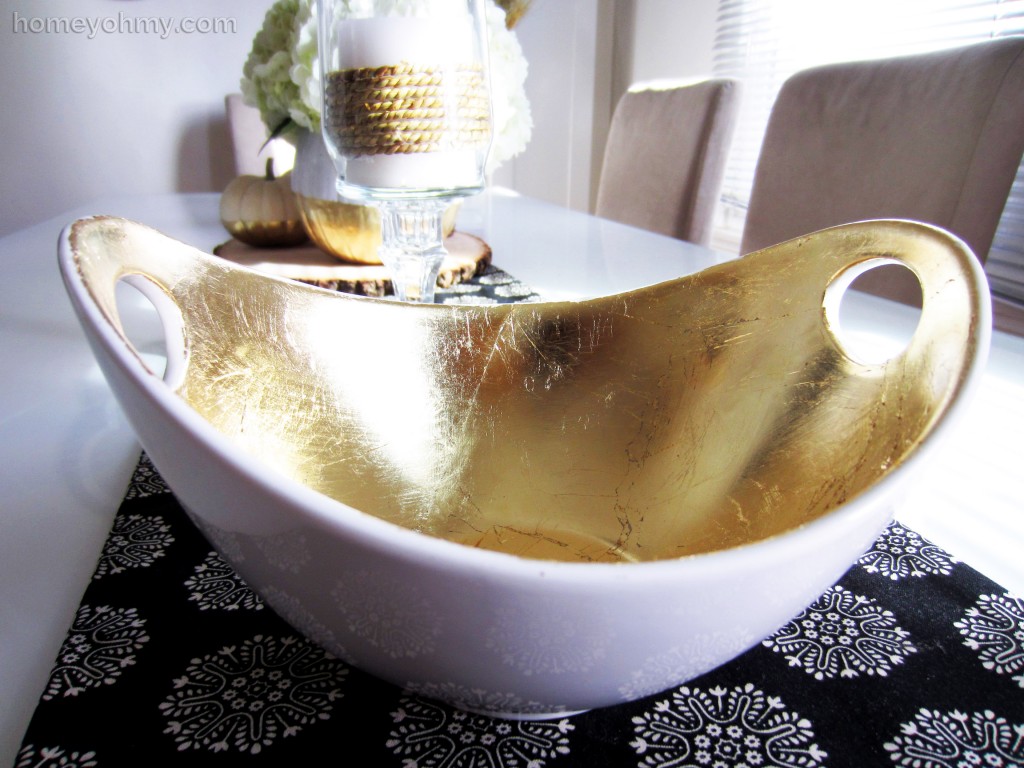
The interesting shape and handles caught my eye. At the time I didn’t know I’d be gilding it, but it hit me later that this would look awesome with gold leaf on the inside.
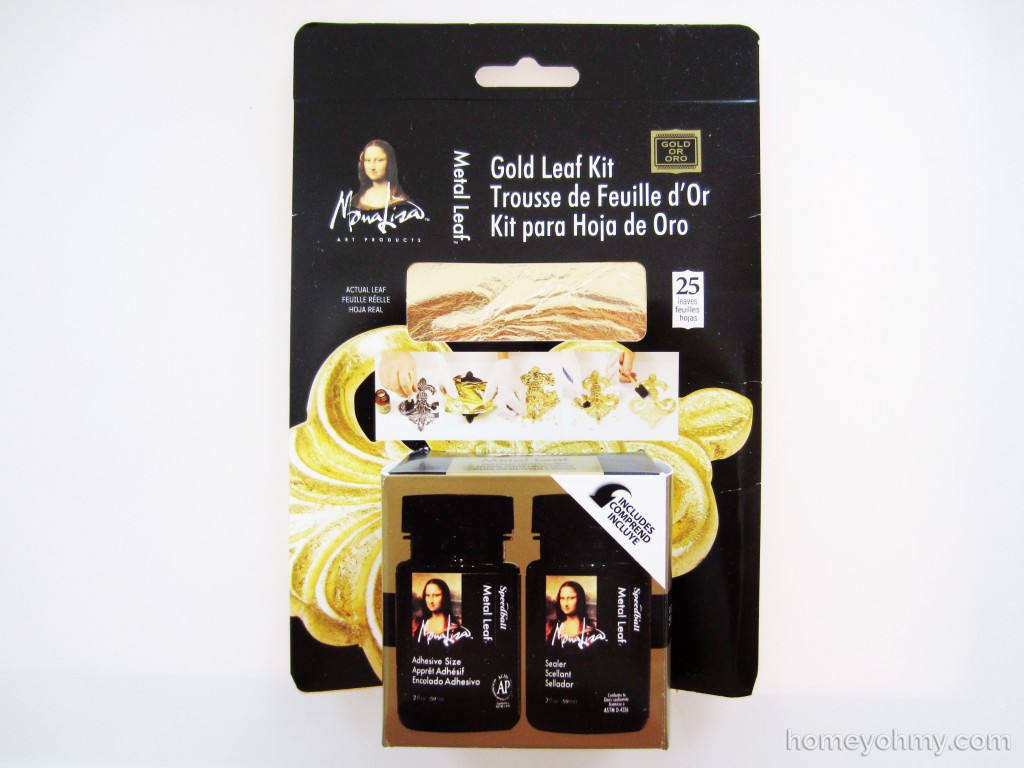
What you’ll need is gold leaf, adhesive, and sealer.
I got my gold leaf kit here (affiliate link). This comes with all three items, including a good amount of gold leaf sheets. There are instructions to help guide you through the gilding process, which I followed exactly.
First, apply a thin layer of adhesive with a paint brush to your surface, making sure the adhesive doesn’t pool up anywhere. I waited 30 minutes for the adhesive to set before applying the gold leaf. Because the gold leaf sheets are very thin and my surface was oddly shaped, I had a lot of trouble with the gold leaf ripping and bunching up, so take your time and be gentle!
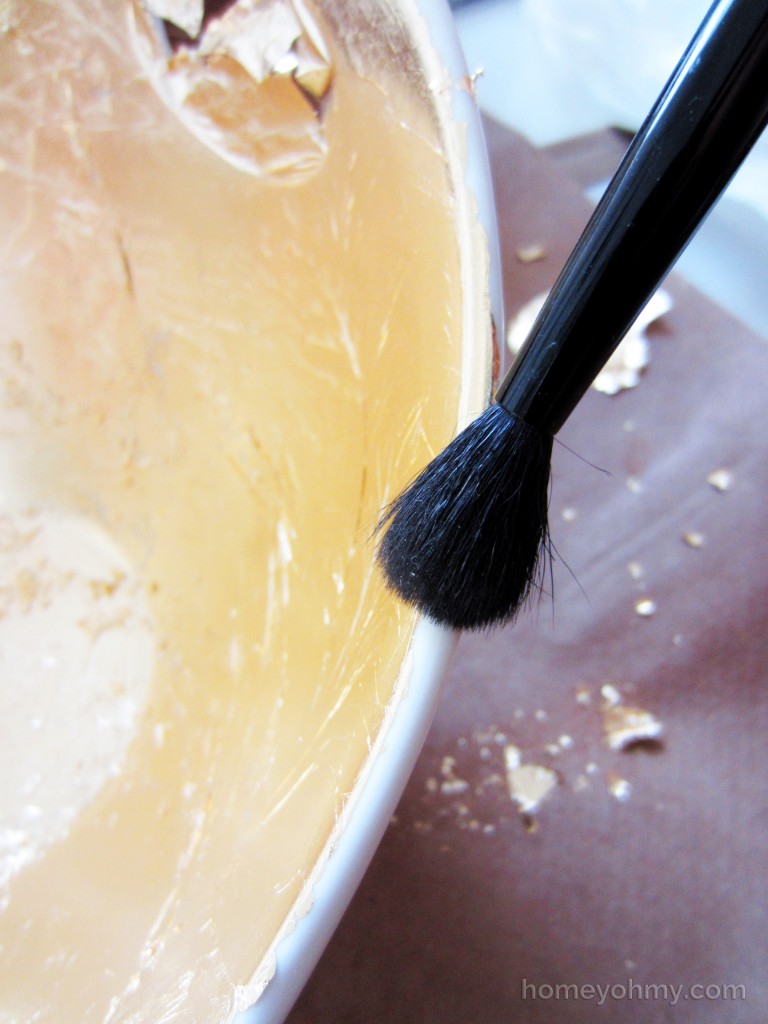
Once you’ve applied and smoothed out the gold leaf, use a soft bristle brush to brush away the excess. I used an old eye shadow brush I had and brushed along the edges of the bowl and anywhere the gold leaf sheets overlapped.
The sealer is optional, but I applied it since I anticipate this bowl will be handled a lot and I wanted the extra protection. If you’re gilding a surface that won’t be touched, then you can skip the sealer if you’d like.
That’s all there is to it!
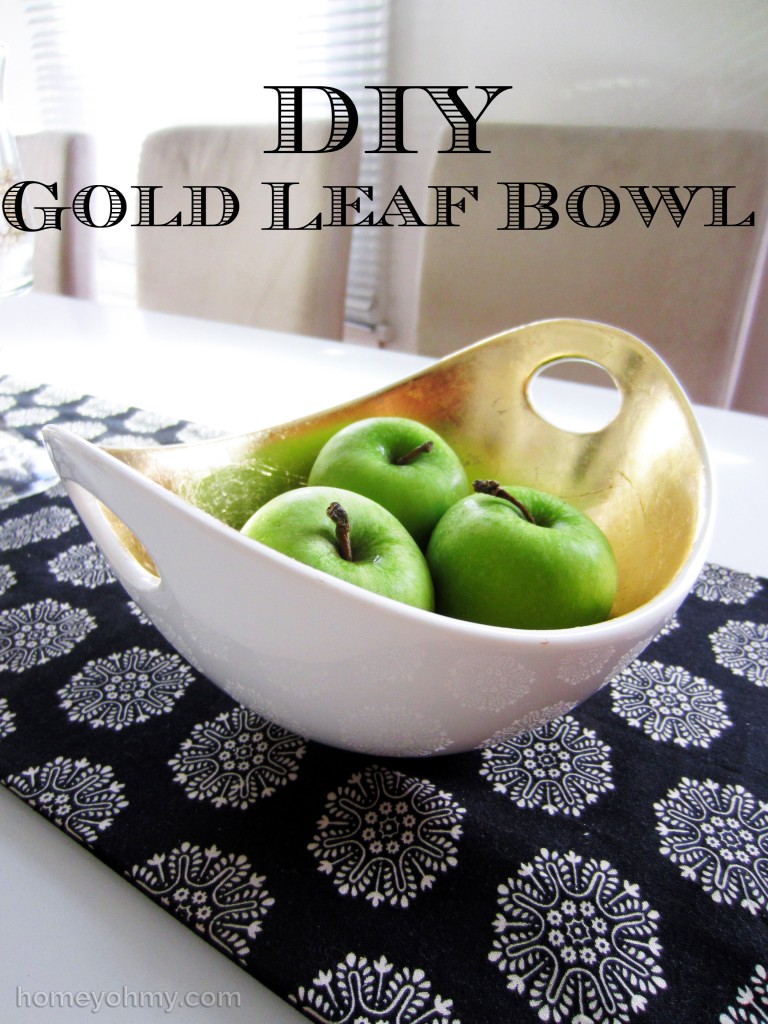
The gold leaf edges are a bit jagged, and the leaf wasn’t applied as smoothly as I had expected, but I actually really like that about it. It’s more of an antiqued look while still having the beautiful shine of gold chrome. I’m in love!
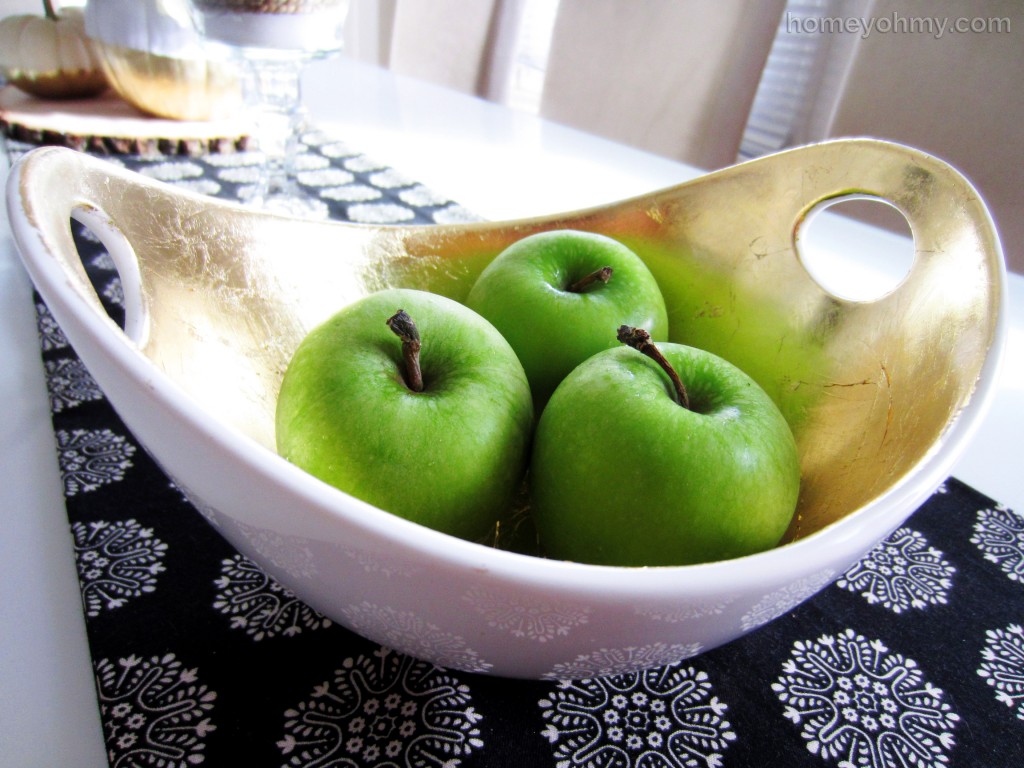
I stored some granny smith apples in the bowl and think this could make a beautiful display for Thanksgiving or just fall in general. It should be noted that the gold leaf surface is not food safe and shouldn’t be used for serving food, but would be more ideal for holding more decorative items like gourds, pine cones, or other types of fillers.
What do you think of my gilded bowl? What would you place inside of it? Leave a comment to let me know!
Like what you see? Stay connected with me:



I will be expecting many more gilding projects from you in the future! Ha! I’m sure you are just looking around your house for objects to gild. The bowl turned out AWESOME. Absolutely love it. And my gilded stuff is not smooth at all, but I prefer the look of the texture of the imperfect leafing too.
Another gorgeous project, Amy!
oh i love it! i also have an obsession with gold, gold leafing, gold spray, just gold everything!!! i do love how that texture looks, it makes it feel richer in feel.
The gold looks gorgeous on the inside like that, what a great project you are the master of crafts arent you :) nice work
So pretty! I love the creases and lines in the leaf.
everything about this is perfection! do i smell a weekend project?
I love this AND I have that bowl! Fate?!
The gold leaf looks really amazing! I think the unevenness makes the finished product look more rustic (can something gold look rustic?) and natural. It’s really perfect for this time of year. I’d fill it with white gourds. I think it would look great against the gold.
It looks amazing Amy! Who knew you could gild a ceramic bowl – such a great idea!
Gold obsessed here too, so naturally, I love this!
That looks great. Love that you only used it on the inside. Very nice job!
Now this is literally a brilliant idea!
Great project! What kind of sealant did you use? Was it food-safe?