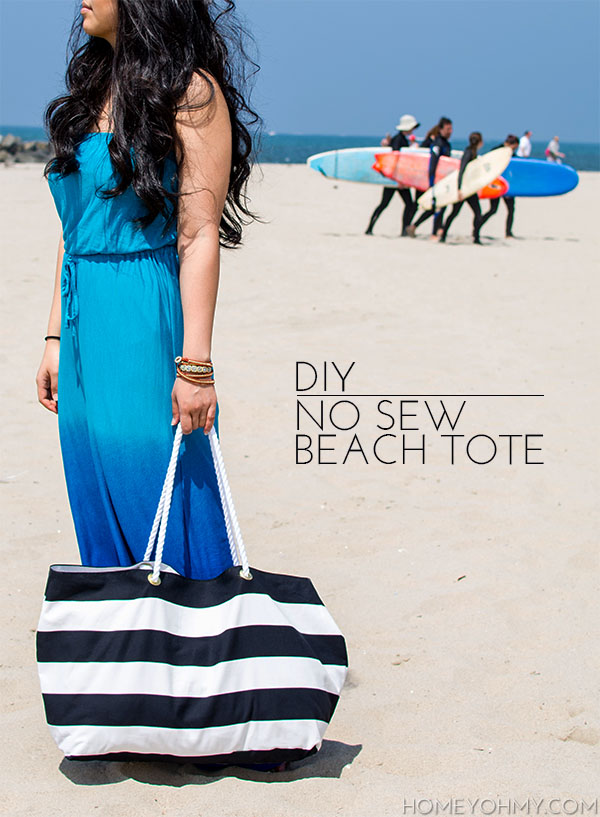
 You guys. I love this tote. And the beach. Can I just quickly talk about this photo, which is one of my favorite photos ever for this blog? My beach day photographer (boyfriend) had me standing still here and told me to wait, which I reluctantly did, only to find out later that he was waiting for the surfer dudes to enter the shot in the back. Isn’t that neat?? Good job, boyfriend <3.
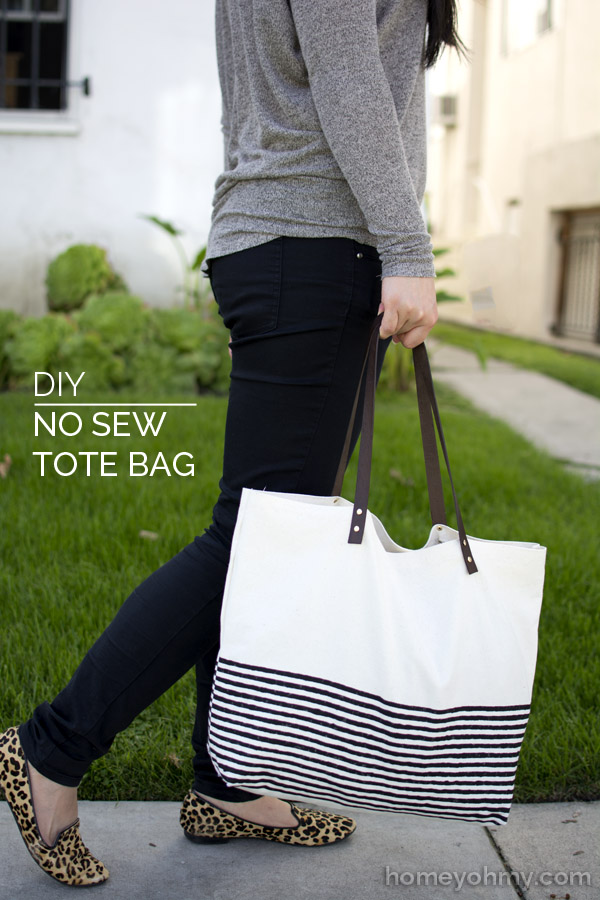
This tote is simple, chic, and DOES NOT REQUIRE SEWING. I’ve been getting by without a sewing machine (though it is a goal of mine to get one and tame the beast) and have happily found that you guys really enjoy my no sew tutorials, so I’ll keep them coming :). This tote was made pretty much exactly the same way as my no sew tote bag, only this one is bigger and roomier for all those beach day supplies. Plus, these handles are made with nautical rope and I used a new technique for attaching them to the bag, which I’m really excited to share!
Materials:
–fabric (2 pieces that are 21×27″ each)
-ruler
–Unique Stitch (The magic maker. This is my weapon of choice for no sew DIYs)
–grommet kit (1/2″ opening)
-hammer
–rope (6ft total, cut into 3ft pieces for each handle, 7/16″ in width)
–super glue
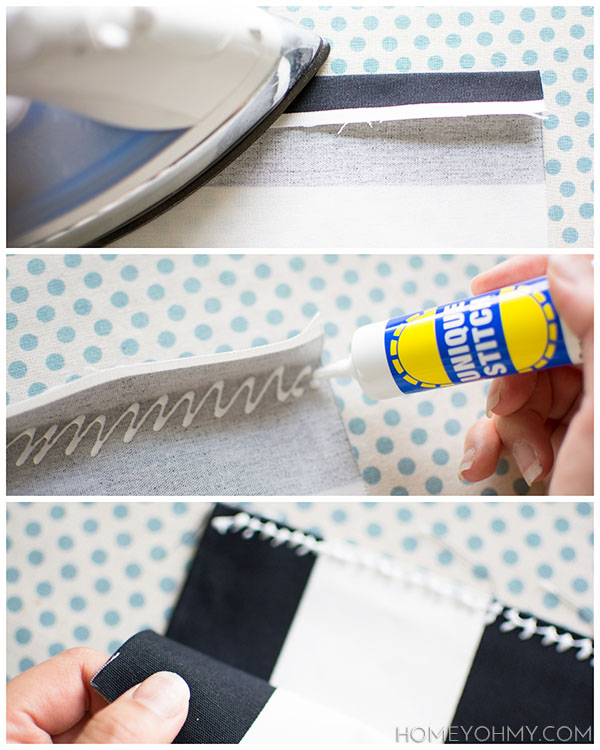 First, iron out the pieces of fabric. The rest of the steps will be done to each of these pieces. Fold back about one inch of the fabric on one of the sides that’s 27 inches long and iron it down. Apply the Unique Stitch underneath the fold and glue it down, then glue the fabric pieces together face to face, making sure the edges that were previously folded and glued are matched up (this is the opening of the bag). All three of the other edges should be glued together.
*Tip- be generous enough with the glue so that you can feel it lightly seep through the layers of fabric. Make sure to work on a protected surface.
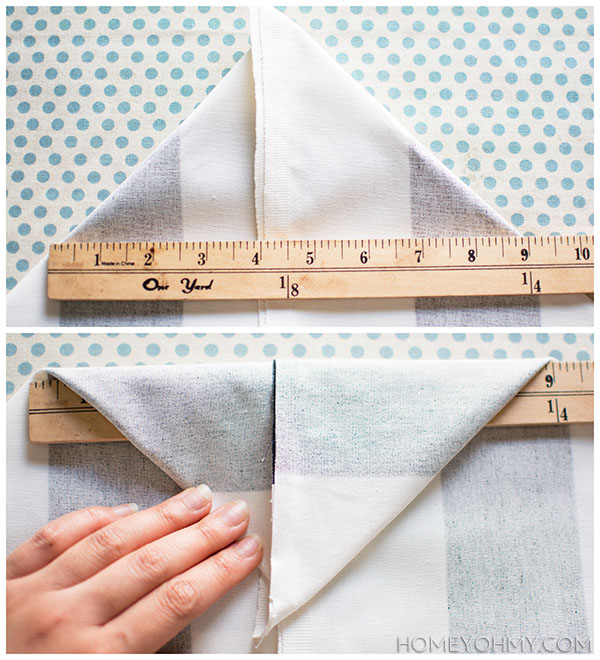
After letting the glue dry a bit, pinch each side of the fabric at the bottom corners of the fabric and pull them apart to create a triangle. Measuring 9 inches at the base of the triangle, fold the triangle over to the bottom of the bag and apply glue only under the point of the triangle just to keep it in place. After doing this to both corners, flip the bag inside out while the glue is still wet, then reinforce the triangle folds by pressing them down. This creates a flat base for the tote bag.
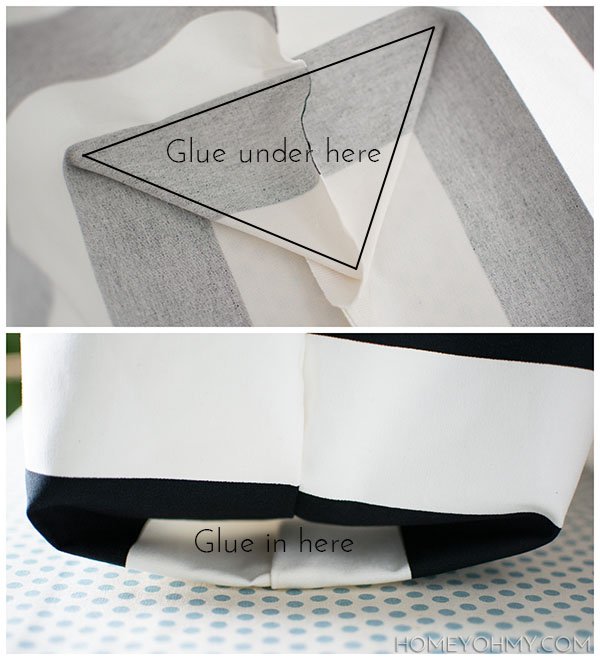
Once here, lift up each triangle (the glue should still be wet) and apply glue all underneath it before pressing it down again to the bottom of the bag. On the outside of the bag, shown in the bottom of the photo above, the base of the triangle is unattached from the bottom of the bag. Apply glue in between here, press the fabric down from the inside of the bag, and let the glue dry. Do this on both sides.
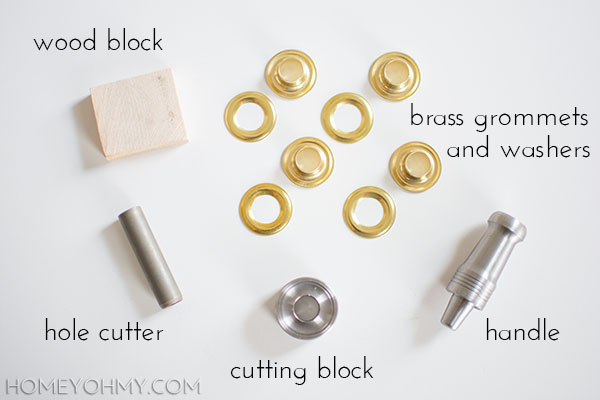
Now for the grommeting! Above are all the materials that come in the grommet kit, and like I had said a while ago about how I want to rivet all the things, I now want to grommet all the things.
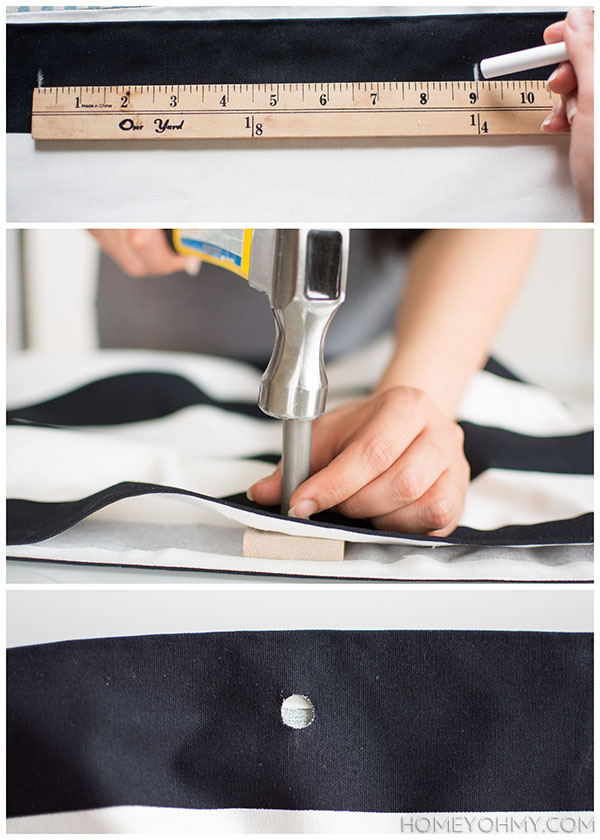
Make two chalk marks about 9 inches apart and centered at the top of each side of the bag. These marks are where you’ll be cutting holes into the fabric by hammering the cutter on top of the wood block.
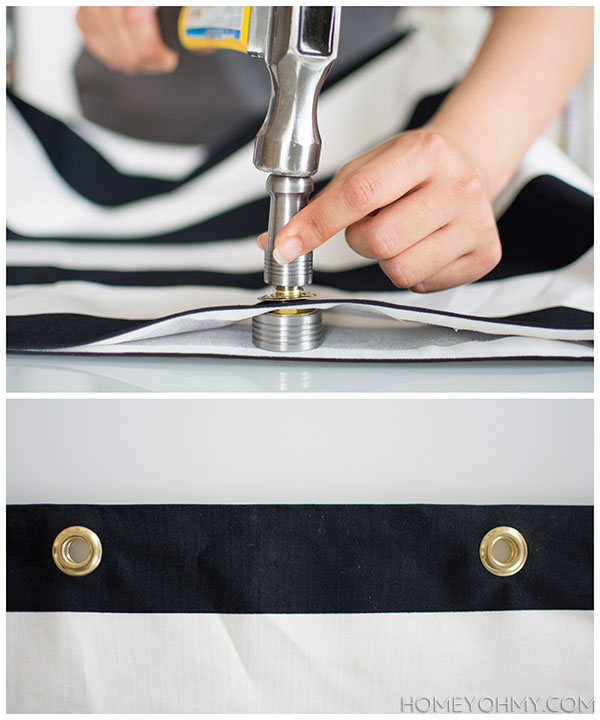 Next, all you do is hammer a grommet shut through each hole. NOTE: The way I’m doing it in the photo is incorrect. The side you hammer will be the back of the grommet, so you should set it up so that you’re hammering from the back side of the fabric, not the front like I’m doing in the photo. The layers from bottom to top are the cutting block, grommet, fabric, washer, handle, and hammer.
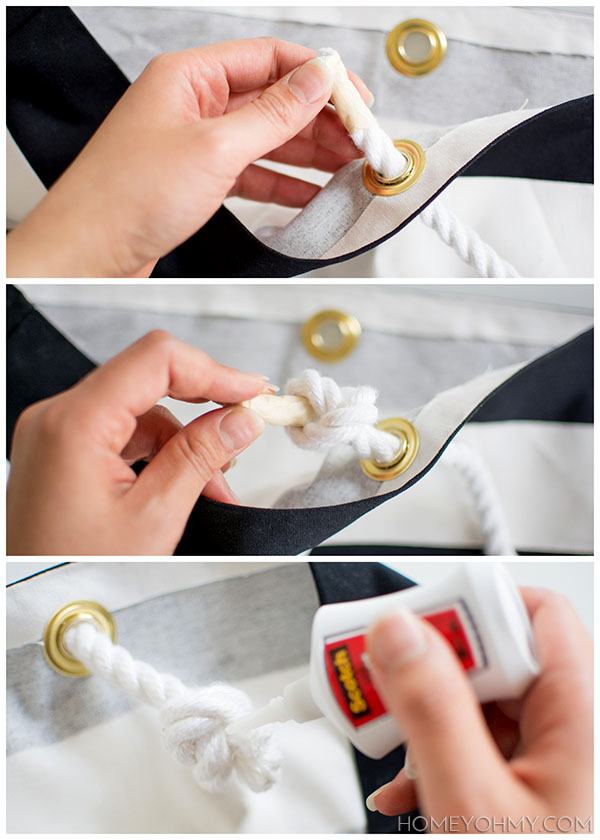 Finally (finally!) pull both ends of a 3 foot piece of rope through the grommets on one side of the bag and tie them into knots. Repeat on the other side. Apply super glue into all the crevices of each knot to secure them in place.
Next, take that baby with you to the beach.
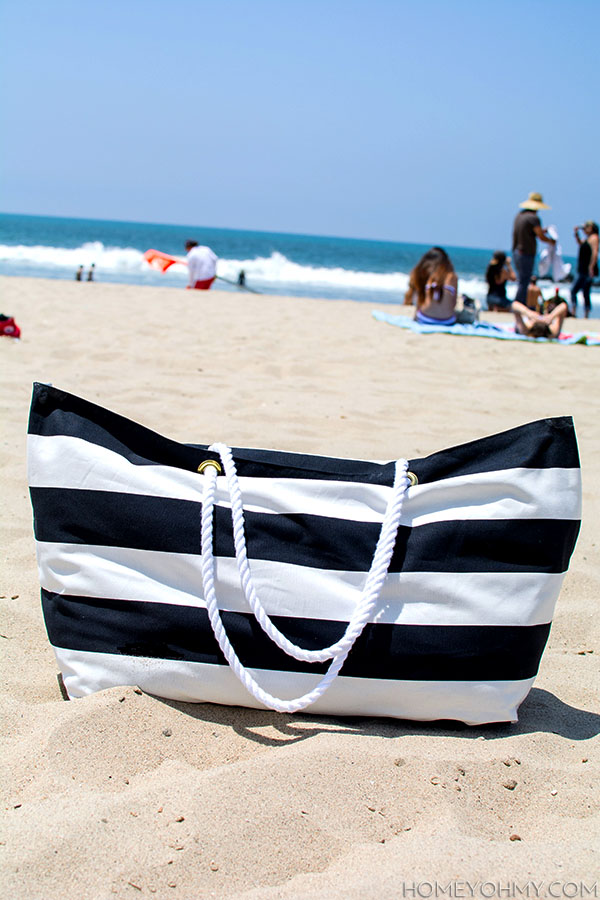
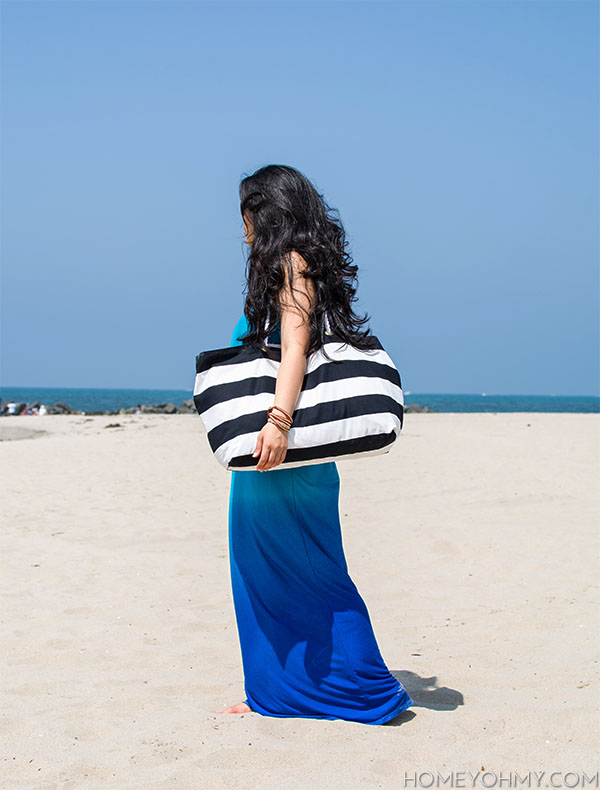
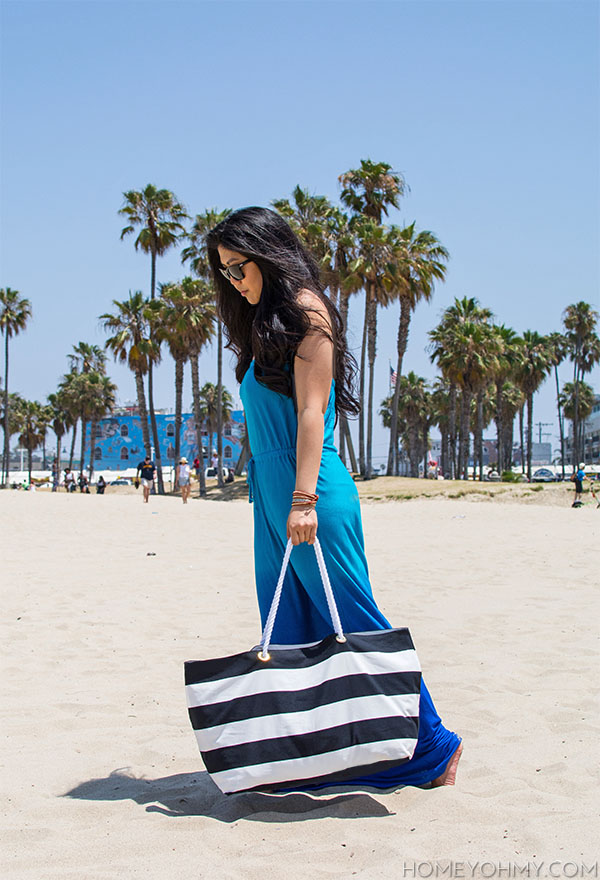 Yes, I did actually take it with me to the beach and it was perfect. So much room and it fit everything I needed and more (snacks, snacks, and more snacks). Here was my little set-up, just for fun.
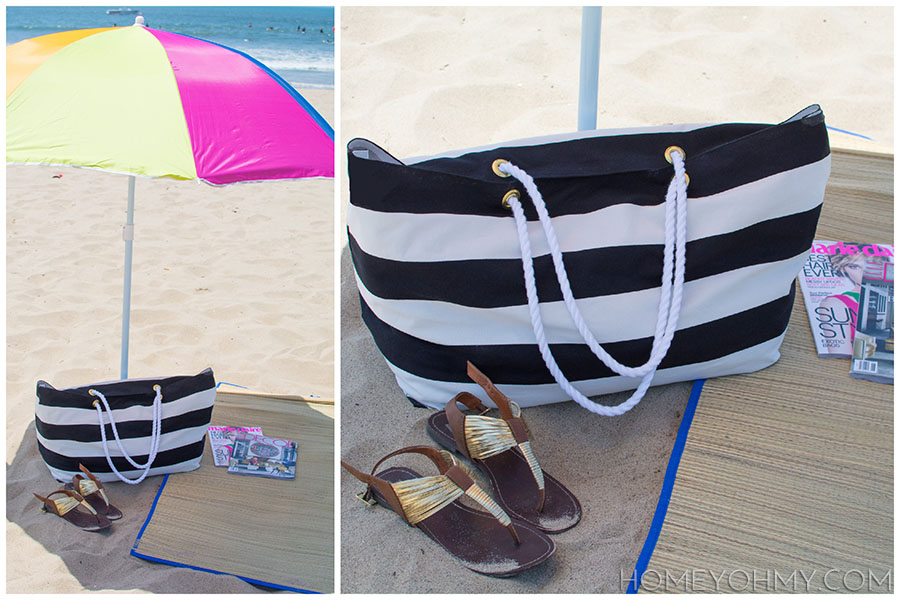 Guys, this is the first time I’ve ever owned a beach umbrella and it is a game changer. My intolerance for the sun and turning into a lobster is no longer a concern and now I can comfortably stay on the beach all day. How did I not know that the solution was so easy? Thank you, last minute Walgreens umbrella impulse buy!
I had also shared a little peek at this scenery on Instagram:
I hardly ever have moments like these where I can just kick back and relax with a magazine. This was Memorial Day weekend and I forced myself to take a break from the blog and just sit on the beach and do nothing, which is the highest of luxuries for me these days. It was fantastic, and really, this is my idea of a perfect summer celebration. Well ok, yea, I also love bbq’s and beers, but moments like these are far more rare!
Speaking of which!!! This project is part of the Summer Celebration Series, where 20 bloggers (including myself) have teamed up this week to bring you summer treats and DIYs for whatever your summer creativity entails :). Check out the rest of the projects that are being shared today!
Here are even more ideas to kick off your summer in style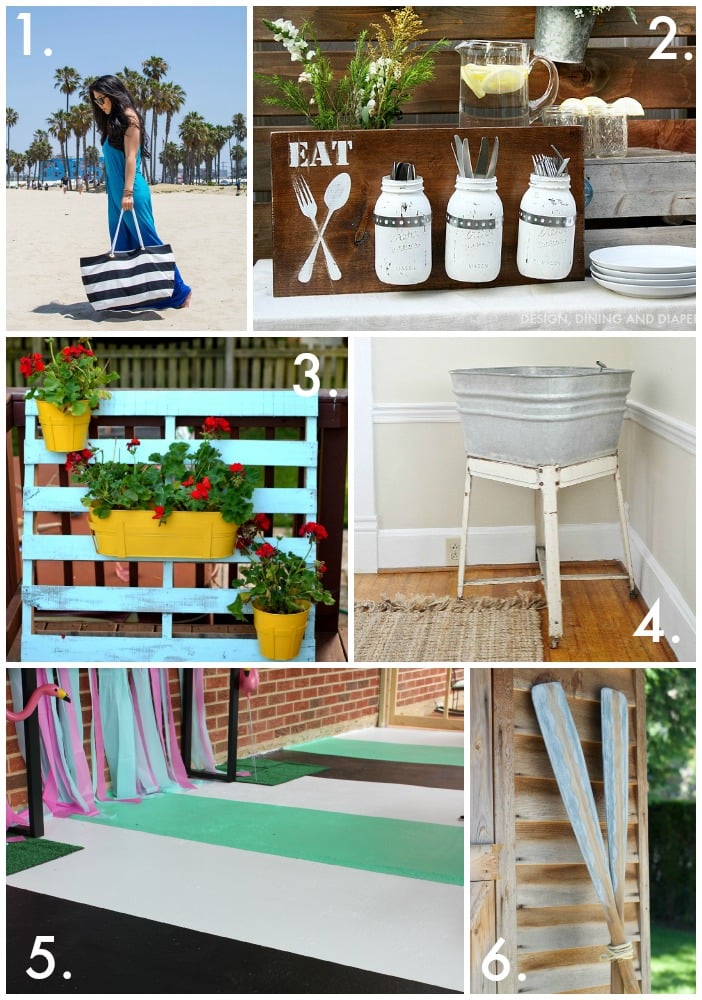
Be sure to check out all the other bloggers as well, and visit back here on Thursday for a link party to share your own summer creations!


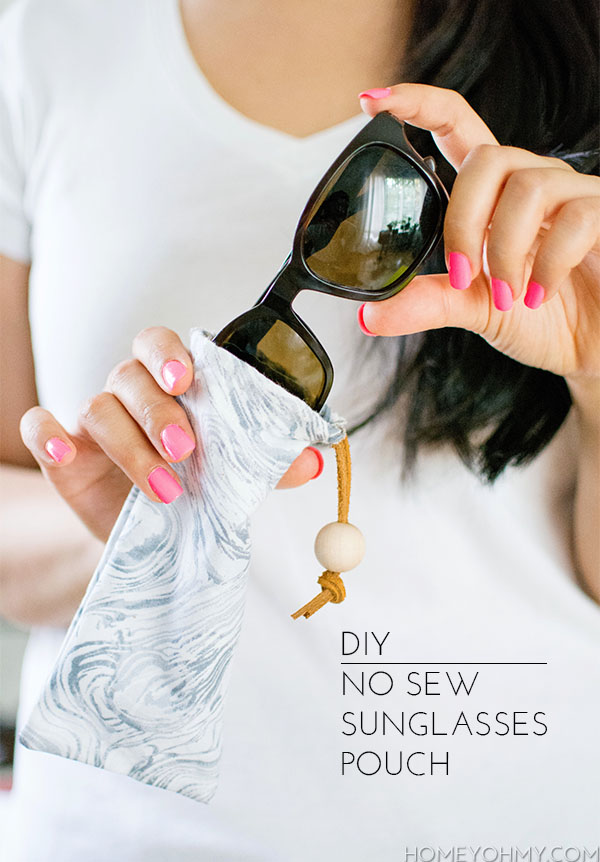
I bet you LOVE the beach and your cool tote as well! Pics are stunning,Amy! I need one of this for me..;-)?pinning!
LOVE this bag Amy and yet another amazing no sew project, yay!
I love your beach tote, Amy!!! So pretty and no sew??!!! Genius!!
Love your no sew projects!! This is super cute and the perfect beach accessory!
LOVE this bag! So chic and perfect for the beach, but so easy!
LOVE this beach bag! I seriously can’t believe that it’s no-sew! Amazing! ;)
Great no sew project! I’m such a fan of those types!
Seriously good work on that photo, boyfriend. I need the husband to step up his photog game. ;) Also that bag is perfect. You always blow me away with your no-sew skillz.
Love this idea! Black and white stripes are so perfect and well, you look so pretty as the model!
As soon as I saw that first photo I thought how cool it was that the surfers were in the background! aha. Once you get a sewing machine you will love it! Threading it is the “hardest” part, but that’s not even that hard. Roy taught me how to use one :)
I love everything about this entry! The sunlight, your bright dress, your flowing hair, and the perfect beach tote! Love love love <3
OH. MY. GOD. Boyfriend has an eye!! Such a fantastic pic girl.
Amy, this is amazing! I love that you made the punches in the bag yourself too. That’s a technique I’ll absolutely be trying. Also, your boyfriend totally nailed the shot!
Love your tote – that fabric is perfect for the beach! And I am so impressed you made this tote without sewing. Definitely seems do-able!
I just love a fun beach tote! Love that pic with the surfers, great shot!
This tote is gorgeous, Amy! I love the stripes, and that it’s an easy, no-sew project!
Such a cute tote!!
So gorgeous Amy- I can’t believe it is no-sew!! You’re amazing! Pinning and sharing:)
Your hair and bag are amazing!!!! LOVE, pinning ;) I’d love to come and visit the linky party too ;)
That bag is ridiculously awesome and GREAT tutorial!
That is AMAZING! I can’t sew to save my life so this is perfect! I love the rope handle! And I can’t help but miss the beaches of LA!!! Oh, PS- your hair is gorgeous!!!
this tote is FABULOUS!! I can’t believe its no sew!!
I love this bag! I have a thirty-one bag that is navy and white stripes and I love it. It is great for day trips but not quite big enough for a day at the beach. Let’s just say the sewing machine and I are not exactly simpatico, so I love that there is no sewing involved in this bag. I think I’ll be making one for summer! Great tutorial!
This is such a cute tote! You would never know it wasn’t sewn!
I LOVE this tutorial! The tote is so classy and it looks easy enough for me to make! I’m so glad you linked this up to Frugal Crafty Home because I’ll be featuring it at our next party on Sunday!
AMY!!! i love the bag. you’re so talented! and good job photographer boyfriend ;)
Amy–that photo is amazing. Perfection. And the bag is amazing! Loving everything about this post.
Wow! Your boyfriend did a totally fab job… waiting for the surfers :) That pic looks like it belongs in a magazine!
The project looks great, but the pic is timeless ;)
Wow, great job, girl! I need one of these! I LOVE stripes ;)
Hugs,
Jamie
Just curious how long this took you to make and the approximate cost. Going on a family vacation with 8 families and trying to figure out the most affordable way to gift beach bags! Thanks!